Copyright 2021
Tidewater Woodworking President: Fran Foster, Vice President: Greg Guertin, Treasurer: Chris Zuchristian, Secretary: Larry Larue
  |
||||
| Web Links | At the Meeting | Last Meeting Notes | Tip of the Month | Editors Notes |
|---|---|---|---|---|
What's In The Newsletter?
|
||||
Presidents Report ...This has been a very trying year and a half for everyone, but things are changing. We did hold an in-person/virtual meeting last month which was our first one at Woodcraft in fifteen months. The meeting this month will be the same with a live demonstration for those who wish to attend in person and will also be streamed for those folks who are not quite ready to venture out to large groups. We have been encouraged by the past participation of both members and people who are interested in joining our ranks. We all have been waiting for the time when we can get together and enjoy the socialization that is an important part of our guild. If you are reading this and have not joined our group of woodworkers, we hope that you will reach out to us and see what we are all about. This email address is being protected from spambots. You need JavaScript enabled to view it. Fran Foster President TWWWG |
||||
ApologiesMy apologies for the lack of a newsletter in May. I had a very unusual computer problem that prohibited me from getting into Windows after logging on. I could not get the computer to come up in safe mode or even boot with a Windows boot drive and I had to take it to the computer PC fix it shop. The computer was still not fixed by the time we went on vacation and when we got back the month of May is over. Sincerely, Gary Stephens - Editor |
||||
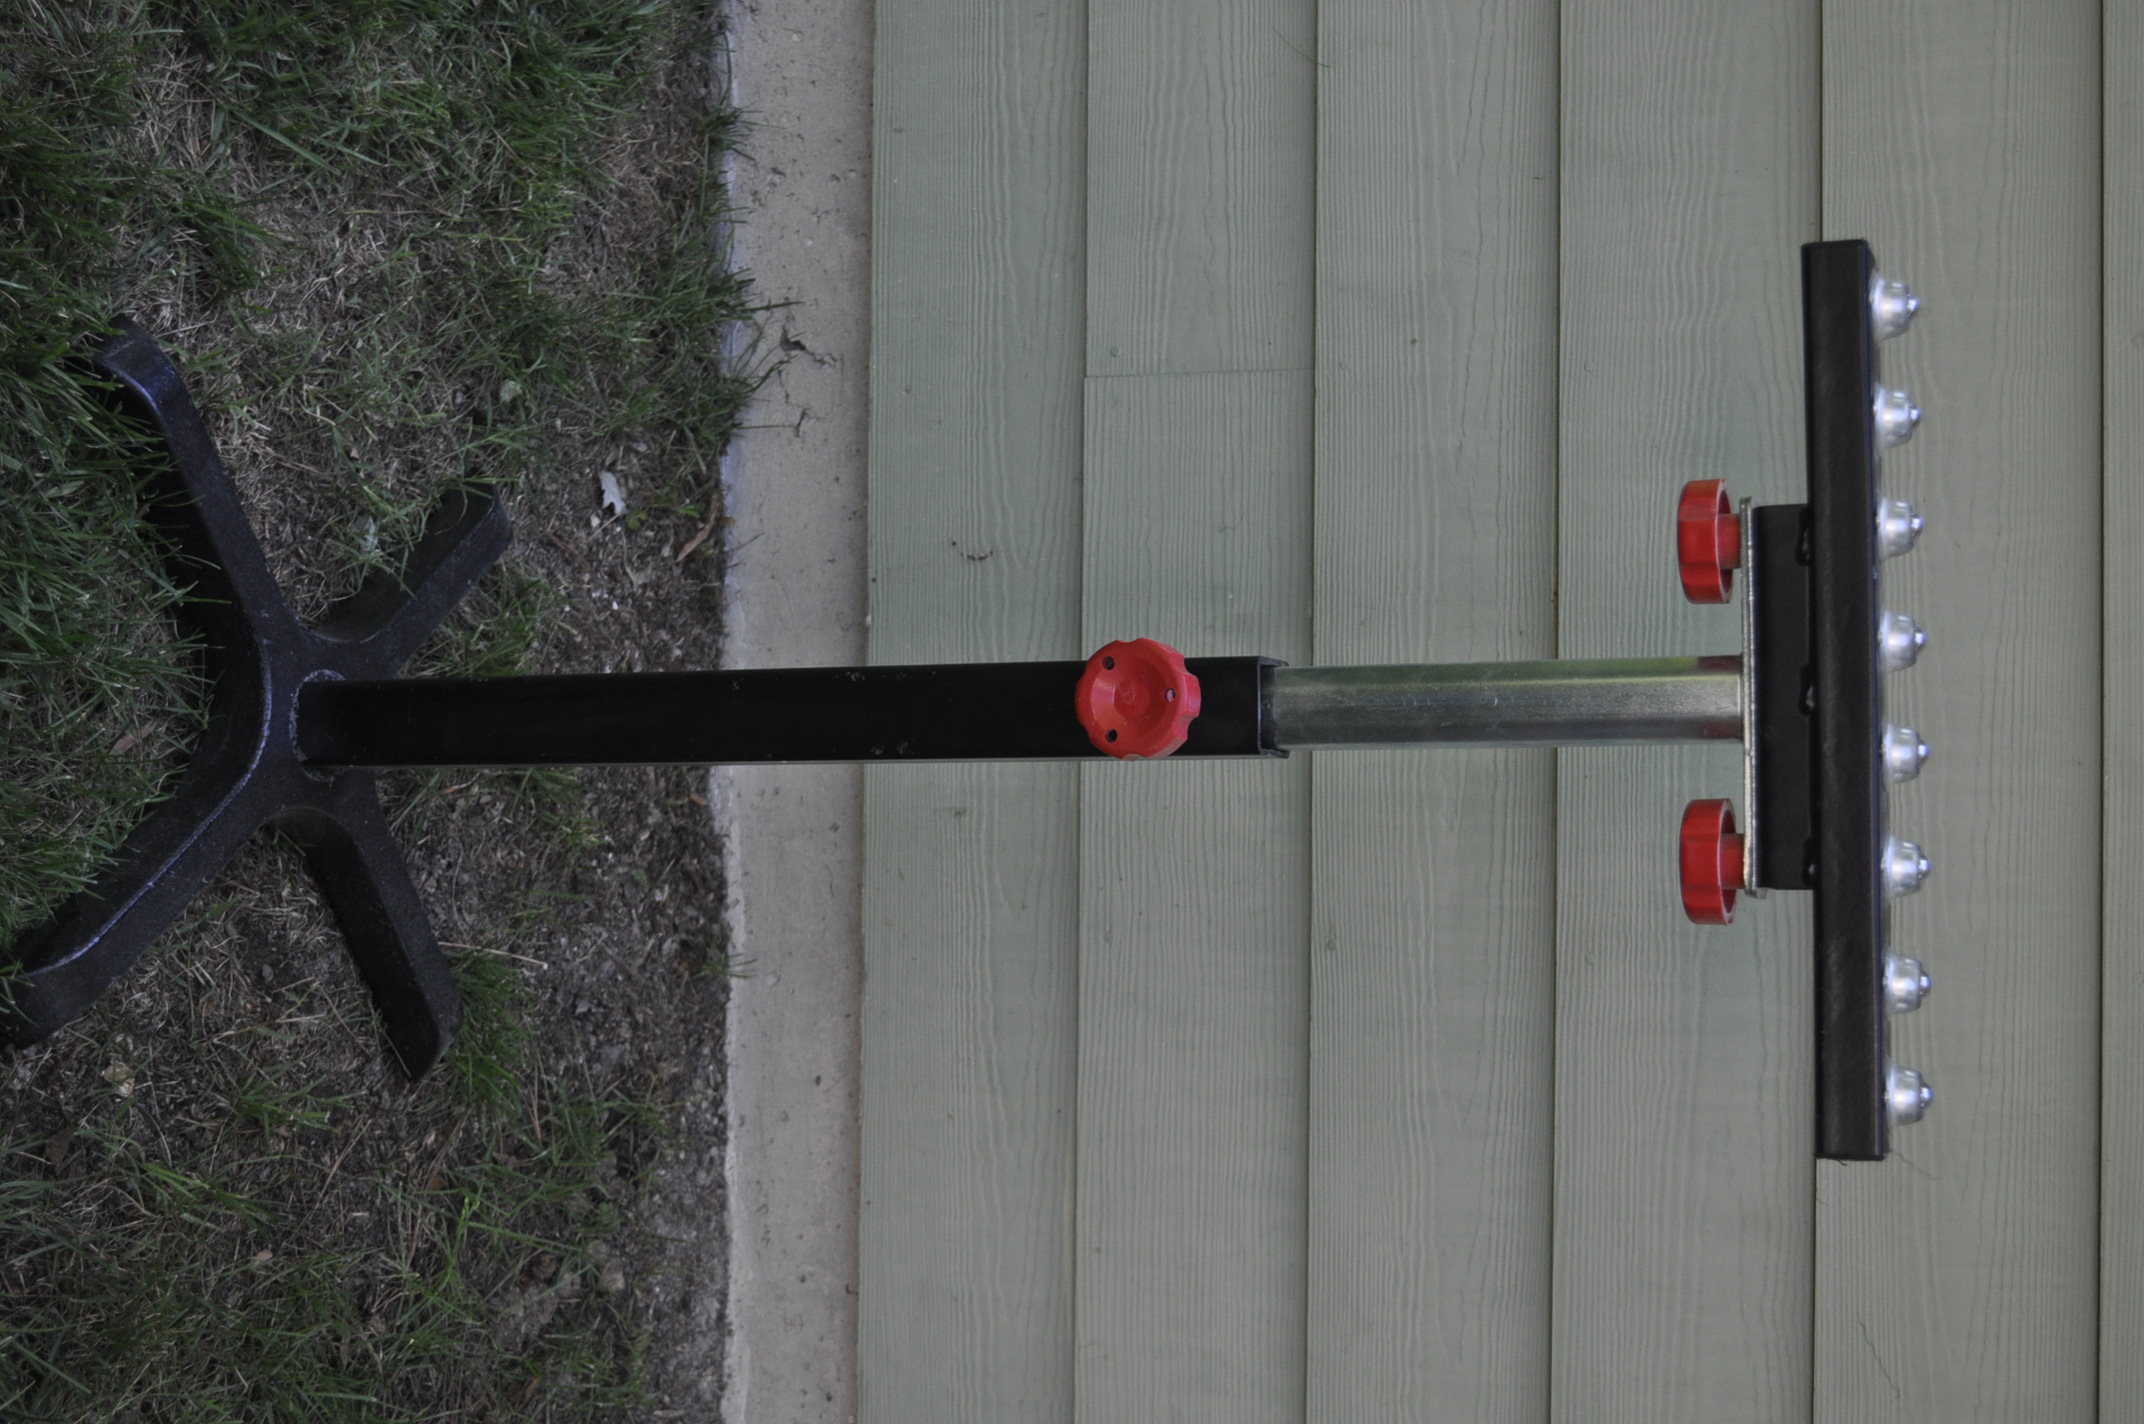
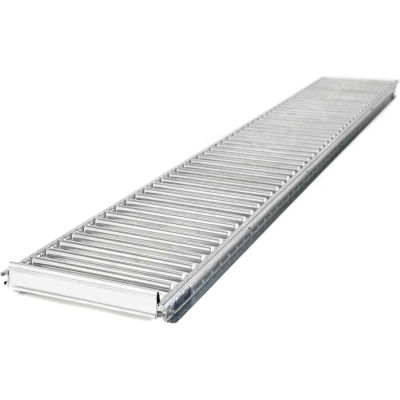
Conveyor Rail Or Flow RailI was reading the August 2021 edition of Fine Woodworking and on page 15 there was an article called “Conveyor Rail Supports Long Crosscuts”. The article intrigued me because I sometimes need support for crosscutting long boards on the table saw. I use a roller bearing support (see picture below) when making these cuts but it has a few draw backs with the biggest one being that it is not long enough. The article mentions conveyor rails or more properly flow rails that the woodworker used for his project. This intrigued me so I did a Google search on flow rails and came up with lots of options that might be useful in your shop. The flow rails come in different widths and lengths and they are not that expensive when you start comparing them to the round roller balls that we see in the specialty shops and online retailers. For example, I saw one made by a company called UNEX that was 42” long by 12” wide for $66.95. There were other lengths and widths available and from many manufacturers. Check them out. It might solve some problems in the shop. Roller Bearing Support Stand Flow Rail Editor
|
||||
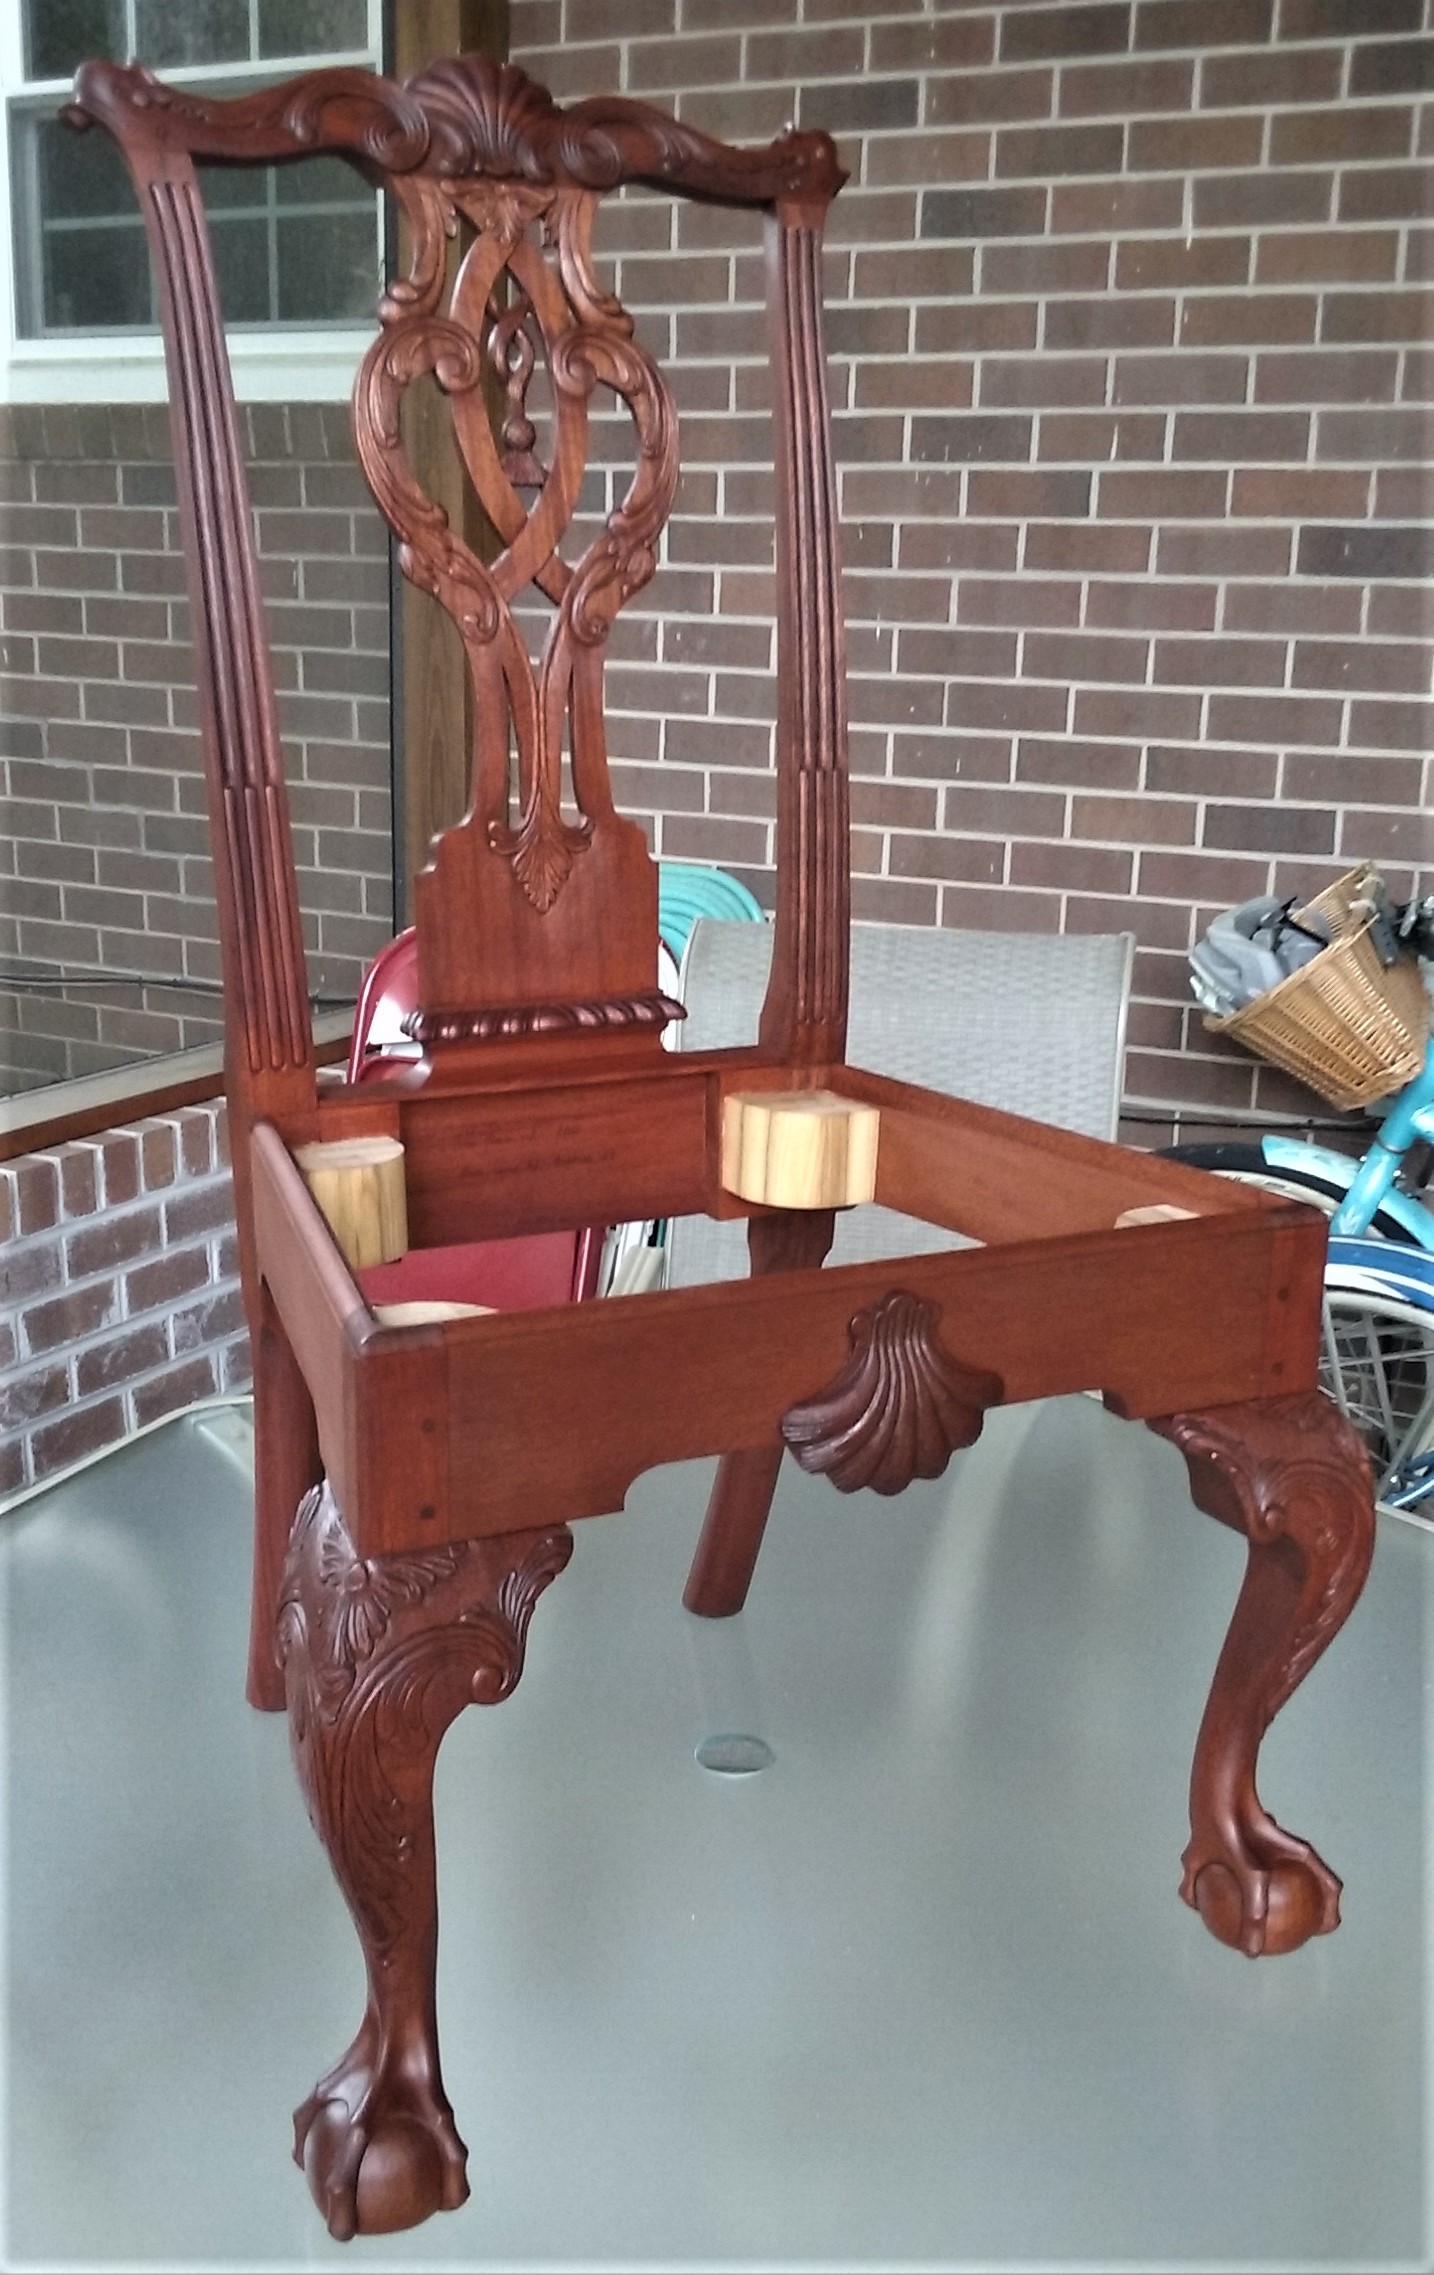
Carvers Unite! Student Perspective - Johnathan Shoemaker ClassThe Jonathan Shoemaker chair is a classic Chippendale piece involving a straight tenon/angled mortise build strategy, and a large amount of interesting carving. So when Ray Journigan offered a class on the construction and carving of this chair, I took advantage of the opportunity. Following are comments that may be of interest/use. Motivation to take Ray’s class: • Carving challenge; large amount with lots of nice detail. • Construction; another nice challenge similar, but different (angled mortises/straight tenons), to the Chippendale side and arm chairs I previously built in Ben Hobbs’ classes (angled tenons/straight mortises). • As with every other class Ray teaches, he comes well prepared with examples, notes, files, etc. Coupled with his knowledge, skill and teaching technique, the student leaves the class with a significant increase in knowledge and skill. Lessons learned/reinforced: Construction • Accuracy in tenon/mortise layout/cutting/chopping can’t be overstated. This accuracy is necessary to achieve the rear stile splay (two degrees) as well as rear to front leg spread (9 degrees), and minimize any rear to front racking. Using angled jigs to chop mortises were particularly useful. • Homemade clamping jigs and attention to proper clamping technique help minimize racking/distortion. Carving • Leaving detail out of the initial outlining work enabled backgrounding to proceed more quickly and easier. It was interesting that most of the background was removed with #2 gouges. • Detailing using gouges, with a philosophy of treating the same features in the same manner with the same gouges, made this work easier and faster. • Veining, which typically for me is often a struggle, produced better results using a strategy of making each vein mean something (i.e. replicate what is seen in nature). If you’re considering building this chair, following are keys to success: • Be familiar with Chippendale chair construction. Articles in the SAPFM journal are a good resource. • Start with absolutely sharp carving tools. This will shift the focus from tool related issues (i.e. blowouts, busted pieces) to technique and achieving the intended carved design. Closely study available pictures and samples. • Understand the process of roughing in and backgrounding. • Be comfortable carving shells, ball/claw feet, gadrooning, and acanthus leaves before undertaking this project. The carving work on this chair will then be easier, more enjoyable and quicker. Bottomline: This class will bring your carving and construction skills to a new and much higher level. Well worth the effort. Jim's Carved Chair Jim Francis |
||||
Labeling LumberOver the years I have bought a lot of lumber and benefited from lumber sales when the guild gets to harvest a tree. Most of my lumber is stored out behind my shop in a lean too with a metal roof over head. This makes for the best use of drying the lumber because air drying takes time, sometimes over a year. The problem I had with the lumber stacked one on top of the other was identification of the species, the cut (quarter, rift or flat), harvest date, plus the length and width of the board. What I needed was some sort of label that I could put on the end of the board that would give me this information yet remain viable because it was stored outside and subject to weather conditions. Any sticky self-adhesive label would not work. After searching the web I found a site that offered exactly what I needed, a label that would withstand the elements and yet go through my laser printer. A company called Sheet Labels (www.sheetlabels.com) had exactly what I was looking at for this application. There were 10 labels per sheet, each label is 1” x 7.25”, the labels are sticky back (I don’t really care), they will run through the laser printer and they are made of waterproof vinyl! A second benefit of using this labeling system is that when I am ready to print out a full sheet of labels on the vinyl labels I can also print out the same list on ordinary paper and have a written record of the wood stored behind my shop. I used the SL541 sheets for this project. The company also provides a Word and Excel template when working with these labels. I used a staple gun to secure the label to the end of the board because I know that over time the sticky back label would come off. Gary Stephens - Editor |
||||


