Copyright 2022
Tidewater Woodworking President: Fran Foster, Vice President: Greg Guertin, Treasurer: Chris Zuchristian, Secretary: Larry Larue
  |
||||
| Web Links | At the Meeting | Last Meeting Notes | Tip of the Month | Editors Notes |
|---|---|---|---|---|
What's In The Newsletter?
|
||||
Presidents Report ...The Tidewater Woodworkers Guild has officially come out of hibernation! The last three meetings were attended by almost the same number of members as before the pandemic. We have had many outstanding demonstrations and discussions by members of the guild as an enticement to return, but the desire to get back to our “normal” mode of operation probably helped. The guild is also beginning the process of getting more involved with community activity. One project we are undertaking is the constructing of Chimney Swallow Towers. We are in the planning stage for this project and should be performing the actual construction and installation in the near future. Not only are members returning, but we have had many new members going in the past few months. Through the efforts of current members and information given to customers at Woodcraft, potential members find out that there is an organization just for woodworkers. We welcome any and all individuals no matter your level of knowledge or expertise to come to one of our meetings and see if it could be of interest to you. We meet the fourth Monday of every month starting at 7:00 PM at Woodcraft. We hope to see you there This email address is being protected from spambots. You need JavaScript enabled to view it. Fran Foster President TWWWG |
||||
Safety In The Shop by Karl BogotAndy Steinberg and I work together creating custom furniture, cutting boards, cheese slicers, and cabinetry. The shop has all the ‘big boy’ tools, and we try to work as safely as possible. After all, it’s his livelihood and our fingers. On this occasion, we happened to be making a corner base cabinet. That required that the edges of the cabinet sides, as well as the stiles of the face frame be cut at a 45-degree angle. This necessitated changing the angle of the 10” table saw. Right? This placed the cut-off between the sacrificial fence and the blade – a not altogether controllable location. There was no opportunity for a push stick. We knew that the cut piece was going to fly, and we prepared for the flight by placing our large sliding cutoff table four feet away to stop the cutoffs. Andy was at the saw, standing to the left of the blade. Cutting the plywood sides went as expected. As soon as the blade completed the miter, the piece flew and bounced off the plywood cutoff table, falling harmlessly to the floor.
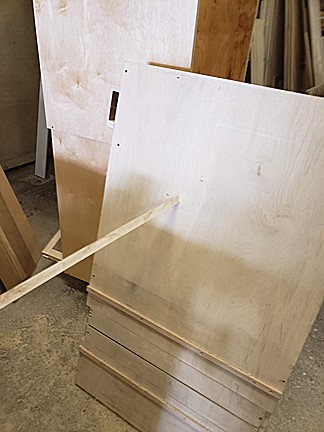
Maple From Kickback Imbedded In Plywood The hard maple face-frame proved to be somewhat more problematic. When the cut was completed, the piece flew – followed by a BANG loud enough to have been gunfire. We both turned to see the piece imbedded in the plywood base. OUCH! The potential for disaster became more evident as we looked at the damage to our cutoff table. The ¾” triangle of hard maple had penetrated through the ¾” cabinet grade plywood base. We’re guessing that the plywood offered more resistance than our stomachs would have.
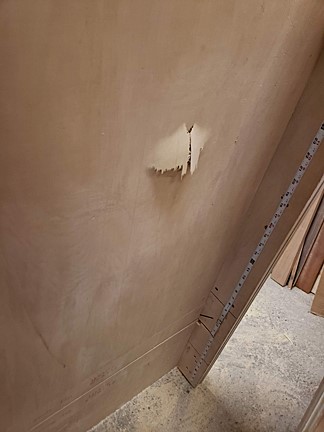
View Of Backside Of Plywood Where The Maple Kickback Penetrated The Plywood Sheet And what is the moral of this story? HINT: It has nothing to do with Indians attacking with razor sharp arrows. Never stand in line with the blade. Kickback can be a painful bitch! Karl Bogot |
||||
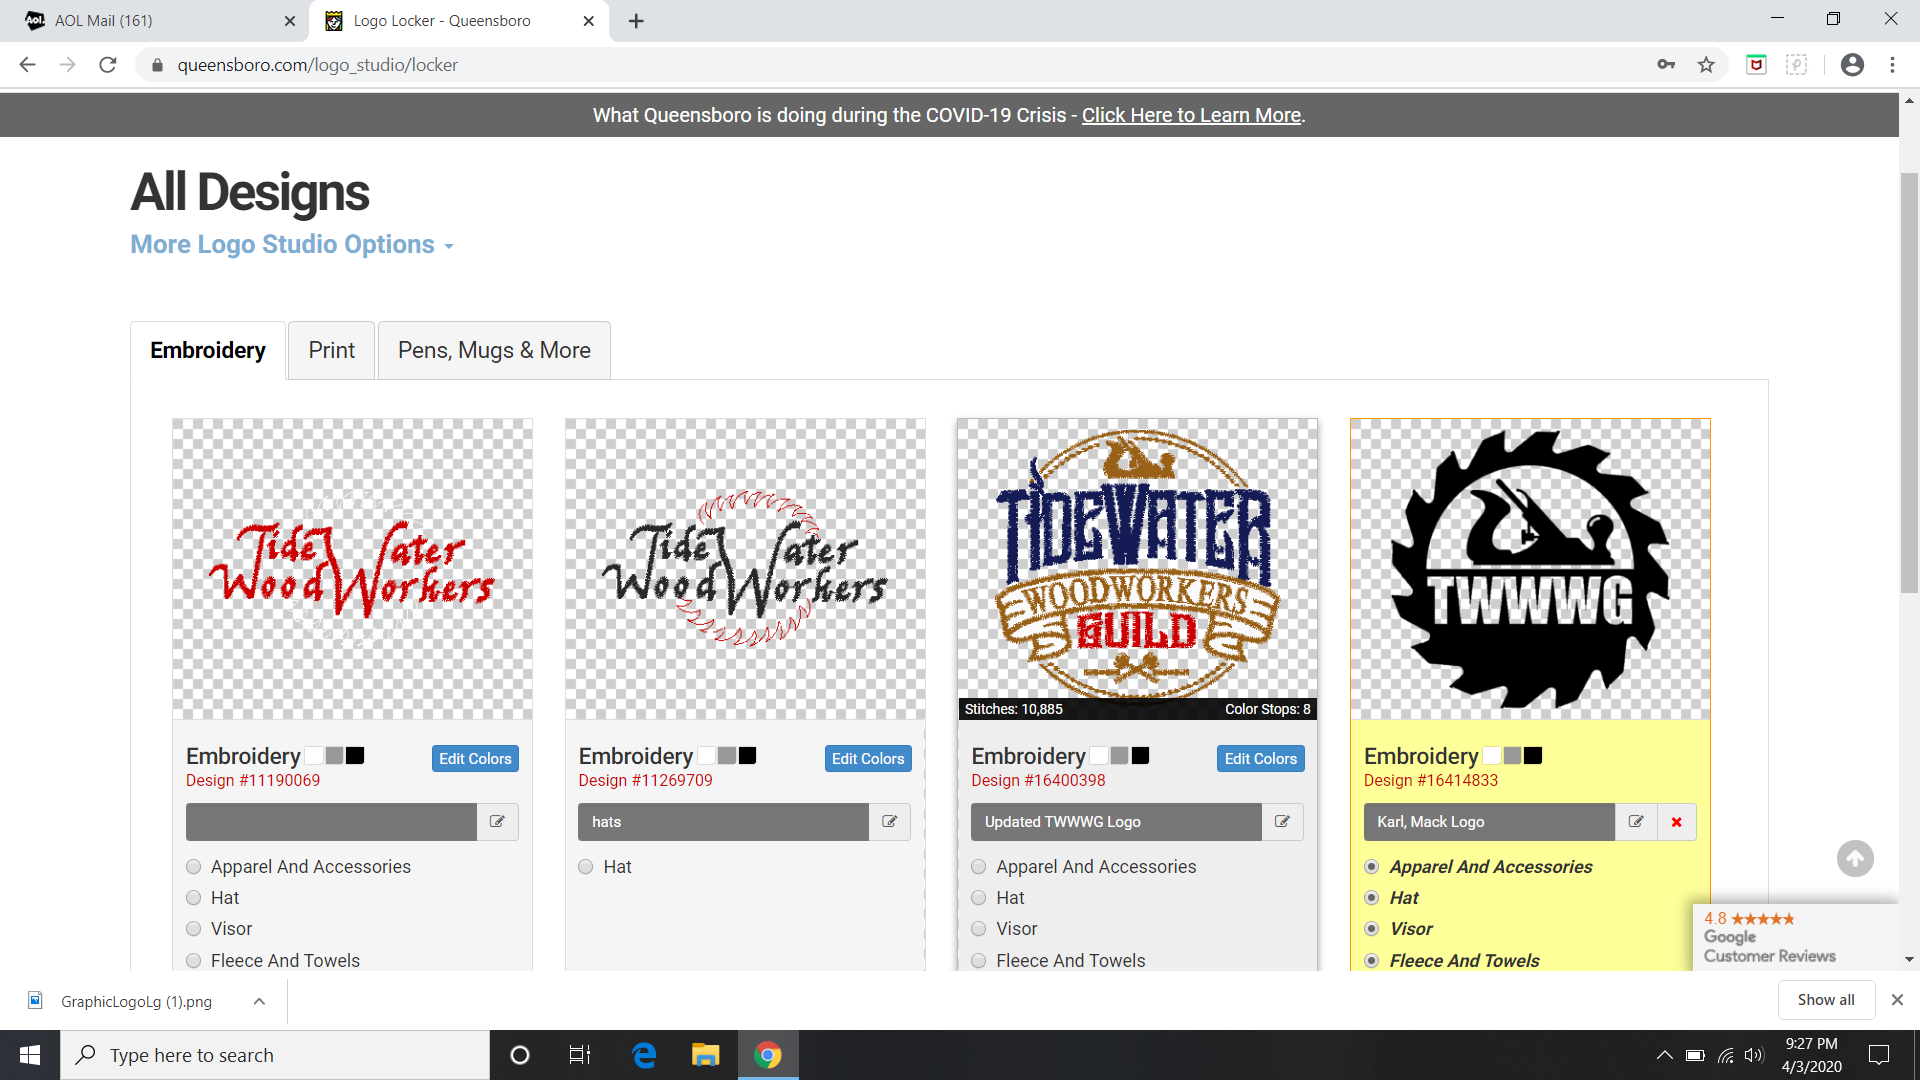
TWWWG Clothing OrderAlthough too late for your new set of Easter clothes, Jim Francis will be taking orders for TWWWG apparel at this upcoming meeting. Check out the array of clothes, hats, etc. available at www.Queensboro.com. You'll also have a choice of our classic logo or new-styled logos.
Possible Clothing Logo Choices |
||||
S.A.P.F.M. Meeting UpdateIf you missed the S.A.P.F.M. meeting earlier this month, Terry Nienaber has recorded it on his You Tube account and you can view the two hour presentation by clicking on the link SAPFM Clock Presentation
|
||||
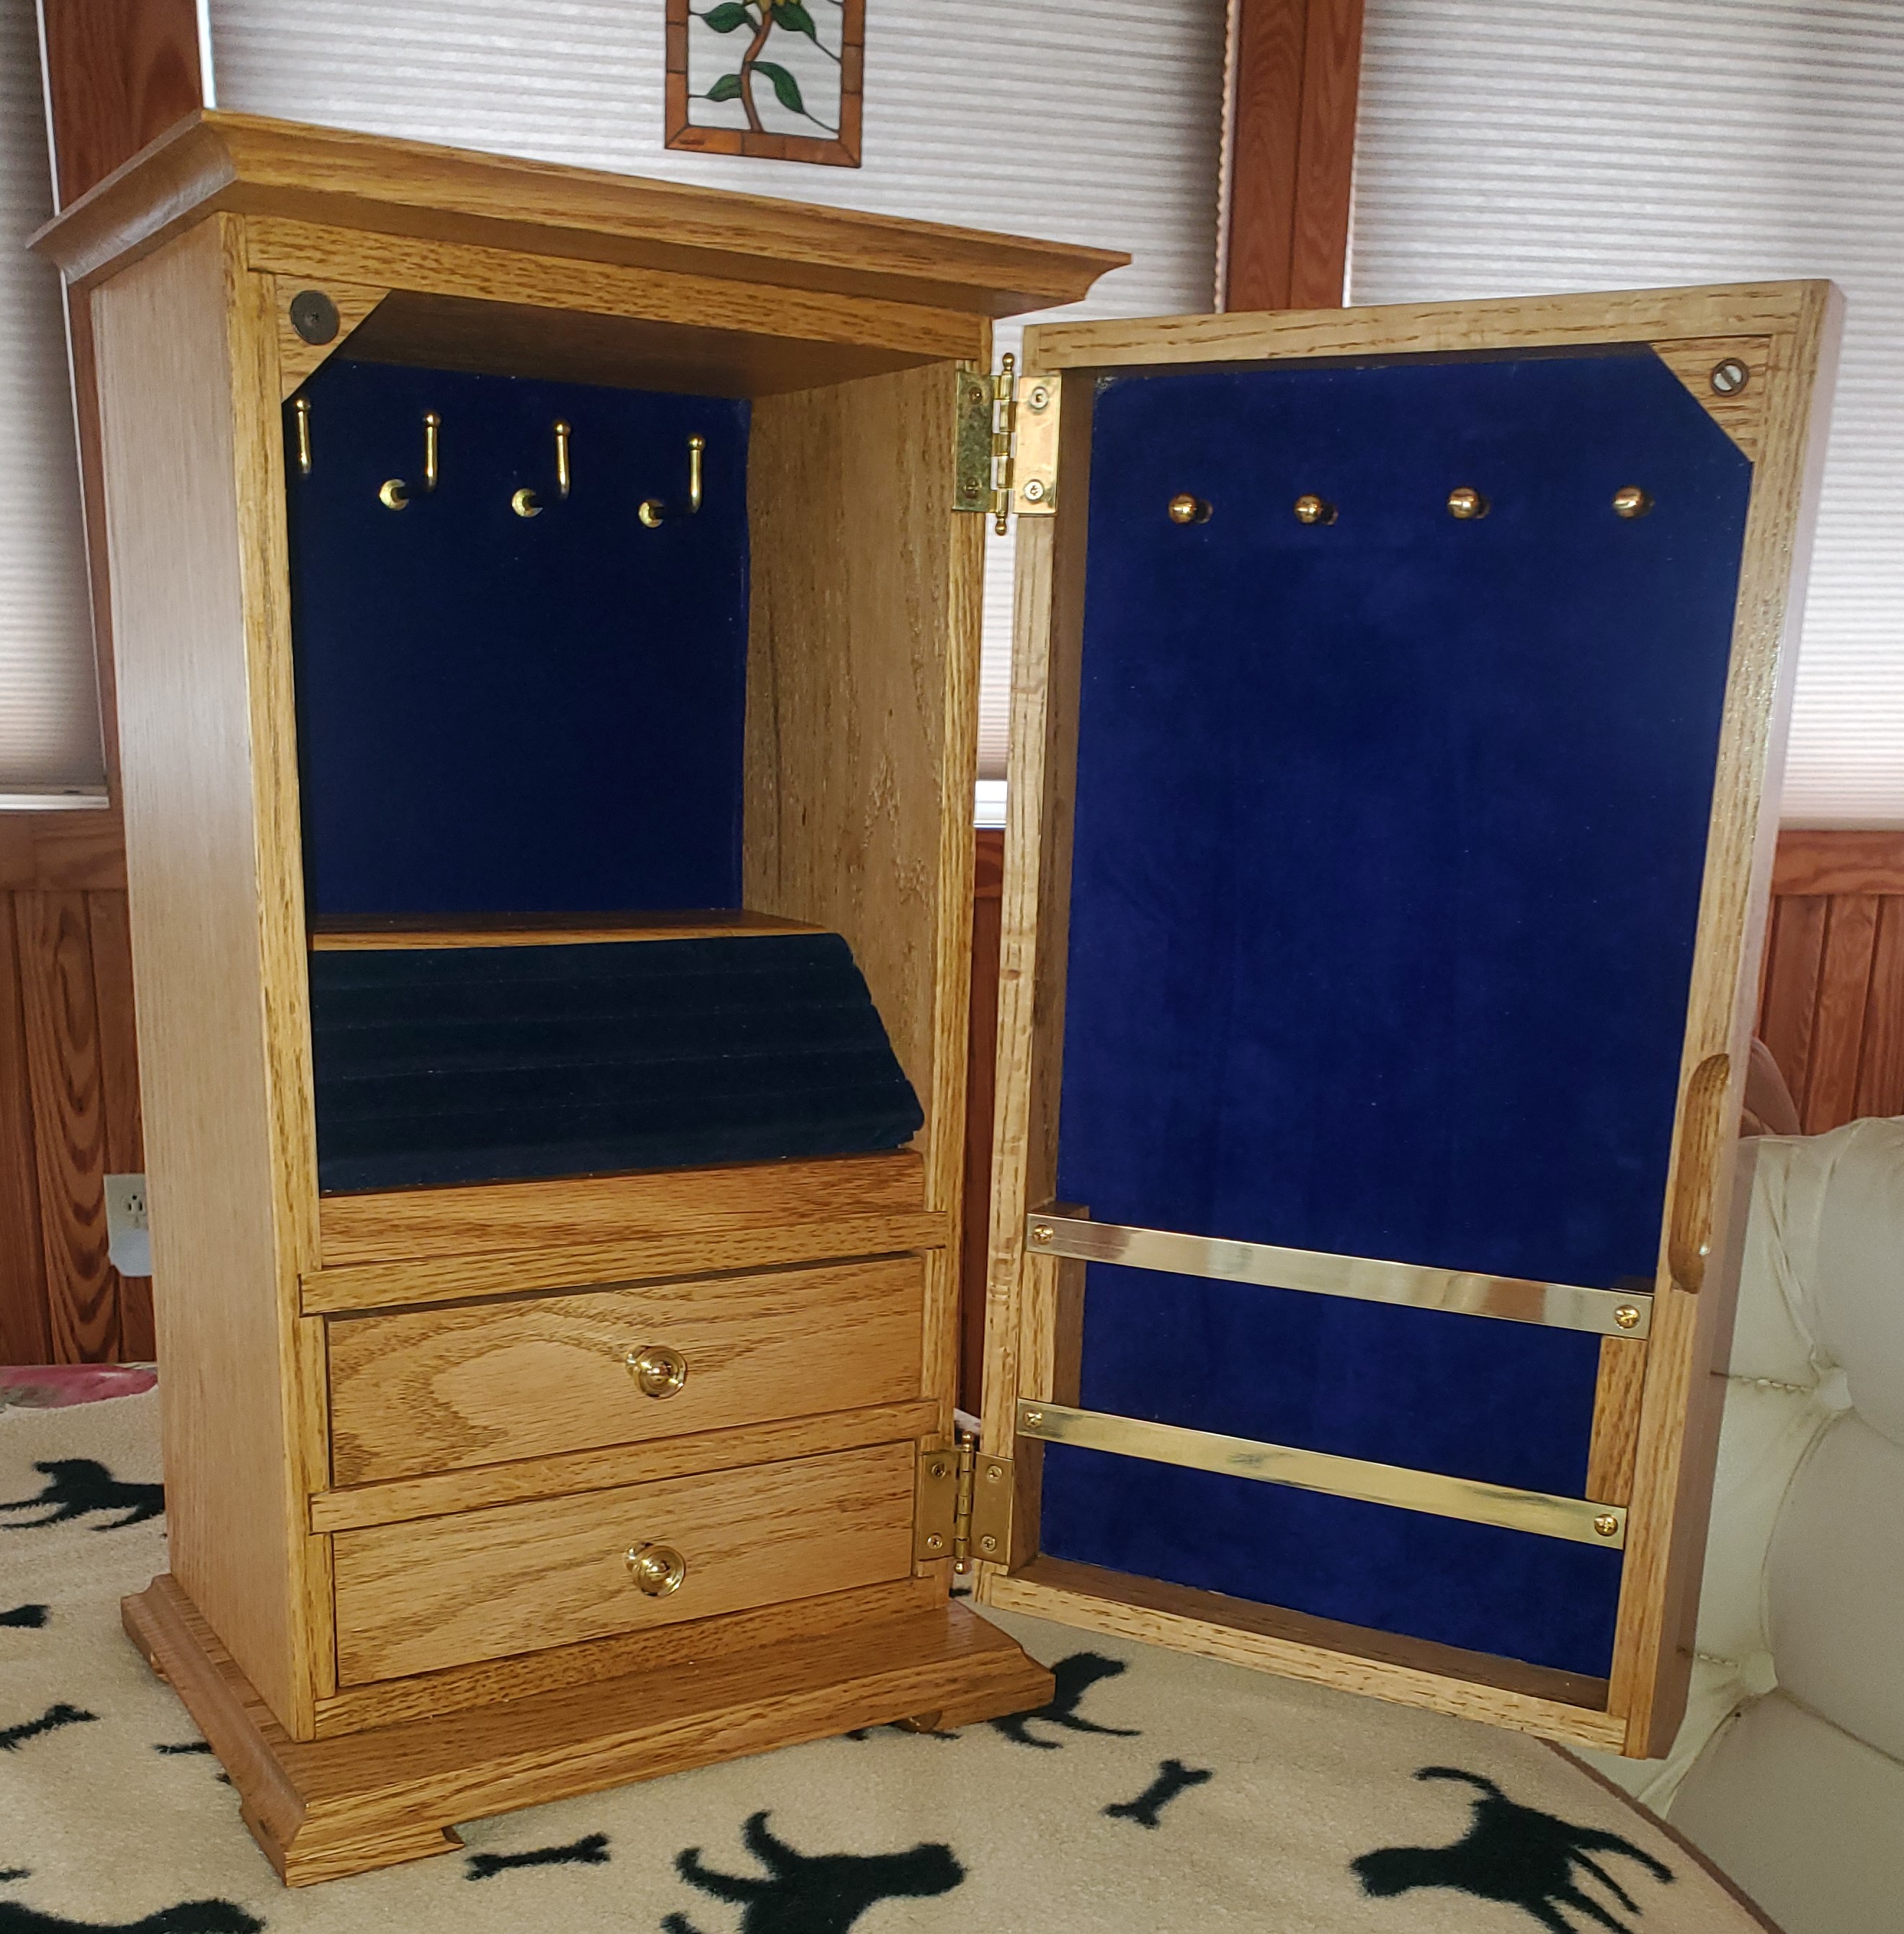
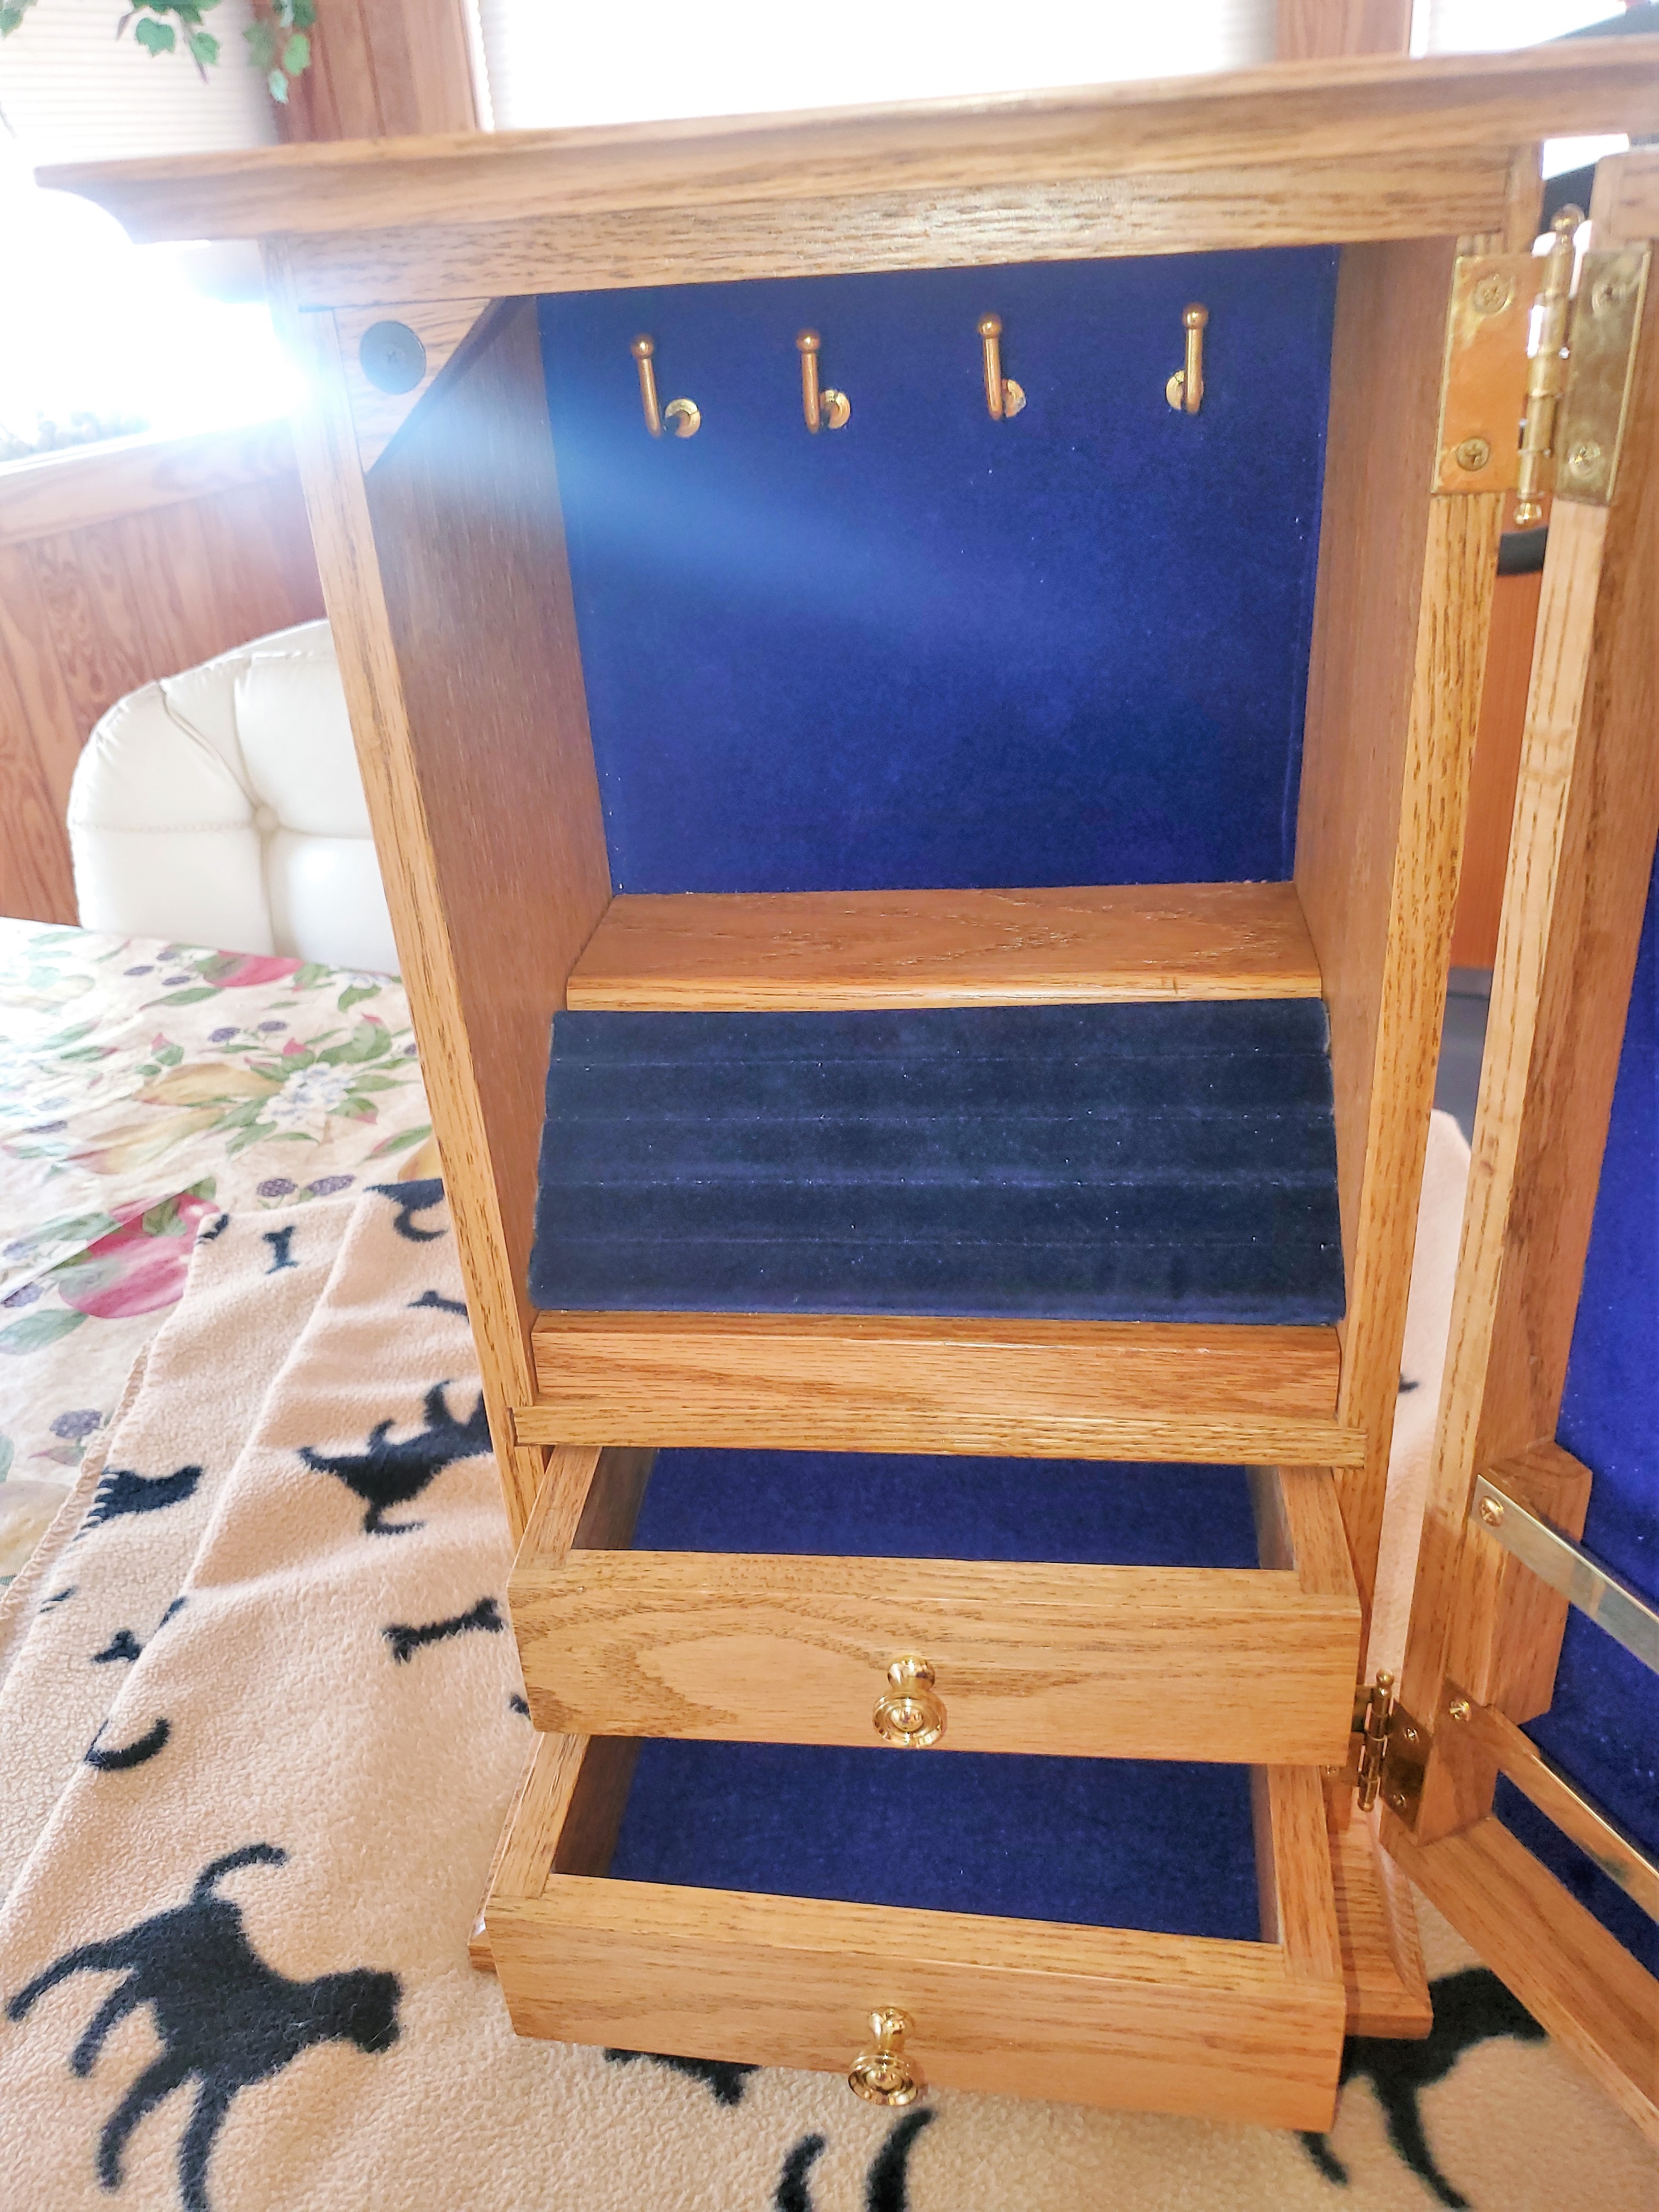
Guild ProjectsThis months project come to us from Greg Guertin. Greg's Oak Jewelry Chest With Inlays
|
||||
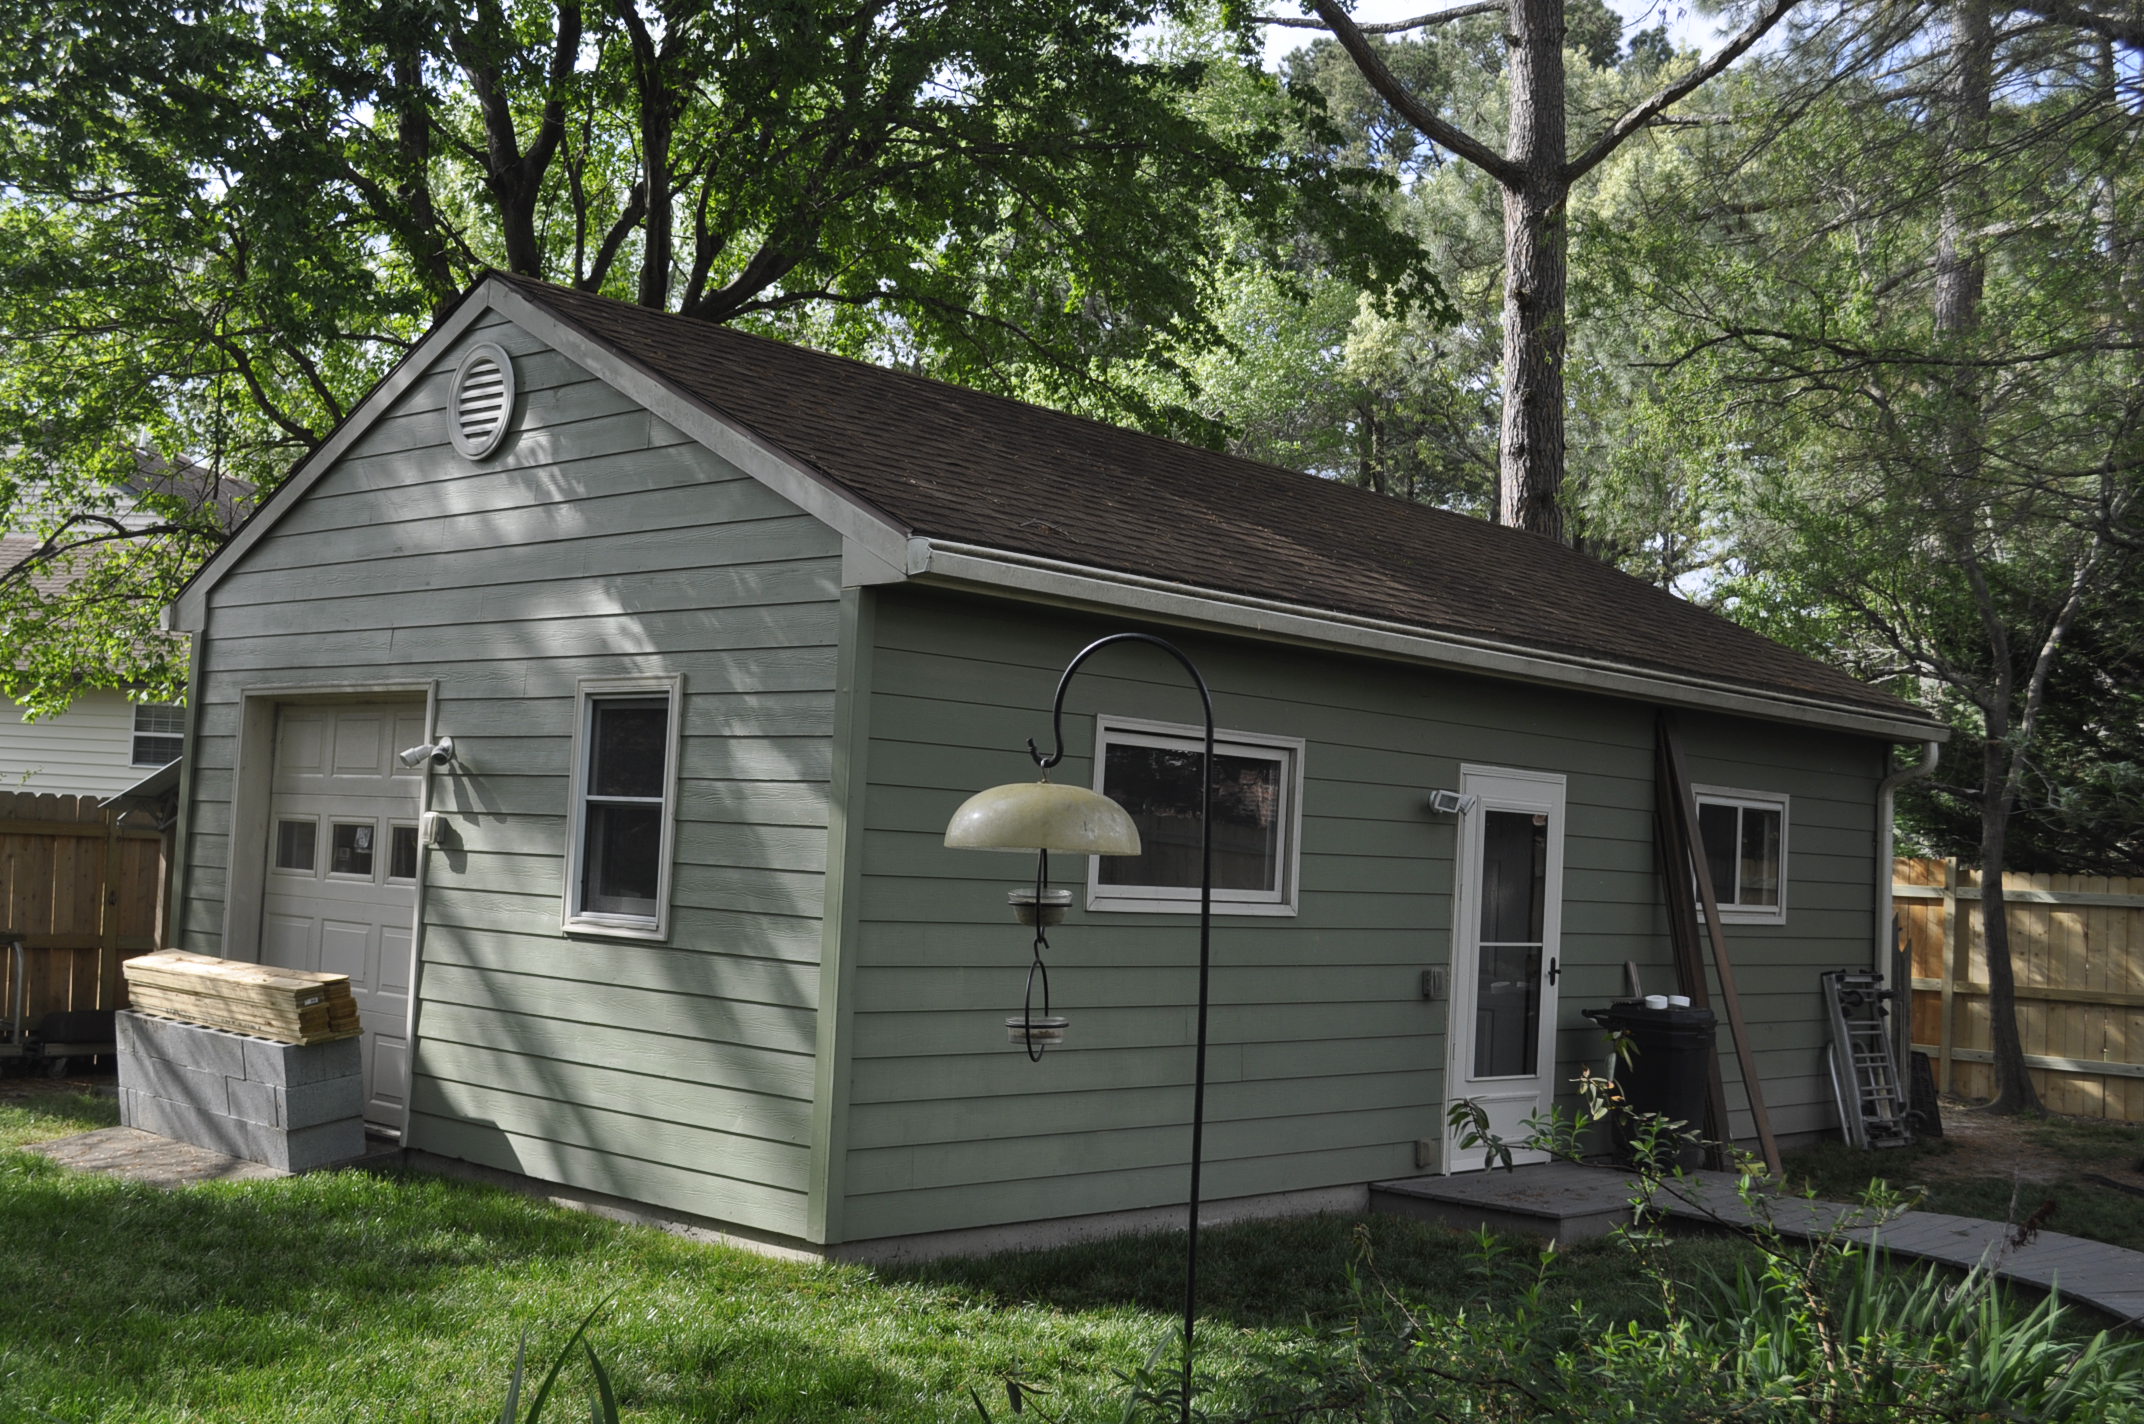
Gary Stephens Work Shop
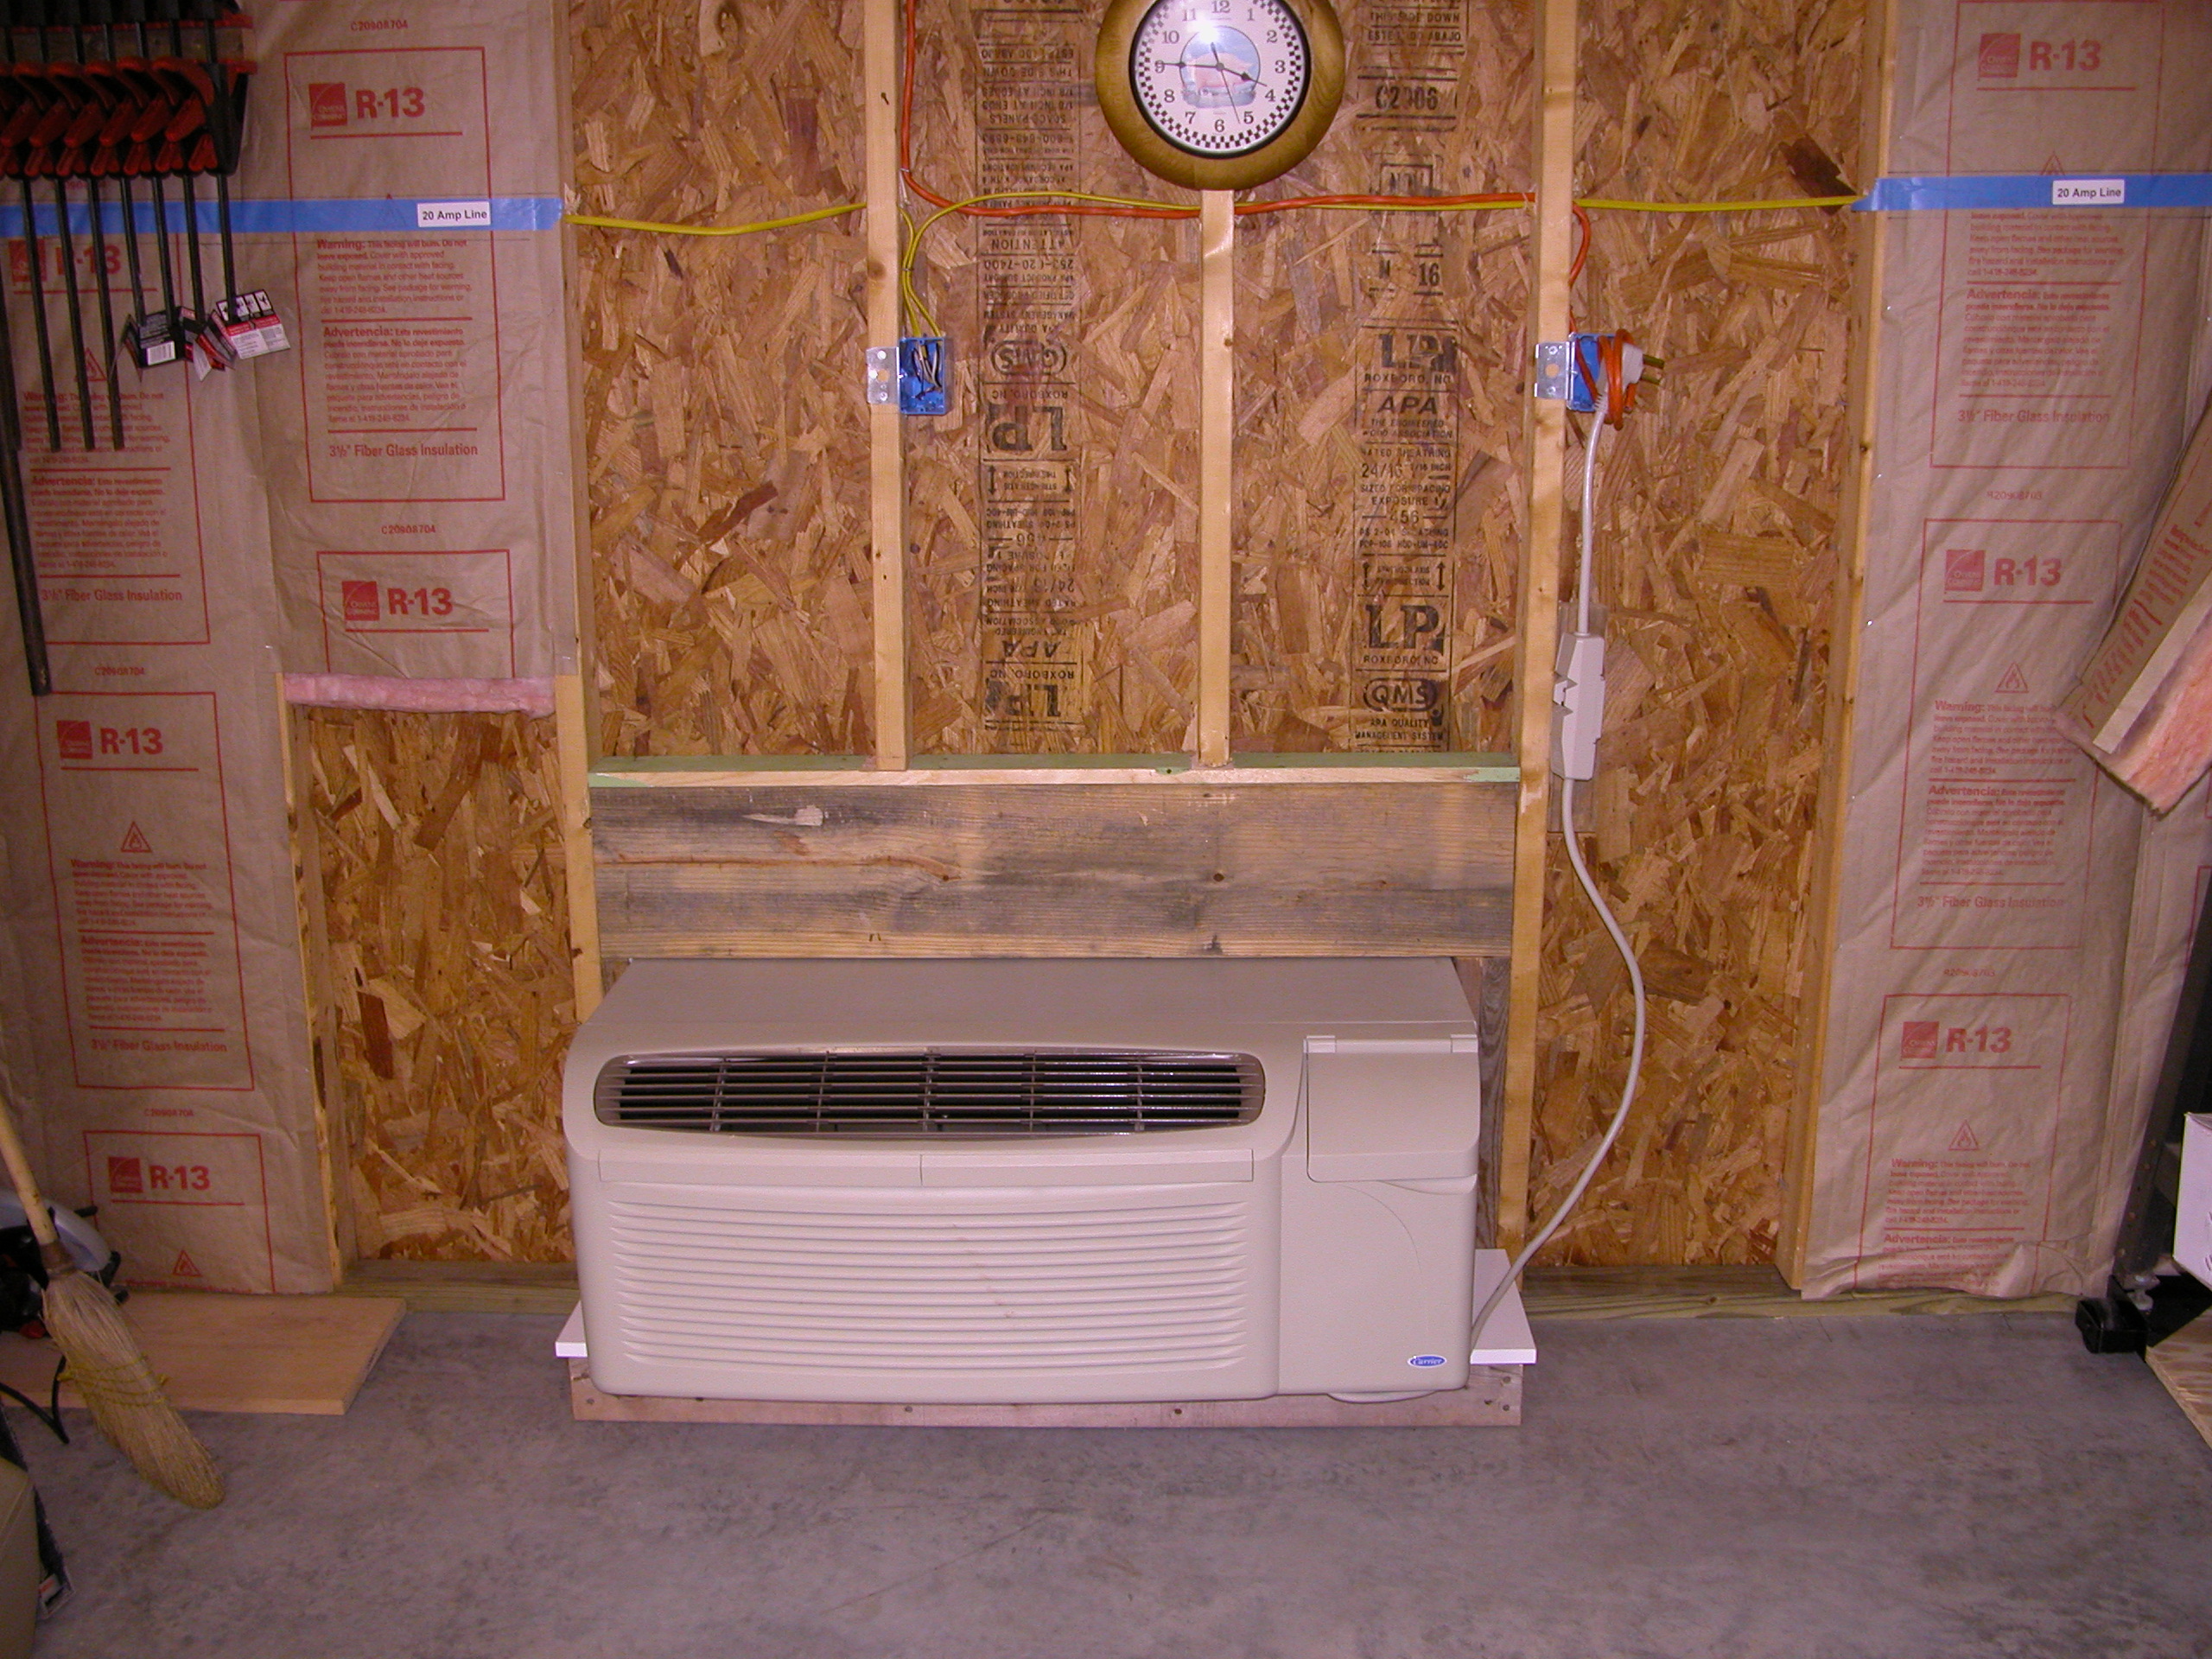
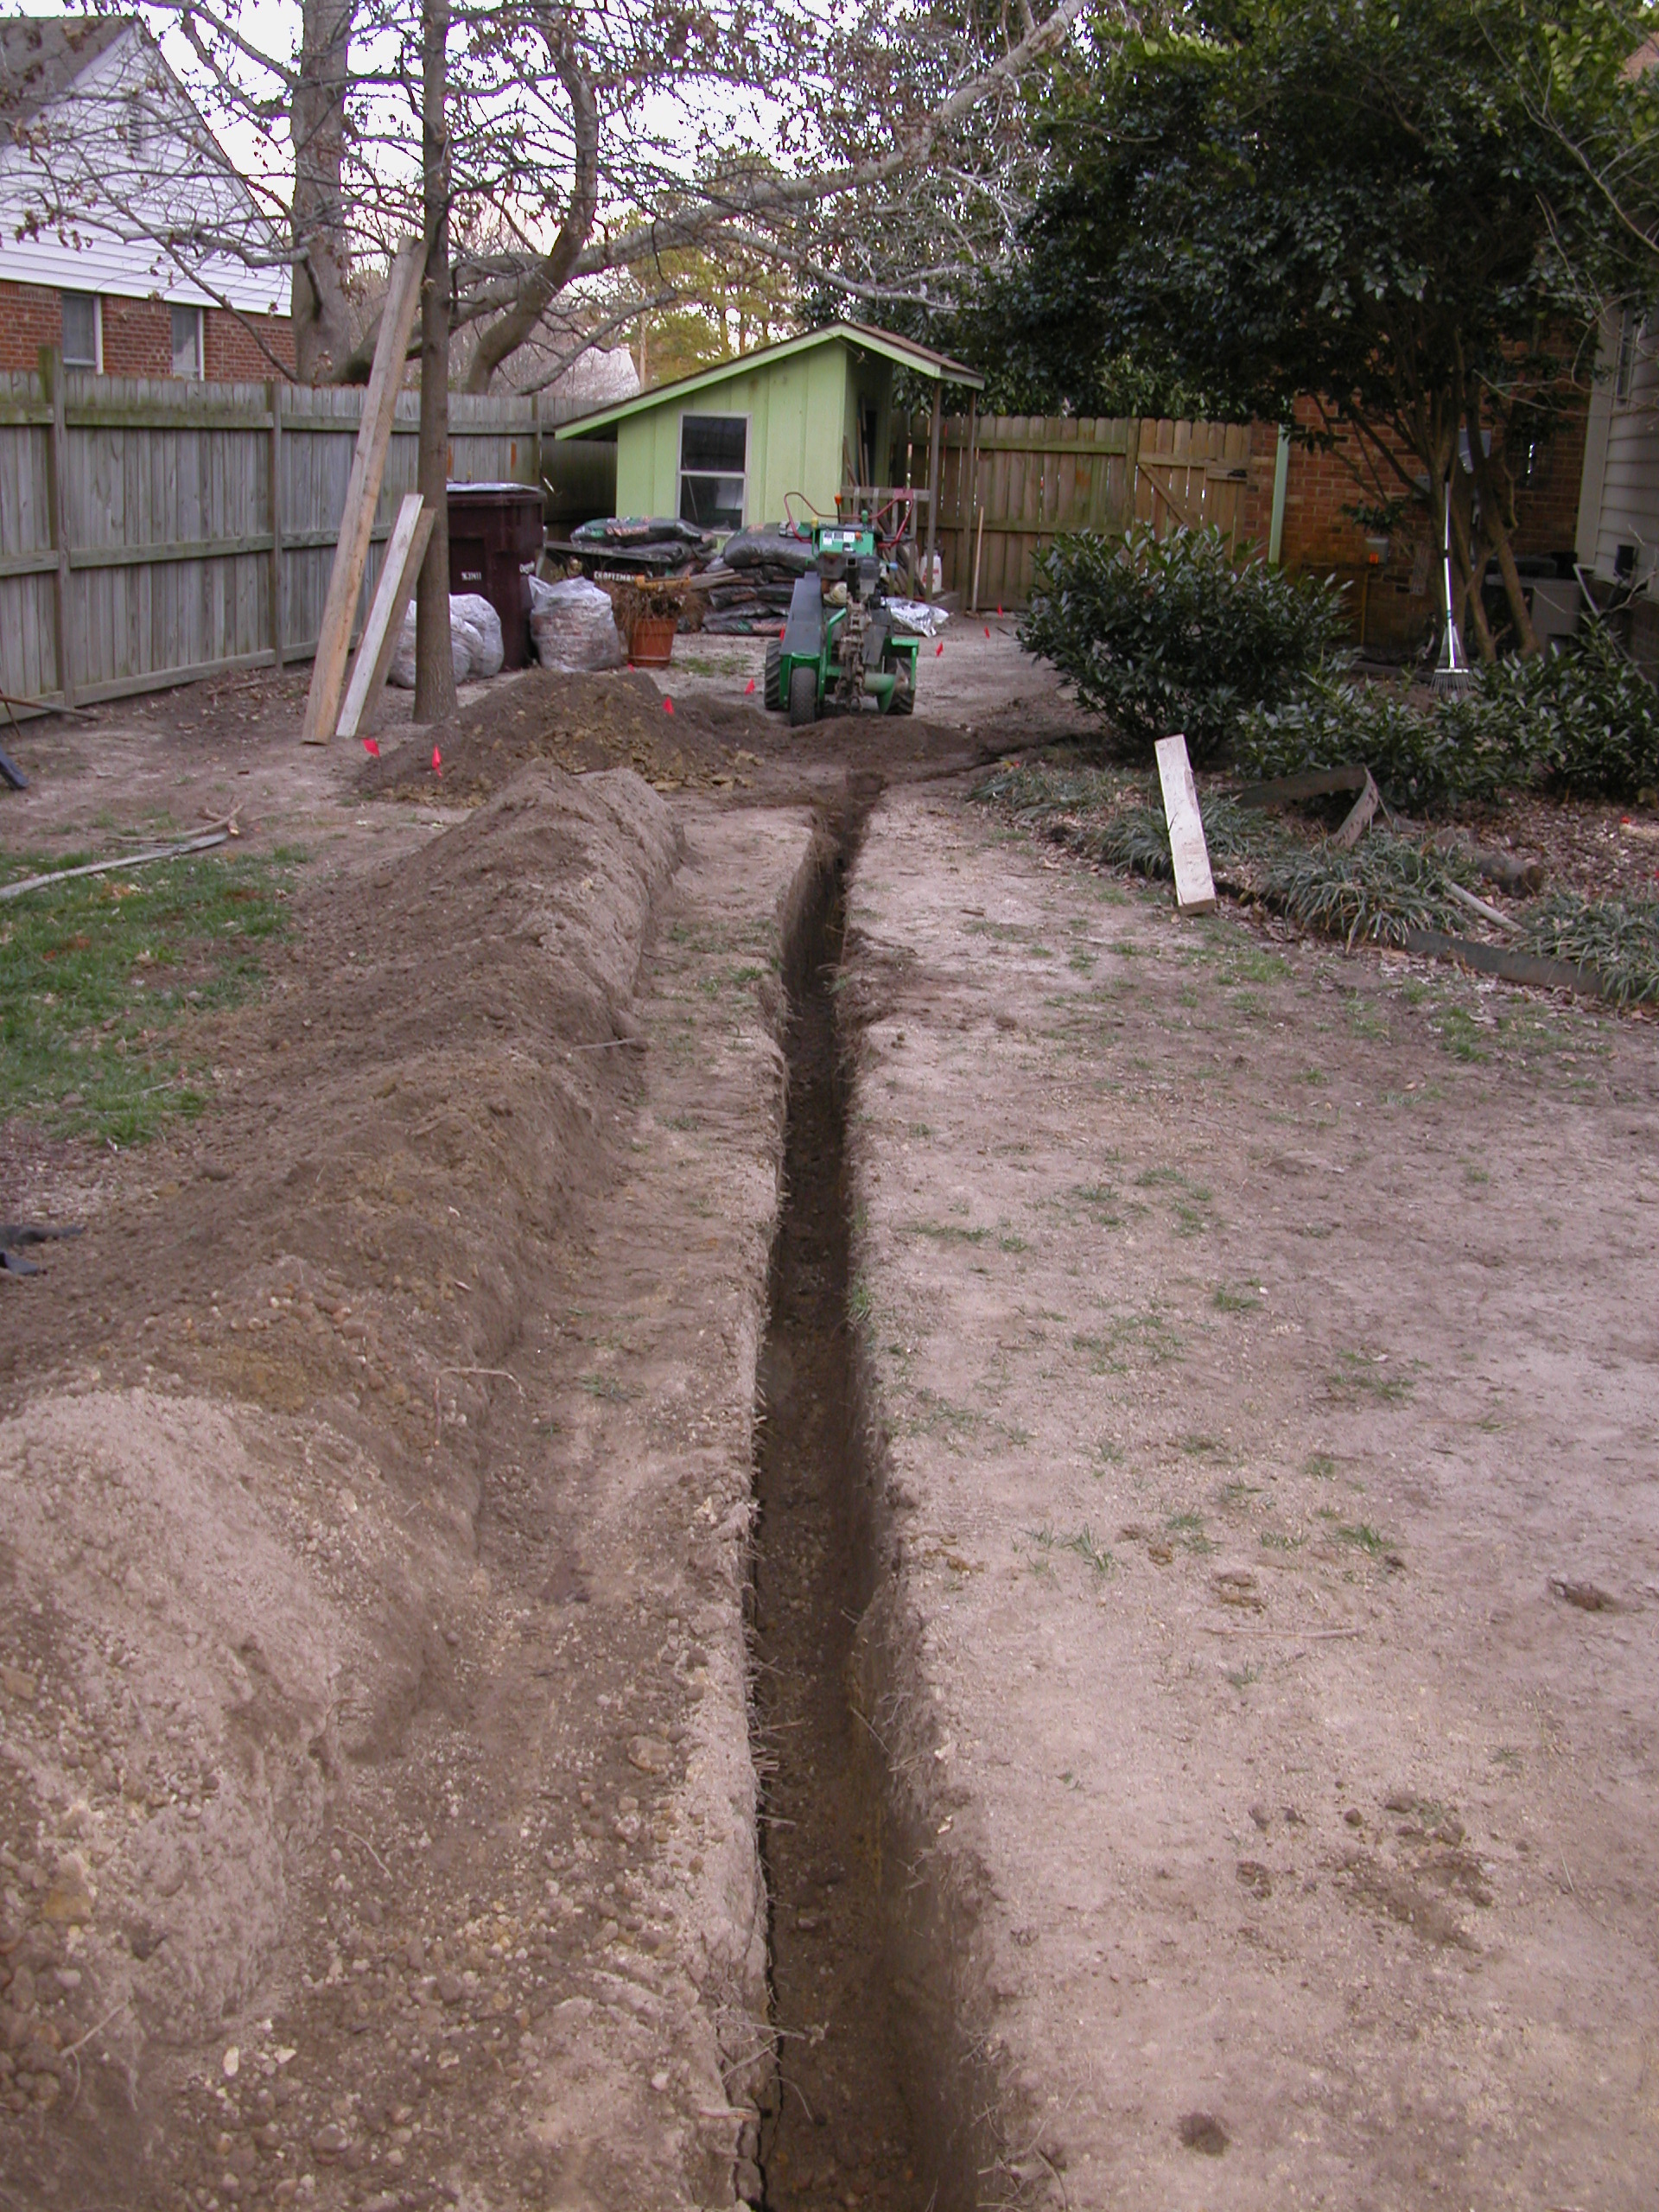
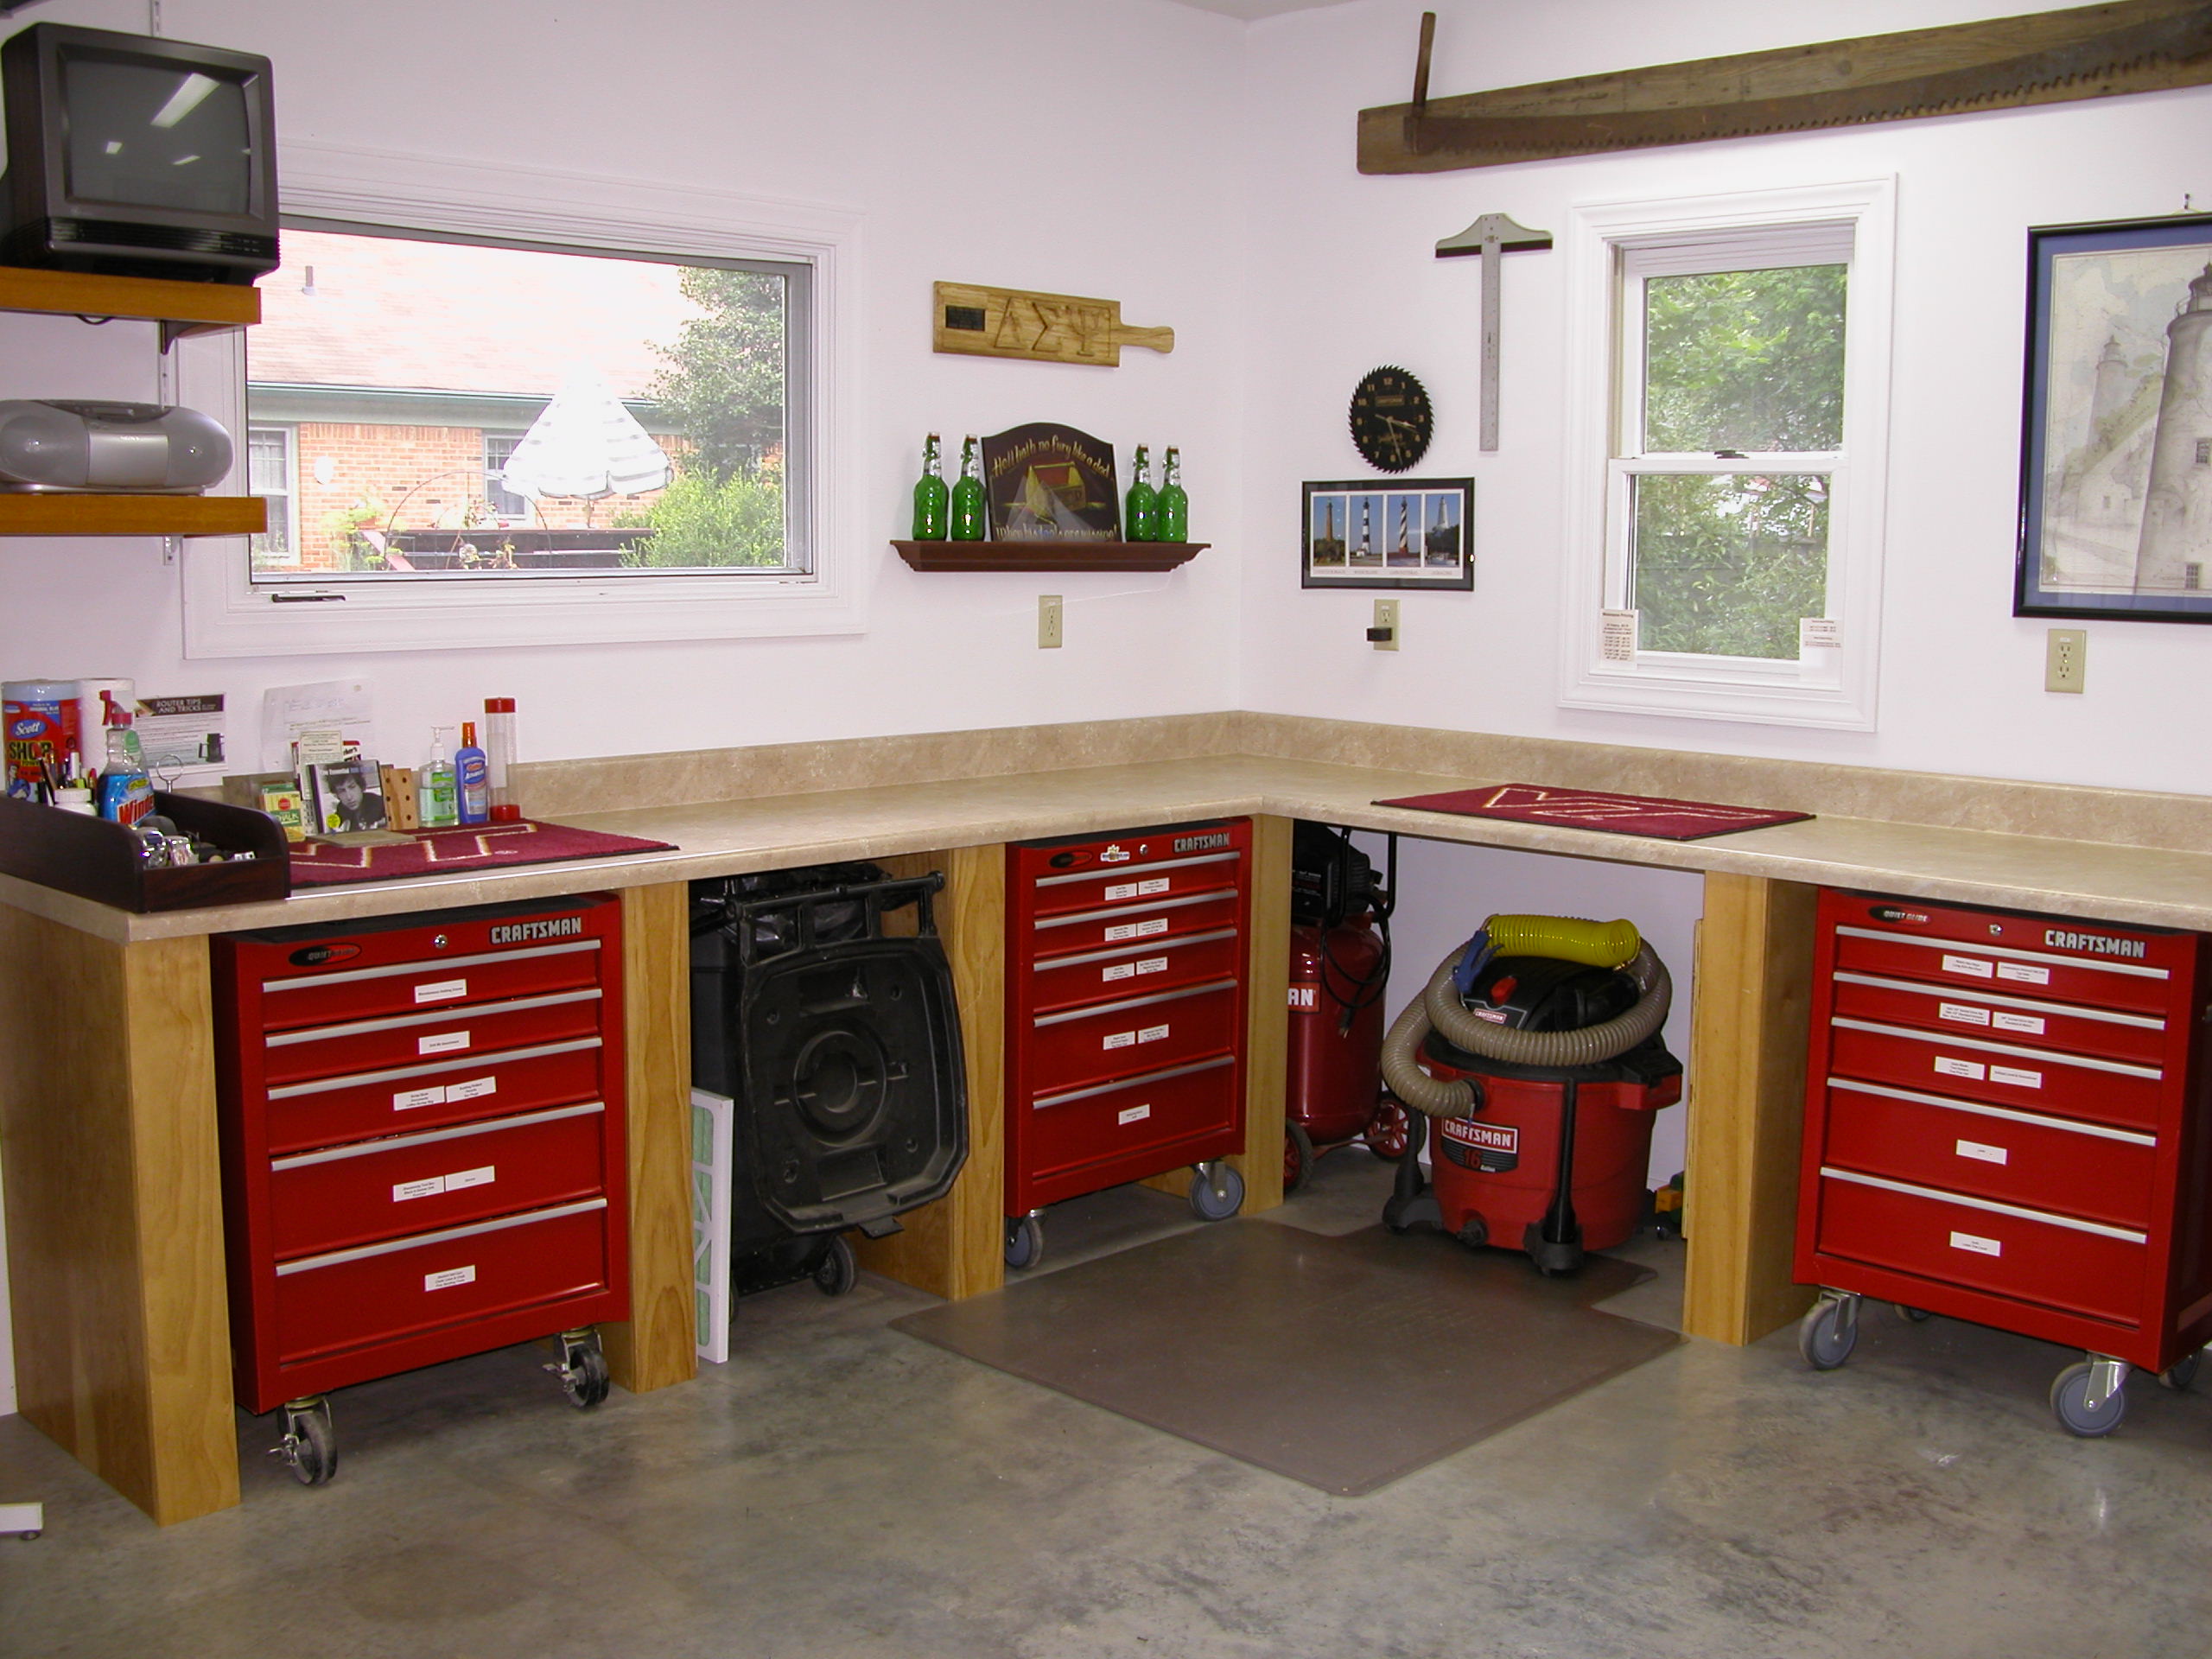
Gary's 18' x 30' Workshop He Built With Help From Friends Gary completed his detached work shop in October of 2008. It is 18’ x 30’ with 9’ high ceilings. It is heated and air-conditioned using a PTAC (Packaged Terminal Air Conditioner) heat pump unit. You see these units in hotel rooms. They are very cost effective. For electricity I “borrowed” 100 Amps from the house panel. This kept me from having to have Dominion put in a separate line. While laying the electrical cable in the trench from the house to the shop I also ran coax for my Verizon TV connection along with a dedicated land line for the phone. The shop is now equipped with WIFI via the electrical system. PTAC Heat Pump (Left) Shown During Installation. Right - Trench For Electricity, Cable & Phone Shown During Construction There are two work surfaces. I have the traditional work bench that is 2’ x 8’ with a 2 ¼” butcher block top. I also utilized a simple 2” x 4” frame work with a laminate top structure that I got from the big box stores. This allowed me storage room under the top for three rolling tool cabinets, a shop vac and air compressor.
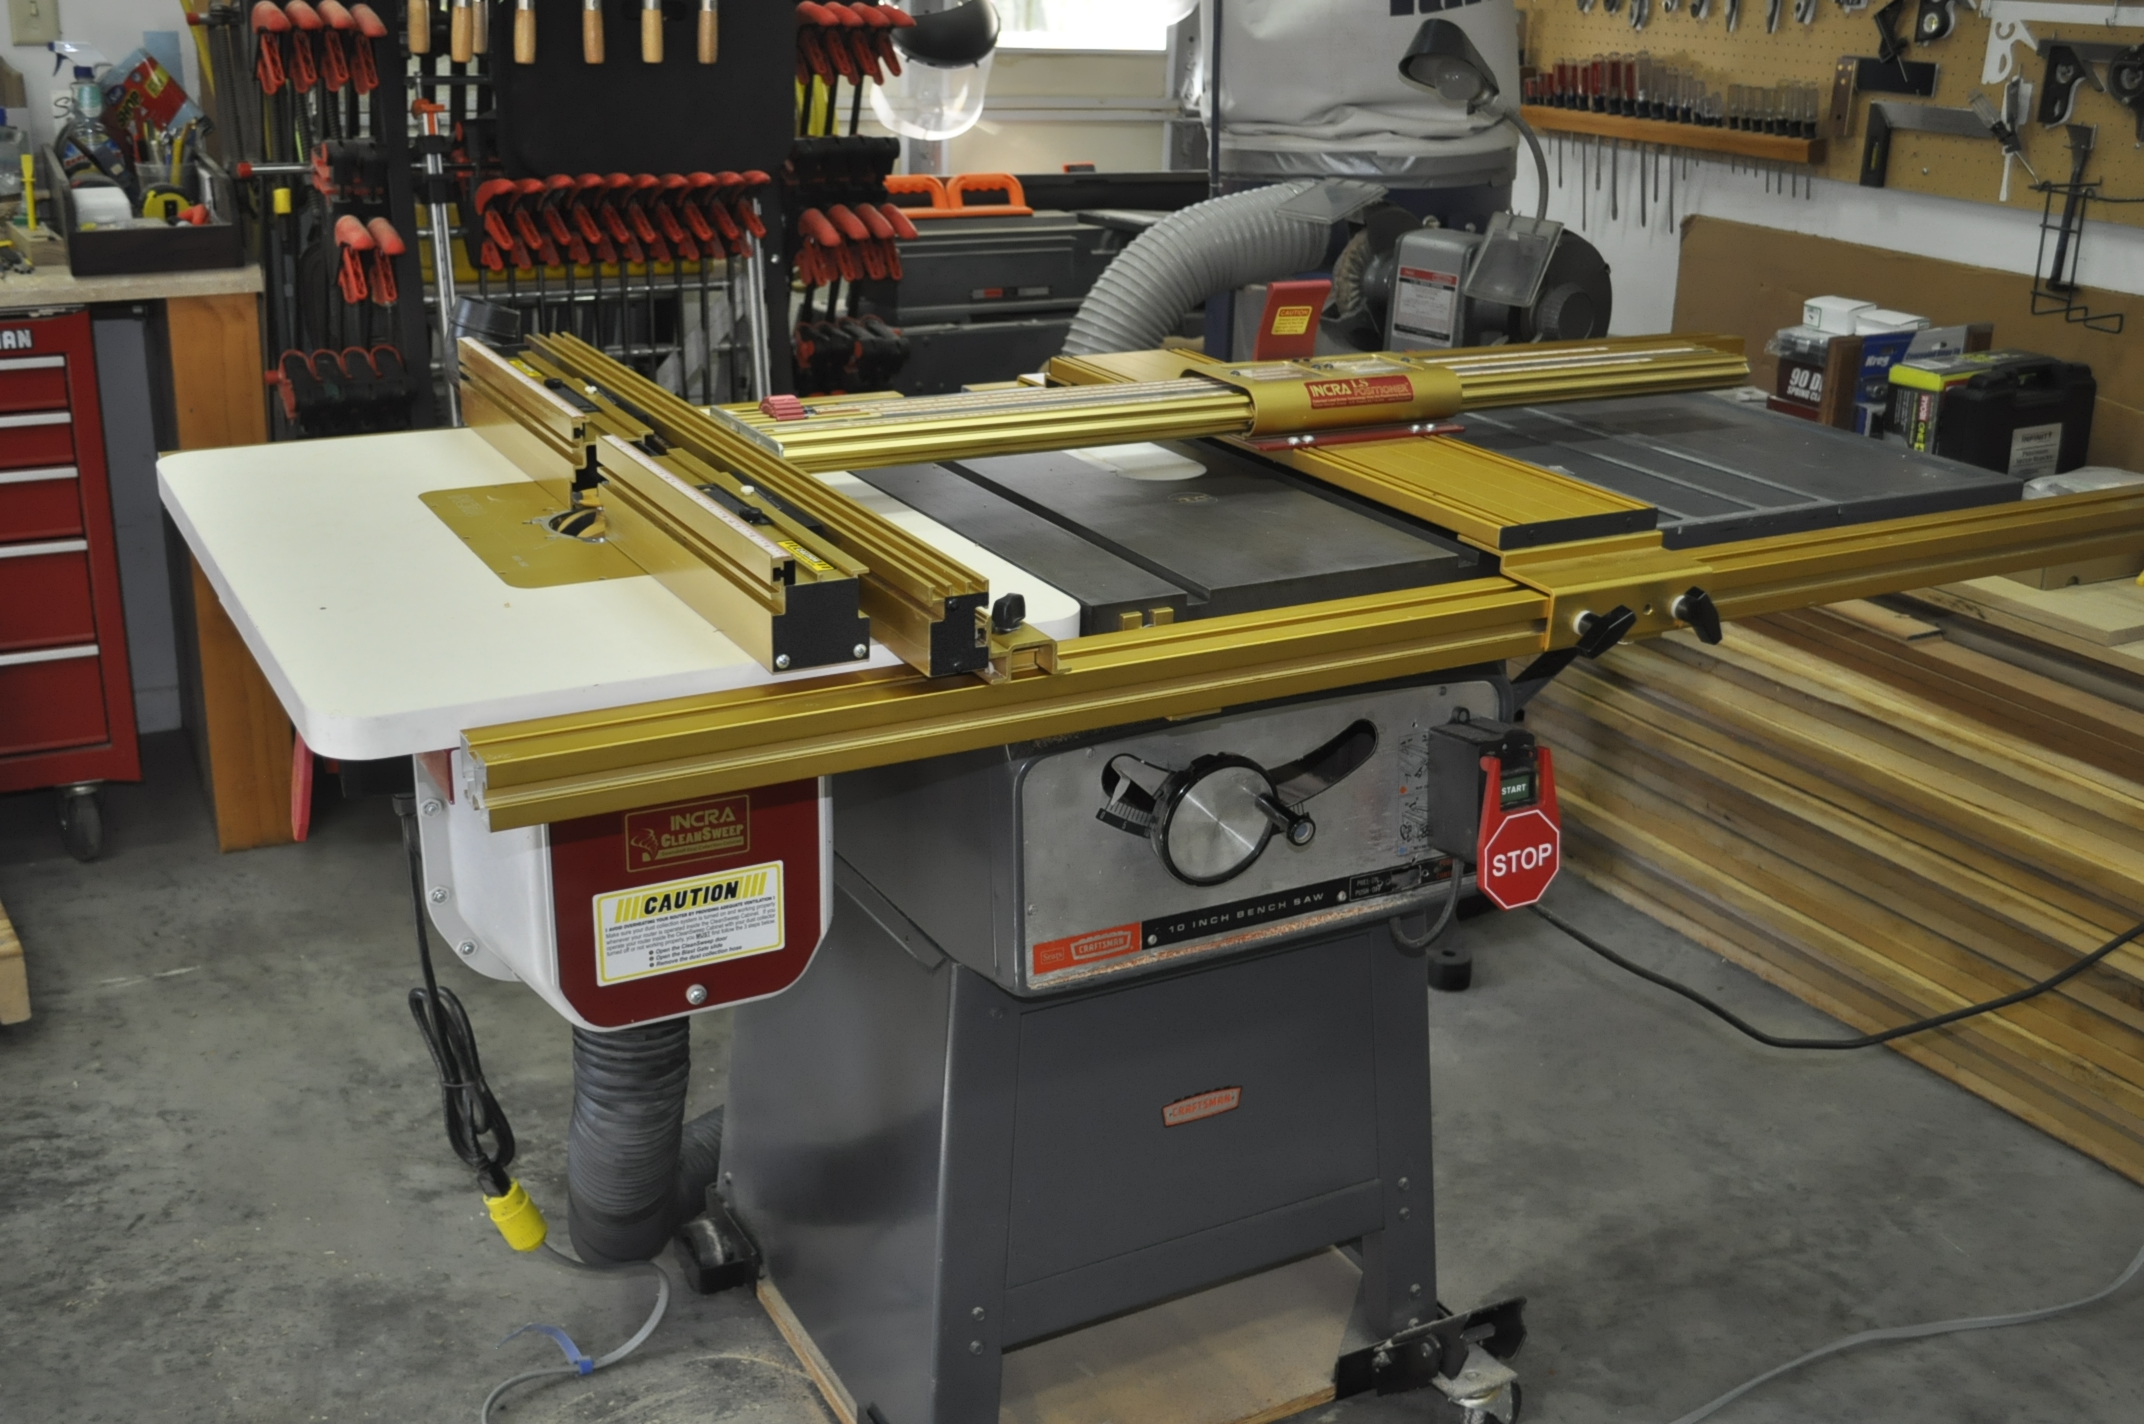
When I built the shop I had my table saw, band saw, jointer and drill press. I later on traded the table top drill press in for a floor standing drill press, added a 15” surface planer, a big spindle sander with a 24” x 24” cast iron top, Jet 12" compound miter saw and a wood lathe. All of the tools are on wheels except the drill press and wood lathe. My table saw, band saw, jointer and drill press are Craftsman models from the early 70’s. While wishing for a Saw Stop to replace my Craftsman table saw, I got caught up in the great recession and was laid off. So went the Saw Stop so I upgraded the table saw to include an Incra TS/LS fence system. Best decision I ever made. I also replaced one of the wings on the table saw with an Incra routing table, an Incra Clean Sweep to vacuum up the dust and an Incra Wonder Fence. Having the router as part of the table saw saved me a lot of space. Without the router being part of the table saw I would have to have an extra router table running around the shop.
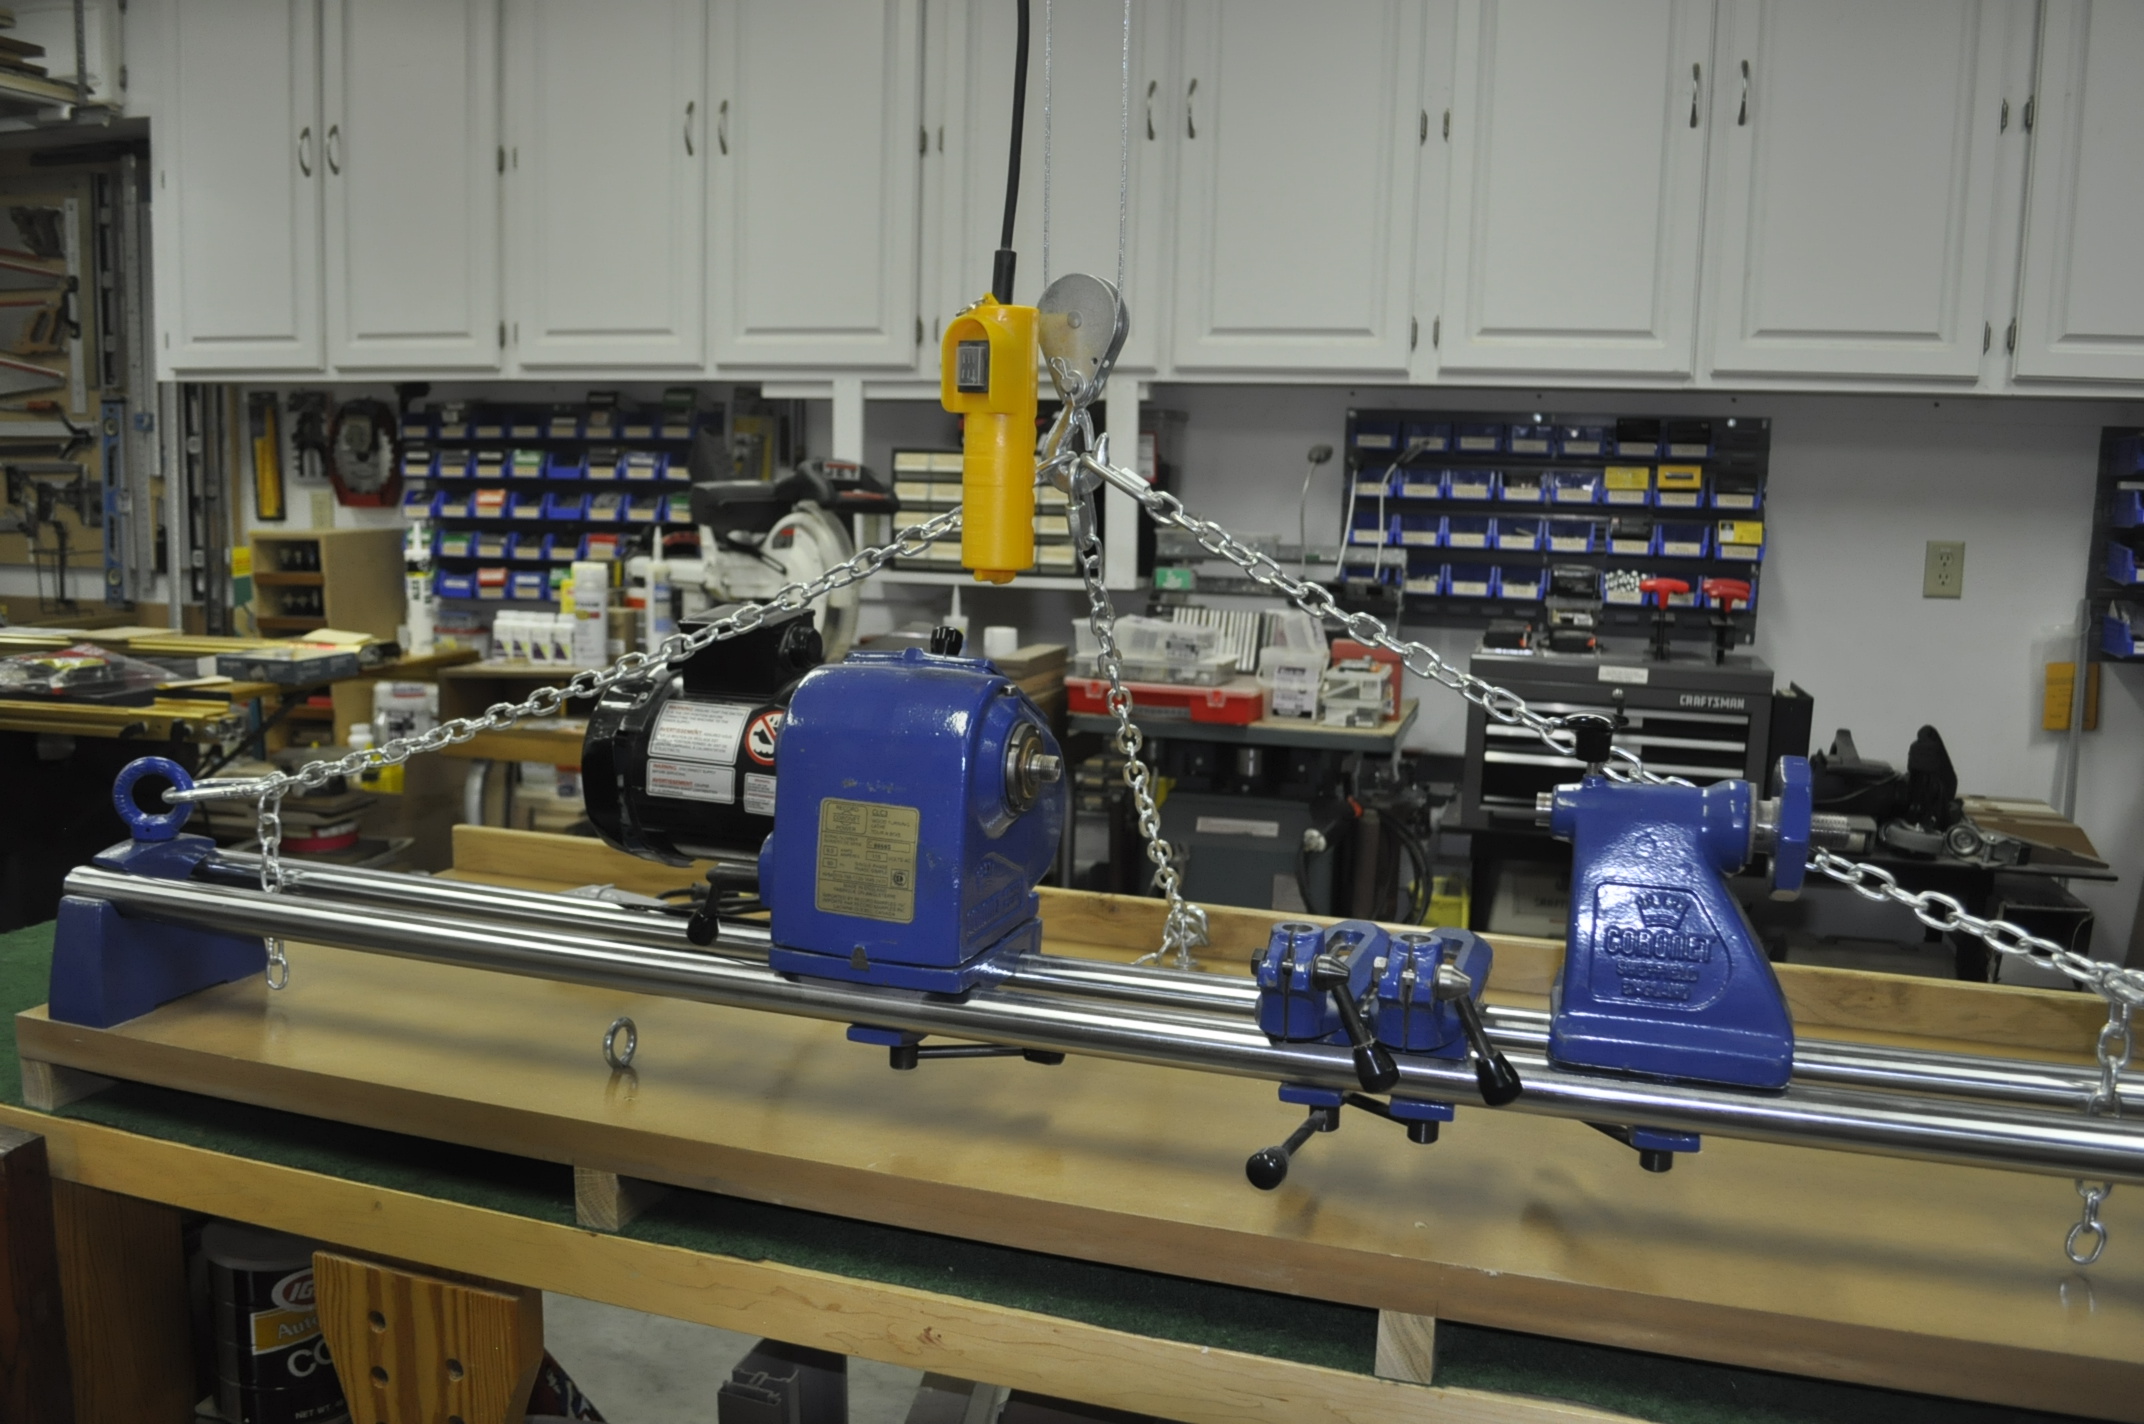
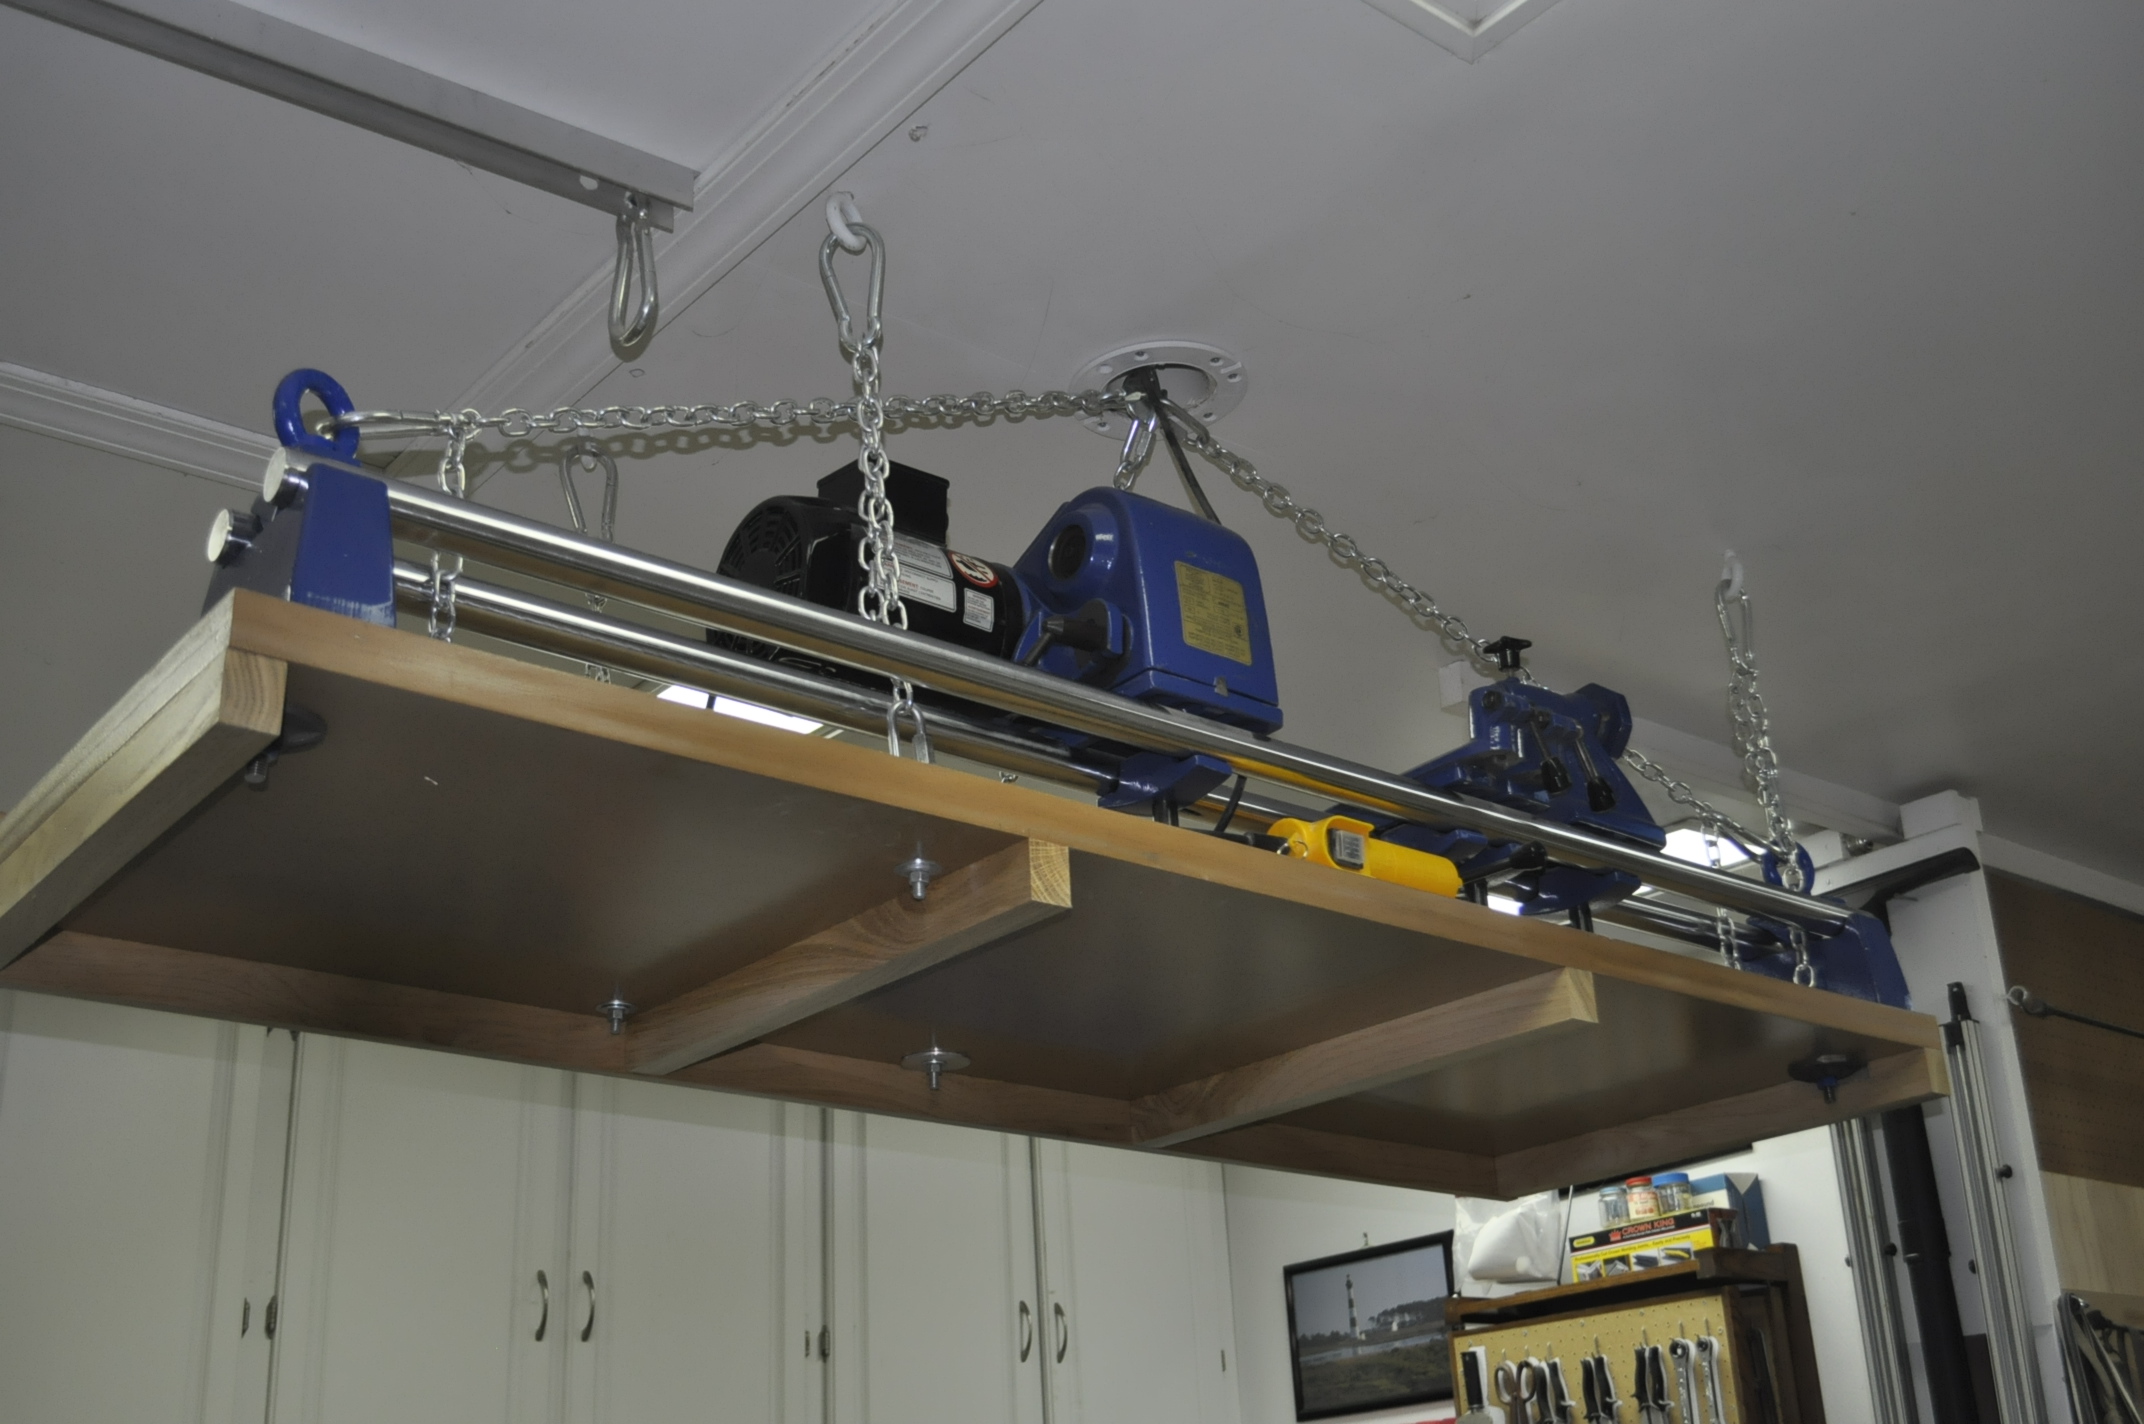
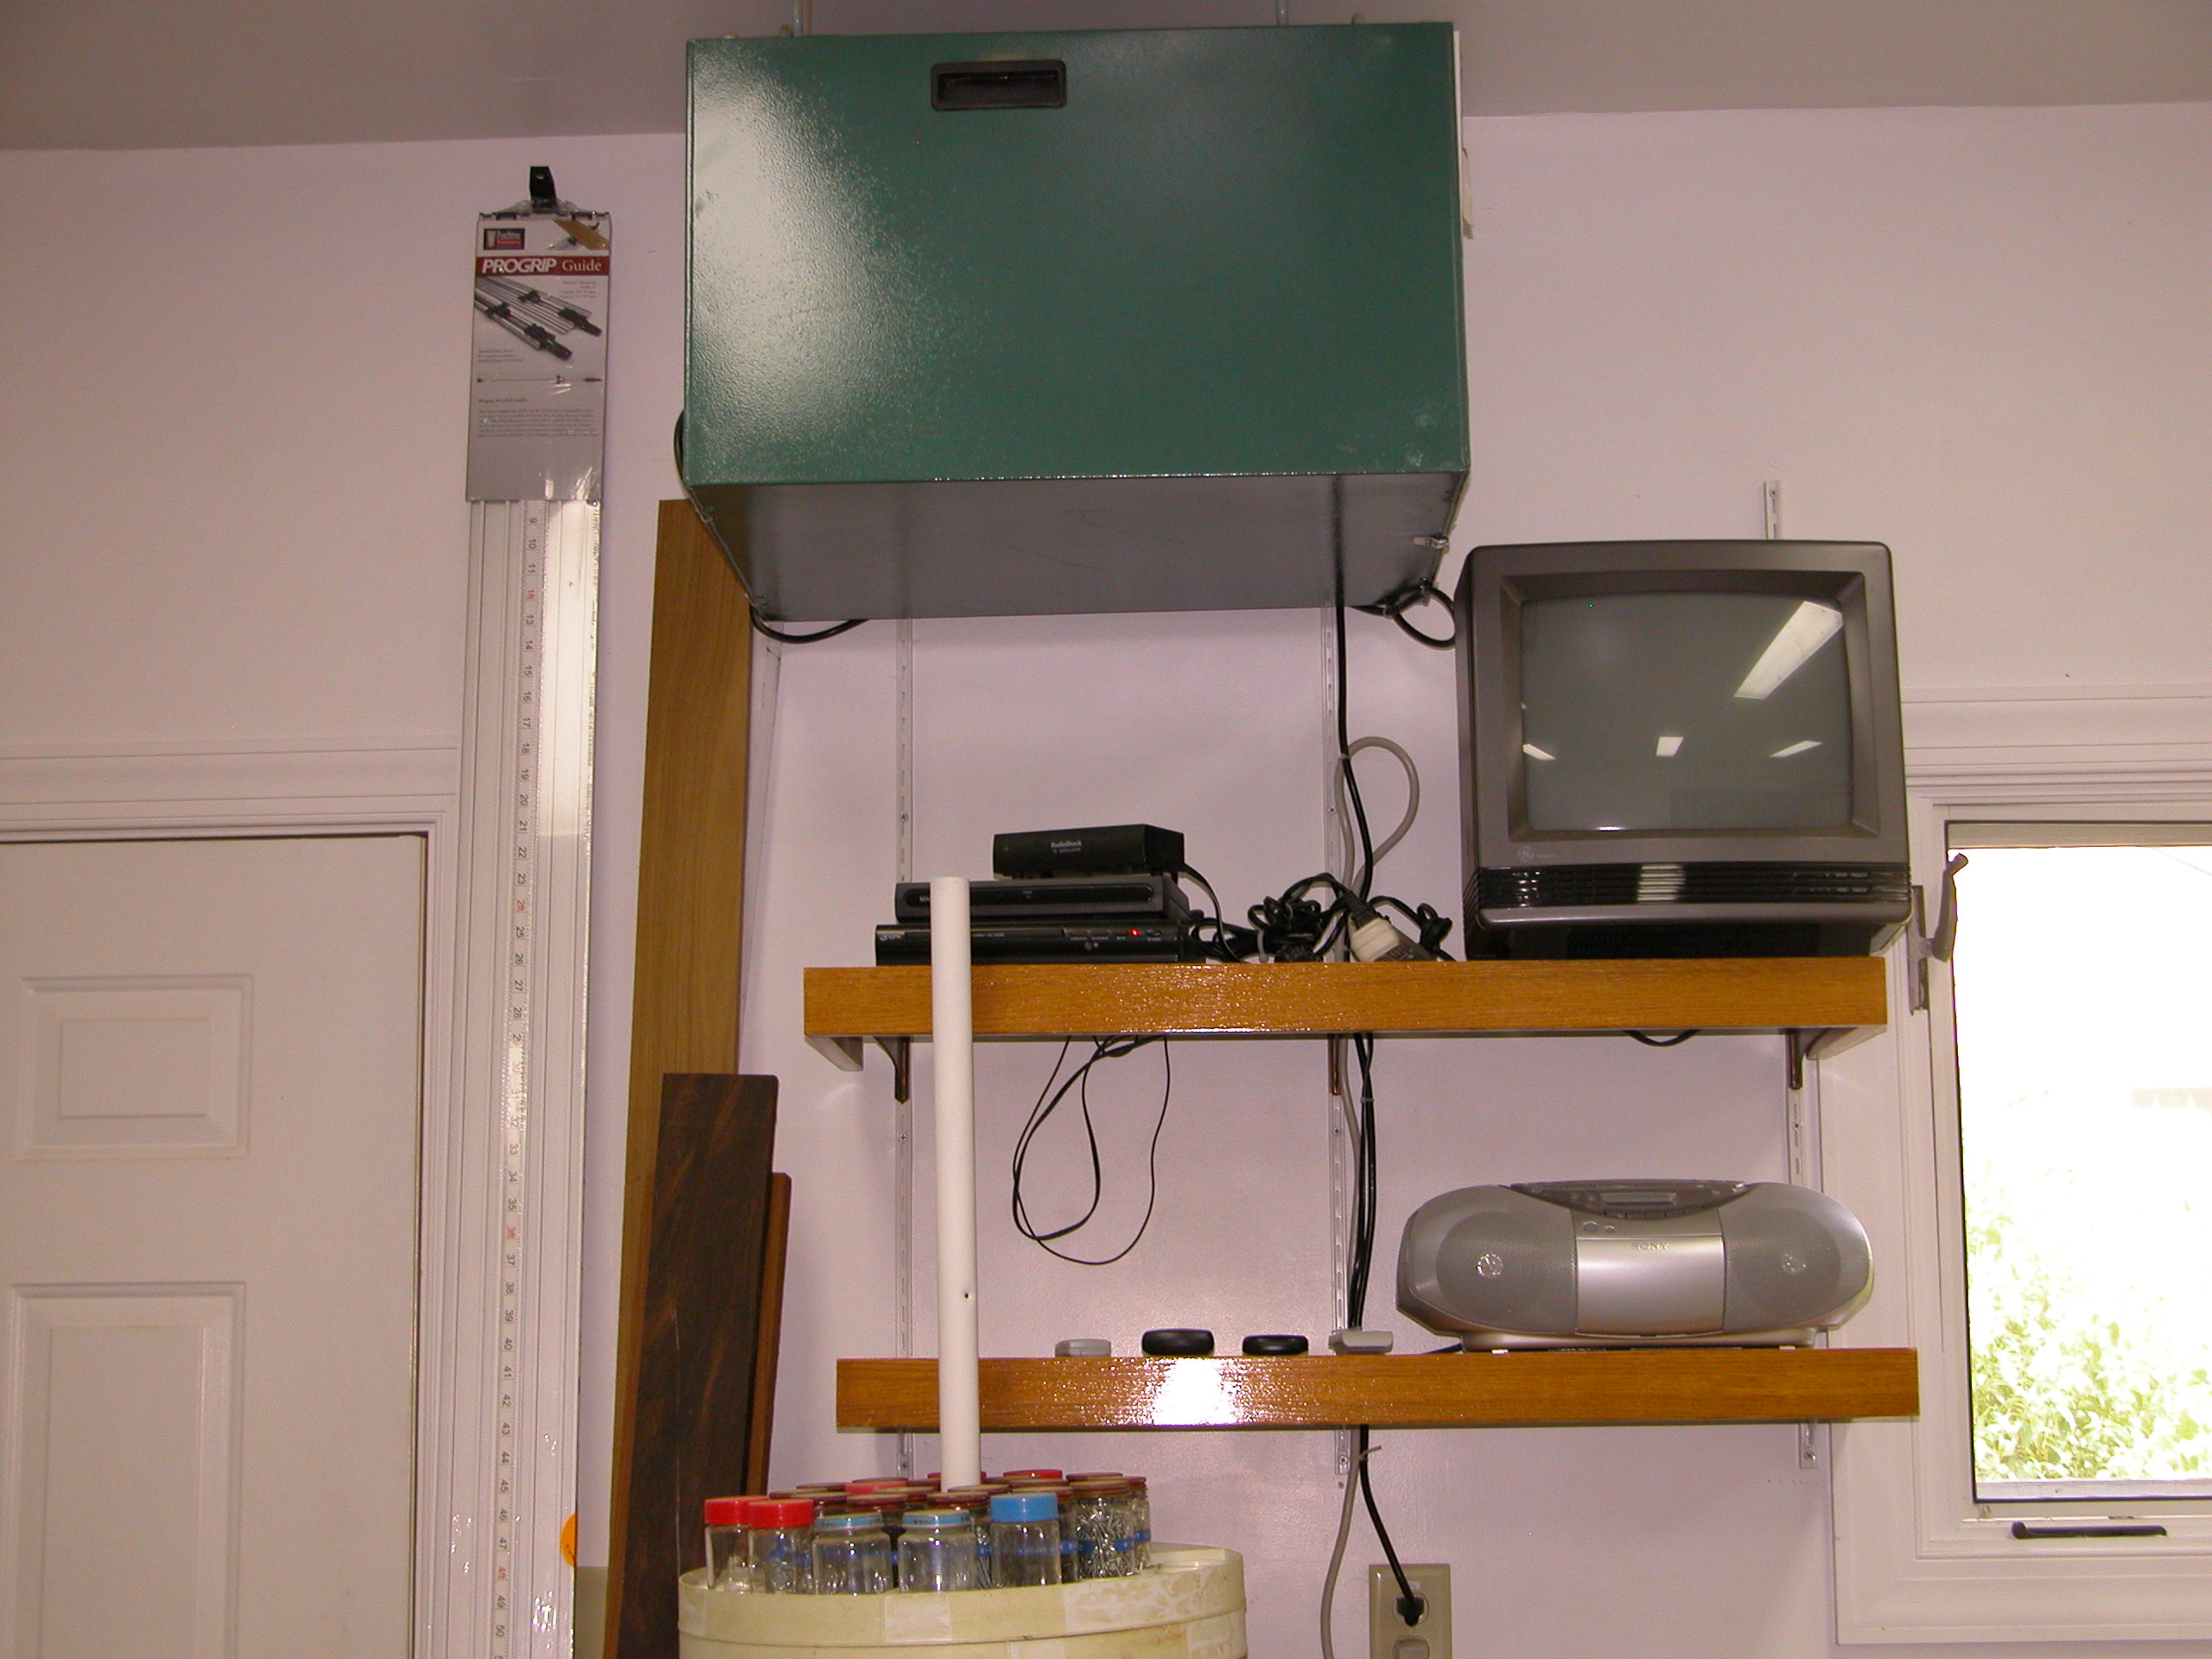
70's Craftsman Table Saw Outfitted With Incra TS/LS Rip System, Incra Router Table, Incra Clean Sweep & Incra Wonder Fence I later acquired a Record Power lathe from a gentleman down in the Outer Banks. It was a great deal and included all of the hand tools, vices and even a new Rikon grinder still new in the box. Problem was where to put it. With the help of Don Newsome of the guild we came up with an ingenious solution to this problem. I built a new table top for the lathe and attached the lathe to it and put it on a cable wench located up in the attic of my shop. When not using the lathe, I grab hold of the lift mechanism and hoist the lathe to the ceiling getting it out of my way! Views Of Record Power Lathe On Work Bench (Left) & Hanging From Celling To Save Space While I do not have a central vac system in the shop I do have an air filtration by Grizzley and a large Rikon vac system equipped with a nice canister filter. Does a great job with the dust.
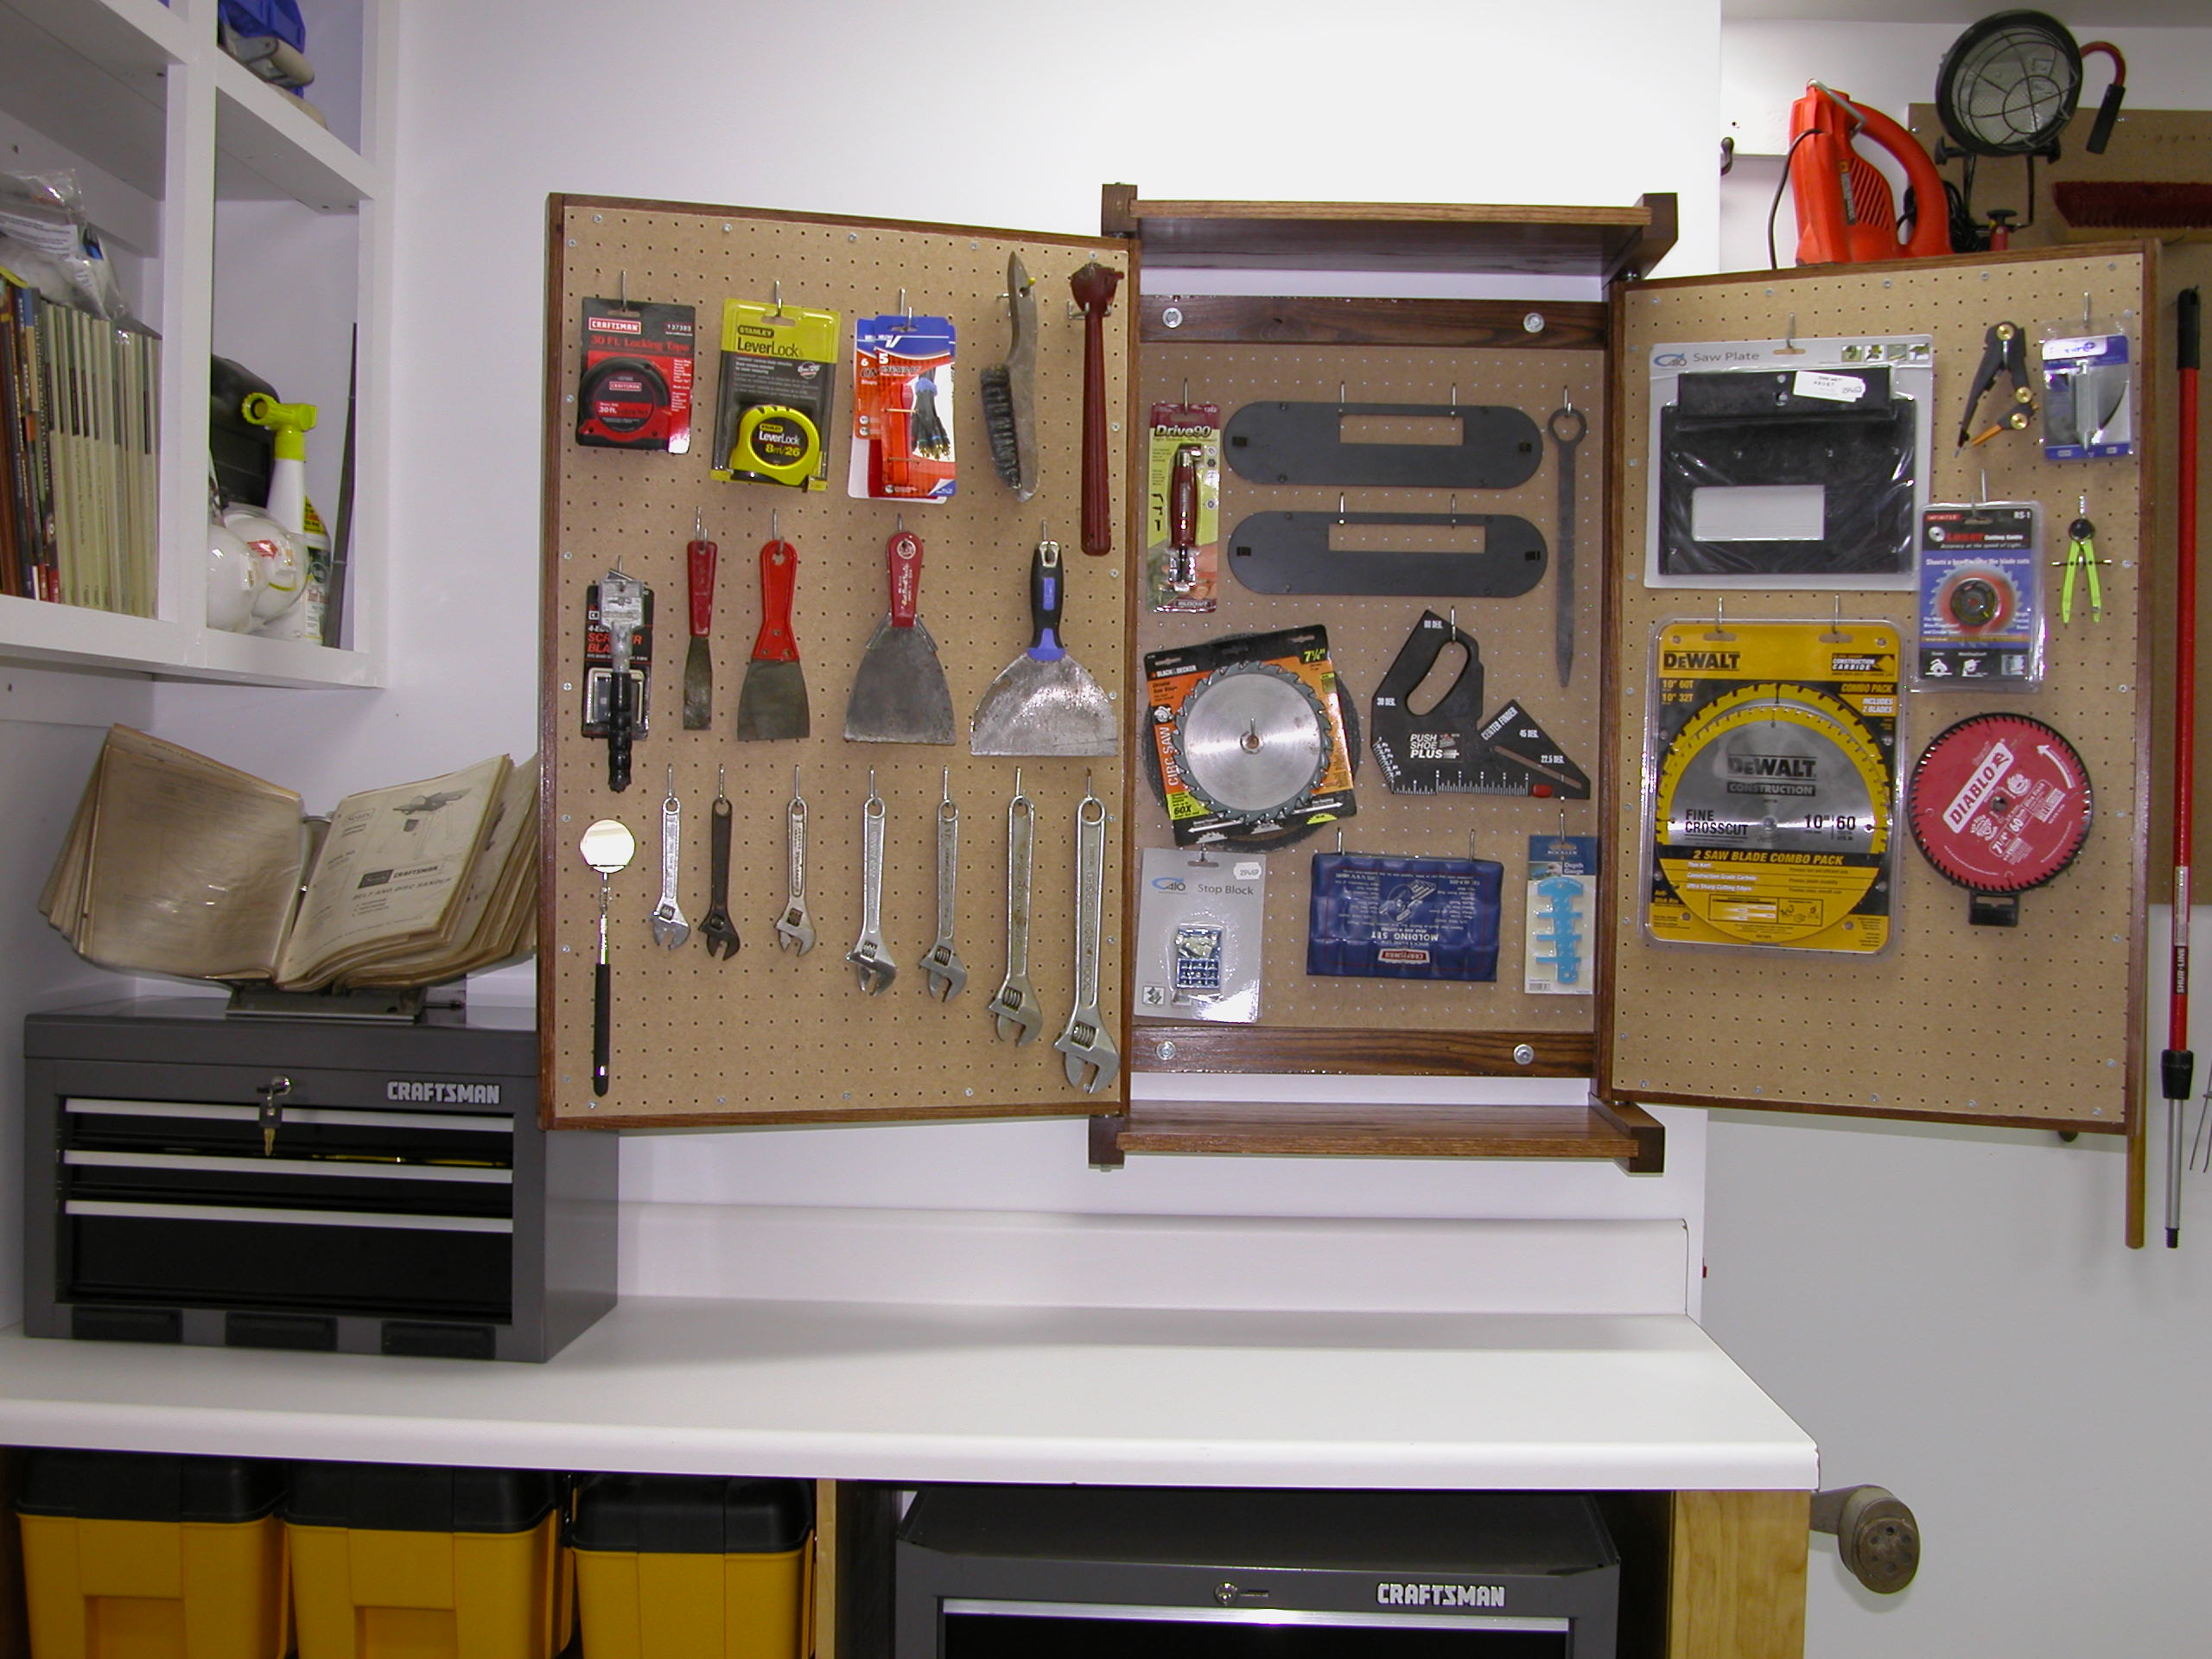
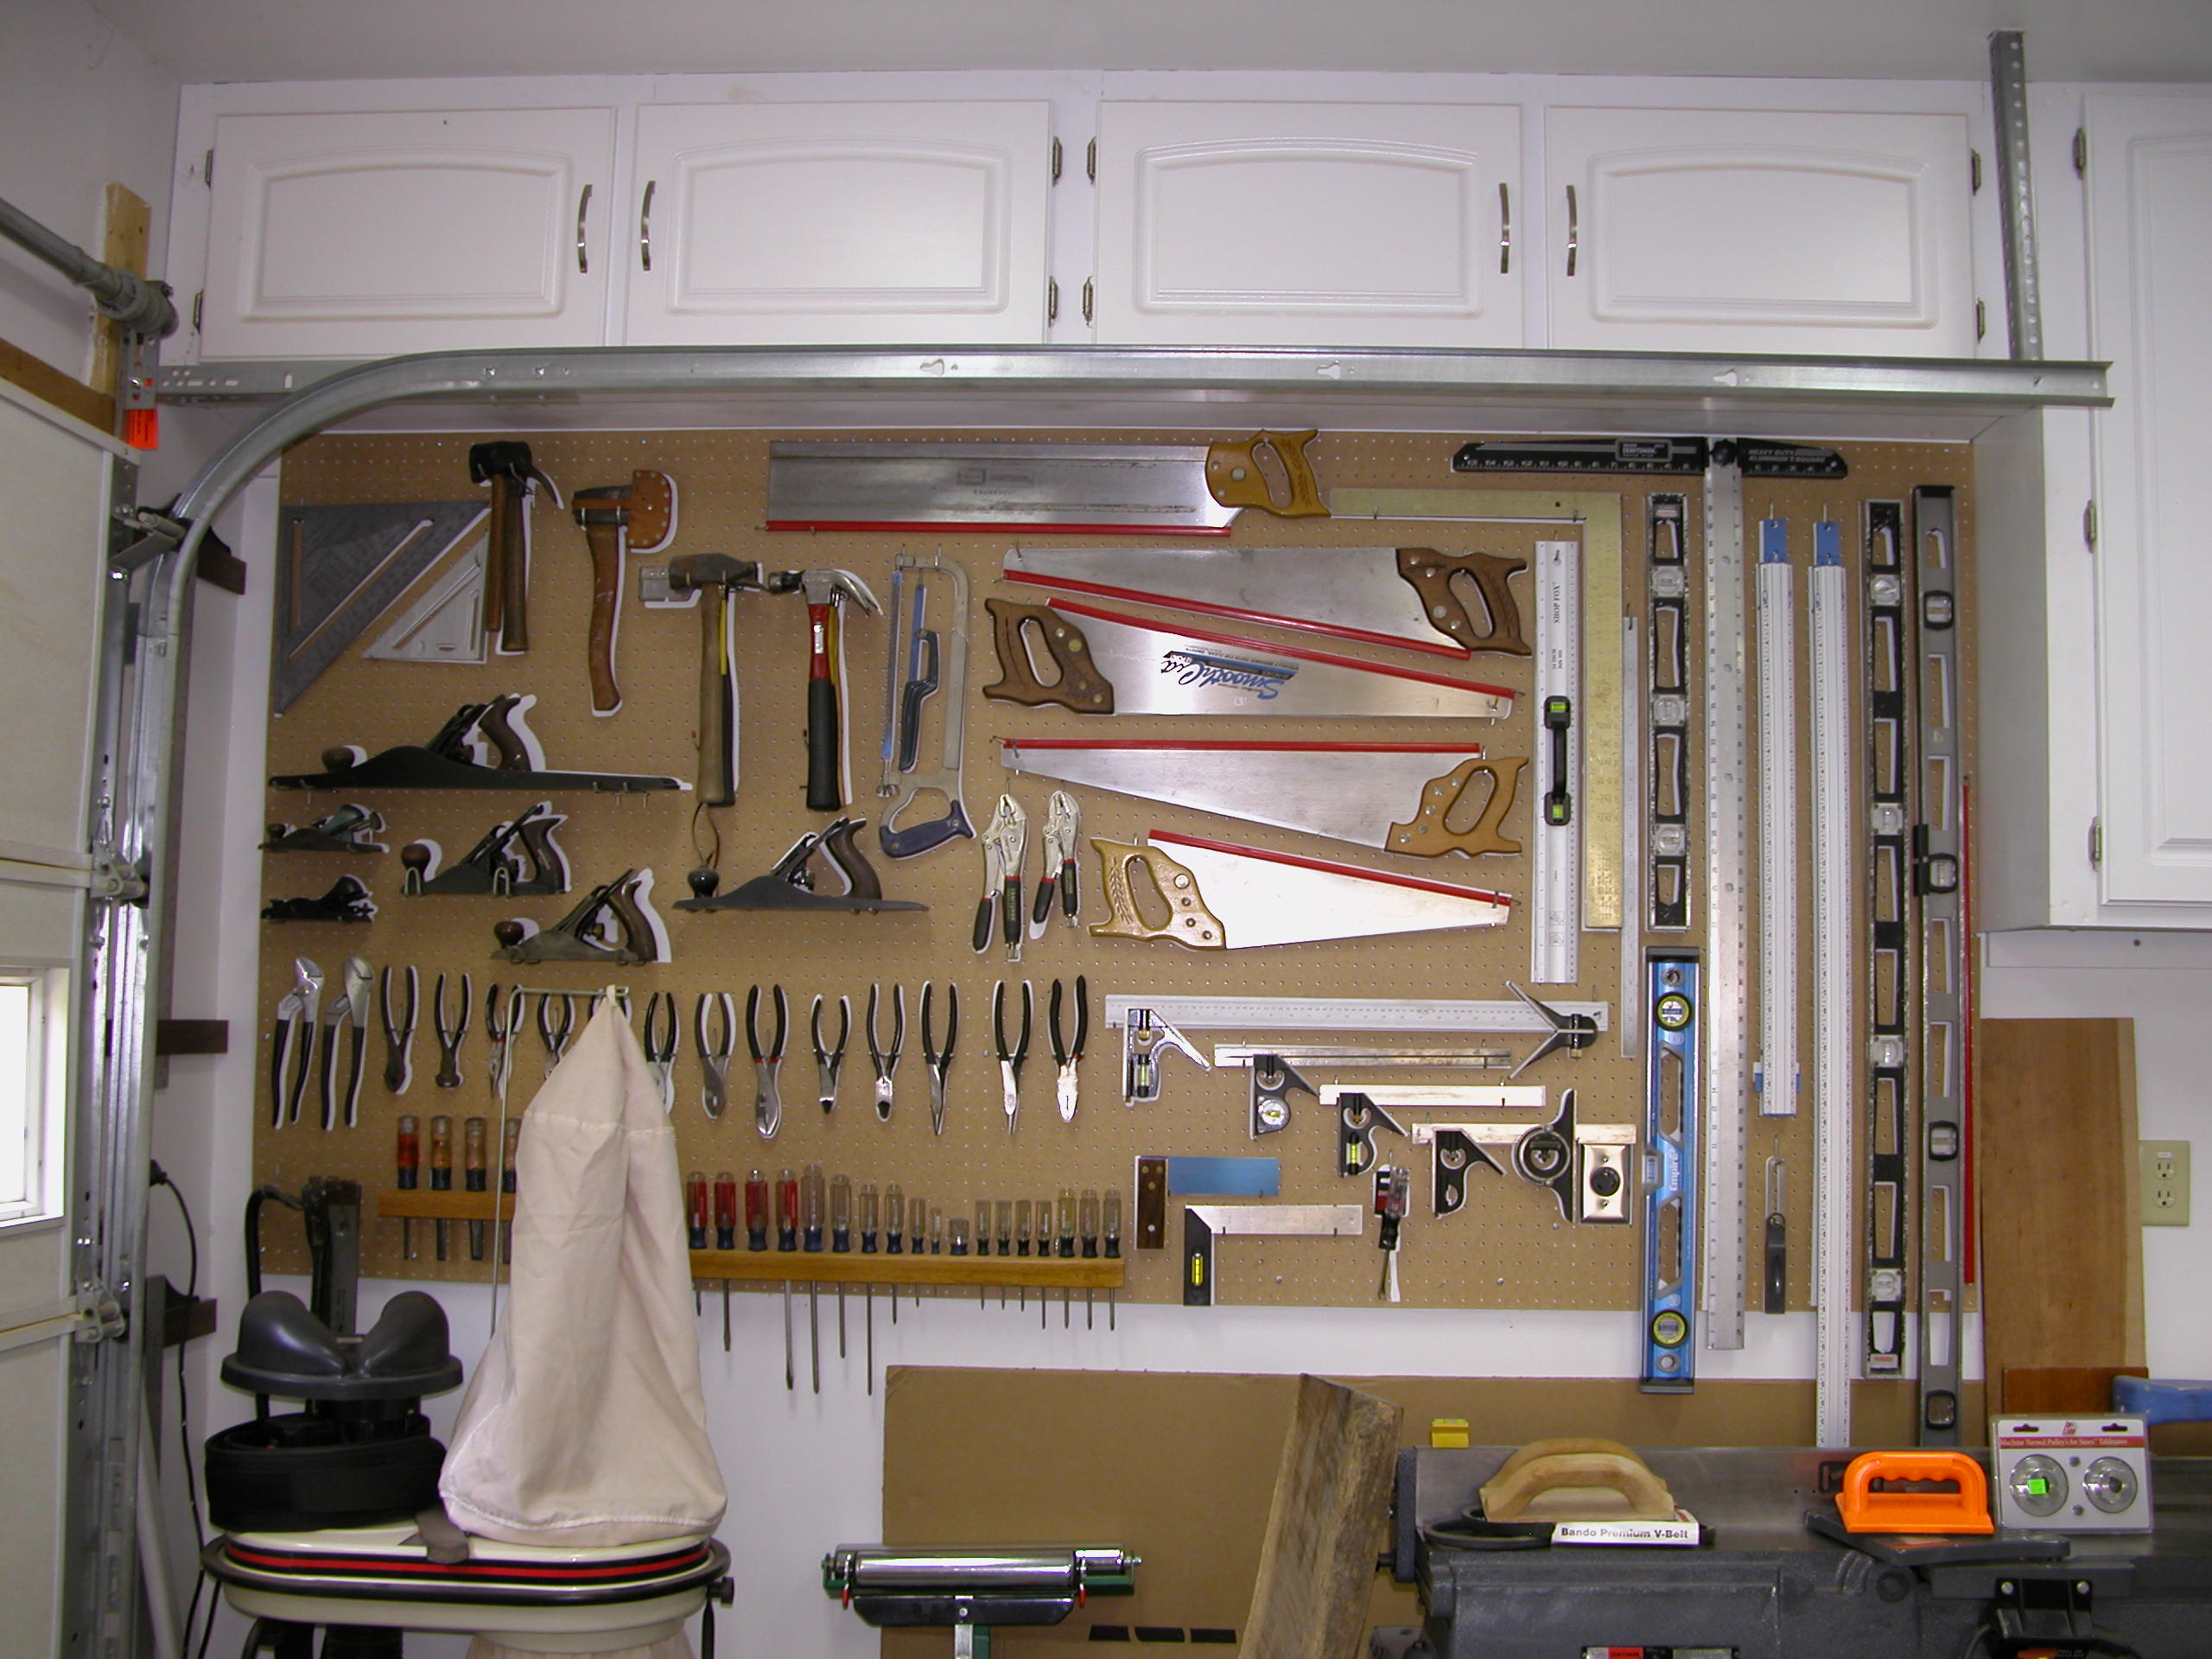
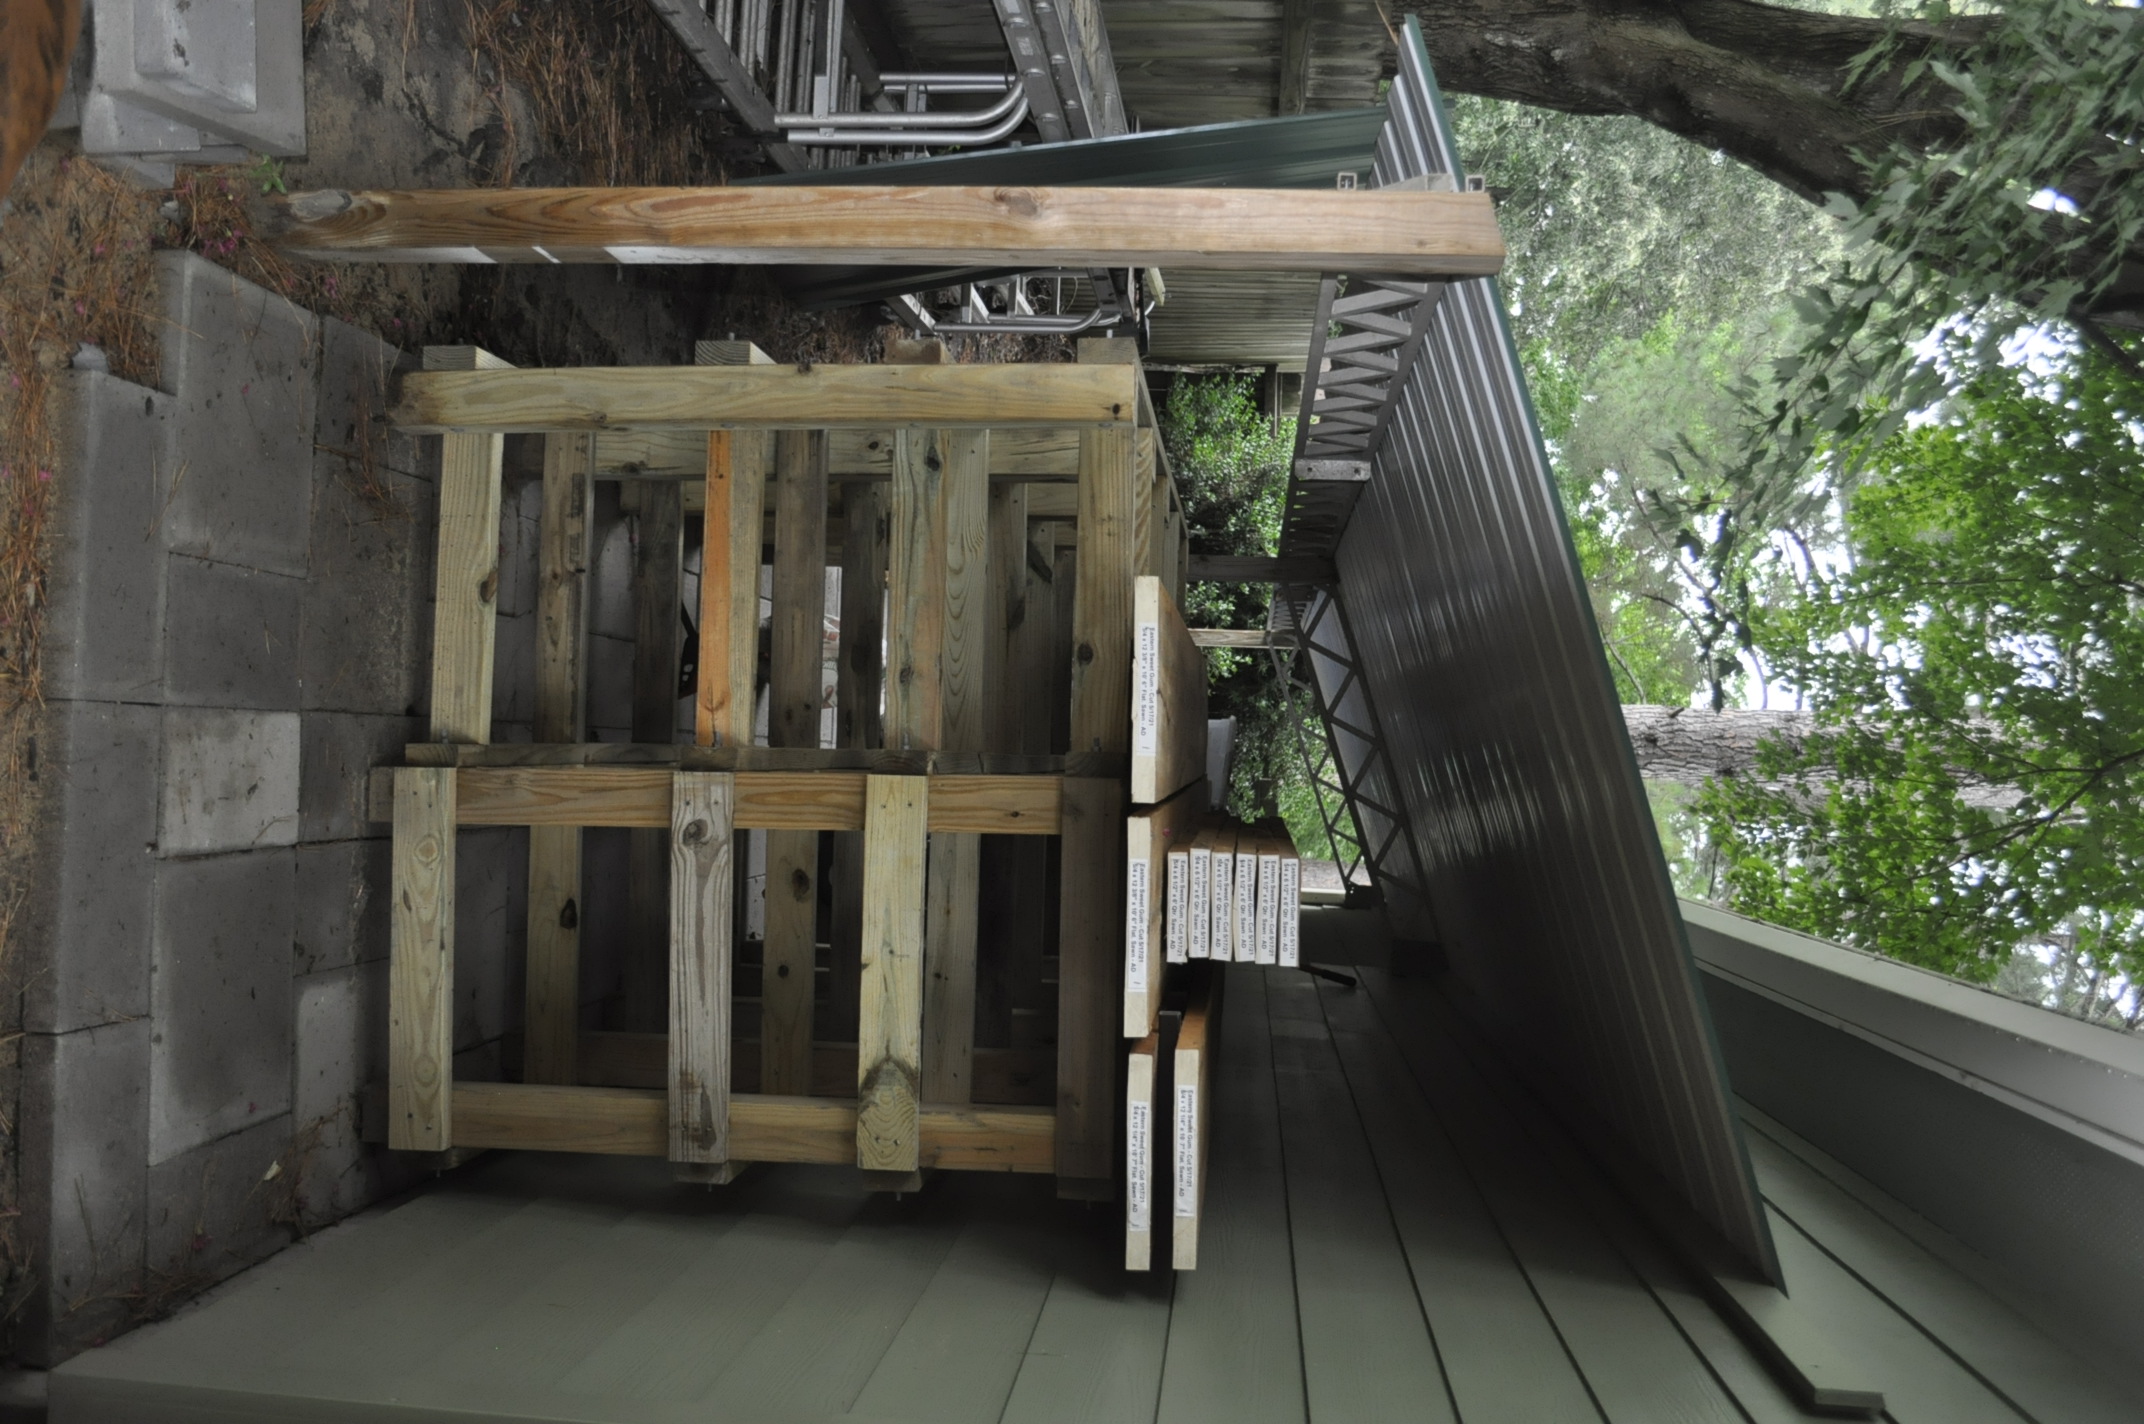
Grizzley Air Filtration System (Green Box) I am a big fan of peg board and use it to organize my tools. To keep track of my tools hanging on the peg board I incorporated adhesive backed white kitchen cabinet contact paper. Each tool hanging on the peg board was laid out on a piece of the kitchen cabinet contact paper, traced its shape with a pencil and then cut out the image with scissors. I then transferred the shaped cutout to the peg board and secured it to the peg board using its adhesive backing. Now I can instantly look at the big sheet of peg board and see if any of the tools are missing. Peg Board Storage. Note The White Kitchen Contact Paper Outlining The Tool Location I later on added a metal roof lean too to the back of the shop to dry fresh cut lumber. It works out very well
Wood Drying Rack Behind Shop |
||||

