Copyright 2022
Tidewater Woodworking President: Fran Foster, Vice President: Greg Guertin, Treasurer: Chris Zuchristian, Secretary: Larry Larue
  |
||||
| Web Links | At the Meeting | Last Meeting Notes | Tip of the Month | Editors Notes |
|---|---|---|---|---|
What's In The Newsletter?
|
||||
Presidents Report ...If you are looking for a great place to meet fellow woodworkers and continue educating yourself in the art of woodworking, all you have to do is join our guild. If you are already a member, you already know the value of the guild. There are members who have been working with wood for most of their life and have a wealth of experience and are more than willing to share what they have learned. We also have members who have been working with this medium for only a short period of time and bring with them new and exciting ideas and knowledge in this technological world in which we live. Our meetings are normally held at Woodcraft on the 4th Monday each month at 7:00 PM. We will not be meeting this month, but instead, will be holding our annual picnic on October 3. Even potential members can attend this picnic so if you are interested you can contact us through the website. Our October meeting will be held on the 4th Monday and one of the fun things that will be happening will be our first “challenge” of the year. We are challenging all members to come up with a creation using only one 2 x 4 x 8. There will be prizes for the top three as chosen by the membership. So, if you are a not a member, consider joining us. You will not be disappointed. This email address is being protected from spambots. You need JavaScript enabled to view it. Fran Foster President TWWWG |
||||
The Story Behind This Shabby Chic Bookcase
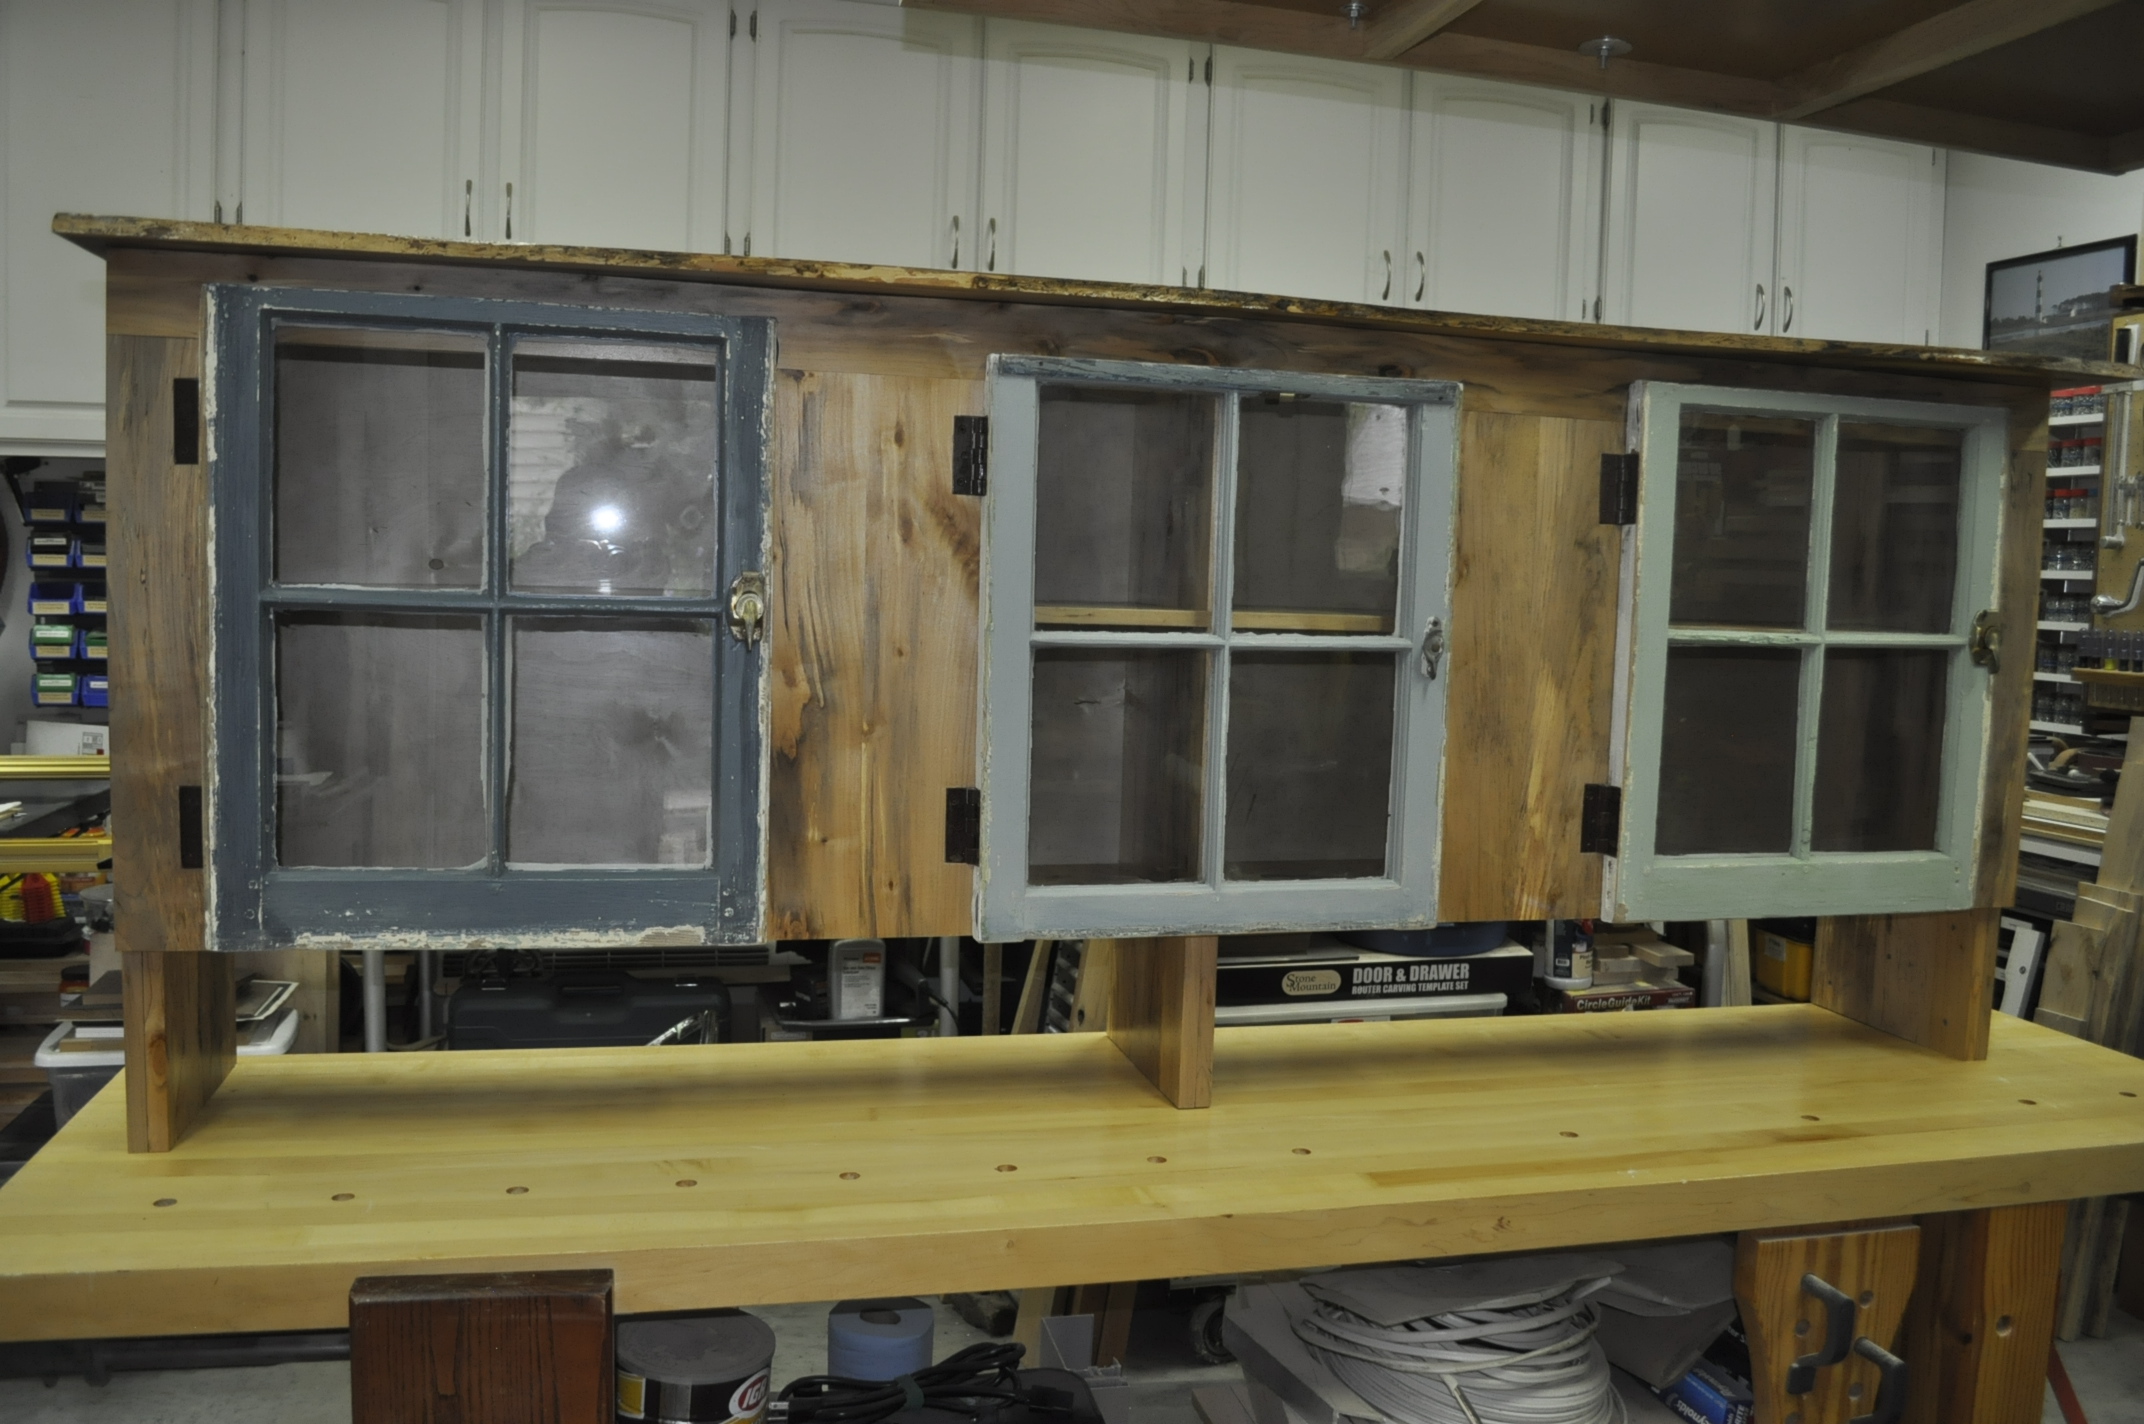
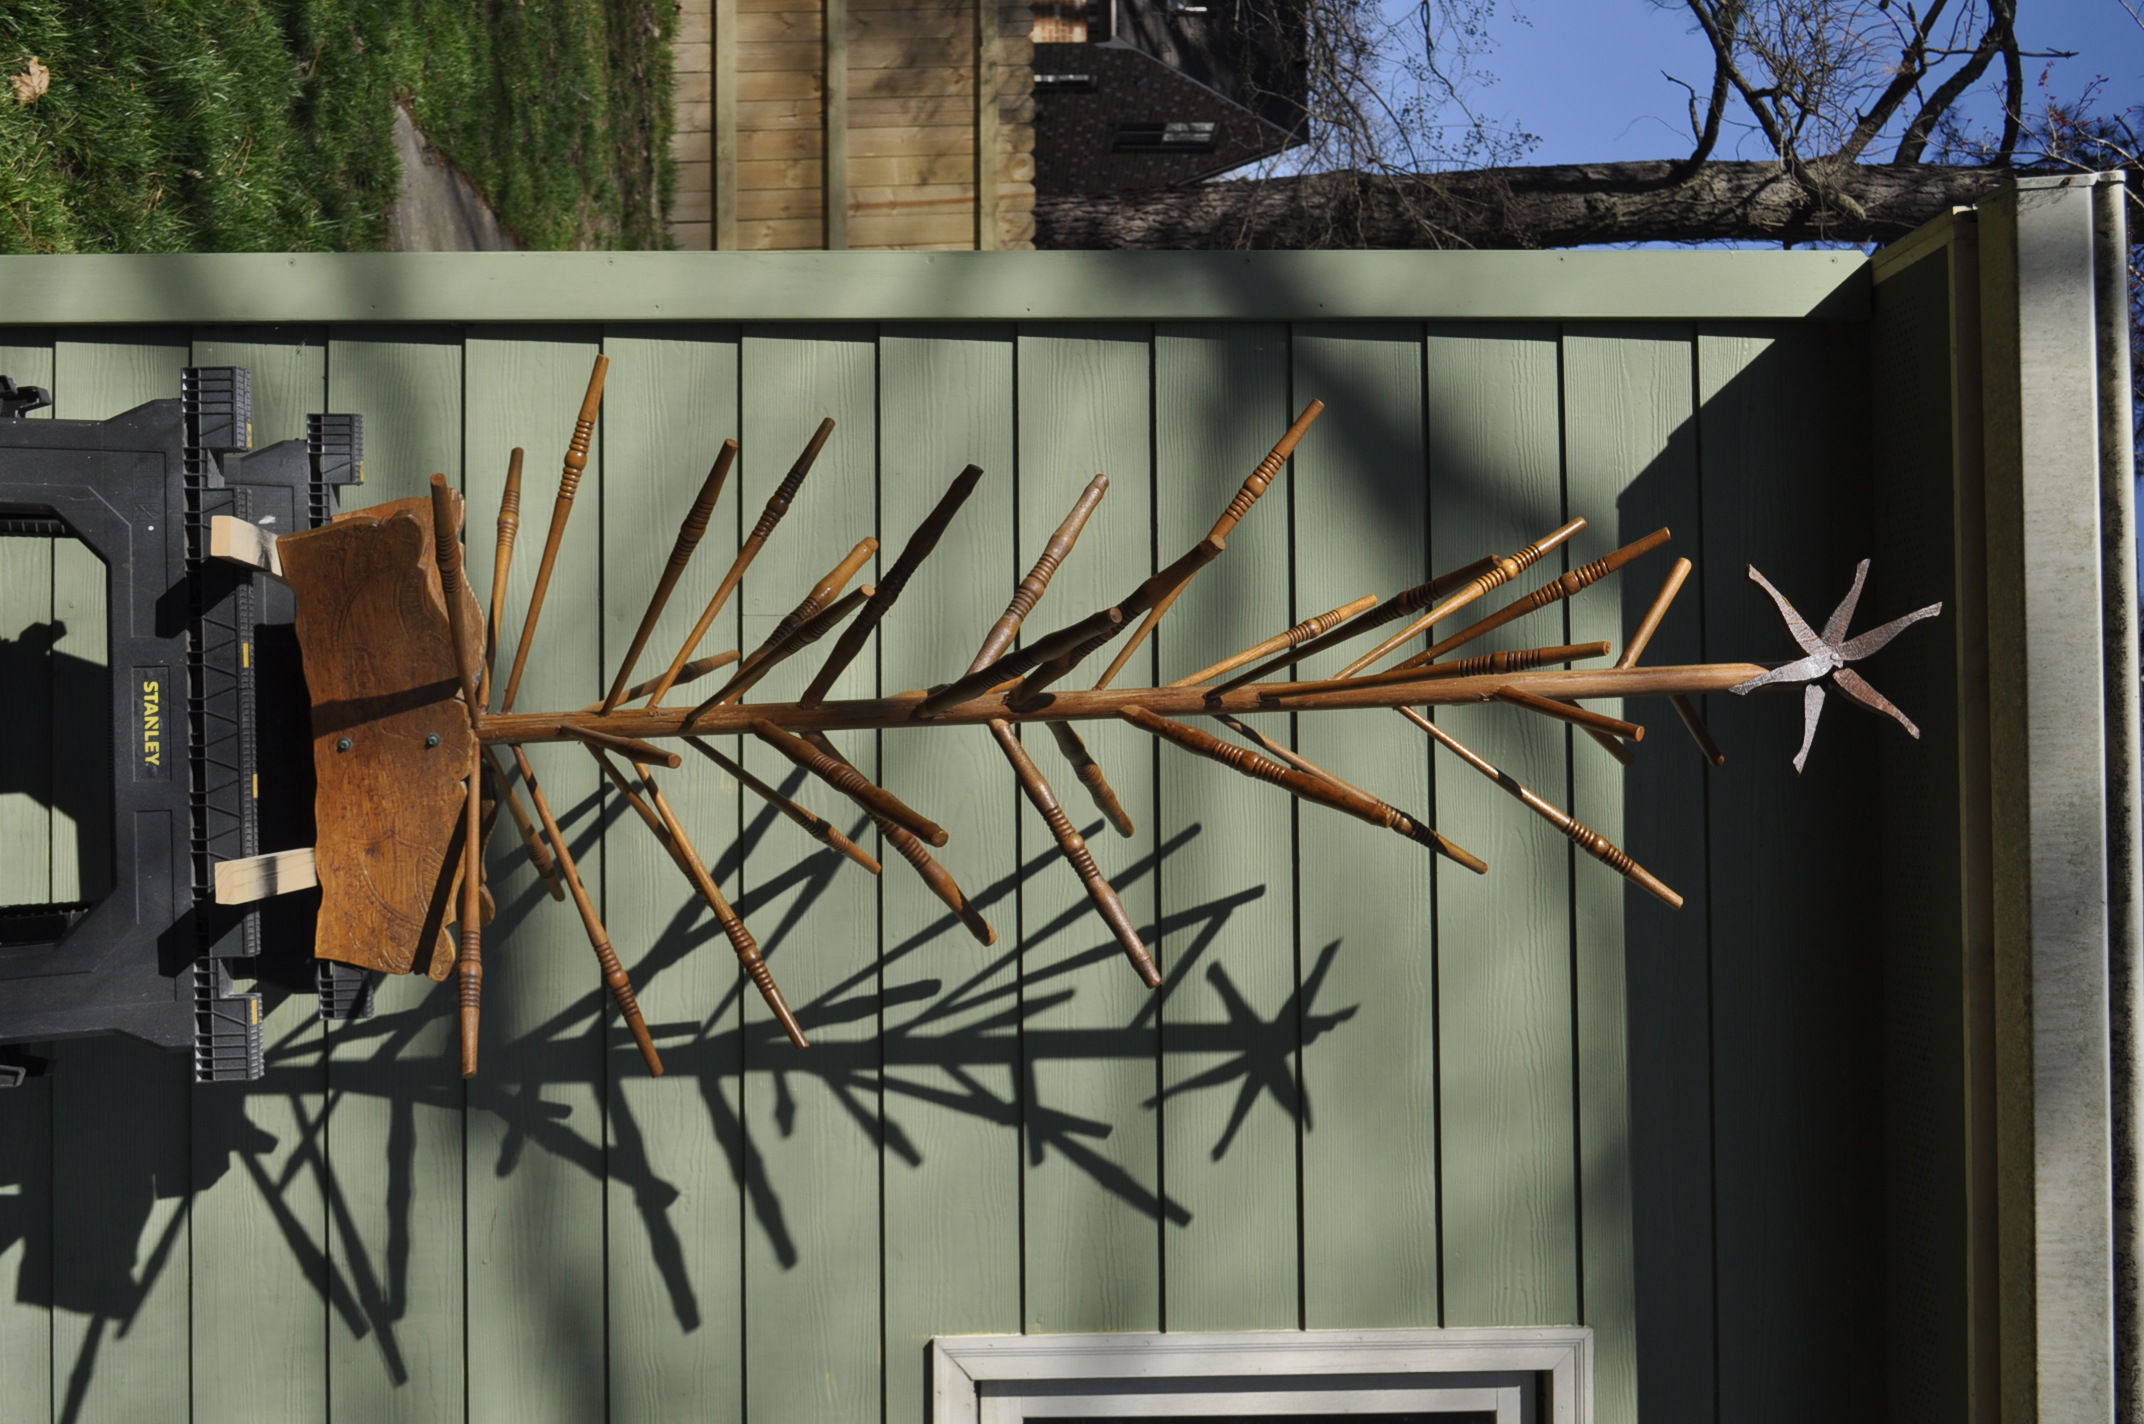
Shabby Chic Bookcase Some friends of ours had been talking to me for months about building a bookcase to go behind their new sofa (they had not even yet purchased the sofa) for their new home. I agreed as I like building new furniture. Well one day Nina shows up at our house to talk about the bookcase and what she wants it to be like. My first shock was when she opened the trunk of her car and pulled out three old windows, all of different colors. At this point I start pondering why I decided to build her a custom bookcase, after all, she is the one who commissioned me to build the spindle tree.
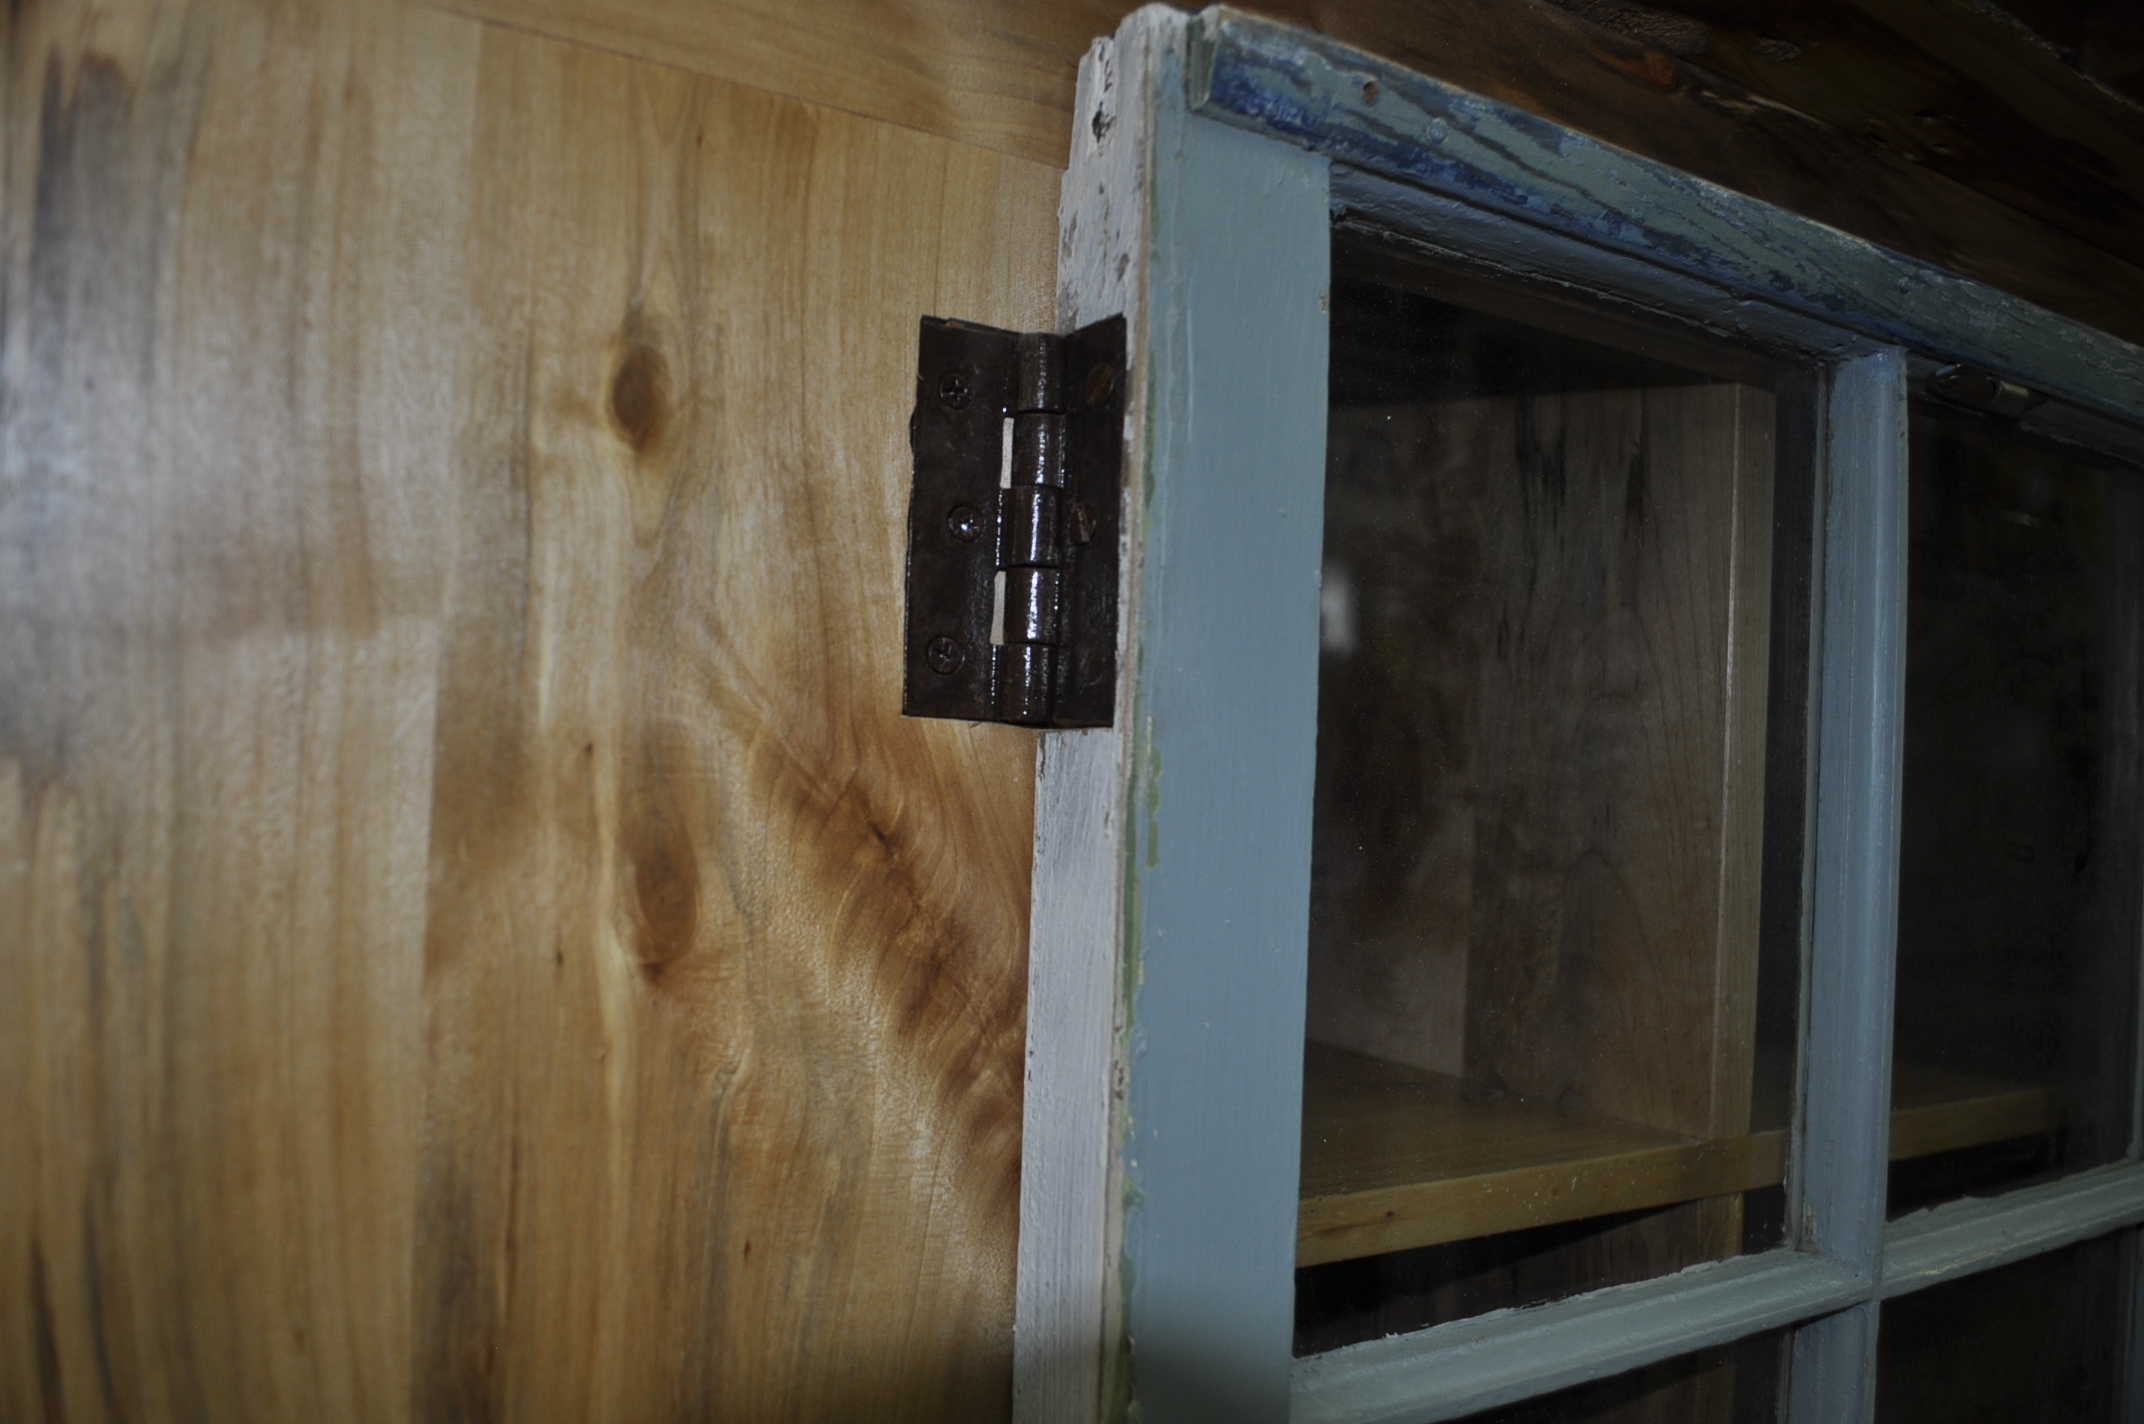
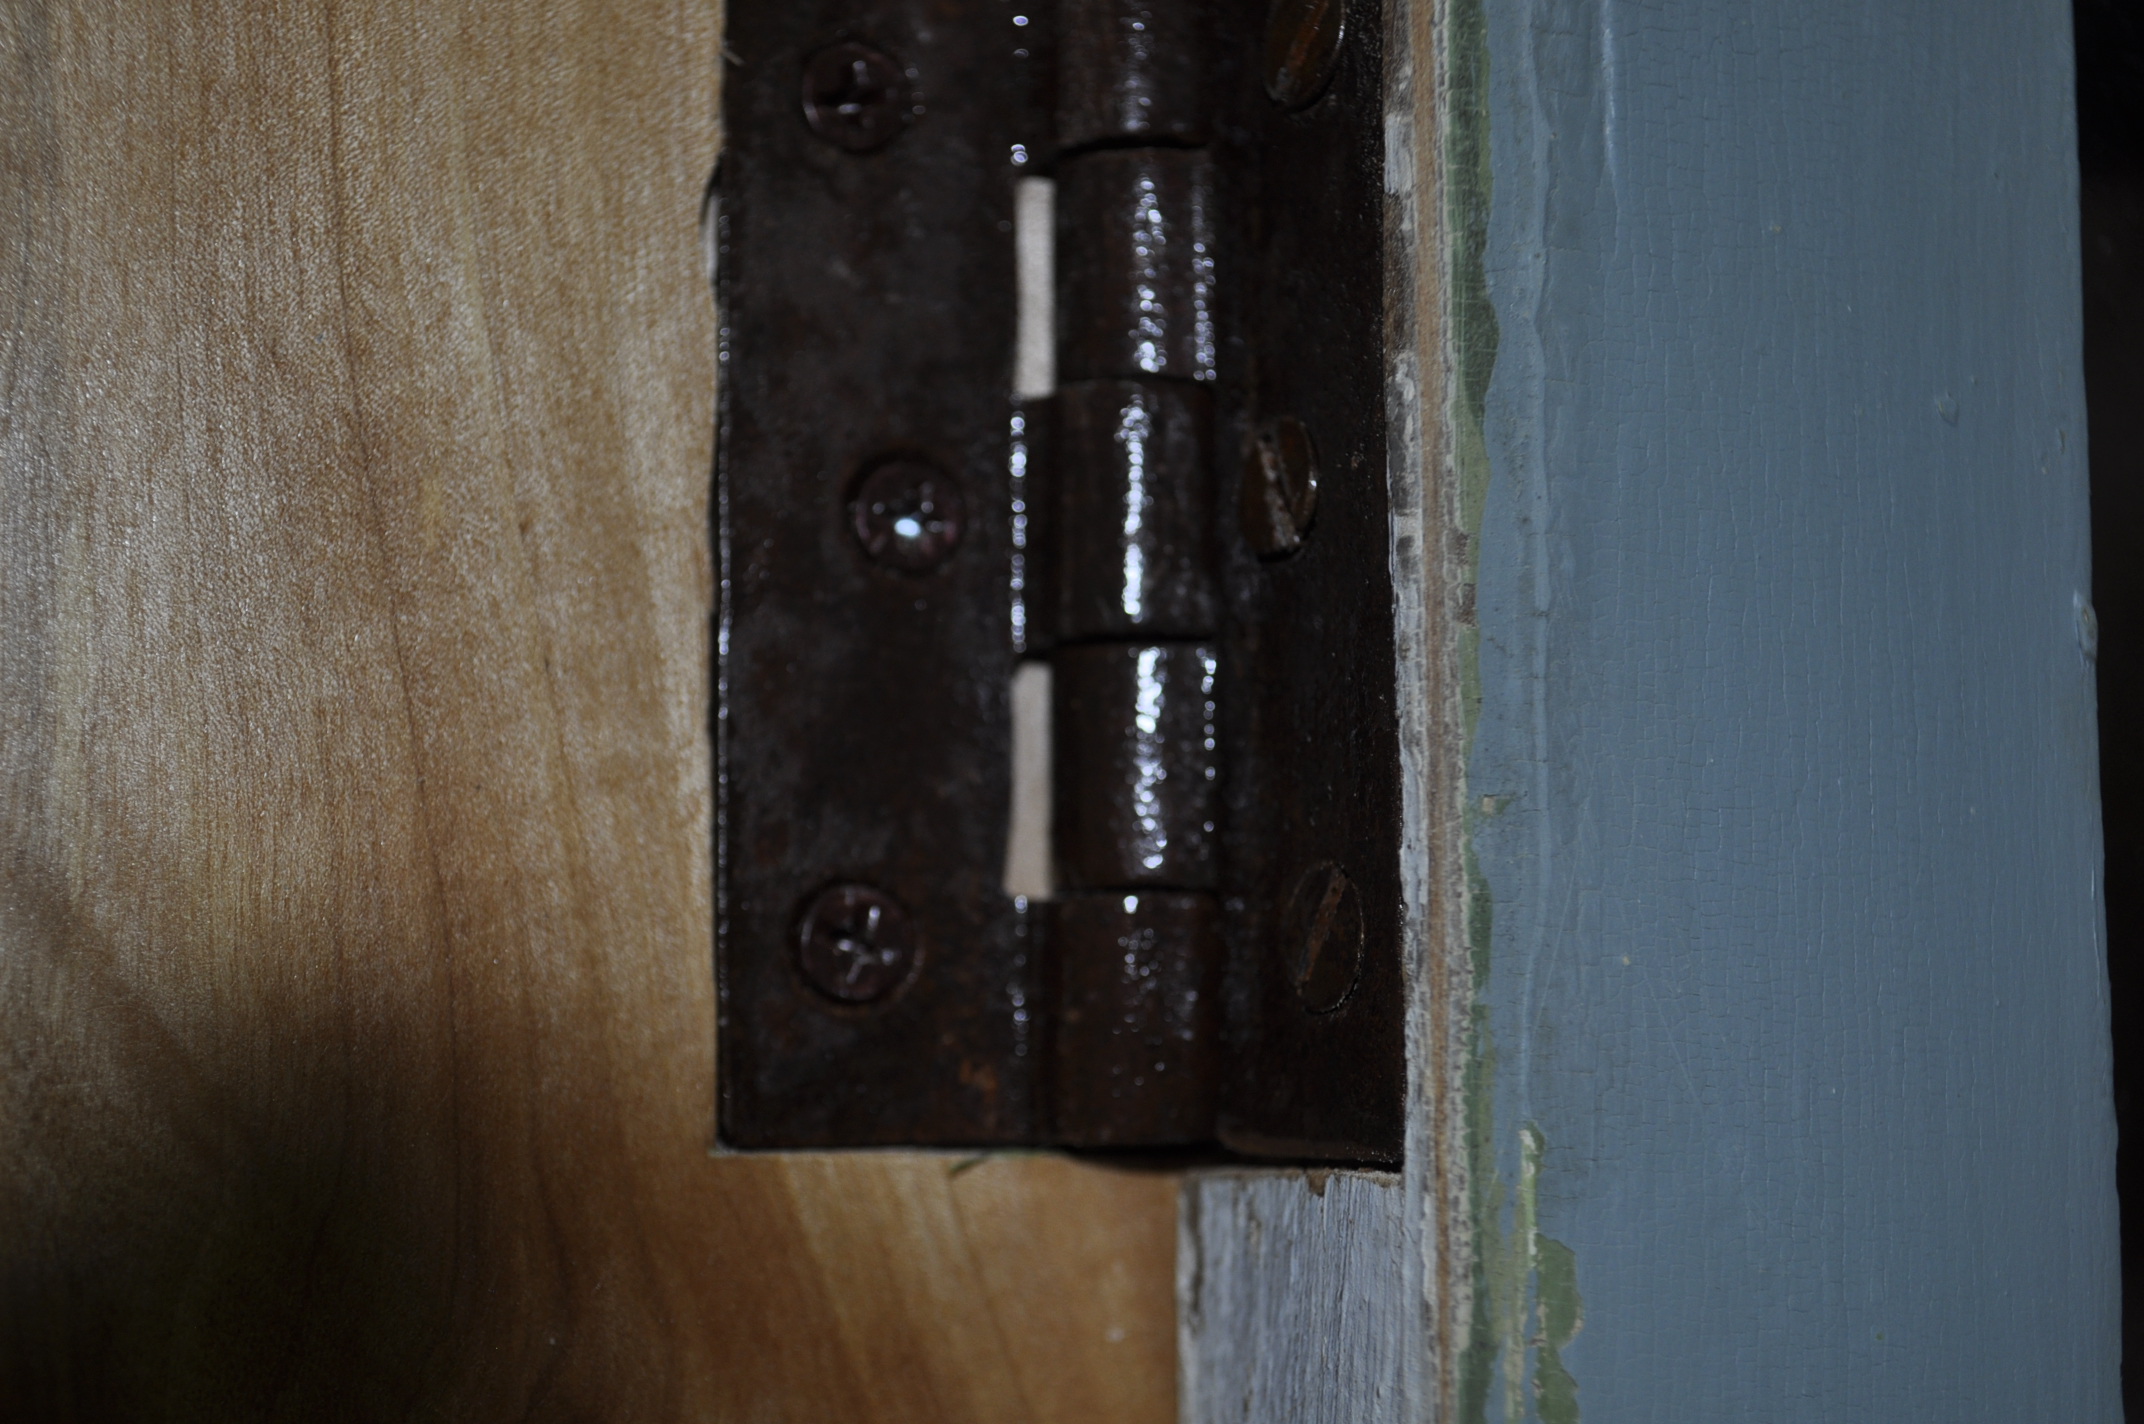
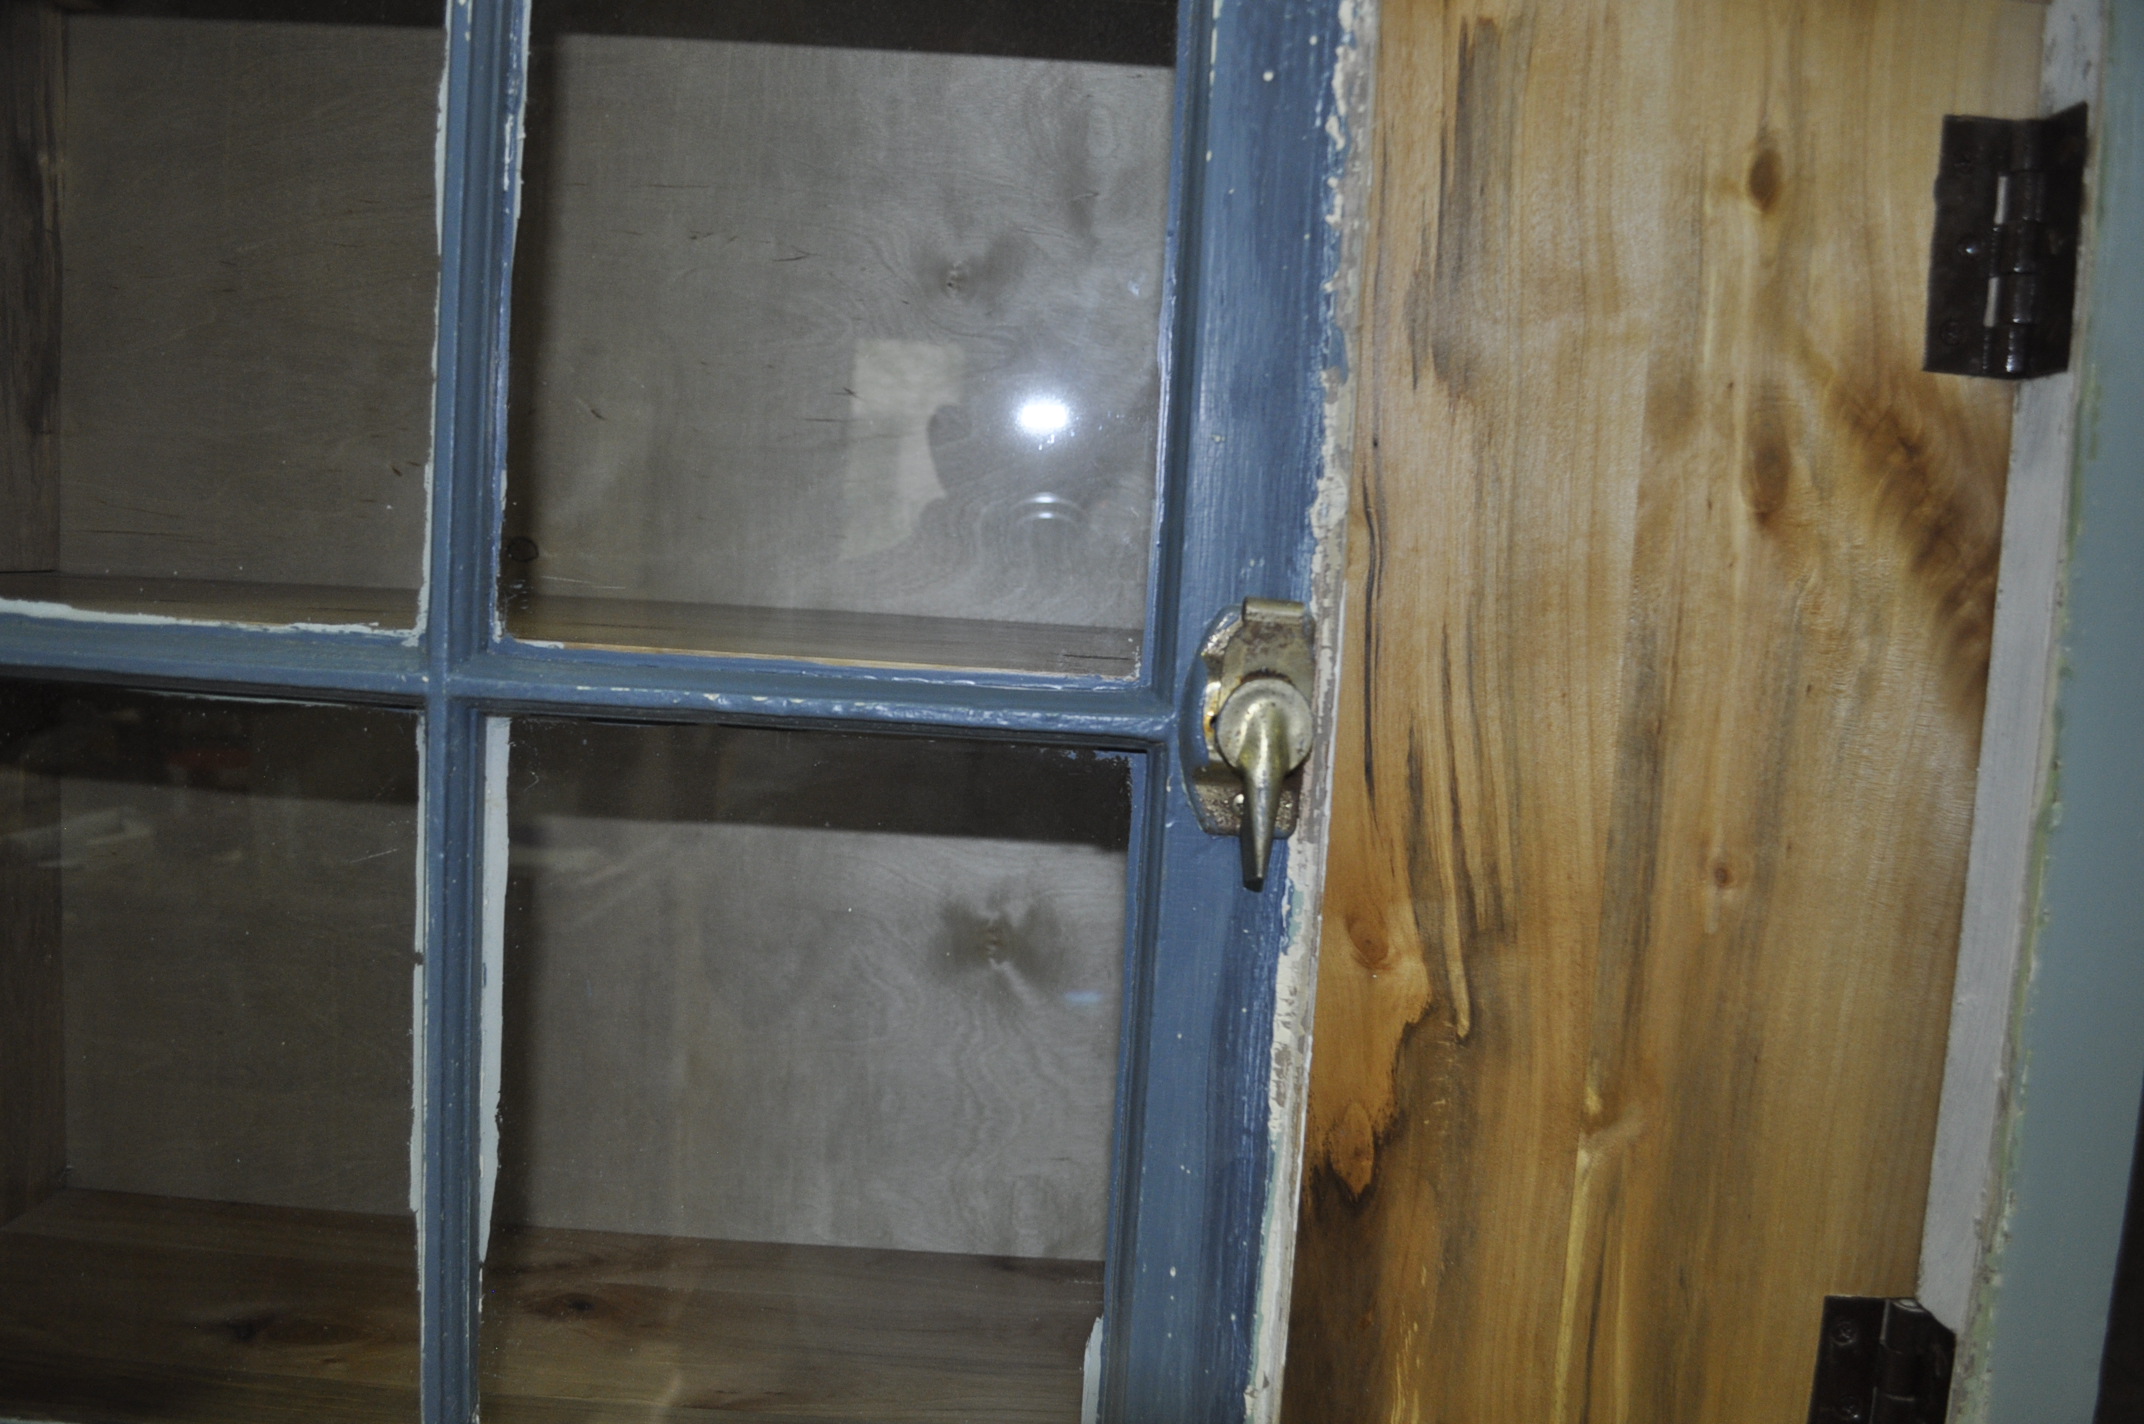
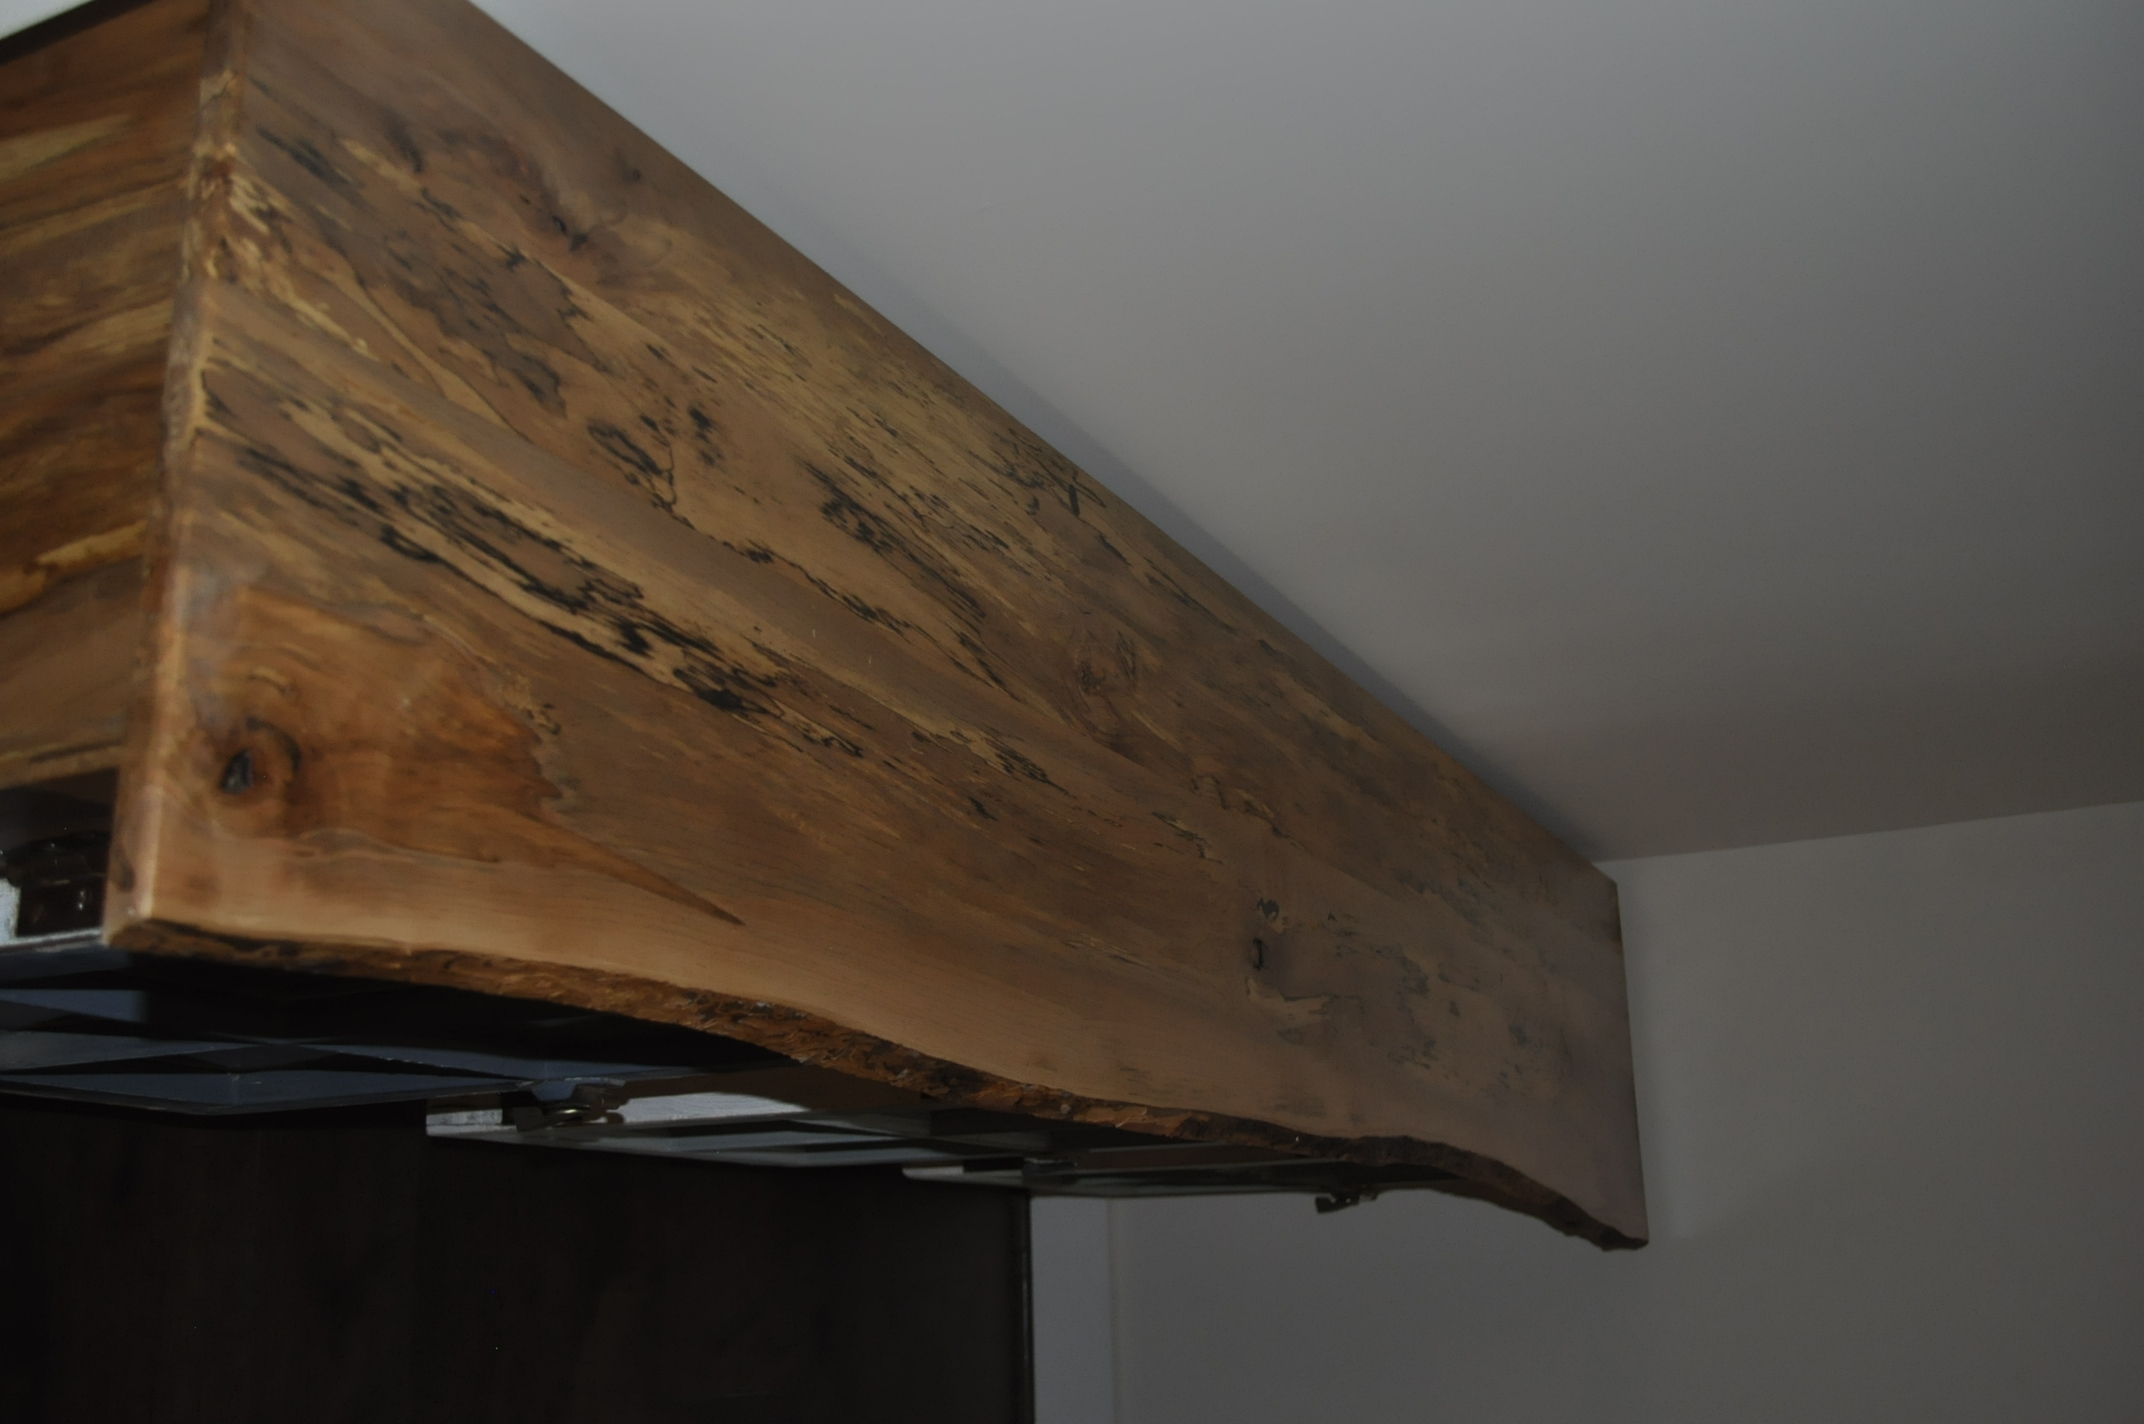
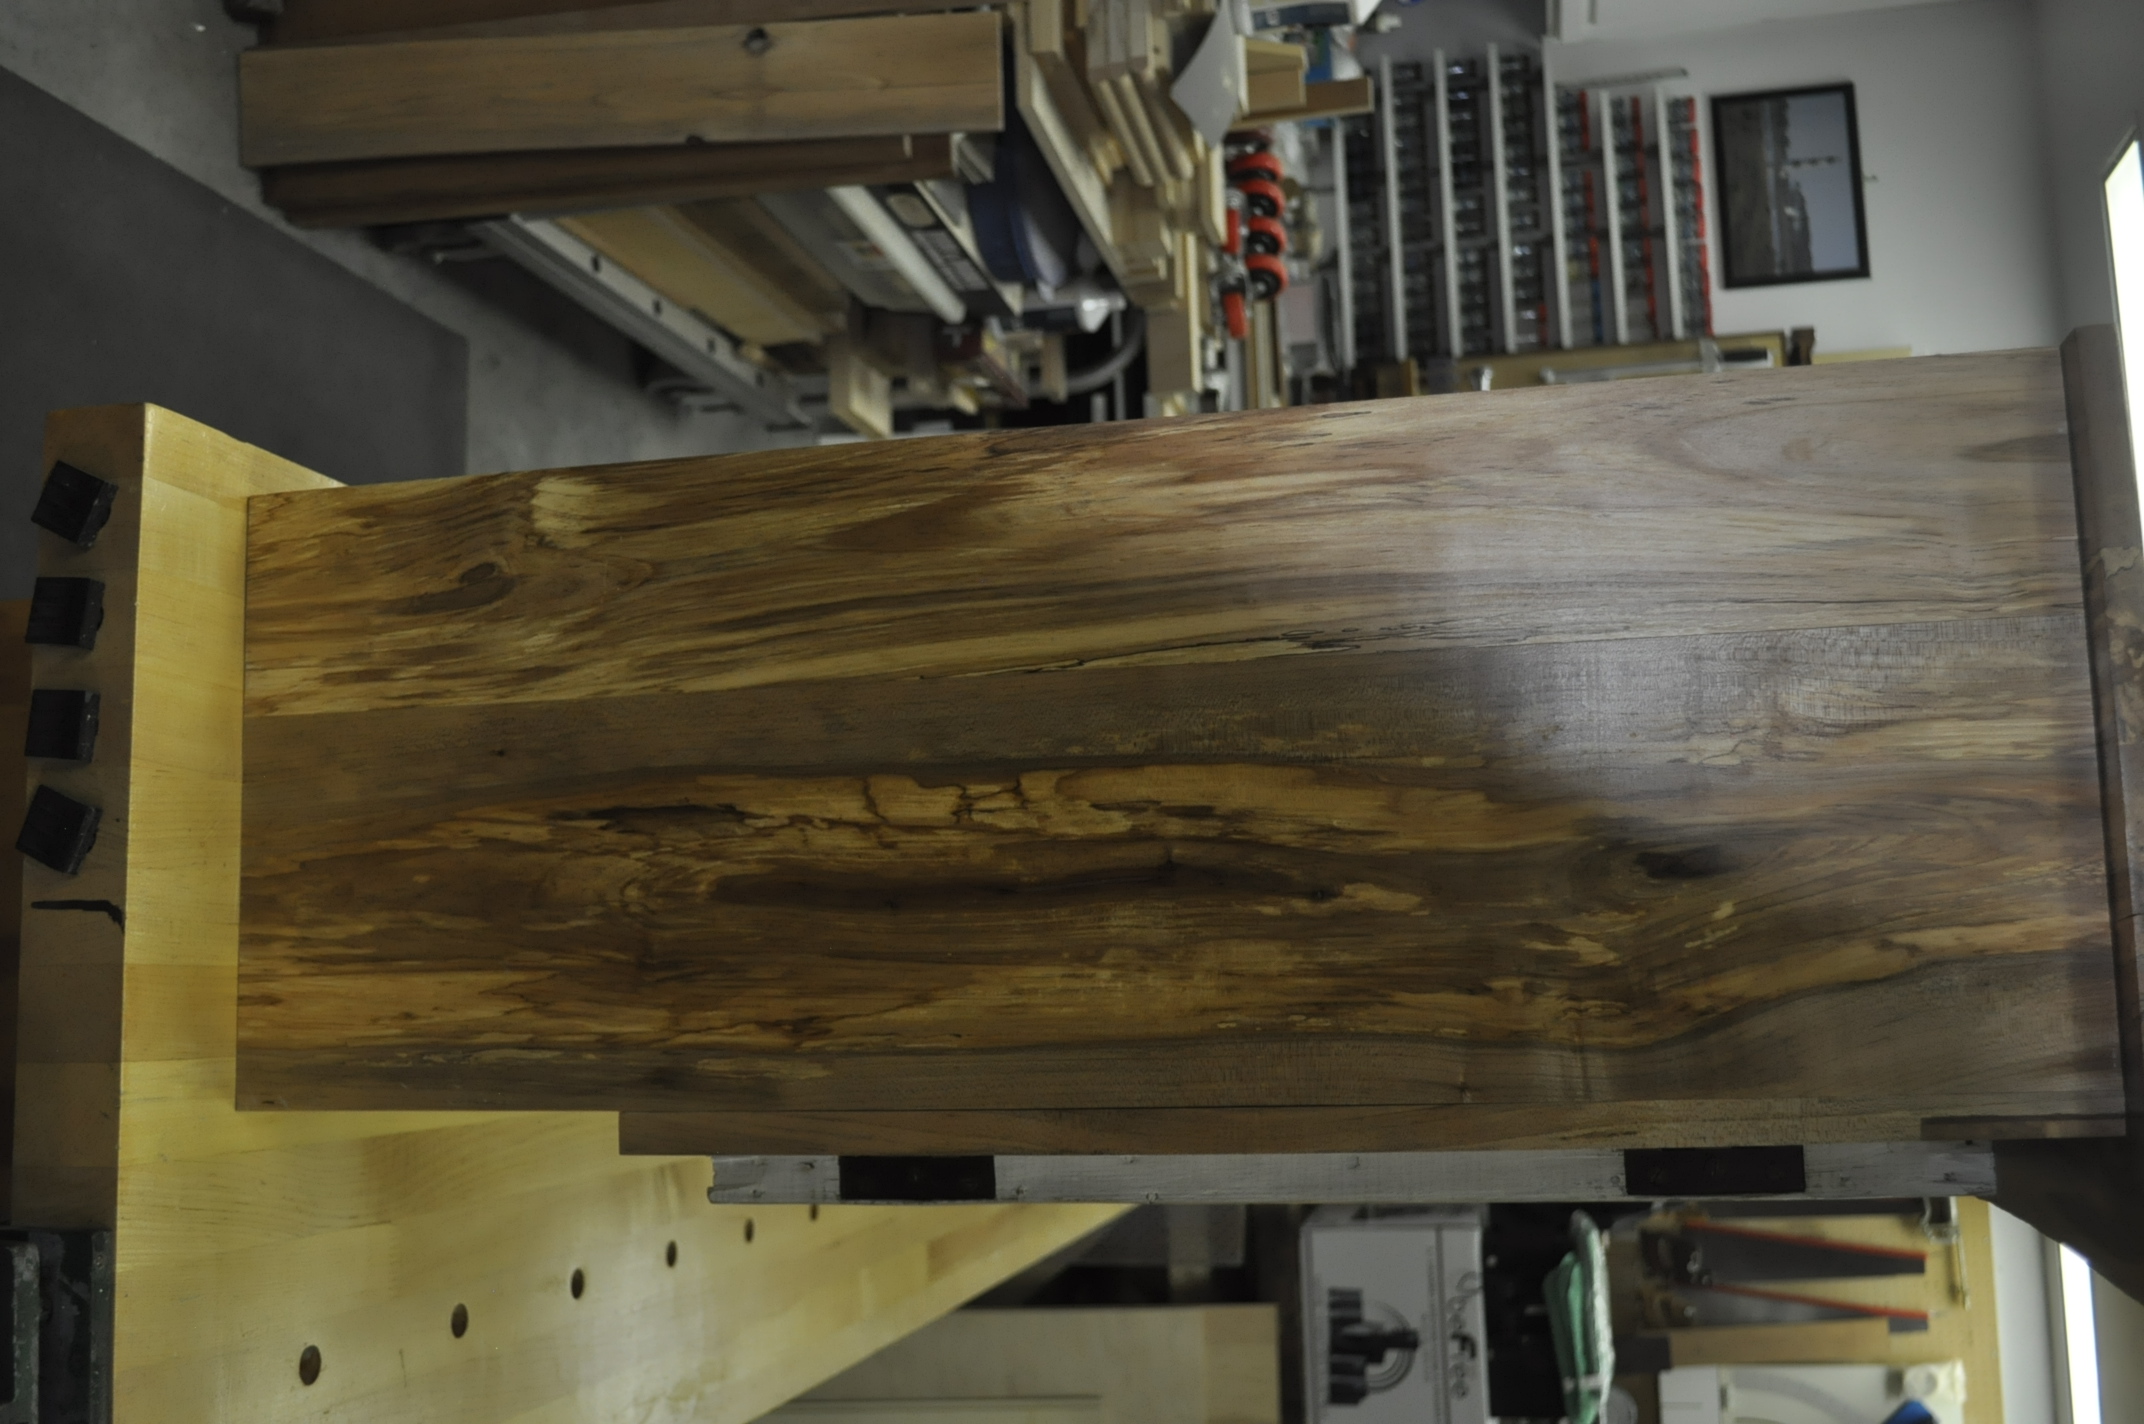
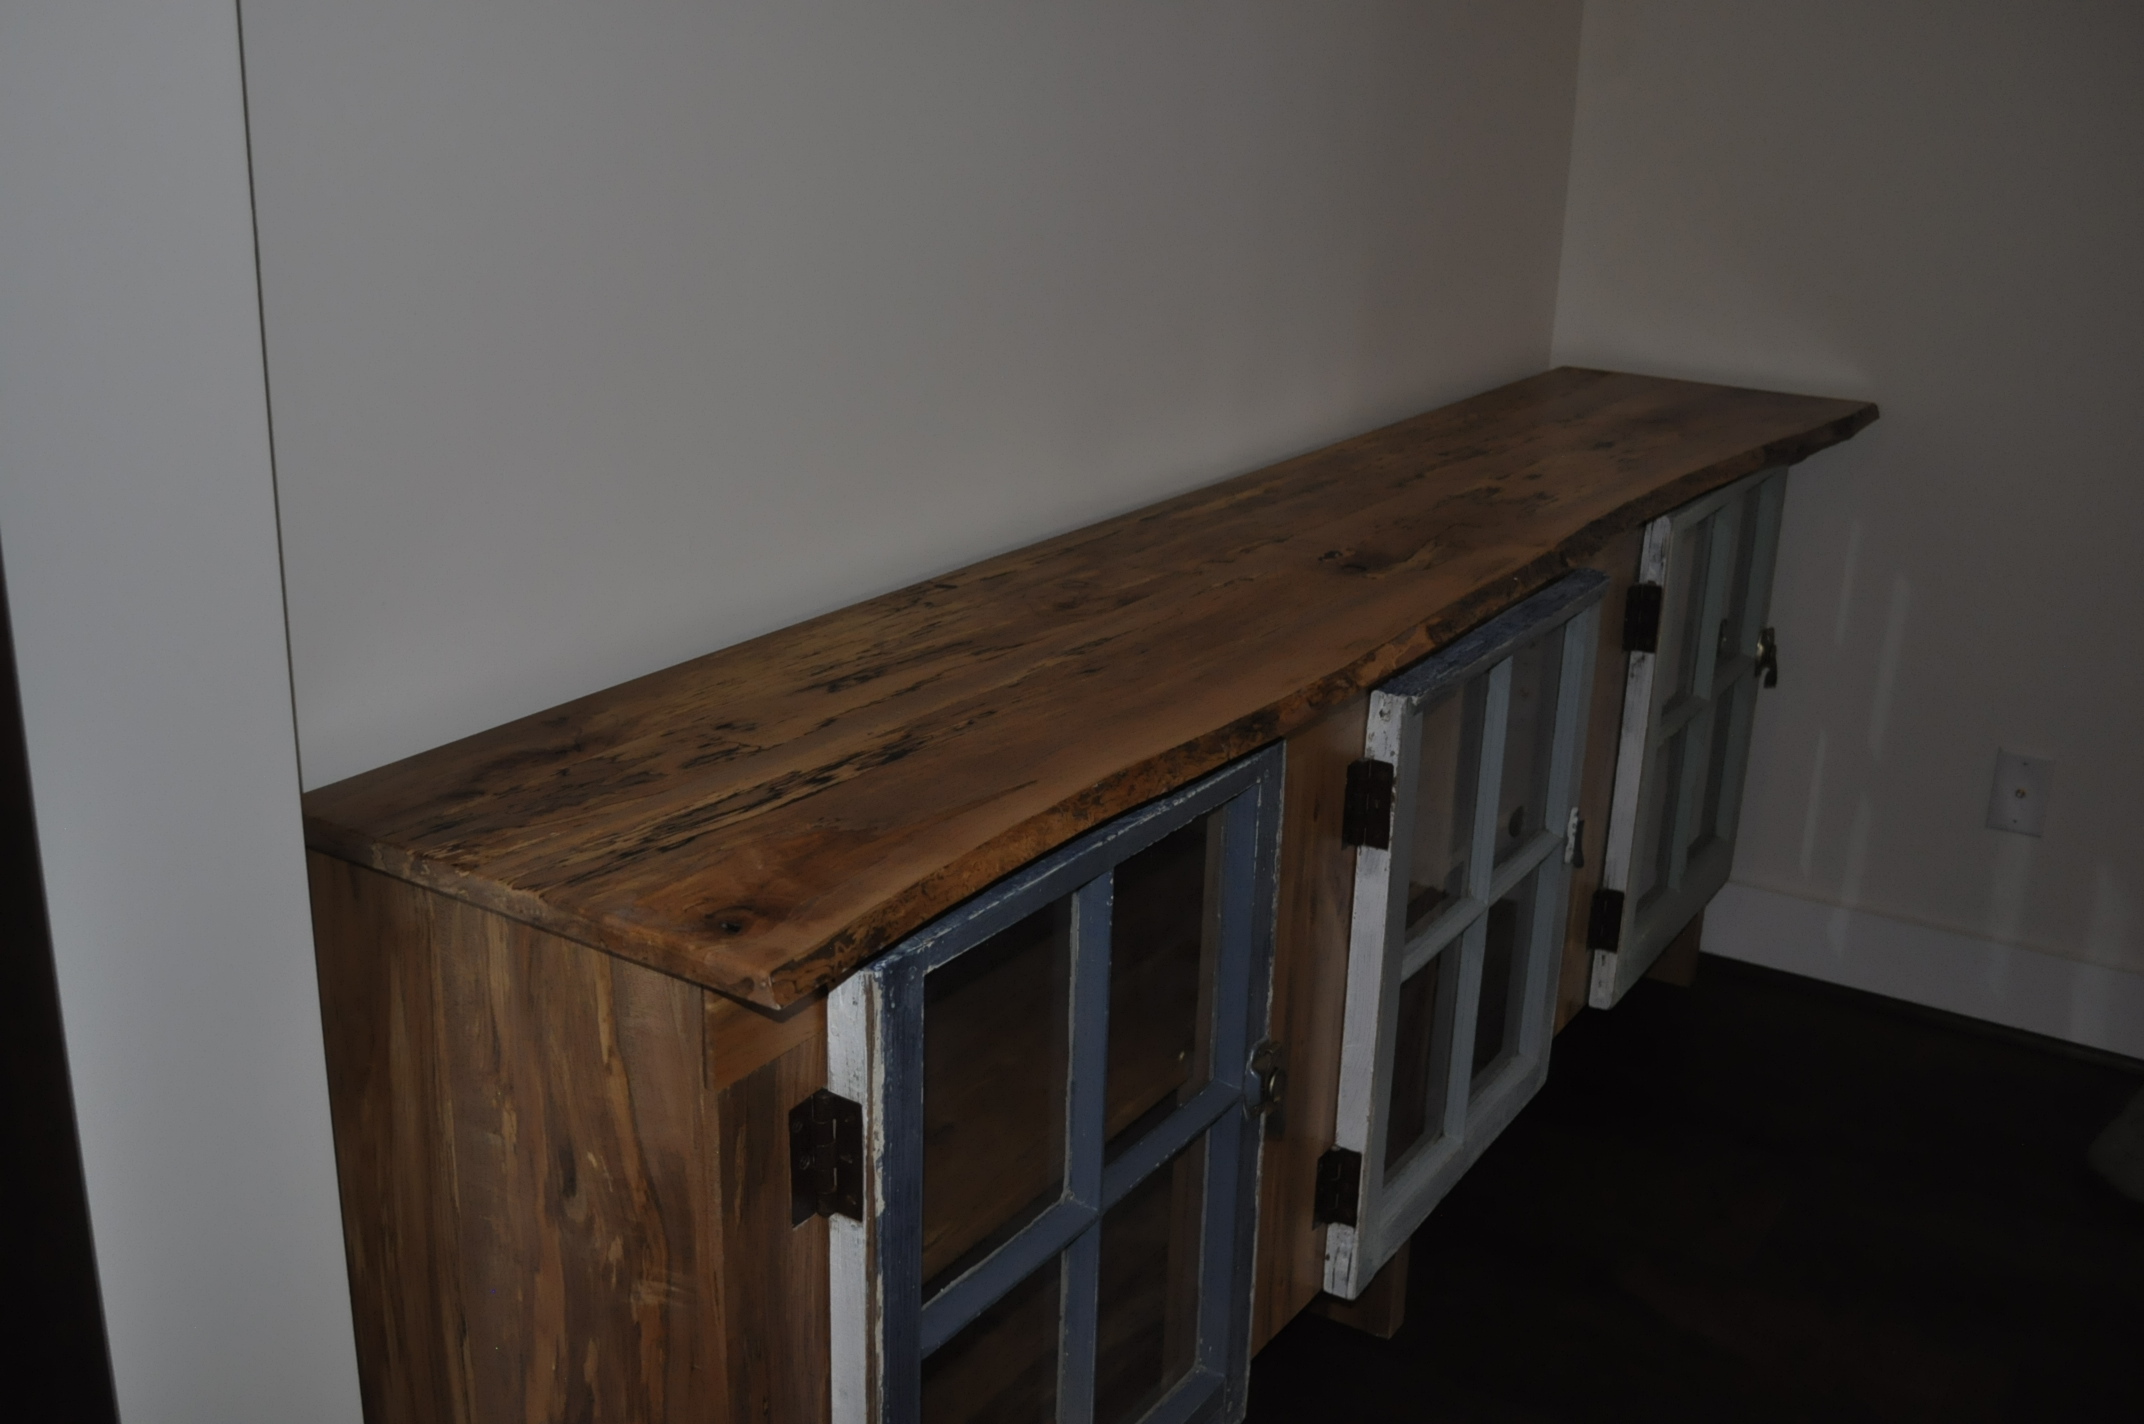
Spindle Tree Creation Using Old Chairs Nina got with my wife and they came up with the architectural plans: the length of the cabinet should be the length of our sofa, its height should be about the same as our sofa, and the width? Well after measuring various cabinets in our house they came up with the width as 12”. One other thing, there needs to be open space from the floor to the first shelf so that their robot Rumba can sweep underneath. And yes, please keep the window locks on the window panes as they add character to the old windows. Nina also wants the bookcase to have a Shabby Chic look (whatever that is). I pondered over the architectural plans for some time and then took over the big dining table in the formal family room to draw a full size representation of the bookcase on a roll of brown craft paper. The first go around with the full size drawing told me that with the dimensions they gave me that things would not work. I went to the back side of the brown craft paper and finally came up with a full size drawing that would work with most of her dimensions. After discussing these changes over the phone Nina approved of my drawing. My next discussion came with my wife and what type of wood to use to build the bookcase. My wife struck down my wood selection because she said it would not match the Shabby Chic look. For those who do not what the Shabby Chic look is about here is a description I got from the internet: Shabby Chic is a design style that combines elements of vintage and modern styles to create an elegant, yet worn look. This décor theme is characterized by its use of soft colors, gentle textures, natural materials and romantic appeal with a country-cottage feel. My wife suggested that I show her some of the spalted Birch wood that I had in my outdoor drying shed. I drug out a nicely spalted 4/4 plank with a live edge still on it along with another 8/4 plank, also with a live edge. My choice would be the 8/4 plank but I wanted Nina to make the choice as she was paying for the project. I invited Nina over to look at my wood selection to see if it met her criteria. She fell in love with the 4/4 plank, its look, and the fact that the lumber came from their house out on rural Johnstown Road! Step one accomplished! The Wood History Back tracking to November of 2014 Phil and Nina were clearing their yard in rural Chesapeake and had taken down a lot of Birch and Maple trees and would I like to have logs for my building projects. I told them yes and I enlisted the help of guild member Paul Garrity to saw them up. After Paul cut up the logs Phil helped me transport them over to our home in Chesapeake. This was my first experience with freshly milled lumber and I had no place built at the time to properly dry the lumber. As a temporary place to store the lumber I placed it on the seats on our deck and wrapped it up in some blue tarps. Temporary became several months until I got my drying shed built but I finally got the lumber hauled back to the drying rack lean too behind my shop and properly stickered. End of the story for a couple of years. In August of 2016 I installed a new spiral cutter head in my Grizzly surface planer. Wanting to check out its operation I decided to pull out the lumber from Phil and Nina’s donation two years ago. The new cutter head worked miracles planning the wood but something else really popped out to me while planning the wood. The wood was filled with all sorts amazing lines and figures. I showed the lumber to my wife and she was really impressed with how beautiful the lumber looked. I had never heard of spalted wood but now I had a whole lot of it surfaced planed. This wood was to be the foundation for the new bookcase. Building Of The Bookcase The building of the carcass of the bookcase went very well and I was very impressed with its look using the spalted lumber. The part that I had been dreading on building the bookcase had finally arrived and I had to tackle incorporating the three window panes into the design and make them the doors to the bookcase. The windows were in bad shape. The first step was to get them to the shop and scrape off all of the old flaking paint while protecting the Shabby Chic look, whatever that might be. I then took the windows out to the driveway and gave them a good bath with soap and Clorox solution to get rid of the dirt and mold. After getting them cleaned up and properly dried they went back to the shop to have the glass panels re-glazed. About half of the glass panes were without glazing. After re-glazing the glass panes I got out the primer and primed the back side of the windows leaving the front side their original Shabby Chic color. I then called in my Shabby Chic expert to give me advice on what to do with the primed side of the window. After looking at the window and its slightly rough texture form the previous paint coats she told me that nothing more needed to be done to the primed side of the window. It met her Shabby Chic requirements. The next issue with mounting the window doors was the selection of the hinges to meet the Shabby Chic requirements. We found nothing locally but finally found some hinges in Van Dykes Restorers catalog. We finally chose some heavy duty extruded butt hinges that had been aged to give them the rusty look. We ordered them and about a week later they arrived. Turns out that they came from India and the finish was true rust! After getting rust stain all over my hands I took them outside and gave them a quick spray of polyurethane to protect the rust color. With the hinges also came the rusty screws, 1 ¼” flat head slotted screws. These screws would work in the window frame but not in the face frame of the bookcase. I got creative, got out my Shabby Chic info, went to the hardware store and picked up some ¾” flat head Philips screws. I mixed up a small cup of paint using some brown, black and red paint and matched the color of the rusty butt hinge. I now have Philips head screws on one side of the hinge and slotted screws on the other side of the hinge. Very Shabby Chic if I do say so myself! The Rustic Shabby Chic Hinge Look After mounting the window doors to the cabinets I discovered that the window locks that Nina wanted on the windows would not work as they stuck out too much and would not allow the door to close all the way. To repurpose the window locks I turned them 90 degrees, mounted them on the side of the window and placed them in a closed position to make the handles for the doors! Very Shabby Chic deign. To keep the doors closed I incorporated rare earth magnets into the window and the face frame.
Shabby Chic Handles Using Old Window Locks A Look At The Spalted Wood Used For The Shabby Chic Bookcase. Very Warm Color
The Shabby Chic Bookcase In It's New Home (And Out Of My Shop!) There you have the story of this Shabby Chic bookcase! Gary |
||||
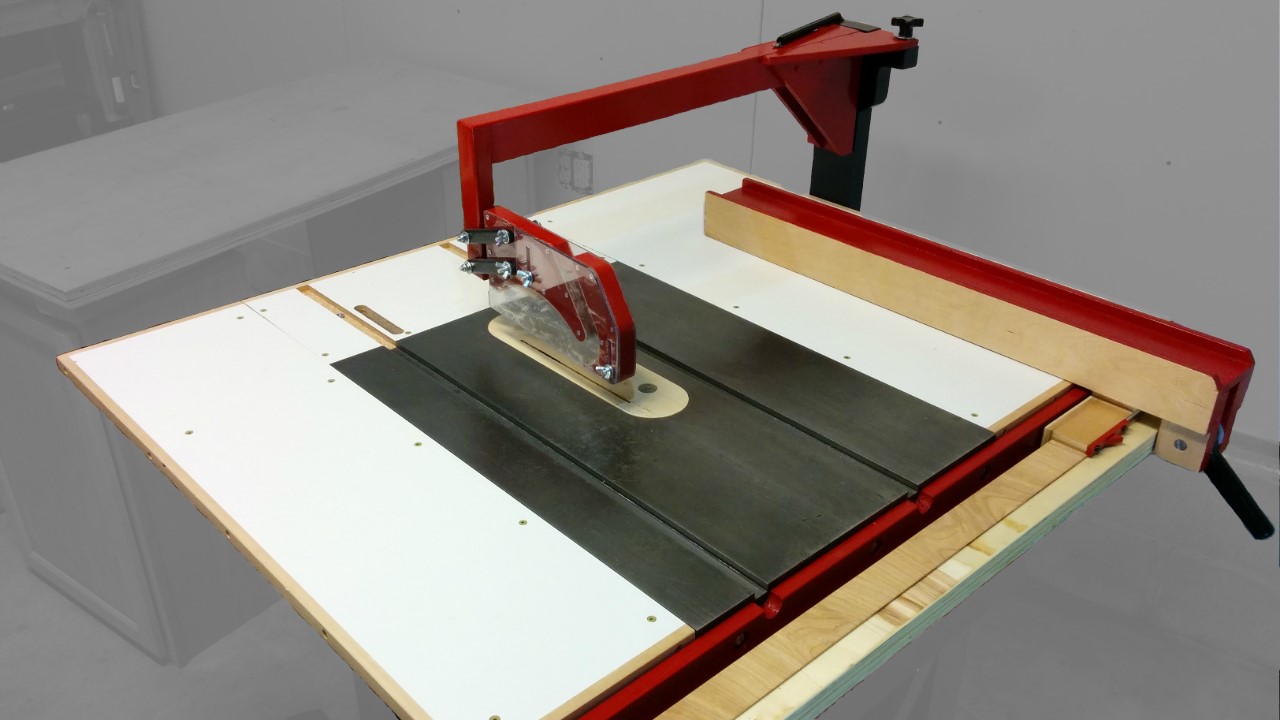
Shop Made Over Arm Dust Collector For The Table SawWhile looking through videos on You Tube I came across this unique over arm dust collector that Justin Depew made for his table saw. What got my attention is that Justin's table saw is in his apartment so that this thing has to work! The You Tube video is very well presented and if you want to see how he created his dust collection for his table saw click on the link, Over Arm Dust Collector For A Table Saw. He has since followed up on his initial You Tube video with improvements that he made to the original dust collector after using it for a year. Another interesting fact about this video and Justin is that he is an engineer, thinks like an engineer and documents like an engineer. He sells the plans to make this dust collector for $16 and since I was impressed with the video and dislike dust in my shop I bought the plans. What is interesting about the plans is that you get a 48 page detailed description of the process plus full size drawings in a PDF format. I have never seen so much detail in a document like this. Check it out.
Justin's Shop Made Over Arm Dust Collector For His Table Saw |
||||
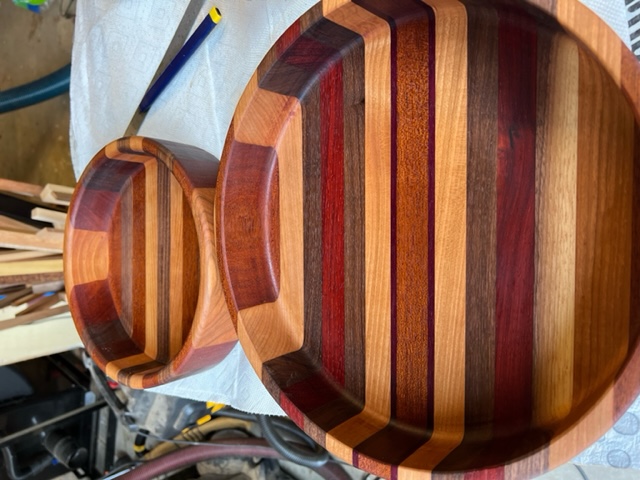
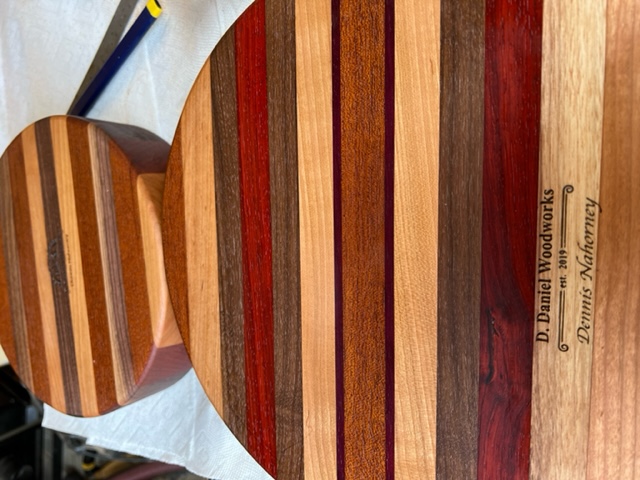
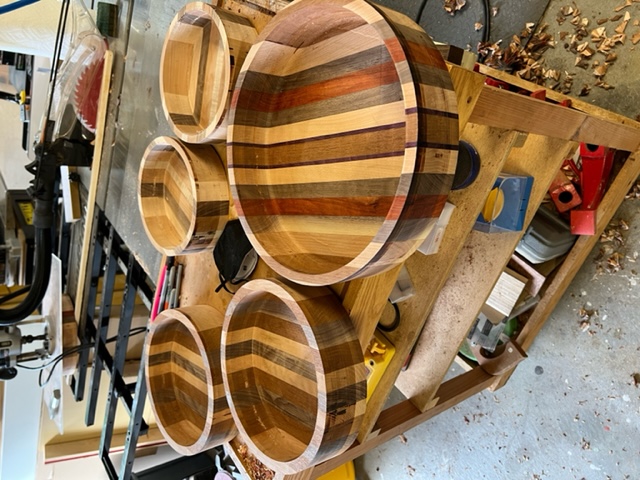
Guild ProjectsOur first project comes from Dennis Nahorney. These are some router/cutting board style bowls that I made. After gluing up blanks, I used a spiral up it bit and routed two circles in the blanks. Then I used a large Forstner bit and removed the center section of blank. A bowl bit was then used to clean up the bowl section. Sanding and oiling finished the look.
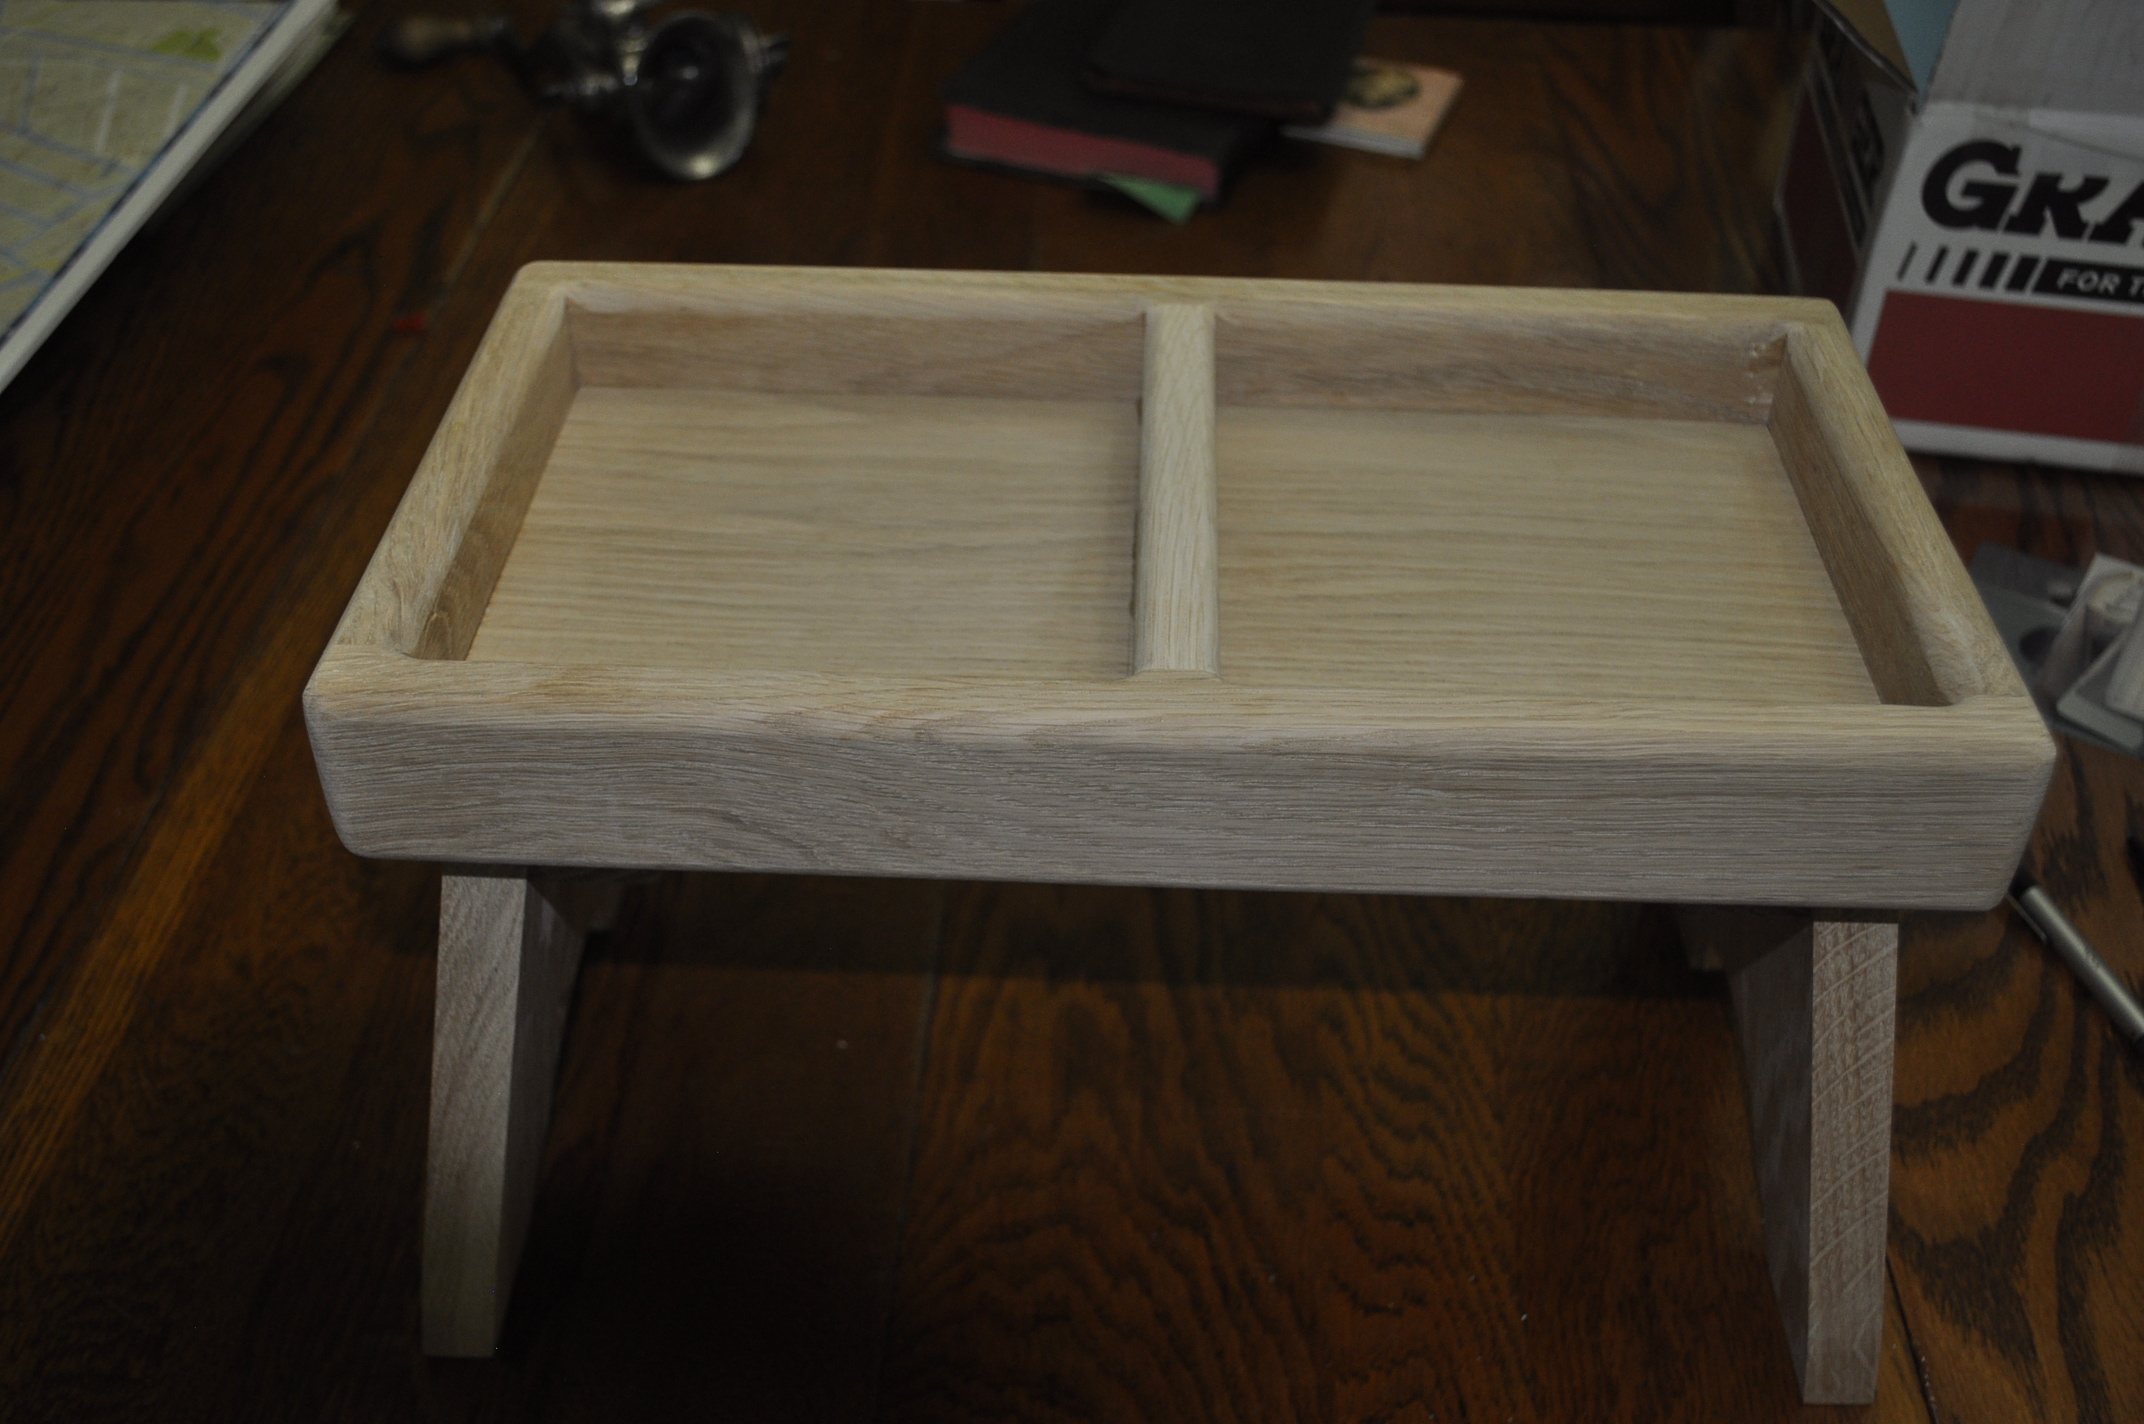
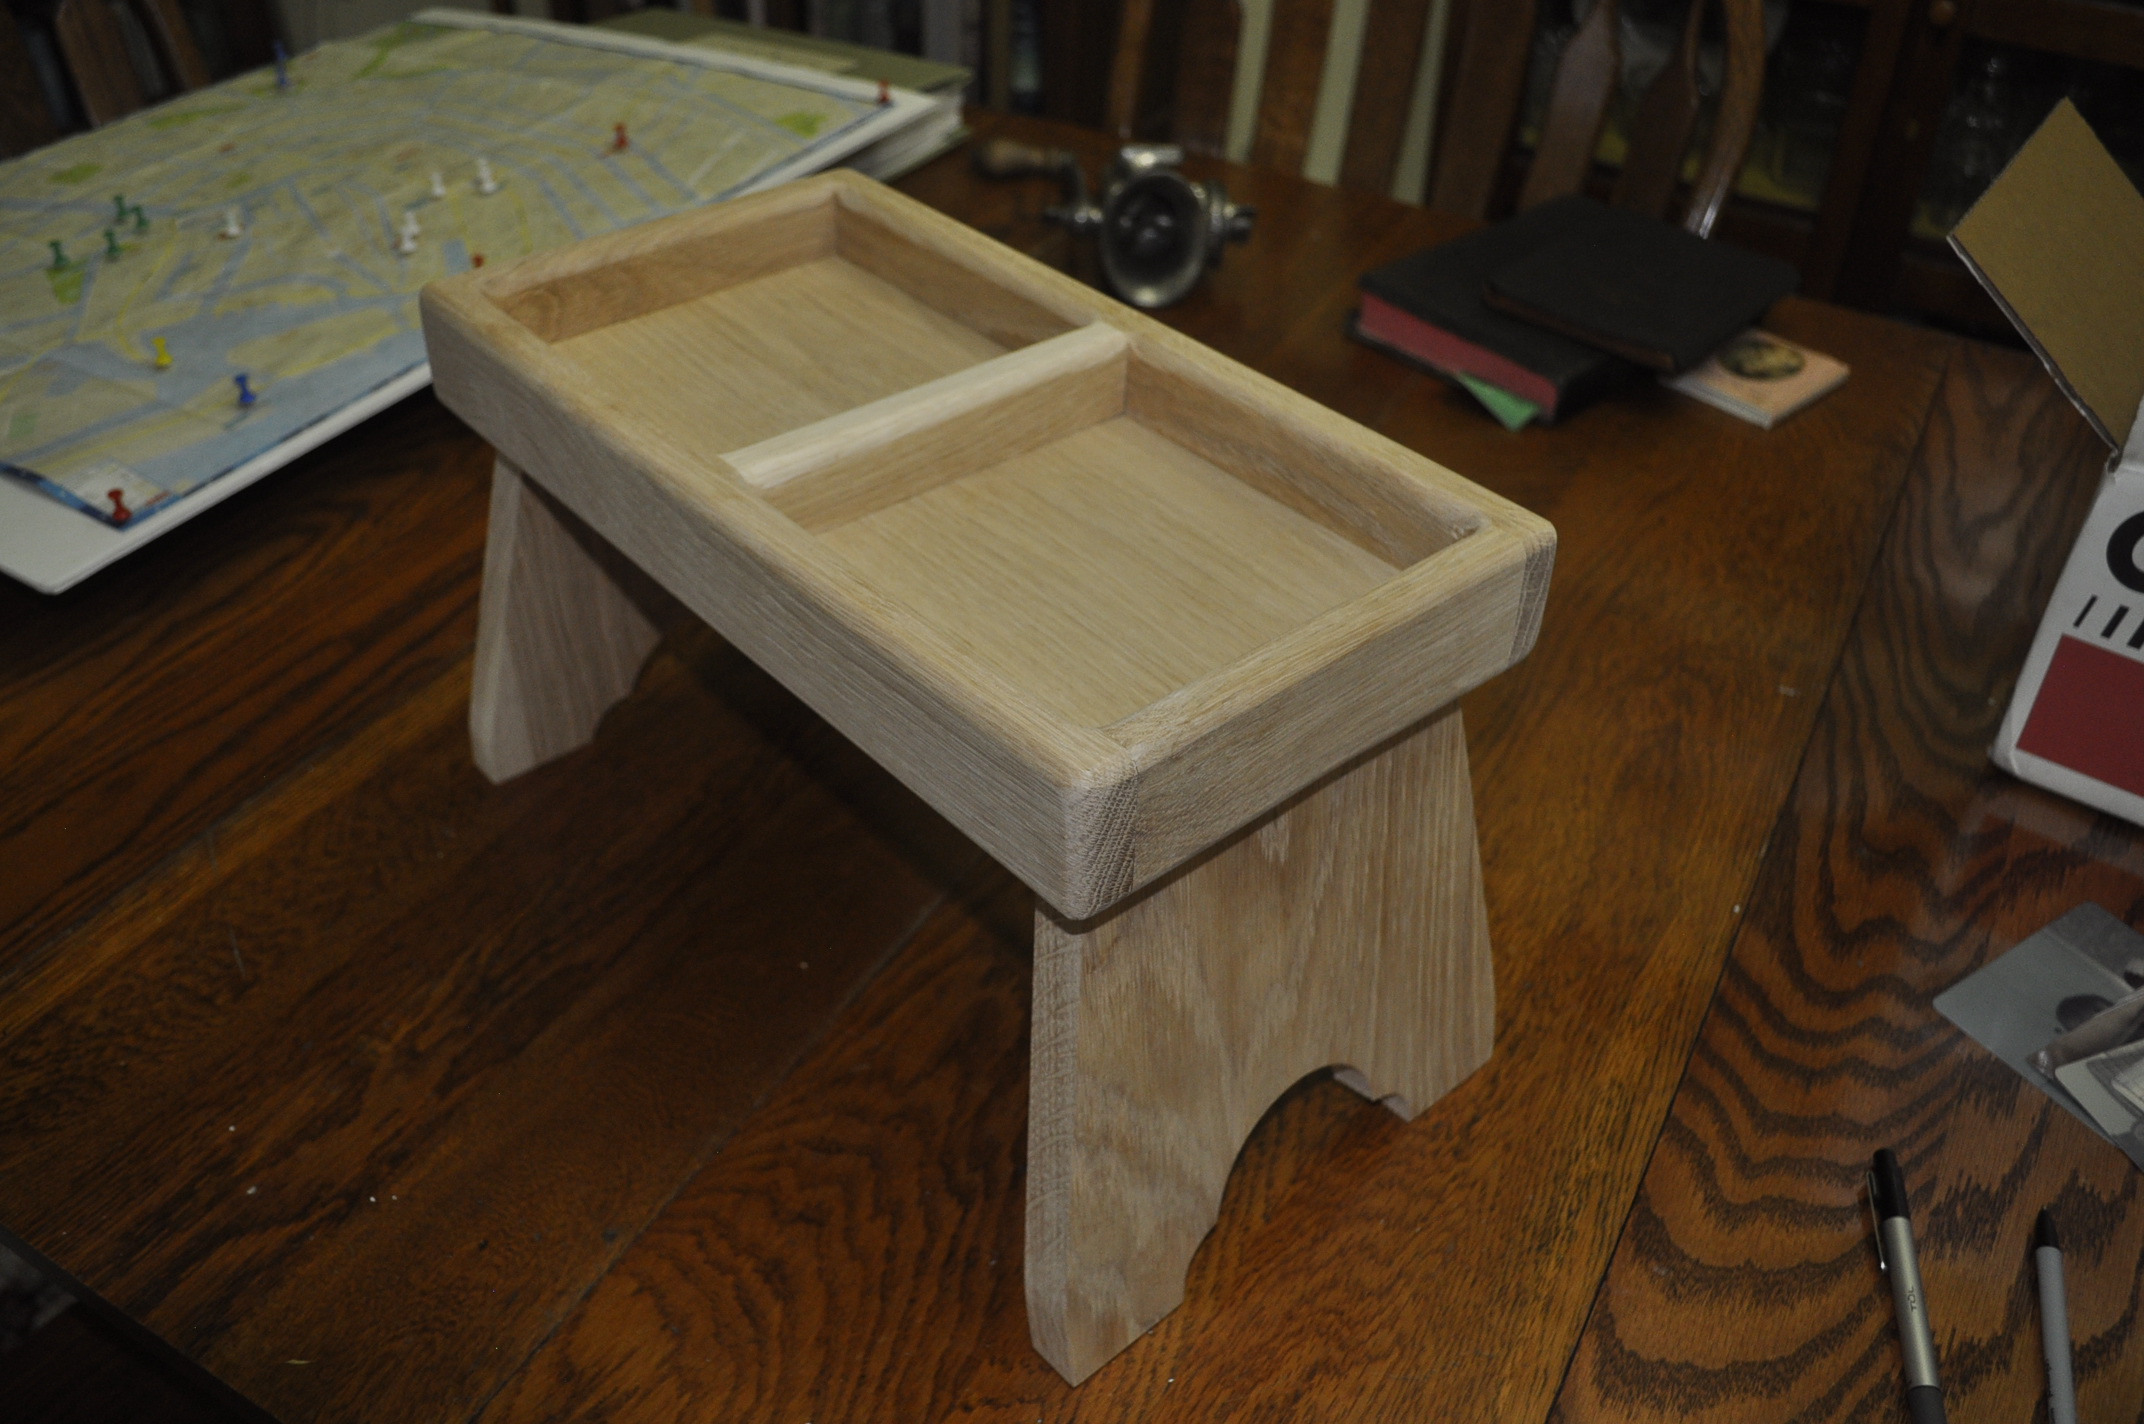
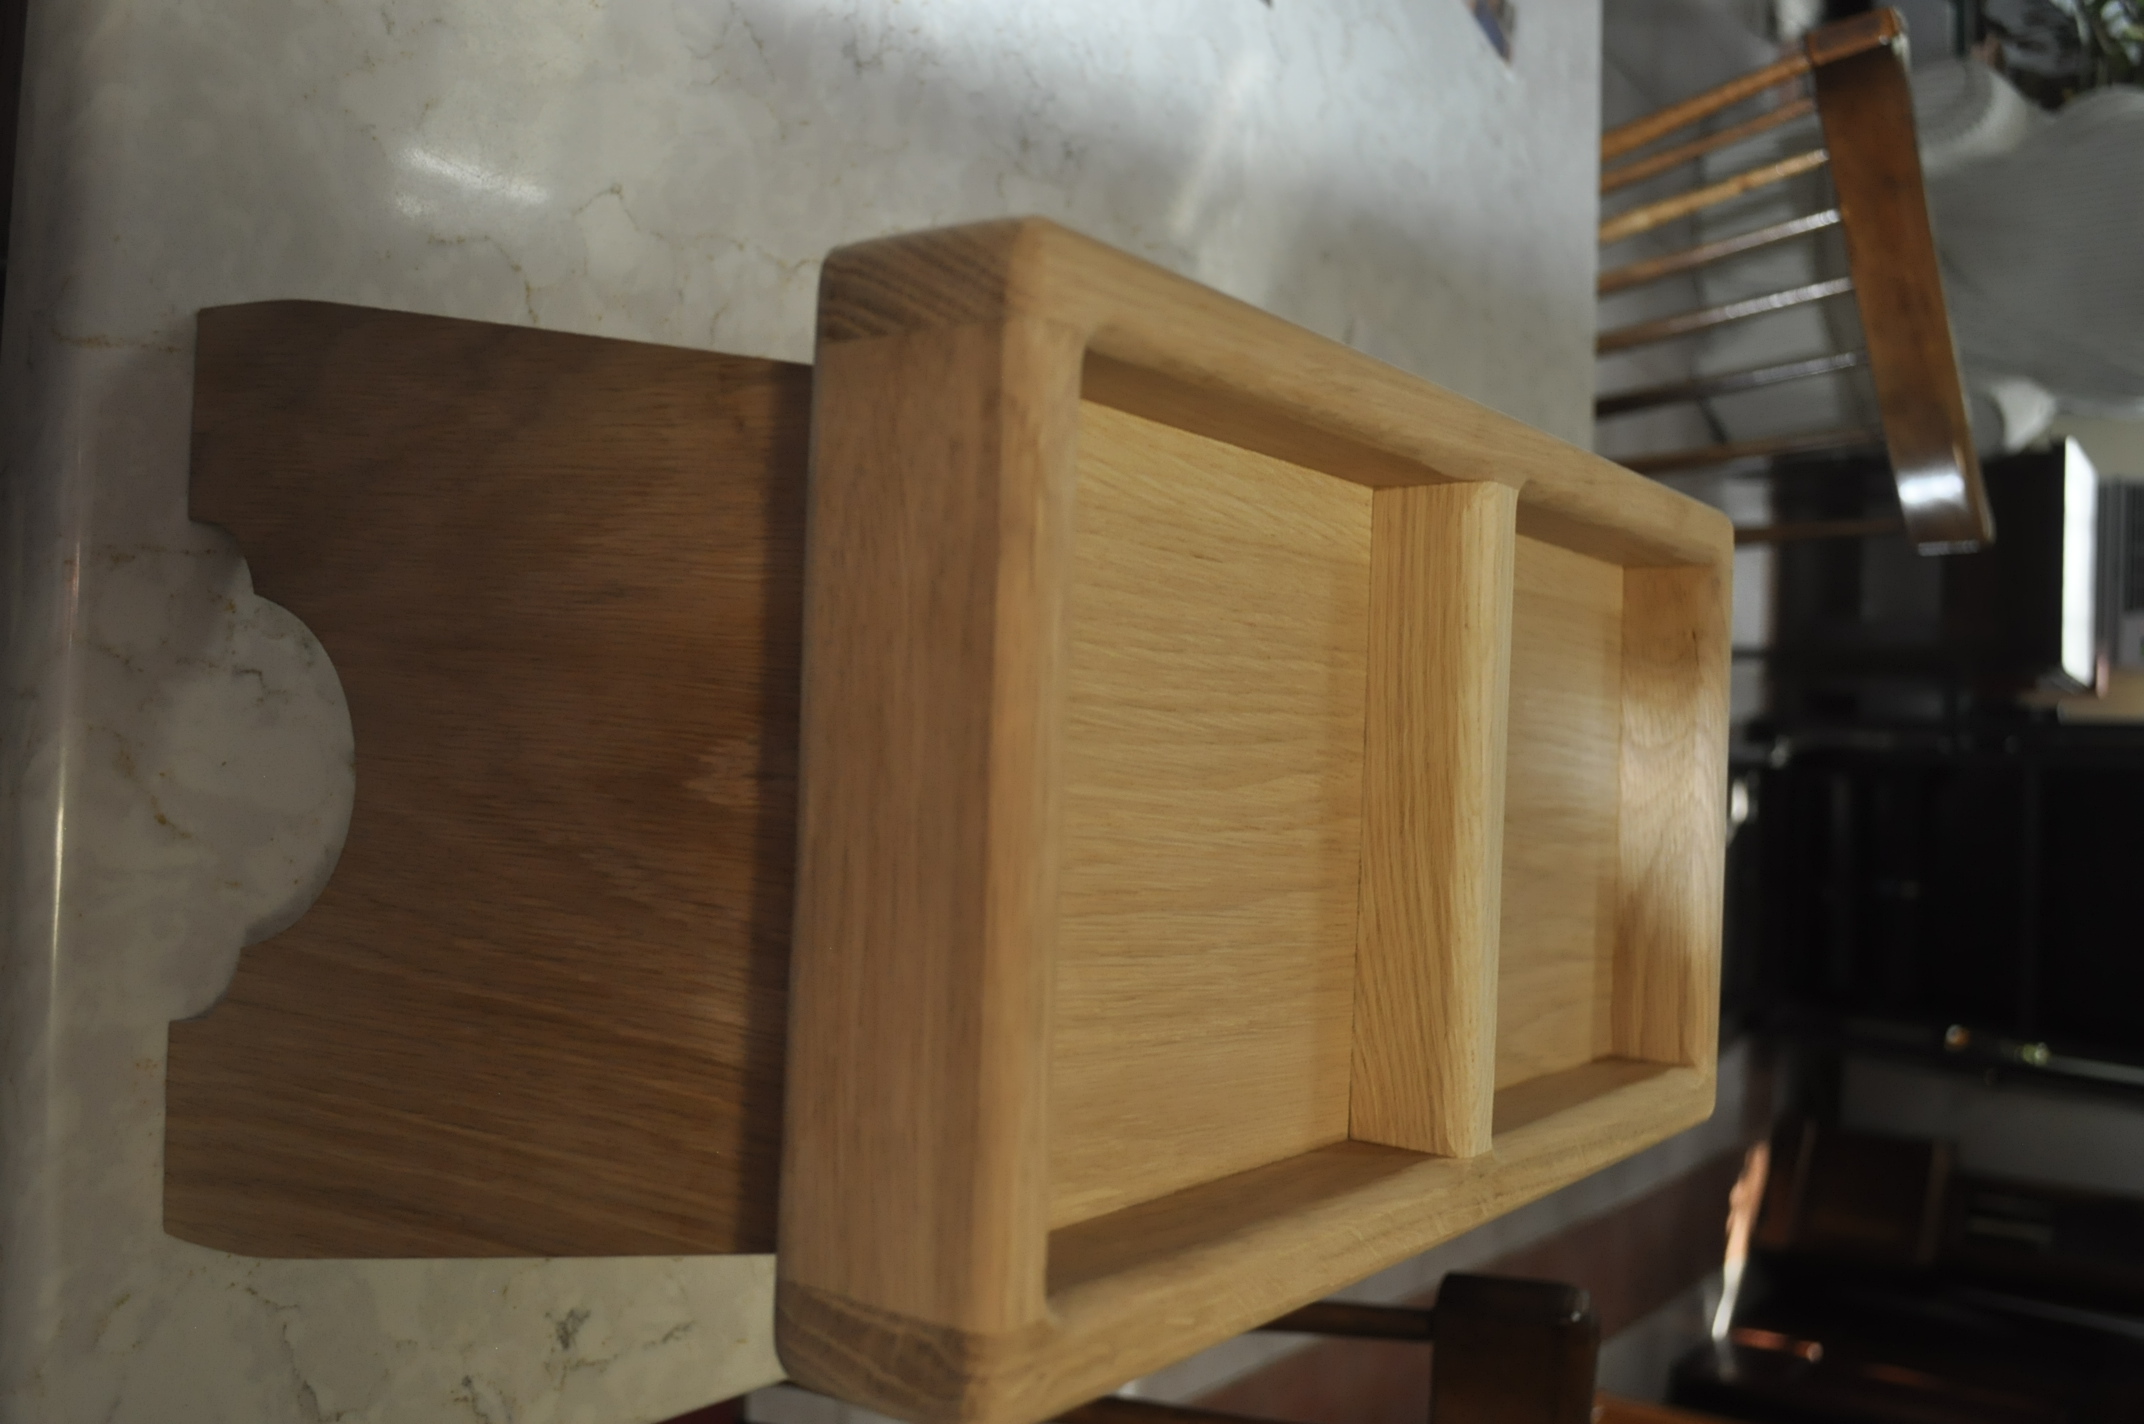
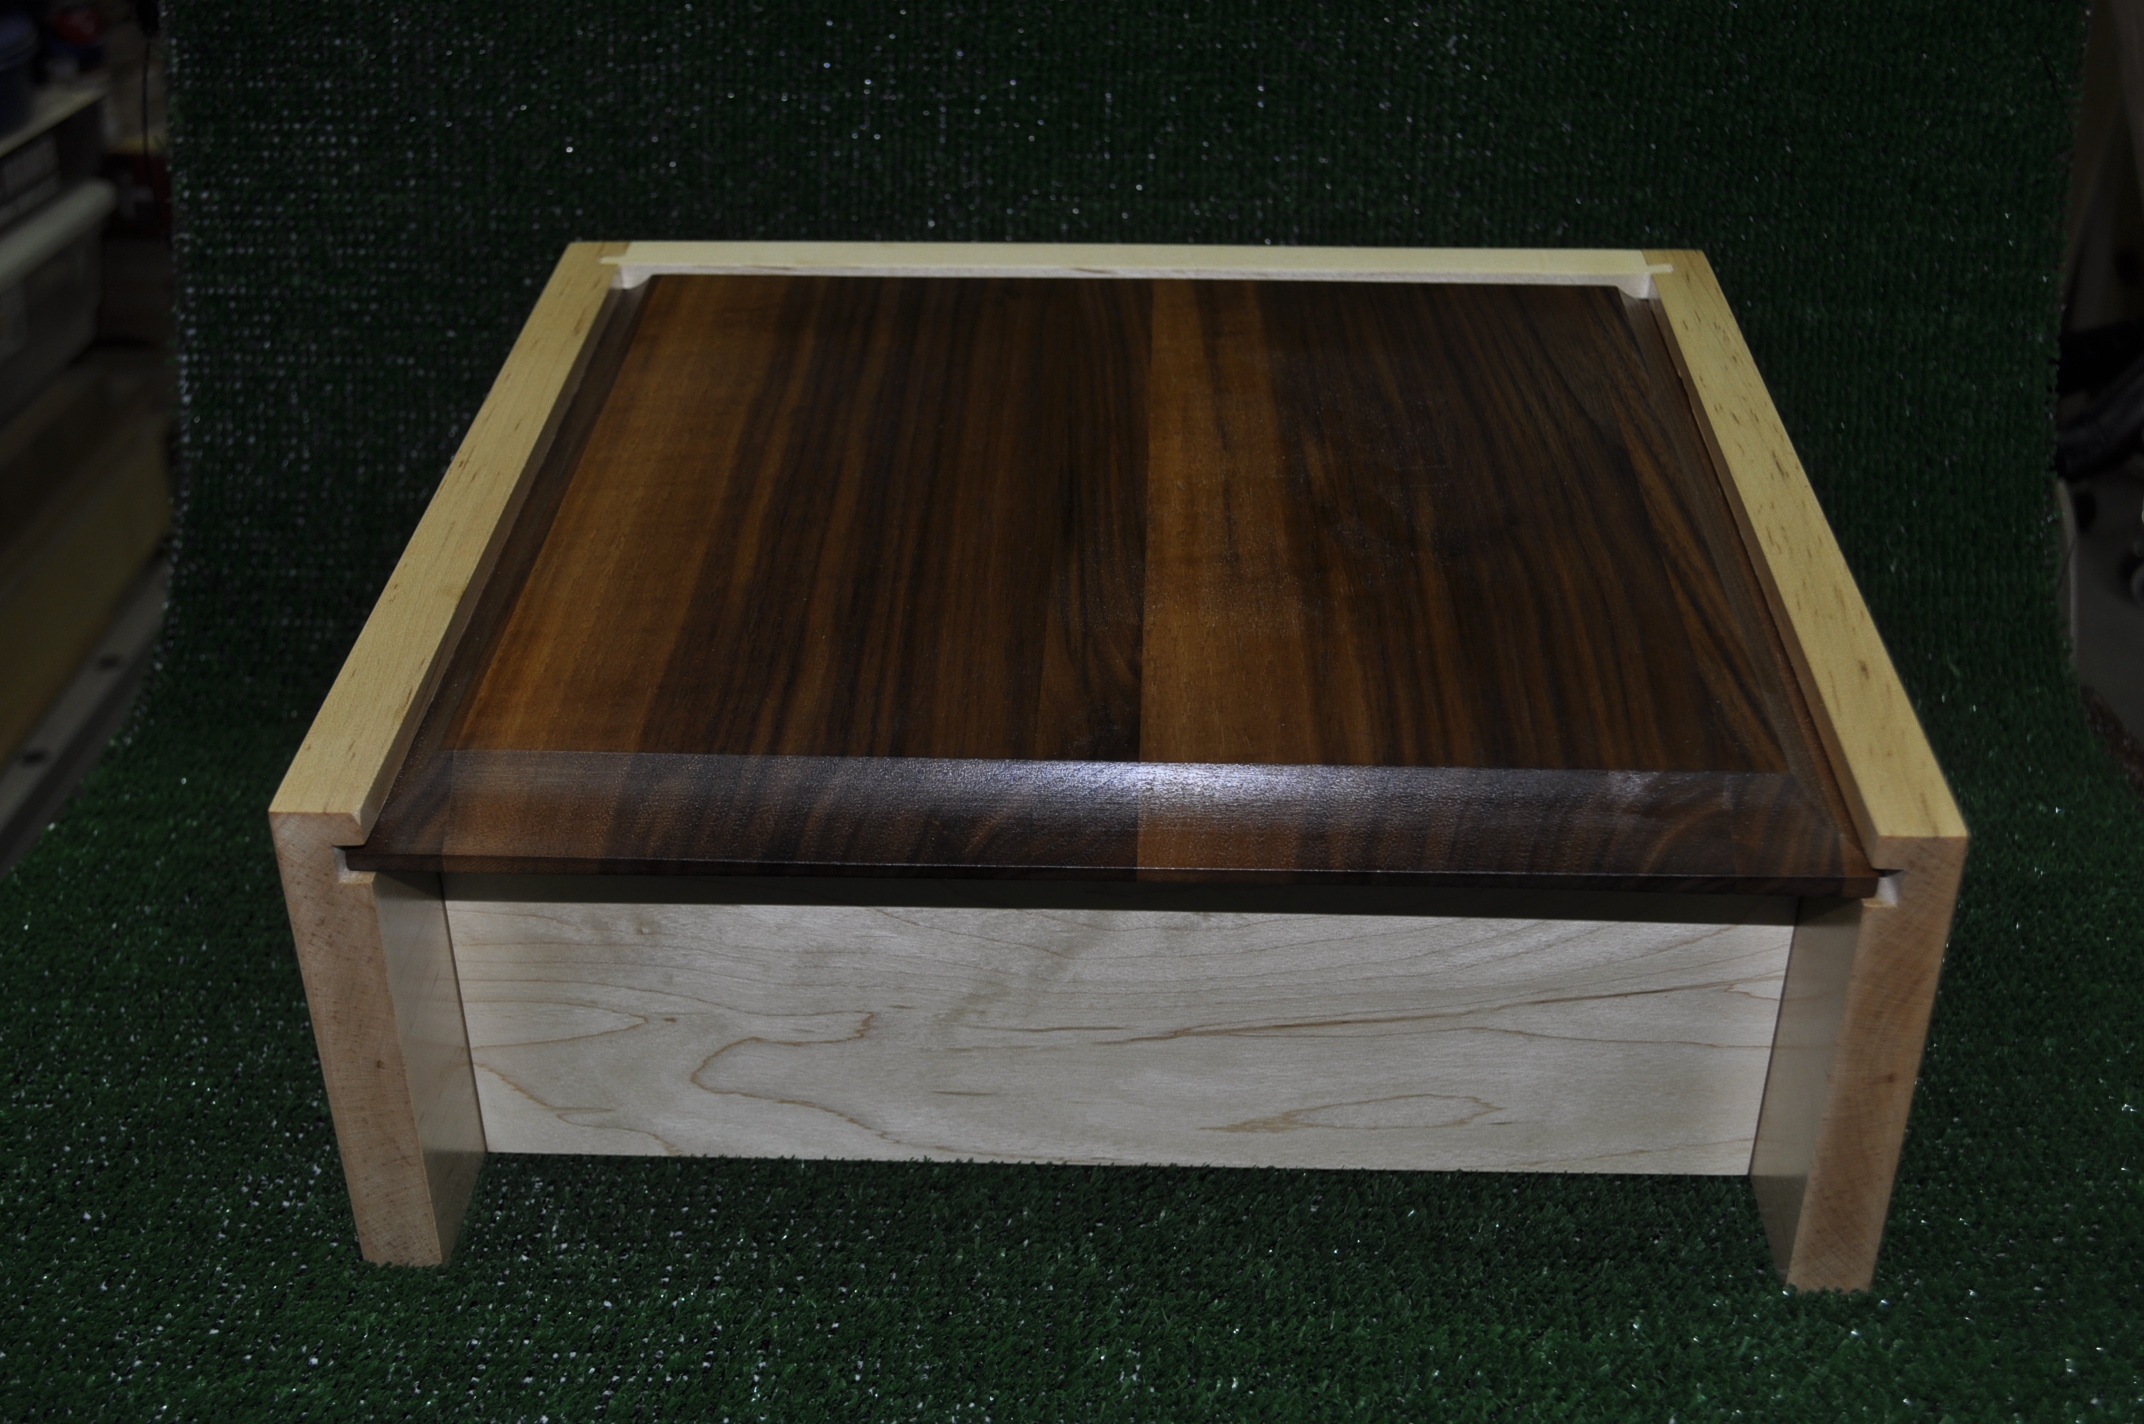
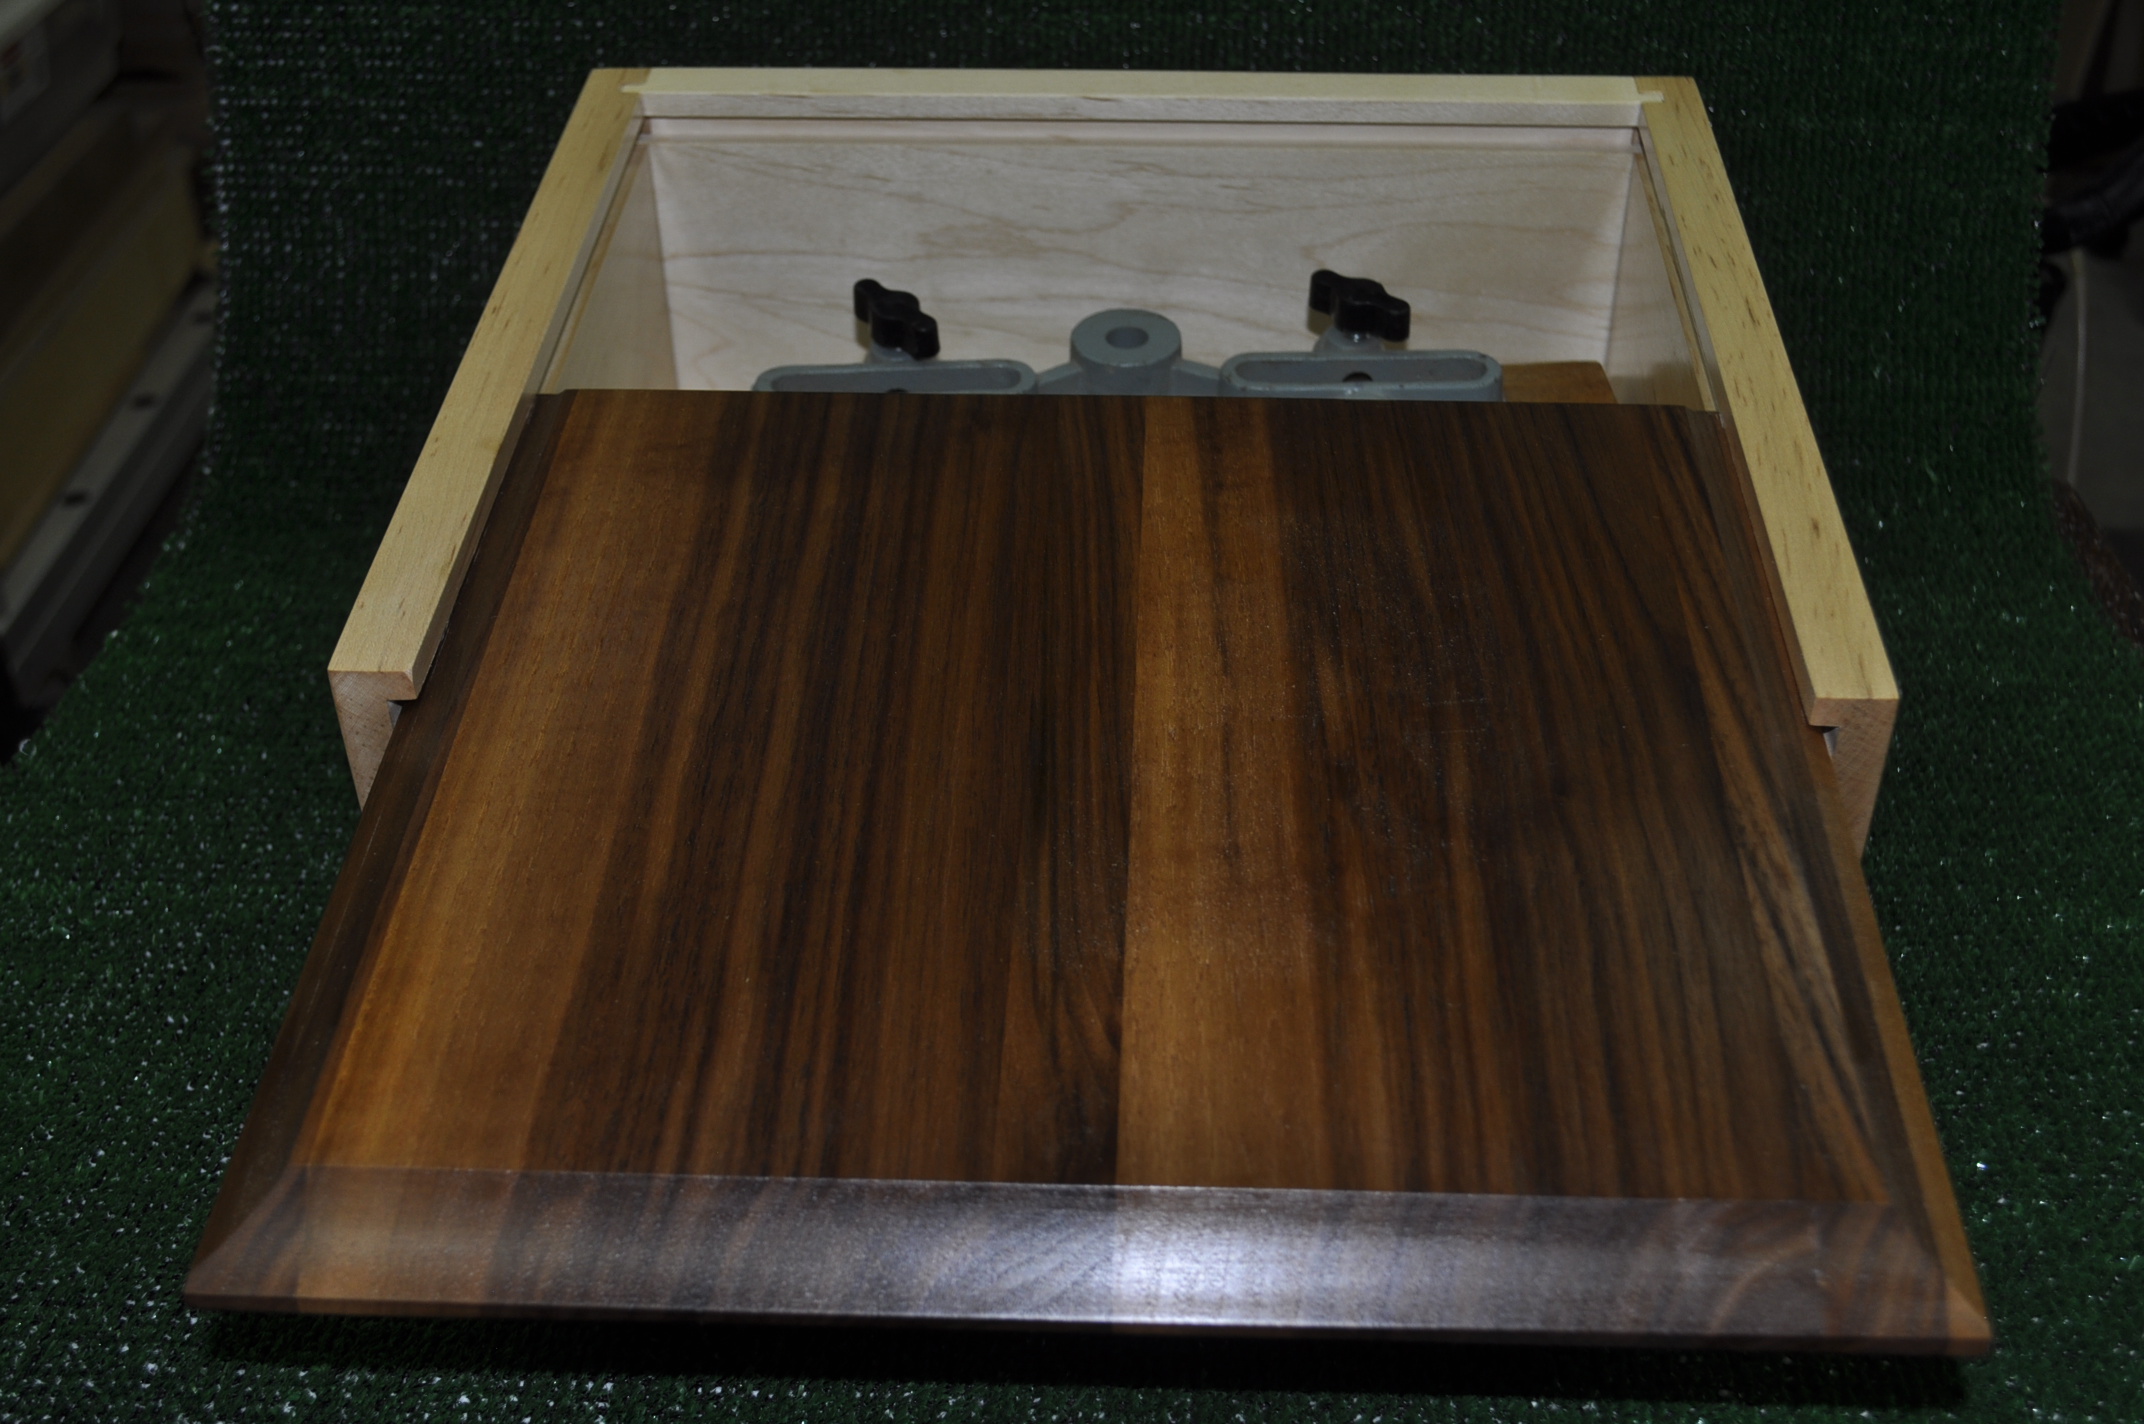
Dennis's Collection Of Very Beautiful Router Crafted Bowls Our next projects come from Gary Stephens. The first project is a dog feeding stand for our friends dog Lucy. The stand was made out of scrap White Oak. A divider separated the two dog bowls. I routed a nice edge on all of the edges to give the stand a nicer look. The legs taper out from the base at a 10 degree slant. The feeder was left unfinished as the owner had some issues about food safe finishes, VOC's and the dog licking the stand or chewing on it. Lucy's Dog Feeding Station Made Of Scrap White Oak Gary's second project was a fancy box used to hold his old drill press mortising jig. The mortising jig was originally housed in the box that the product came from but after many decades it was starting to fall apart. The frame for the box is made out of soft Maple and the top is a glue up of some scrap pieces of Walnut that were laying around the shop. The finish is General Finishes Arm-R-Seal oil and urethane.
|
||||
Guild CookoutOur guild annual fall cookout is finally returning after a pause related to the pandemic. When: Monday, October 3, 2022 Time: Beginning around 5:00 PM Where: Pat Lester's home, 1450 Plantations Circle, Chesapeake, VA 23320 Please RSVP to Fran Foster at This email address is being protected from spambots. You need JavaScript enabled to view it. so that he can get a head count on the amount of food to buy. |
||||
Vendor DiscountsGreg has been actively looking for vendors that will provide a discount to guild members for various supplies. A basic listing of the vendor will be published in each months newsletter. To keep this from getting too complicated for this newsletter the list will only contain the most basic information on the vendors. To get to the real meat of the vendor discounts you will have to go to the TWWWG web site www.twwwg.com and click on the tab marked "Member Information". Scroll to the bottom of the page and click on the Previous icon. Once on the second page click on the previous link one more time. This should take you to the article called TWWWG Vendor Discounts.
|
||||
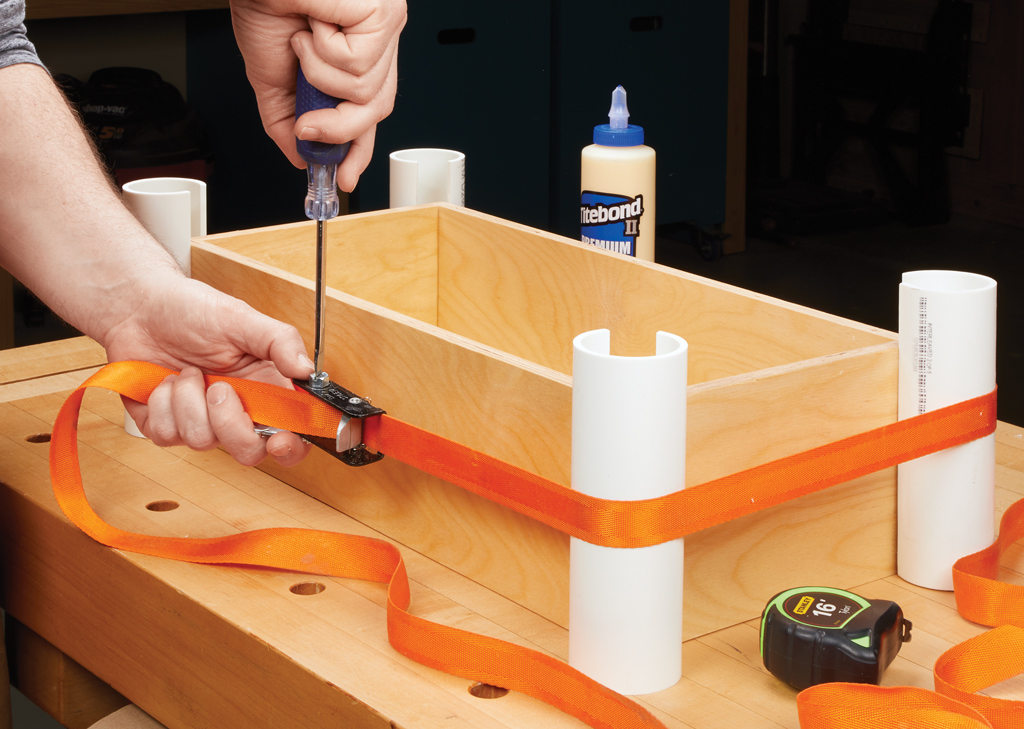
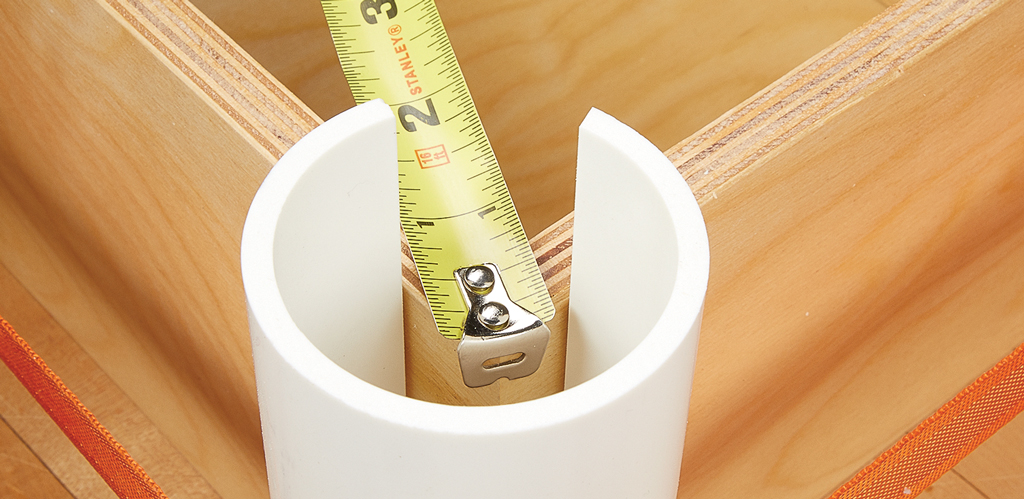
Band Clamp Corner GuardGreg Guertin sent me this tip from Woodsmith Magazine by Eric Lage. For full details of the tip check out the September 15, 2022 edition of Woodsmith Magazine. Small sections of PVC pipe are cut and then a slot is cut out of the pipe to accommodate the corners of the box. The PVC pipes helps supply even pressure on the entire corner clamp as the band clamp is tightened. The slot also allows you to get your tape measure into the corners to check on the squareness of the box.
|
||||

