Copyright 2023
Tidewater Woodworking President: Terry Nienaber, Vice President: Chris Zuchristian, Treasurer: Cheryl Davis, Secretary: John Tirey
  |
||||
| Web Links | At the Meeting | Last Meeting Notes | Tip of the Month | Editors Notes |
|---|---|---|---|---|
What's In The Newsletter?
|
||||
Presidents Report ...Greetings fellow TWWWG members, As I take the helm of this spectacular group, I look forward to learning more about what you do, and what you want to do. Things are more interesting when you have someone to talk to about it, so let’s talk about those projects and goals! Per tradition for the month of January, here is a pause to think about safety. Questions are the best way to ensure conscious, careful decisions. A good friend of mine often comments, “Before I start something, I ask myself, ‘how could I possibly get hurt doing this?’ And then I figure out how to do it safer.” My friend is one of the most productive individuals I know, and he suffers a lot fewer mistakes and injuries than do I on projects. I think it is attributable in part to that simple question that stimulates the imagination of what could go wrong, refocuses his attention, and can lead to a simple correction of your process that can reduce the chance or severity of a mishap. We’ll of course have additional discussion about safety as part of the January meeting. Also, there will be pre-meeting activities this month, starting at 6:00 PM. Consider joining us early to renew your membership, participate in a pre-meeting skill enhancement exercise (a follow-on to November’s hand-cut tenons and mortises demonstration), or to learn about how we set up and run our video system and Zoom meeting. And as always, you’ll receive a discount on supplies at the Woodcraft store if you shop just before the meeting. I’m looking forward to serving you in 2023! Terry Nienaber President TWWWG |
||||
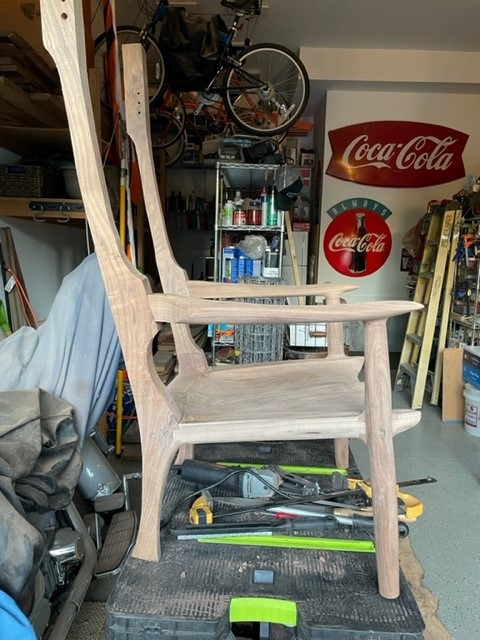
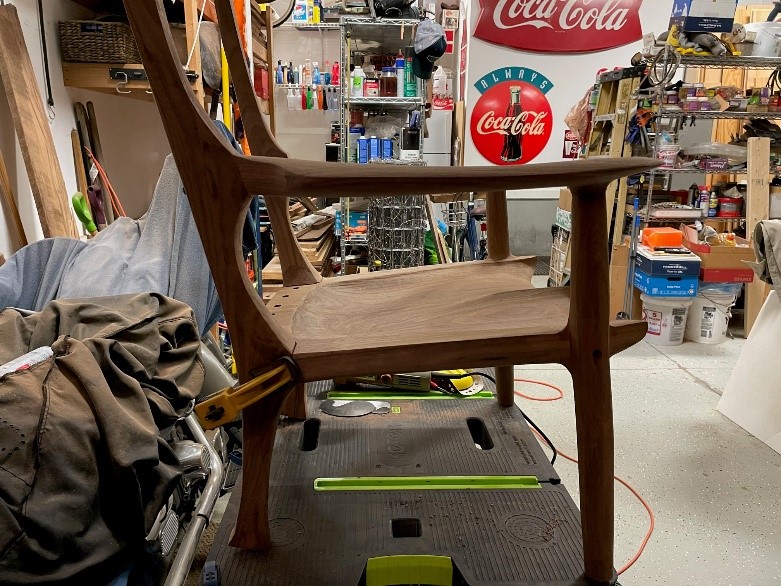
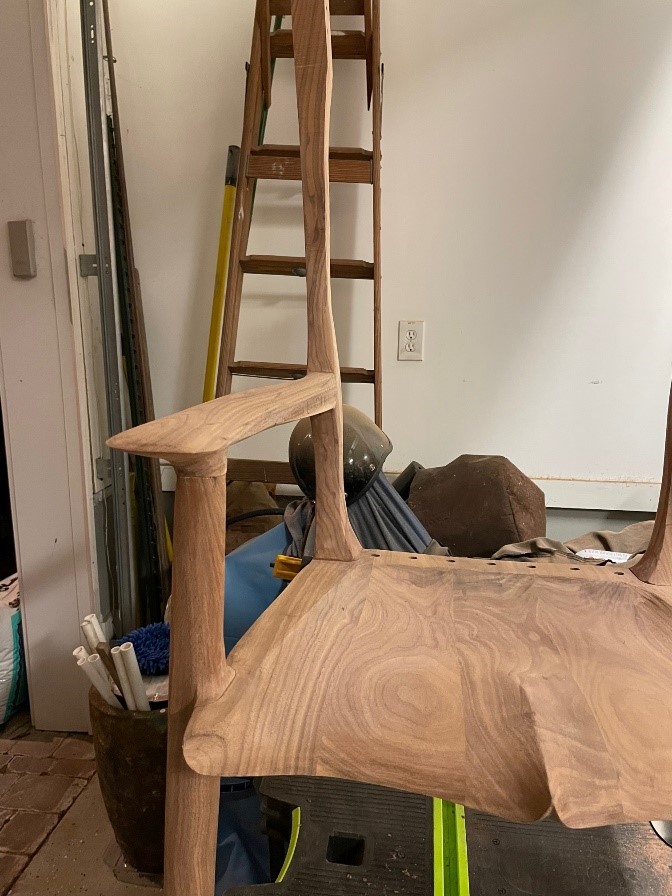
Building A Sam Maloof Rocking Chair Part IVI wish I could say I have made a lot of progress on the rocker, but with the holidays and making stuff for Christmas etc., not much has been done. Currently I have it apart in pieces as I try to refine the seat a little bit more before doing the final glue up of the legs to the seat. Once the legs are attached it is a lot harder to maneuver the seat and access parts of it. That is one of the hardest parts about building something that is more of a work of art due to all of the carving versus a piece where you just cut out patterns and assemble it. You are constantly working on a piece, say an arm, stepping back looking at it from different angles, then work it a little more. Then you want to try and be sure that each arm or piece matches the other as best as you can. Then put that piece down and move to another piece, say the seat or one of the legs. Then it is rinse and repeat over and over again. Maybe I am just fussy. It is almost like working on a painting and trying to figure out when it is done. Like I mentioned before, it is easy to take more off, but it is much harder to put wood back on and make it look like you didn’t. Even though I have it in pieces currently, below are some pictures of some of the progress. Last time I had not worked on the transition between the back legs and the arms. Below I have included the picture from the last episode where you can see no transition between the rear legs and the arms. Next to it, I show a picture of the same side (right) showing the leg to arm transition. There will likely be further refinement after the glue up, but this is where we are right now prior to glue up. Photos Showing The Before (Left) And After (Right) Transition Showing Leg To Arm Transition I have also done a little more to the seat. I wanted a bit more of a dish towards the back which I am currently working on. I finished the carving or dishing out of that I wanted, so now it is just trying to cleaning up that up a bit with some sanding and scrapers.
Additional Seat Work Scraping Scrapers are another tool that I have not used a whole lot, just here and there. But when you do a lot of carving, grinding, and sanding with low grit sandpaper, scrapping is the best way to clean up those scratches. In fact, before there was sandpaper, scrappers were used to finish woodworking projects. Maybe this is a good time to expand on the virtues of the scrapper. Unlike sandpaper that abrades or tears the wood with abrasives, scraping slices the wood similar to a hand plane. When done right, scrapping will leave a scratch free surface. Below are some of the benefits of using a scraper versus sandpaper. • With scrapping is that you don’t have the fine dust particles to deal with like you do with sanding. • Sandpaper wears out. With a scraper, when it dulls, you can resharpen it. So in the long run it is cheaper to own/use over time. • Scrapers are much quieter than using a power sander. • Scrapers can remove unwanted glue much better than sandpaper. • With sandpaper, you have to go through a series of grits changing the paper on your sander or sanding block which takes time. Like anything else there are also some pitfalls to using scrapers as well. So in the end you need to weight the virtues as well as they negatives to see what works best for you. Here are some of the negatives with using scrapers. • It may be hard to get into tight spots or hard to reach places with scrapers. You can get scrapers in all kinds of sizes, shapes, and thicknesses, but you will not likely be able to find a scraper to meet every need you will have. • Scrapers can be hard on the hands, fingers etc. So if you have difficulty with arthritis, you may be limited in how long you can use a scraper without discomfort. They do make scrapers in different thickness which make the more or less ridged which could help. Well until next time, stay warm in your shop. Scott Paris |
||||
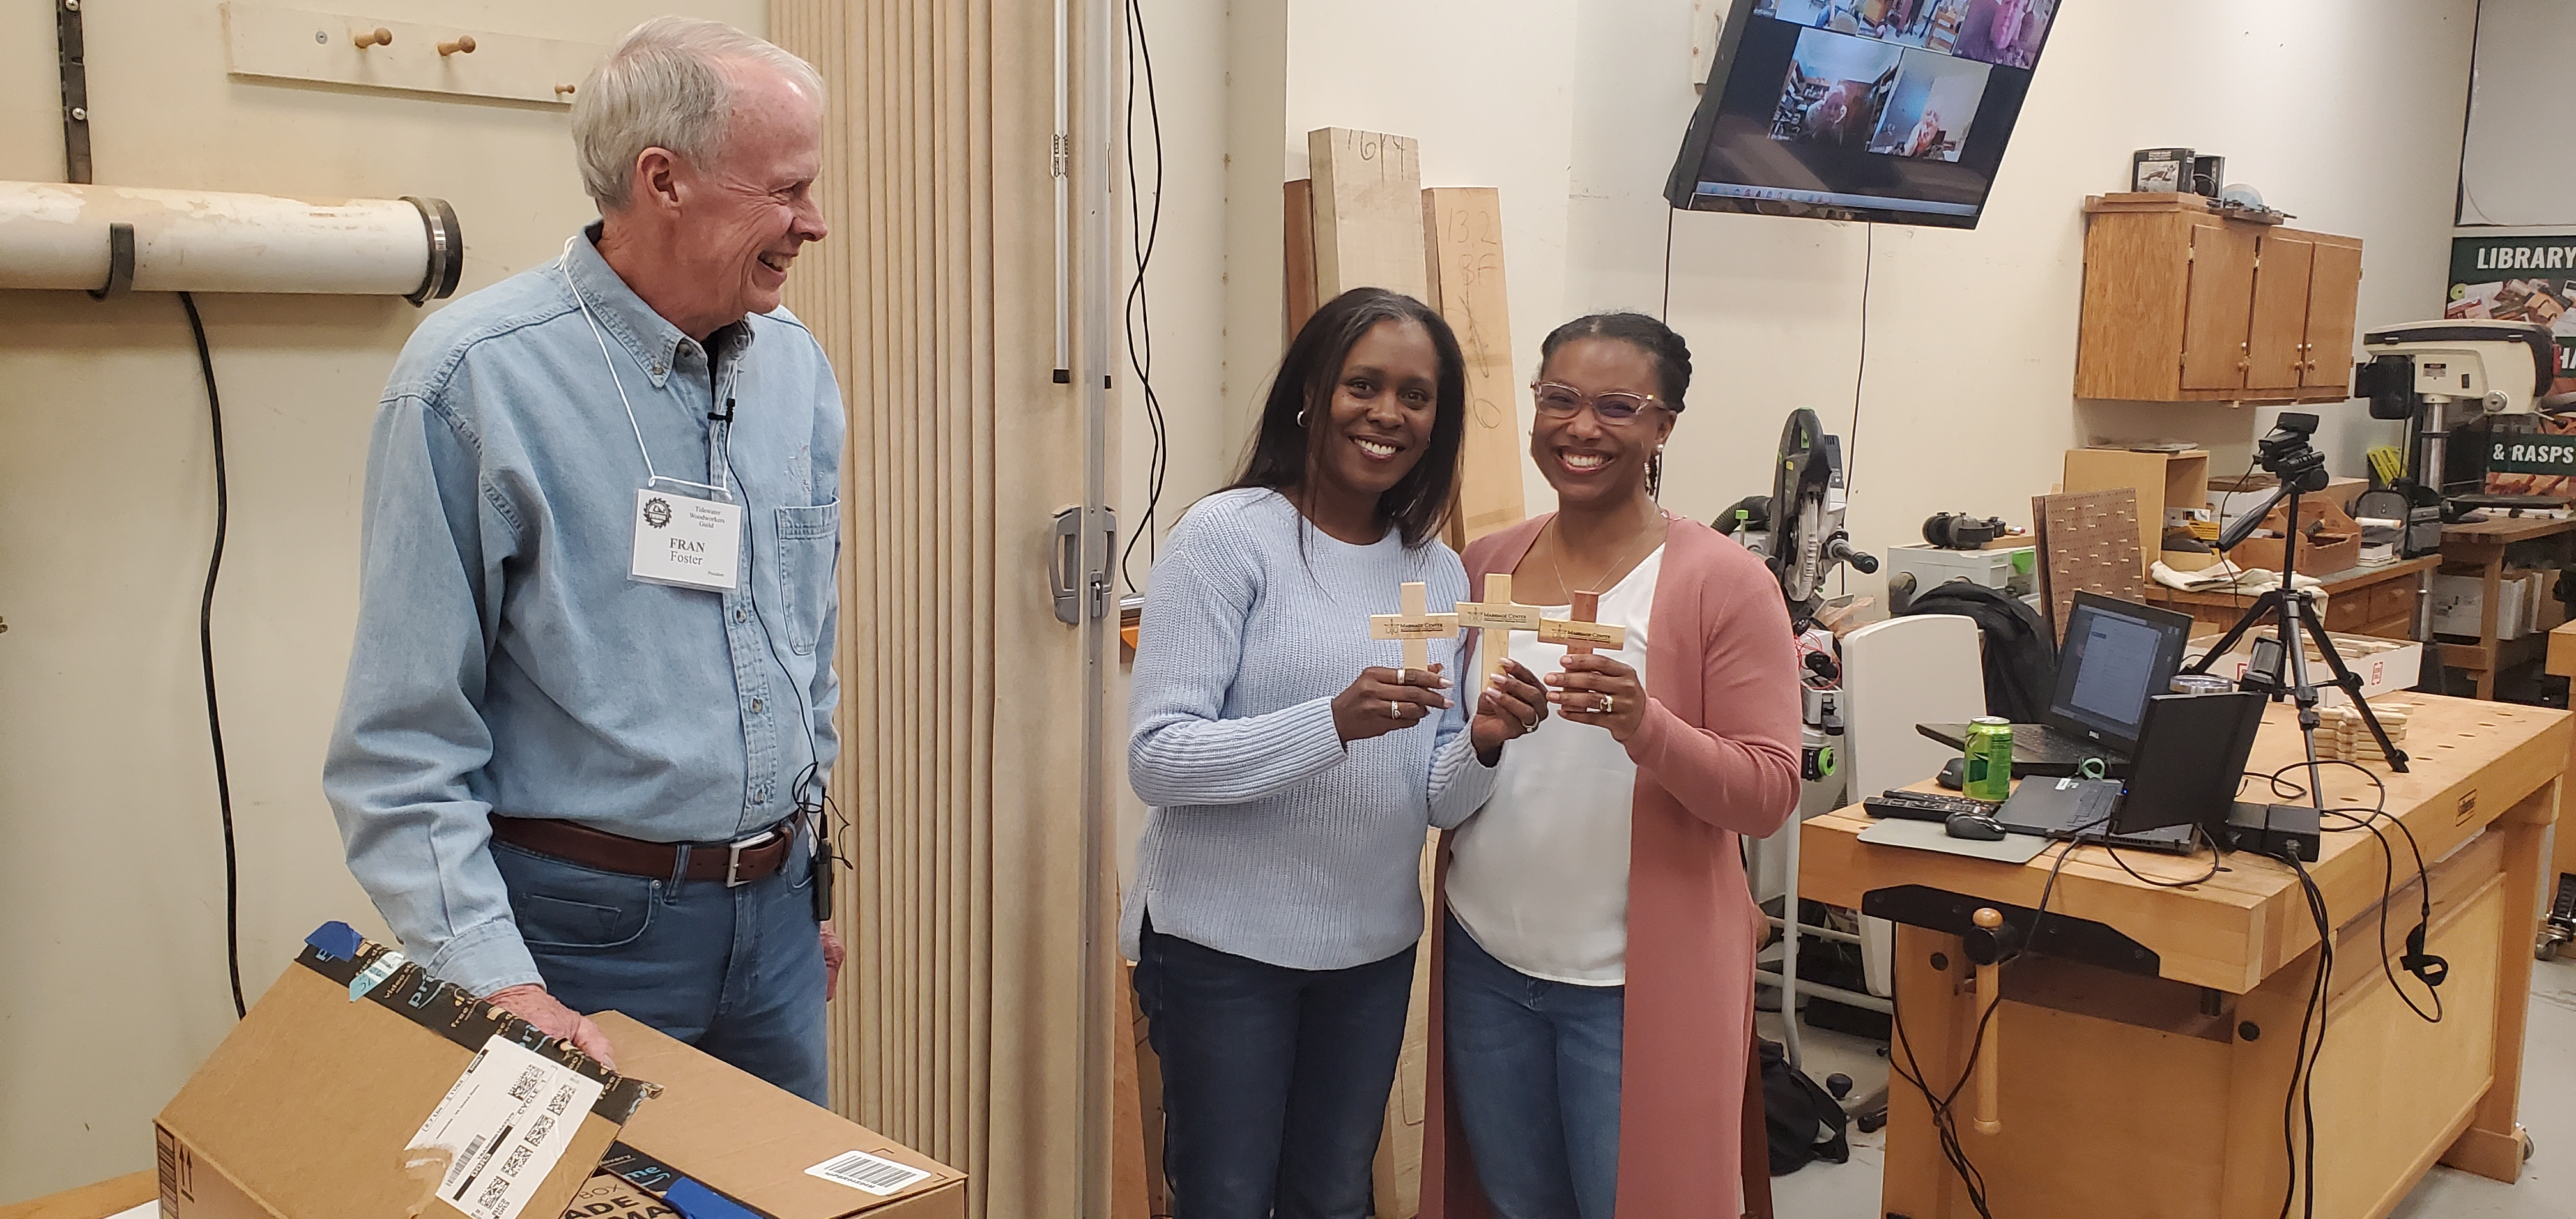
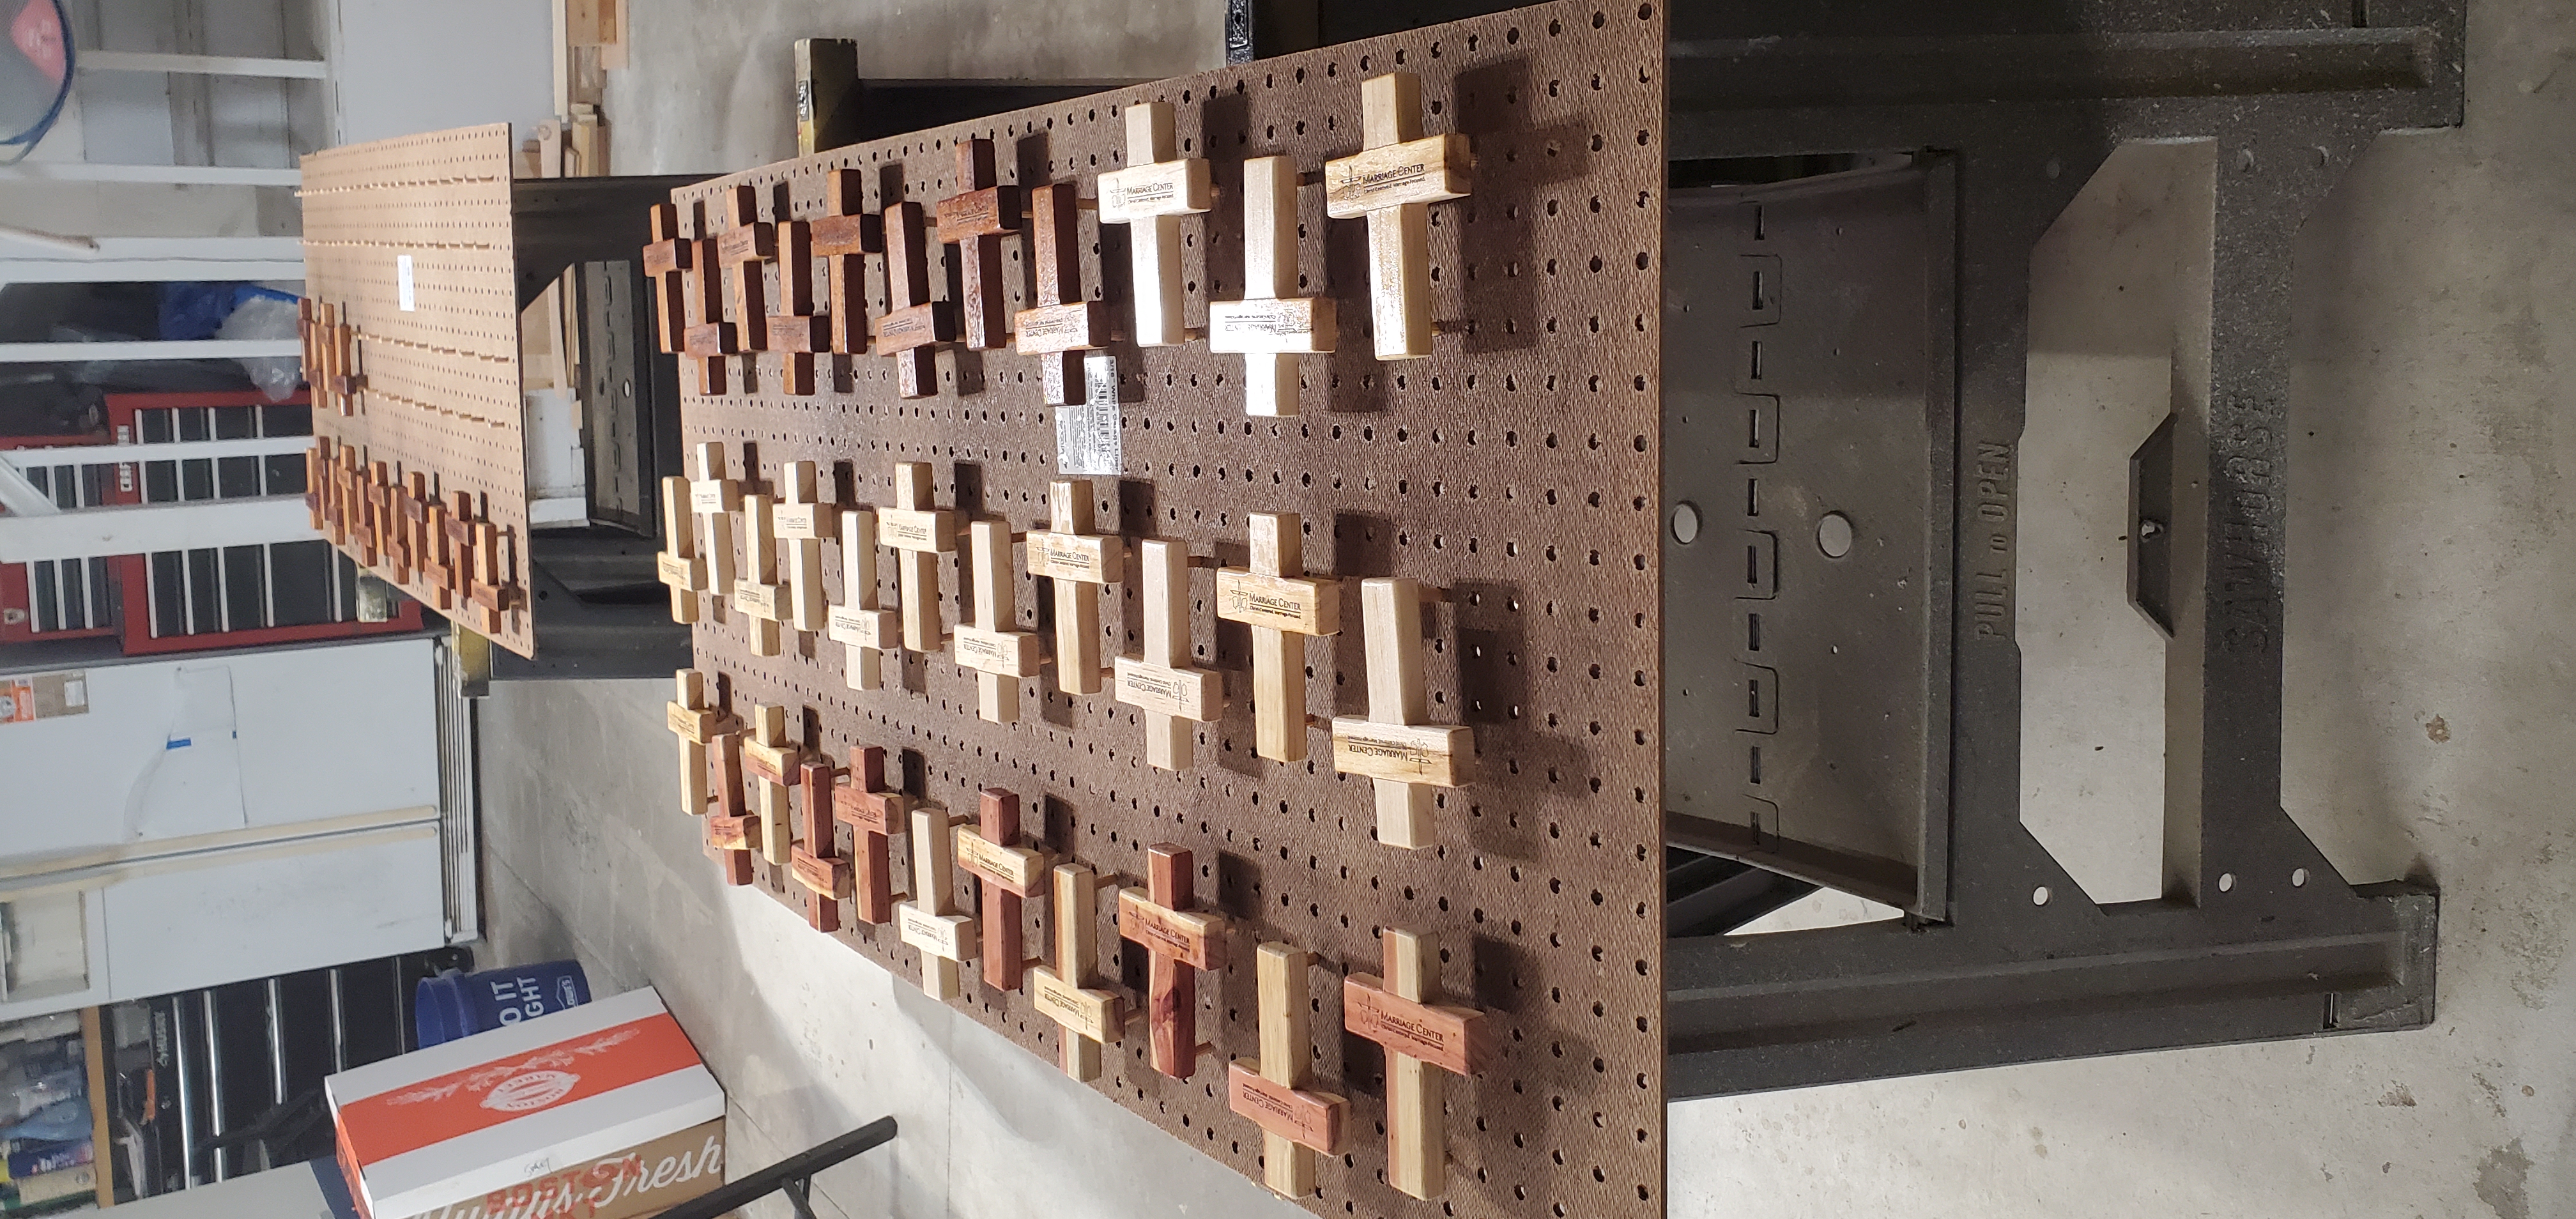
Community Project - Marriage CrossesGuild members teamed up with the Marriage Center in Chesapeake to build crosses. The Marriage Center mission is to: “The mission of the Marriage Center is to partner with Christian couples and the Church to provide Christian marital and premarital counseling in accordance with sound biblical principles and integrate these principles with evidence-based techniques. Guild members teamed together and created over 130 crosses for this organization. The crosses were presented at the November meeting.
President Fran Foster Presenting The Crosses To Cassandra Freeman and Arlene Malone A look At Some Of The Crosses On The Drying Table Gary |
||||
Vendor DiscountsGreg has been actively looking for vendors that will provide a discount to guild members for various supplies. A basic listing of the vendor will be published in each months newsletter. To keep this from getting too complicated for this newsletter the list will only contain the most basic information on the vendors. To get to the real meat of the vendor discounts you will have to go to the TWWWG web site www.twwwg.com and click on the tab marked "Member Information". Scroll to the bottom of the page and click on the Previous icon. Once on the second page click on the previous link one more time. This should take you to the article called TWWWG Vendor Discounts.
|
||||
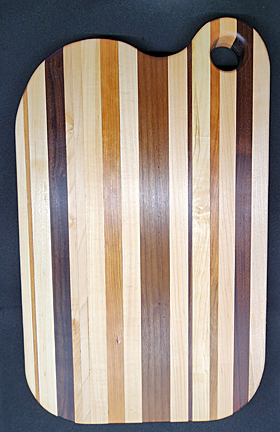
Guild ProjectsOur first project comes from Karl Bogot displaying his cheese cutting board. This board is newly minted from leftovers in the scrap pile. It is 19" x 12" x 1 1/4" thick and made of maple, black walnut, and cherry. Treated with mineral oil and bees wax, it's just right to serve as a charcuterie board for your holiday parties and then as cutting board for Christmas dinner preparations. |
||||
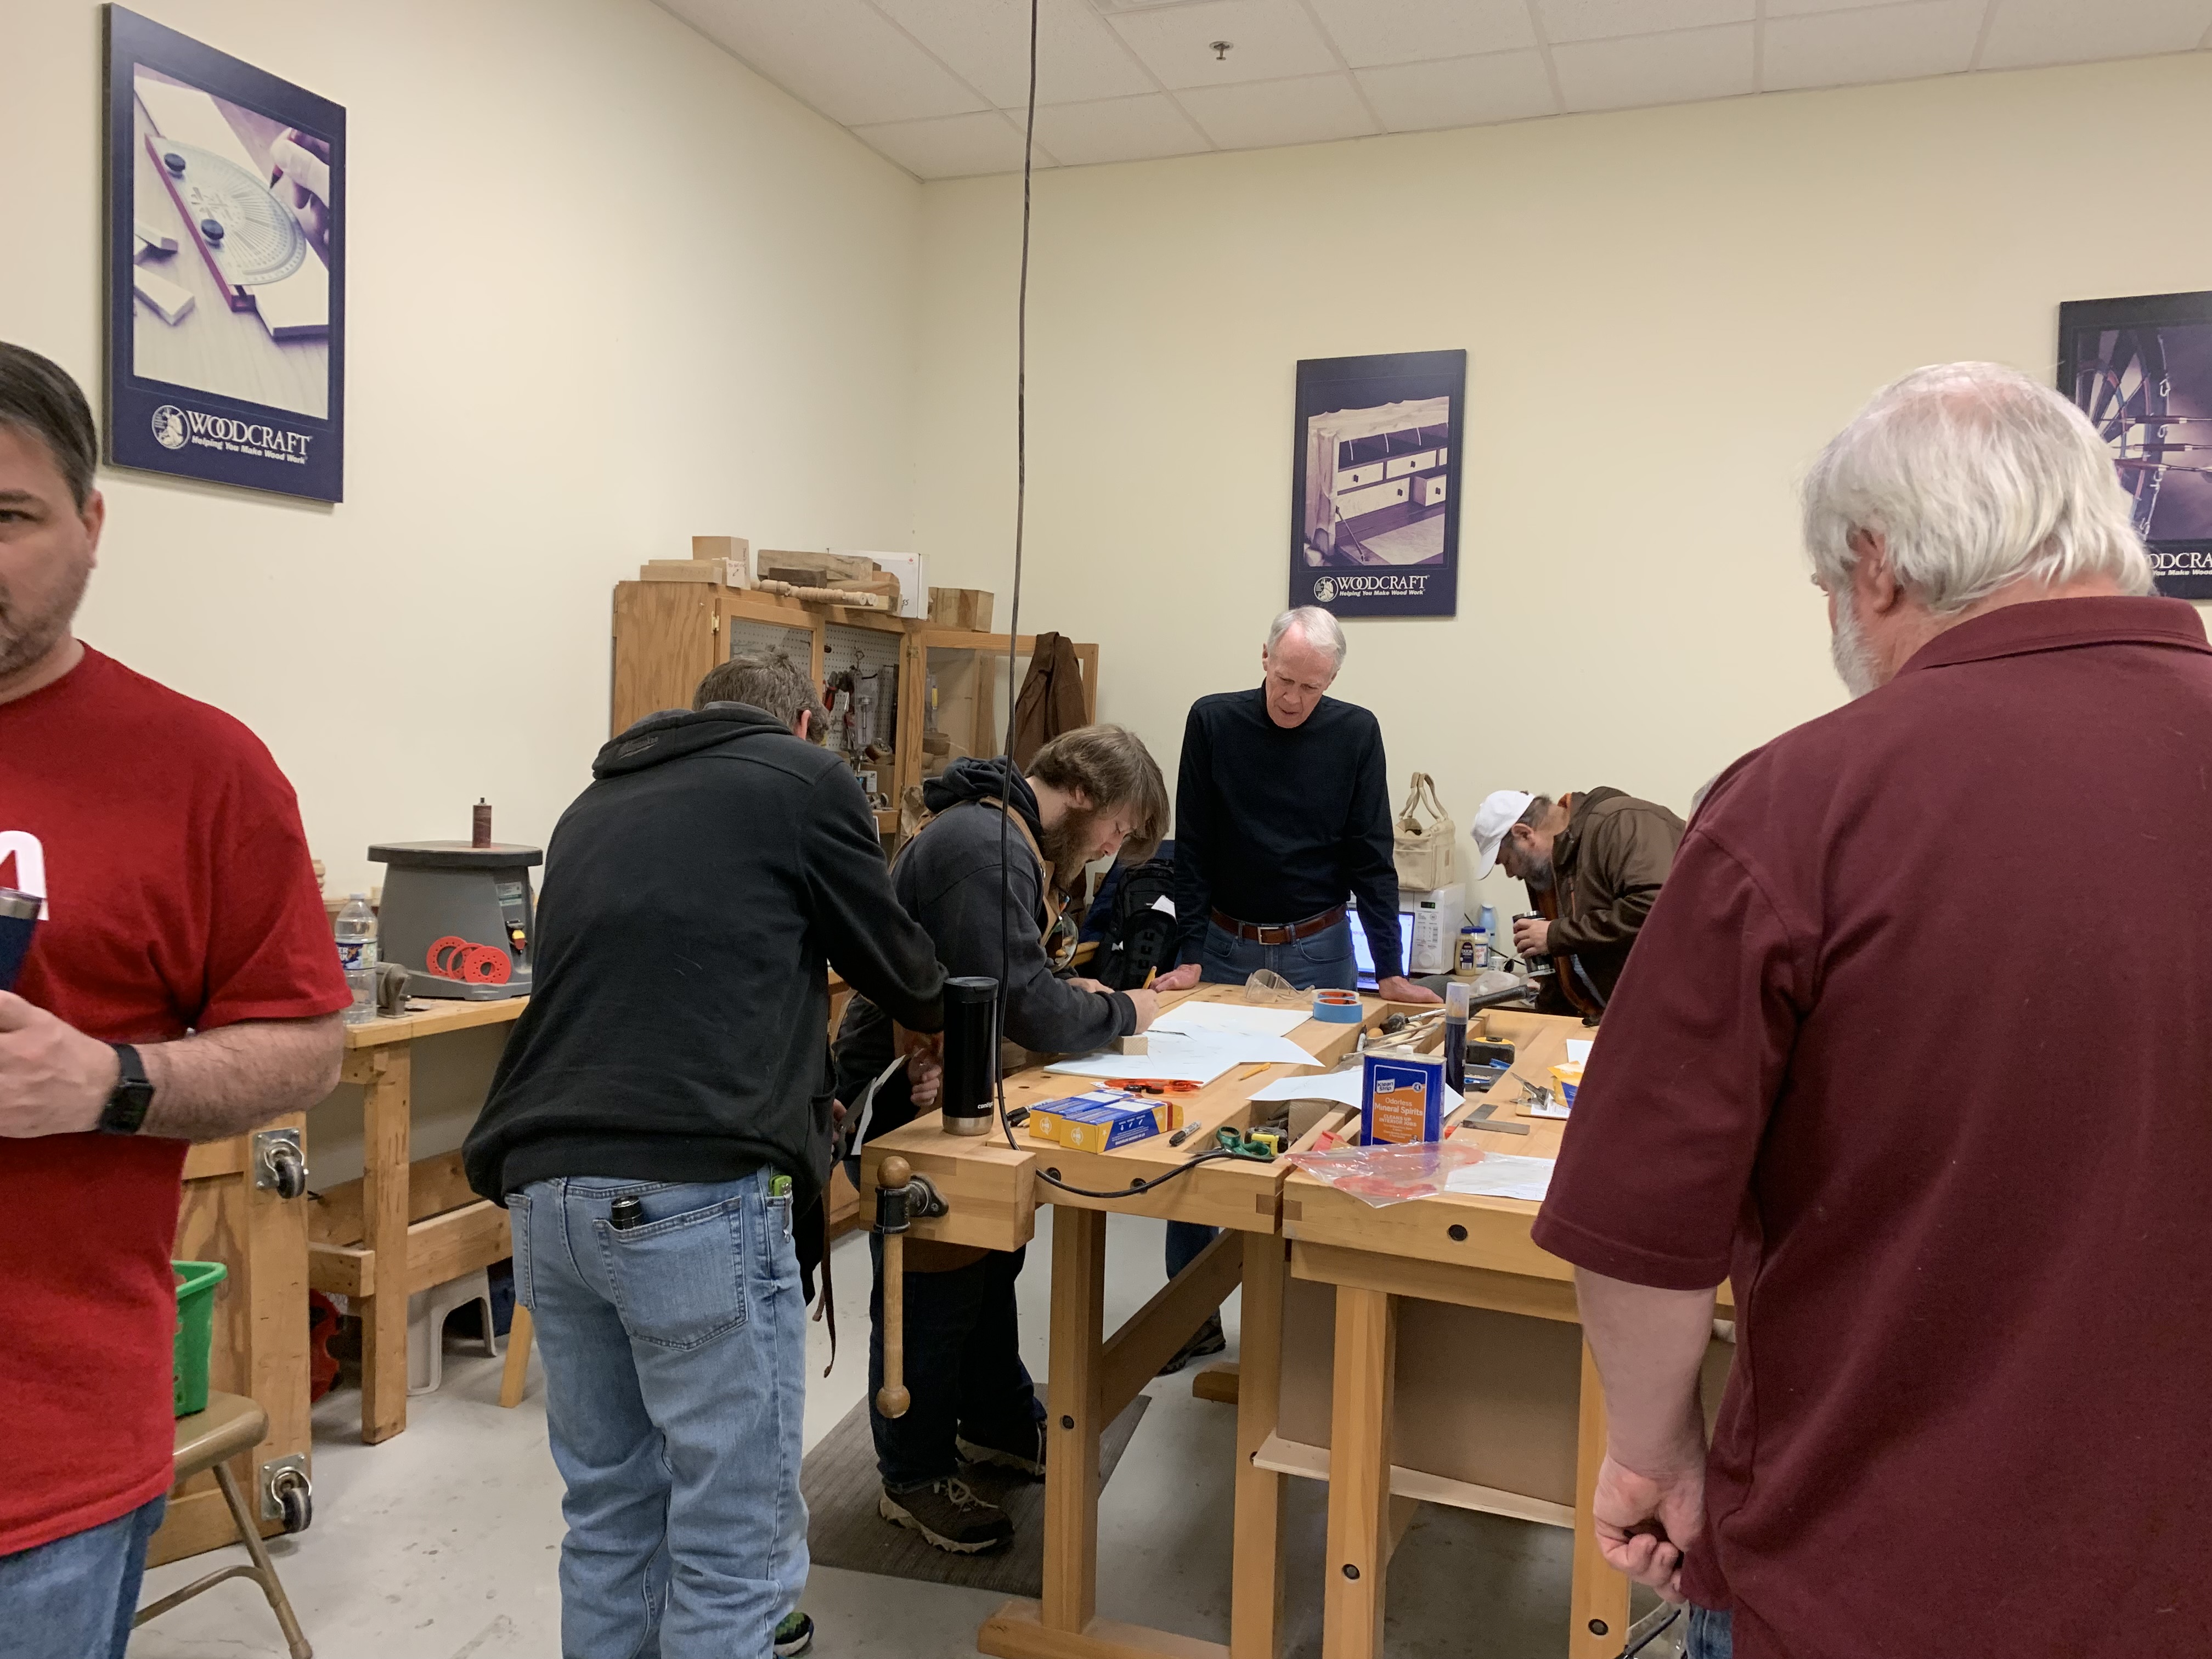
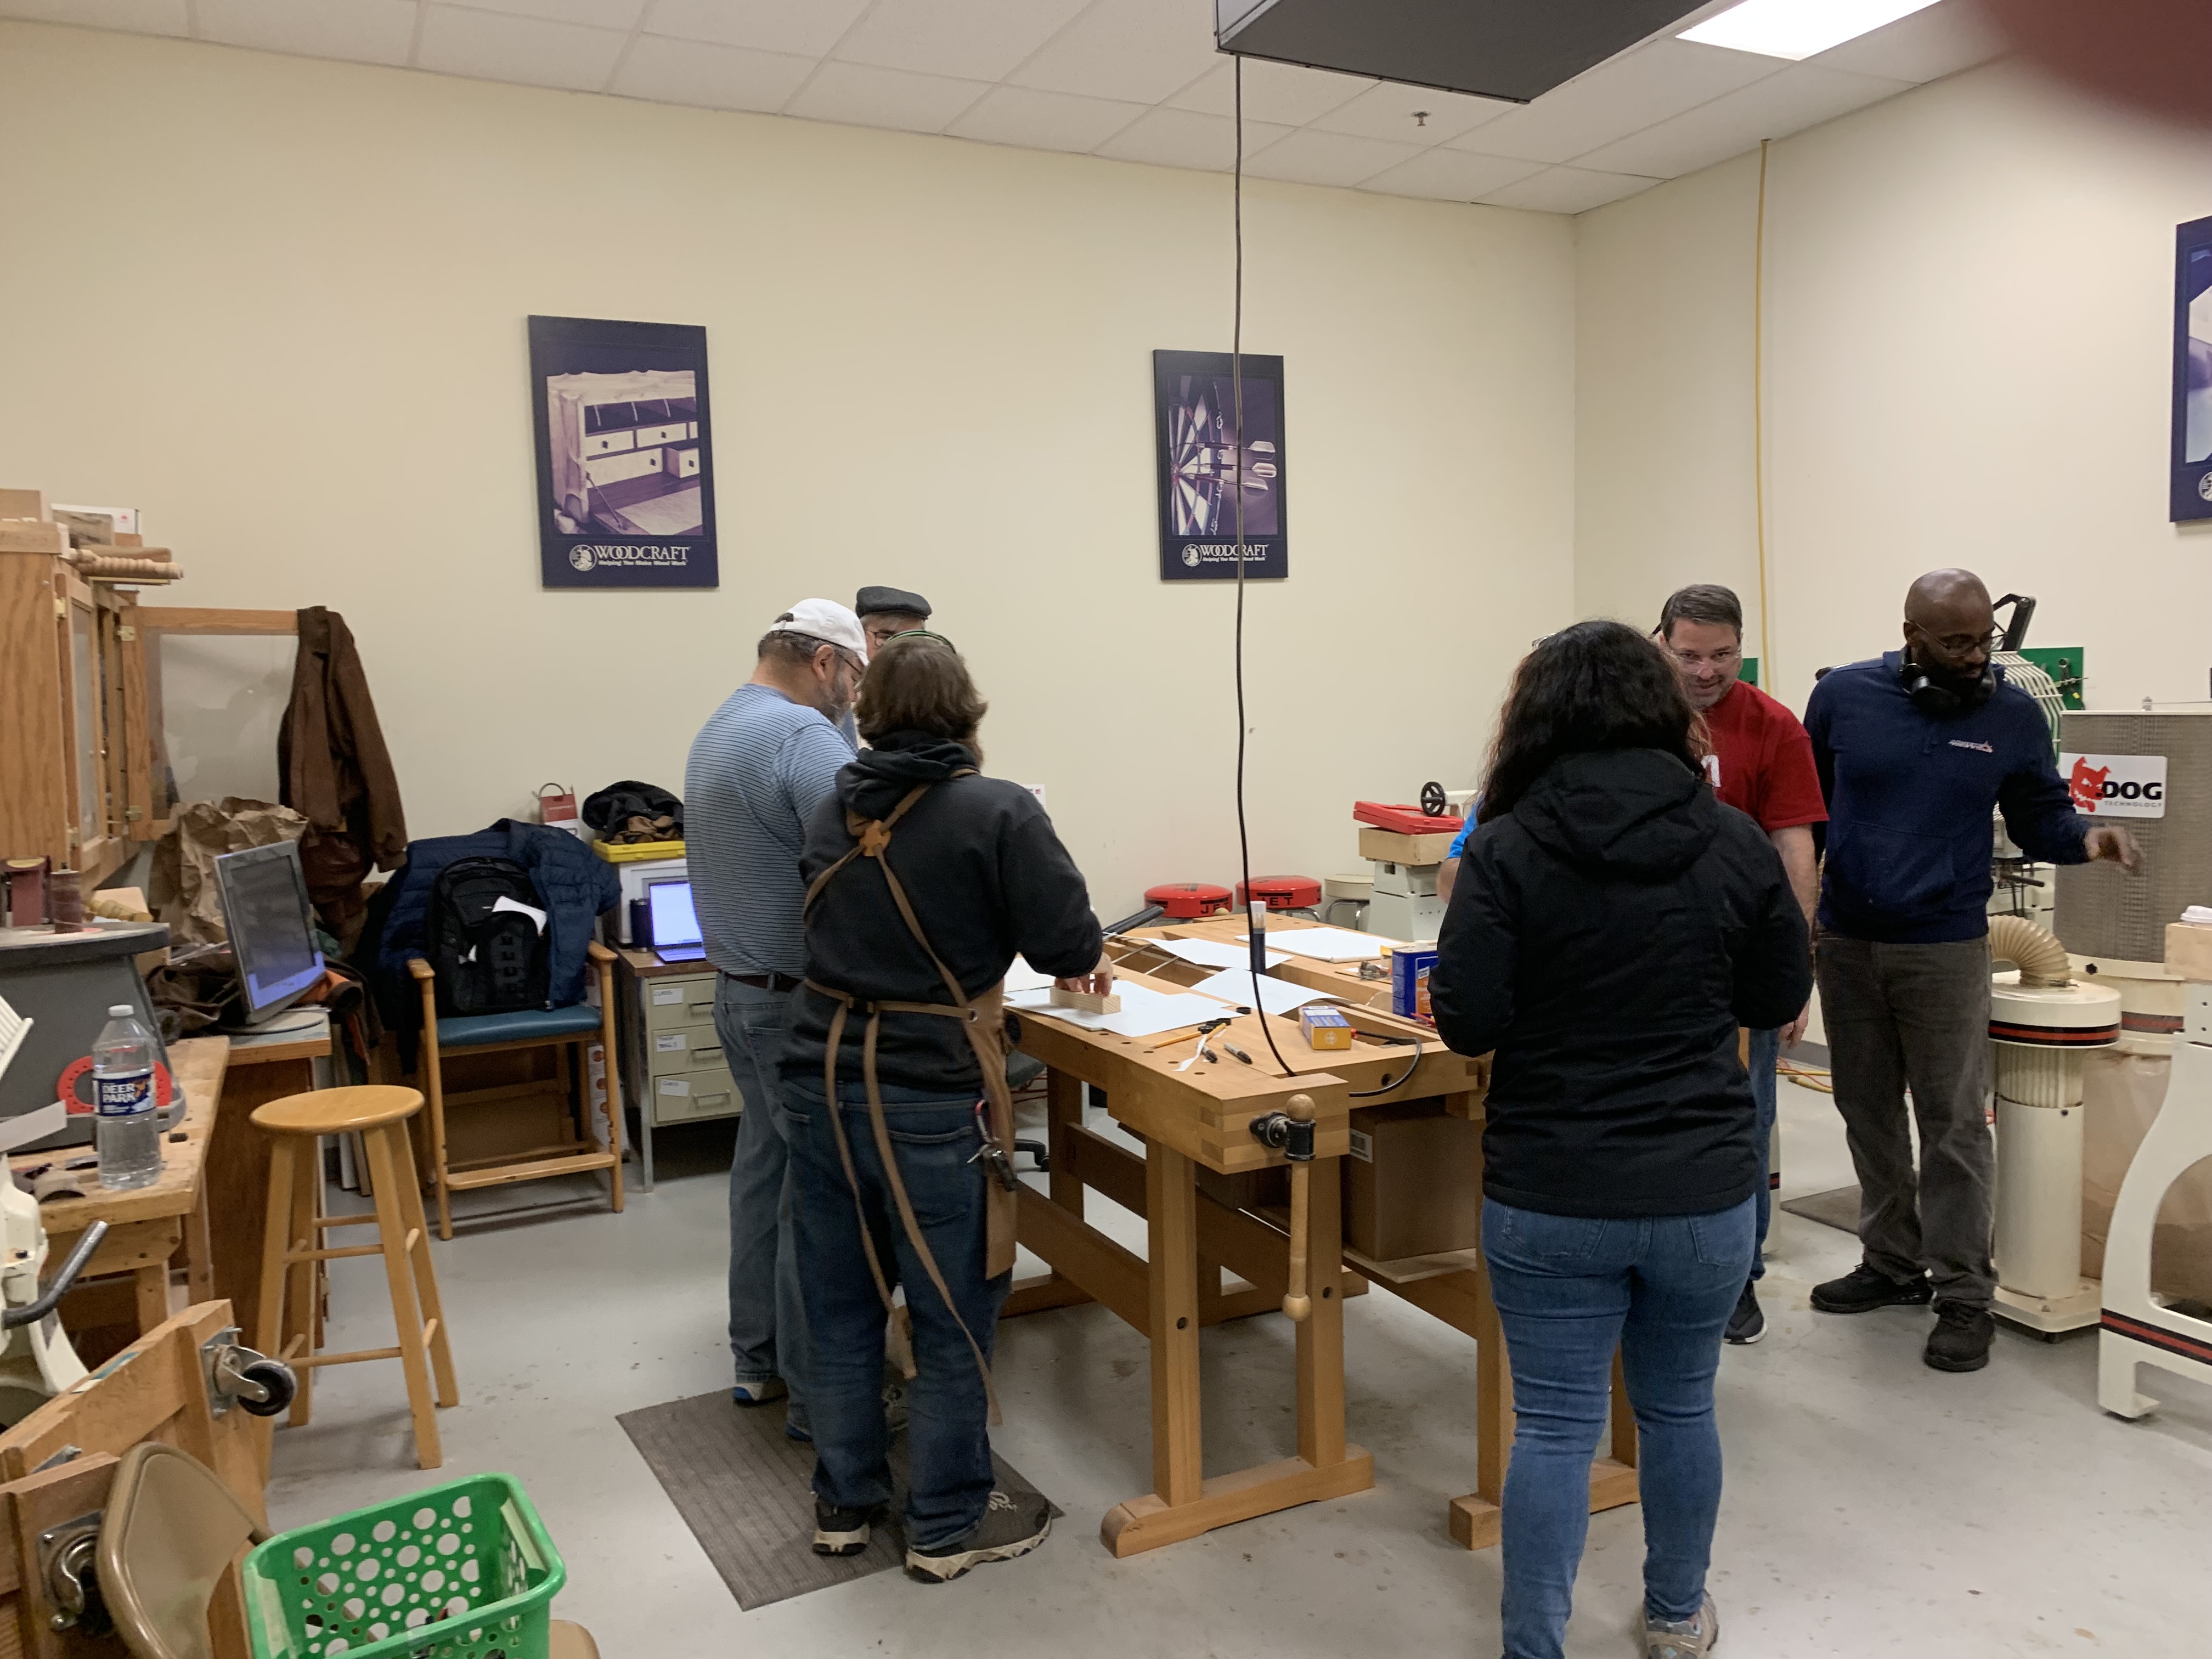
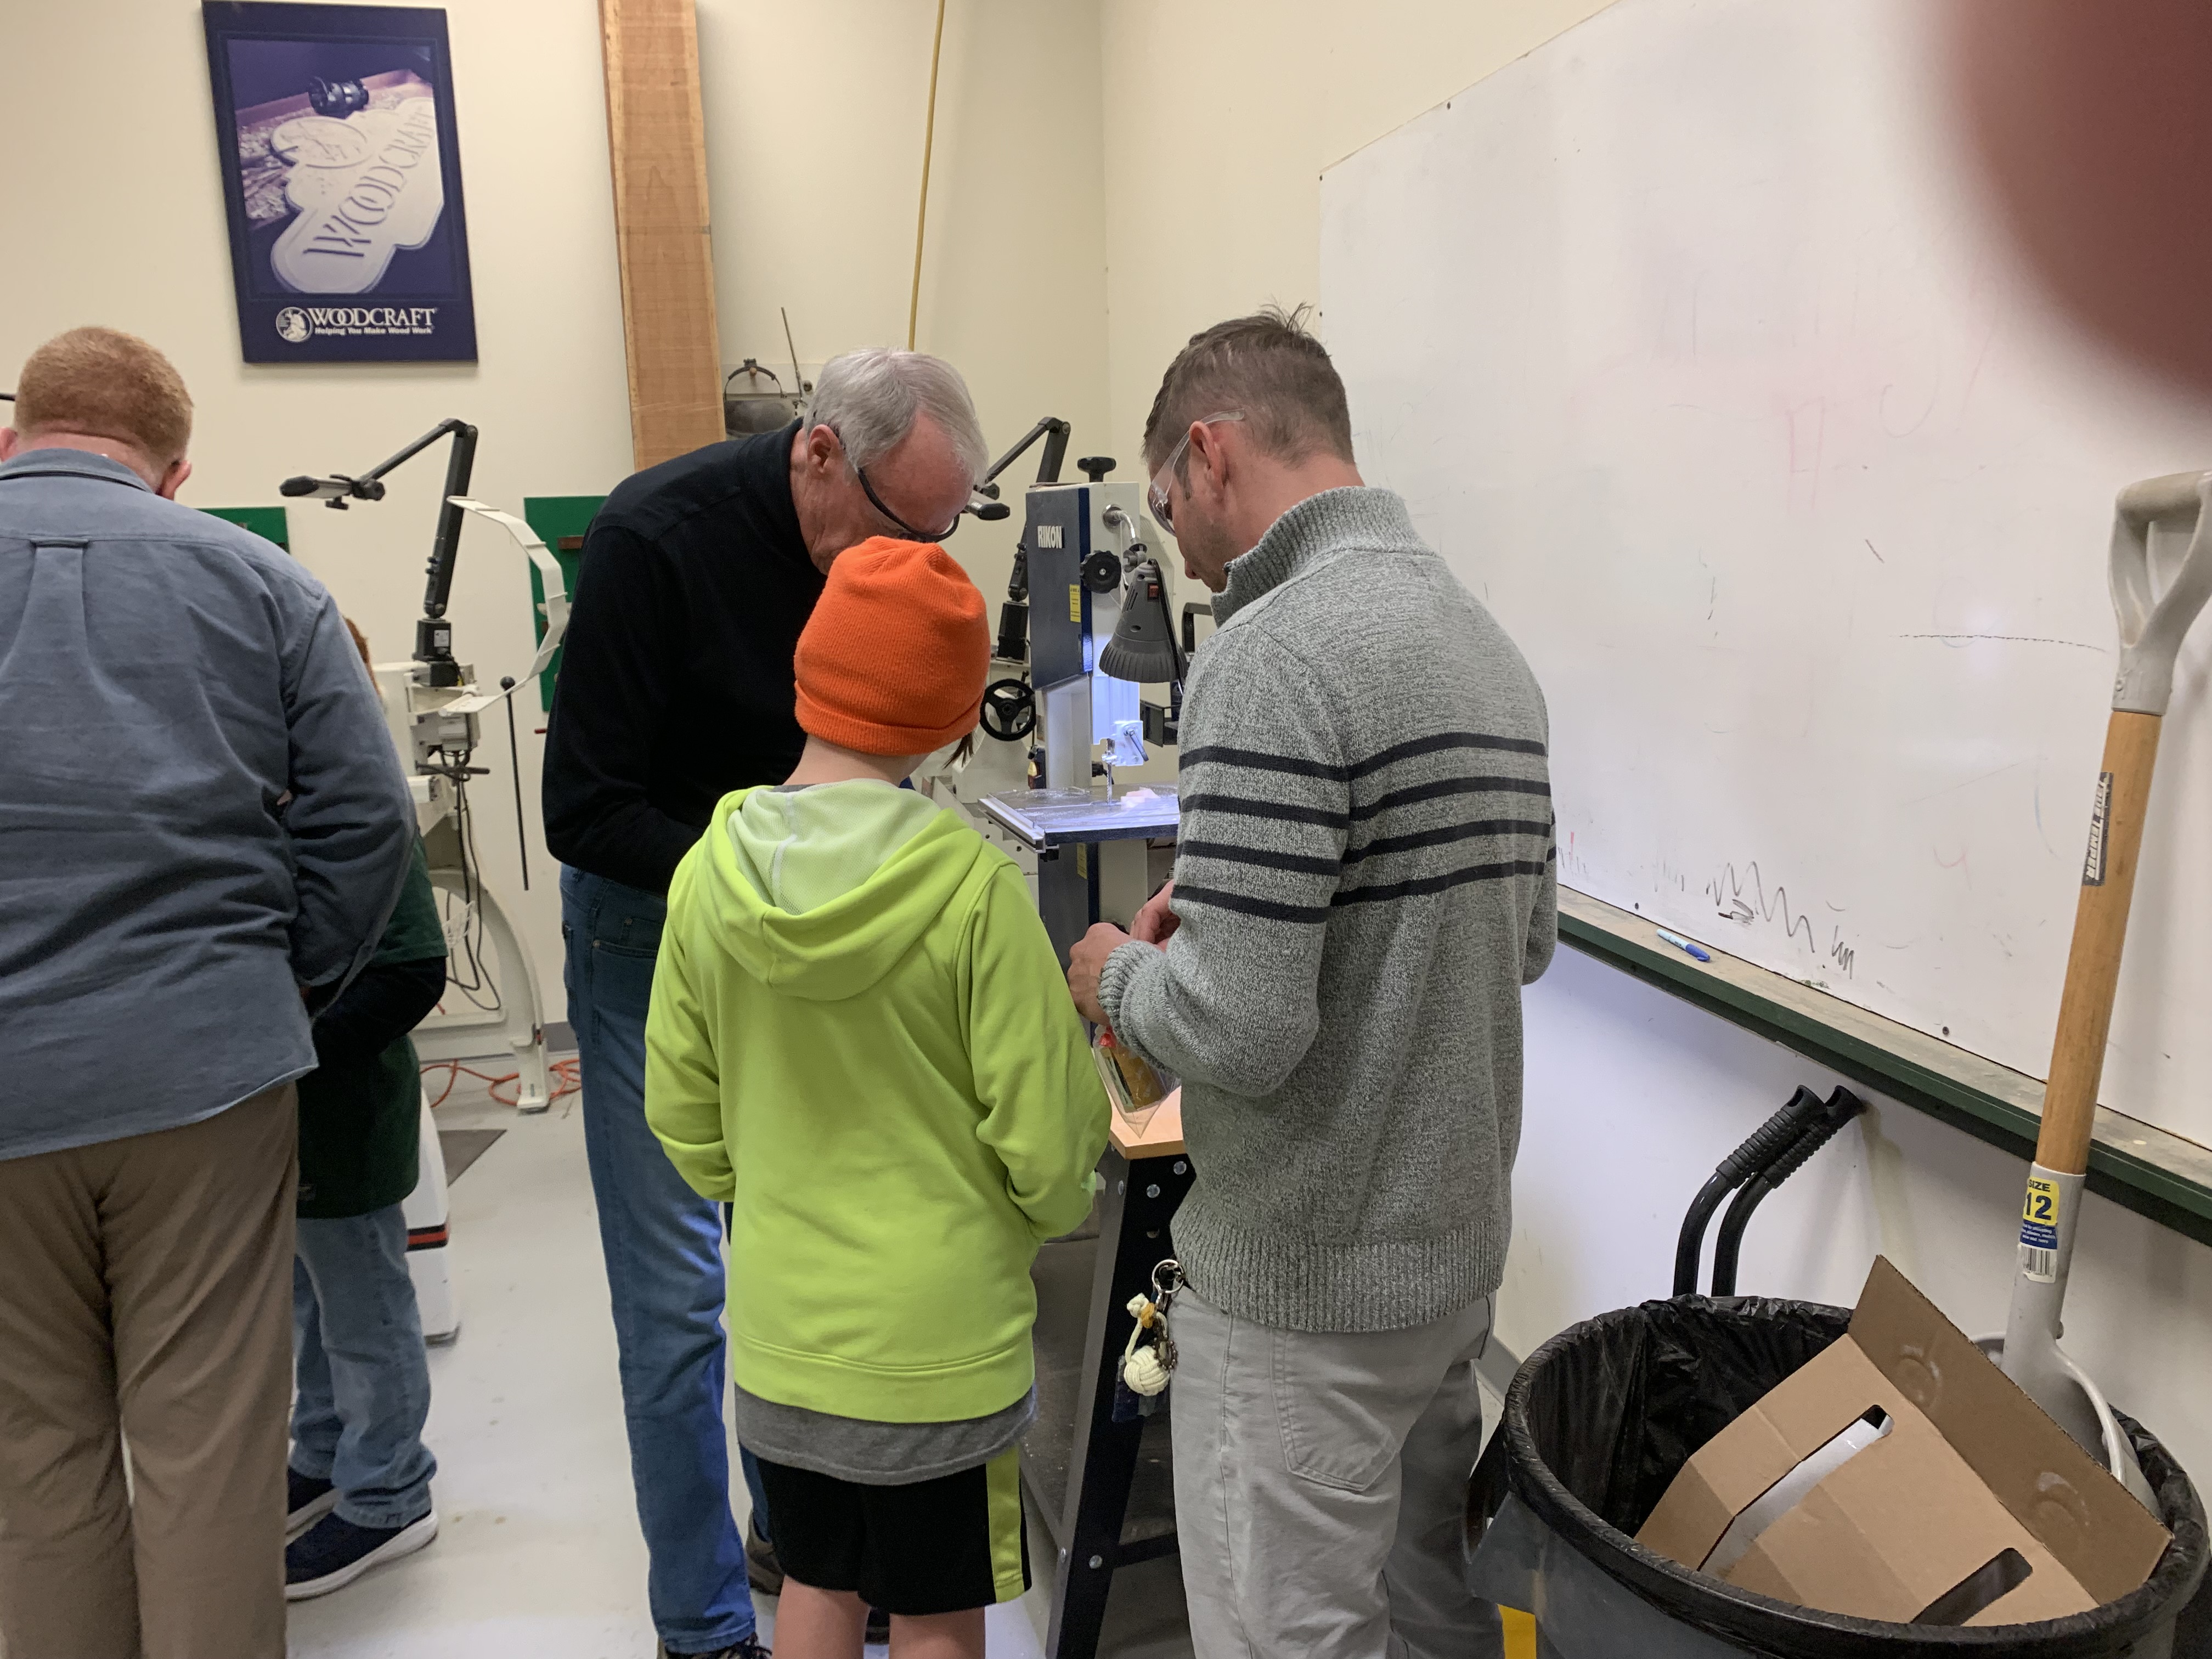
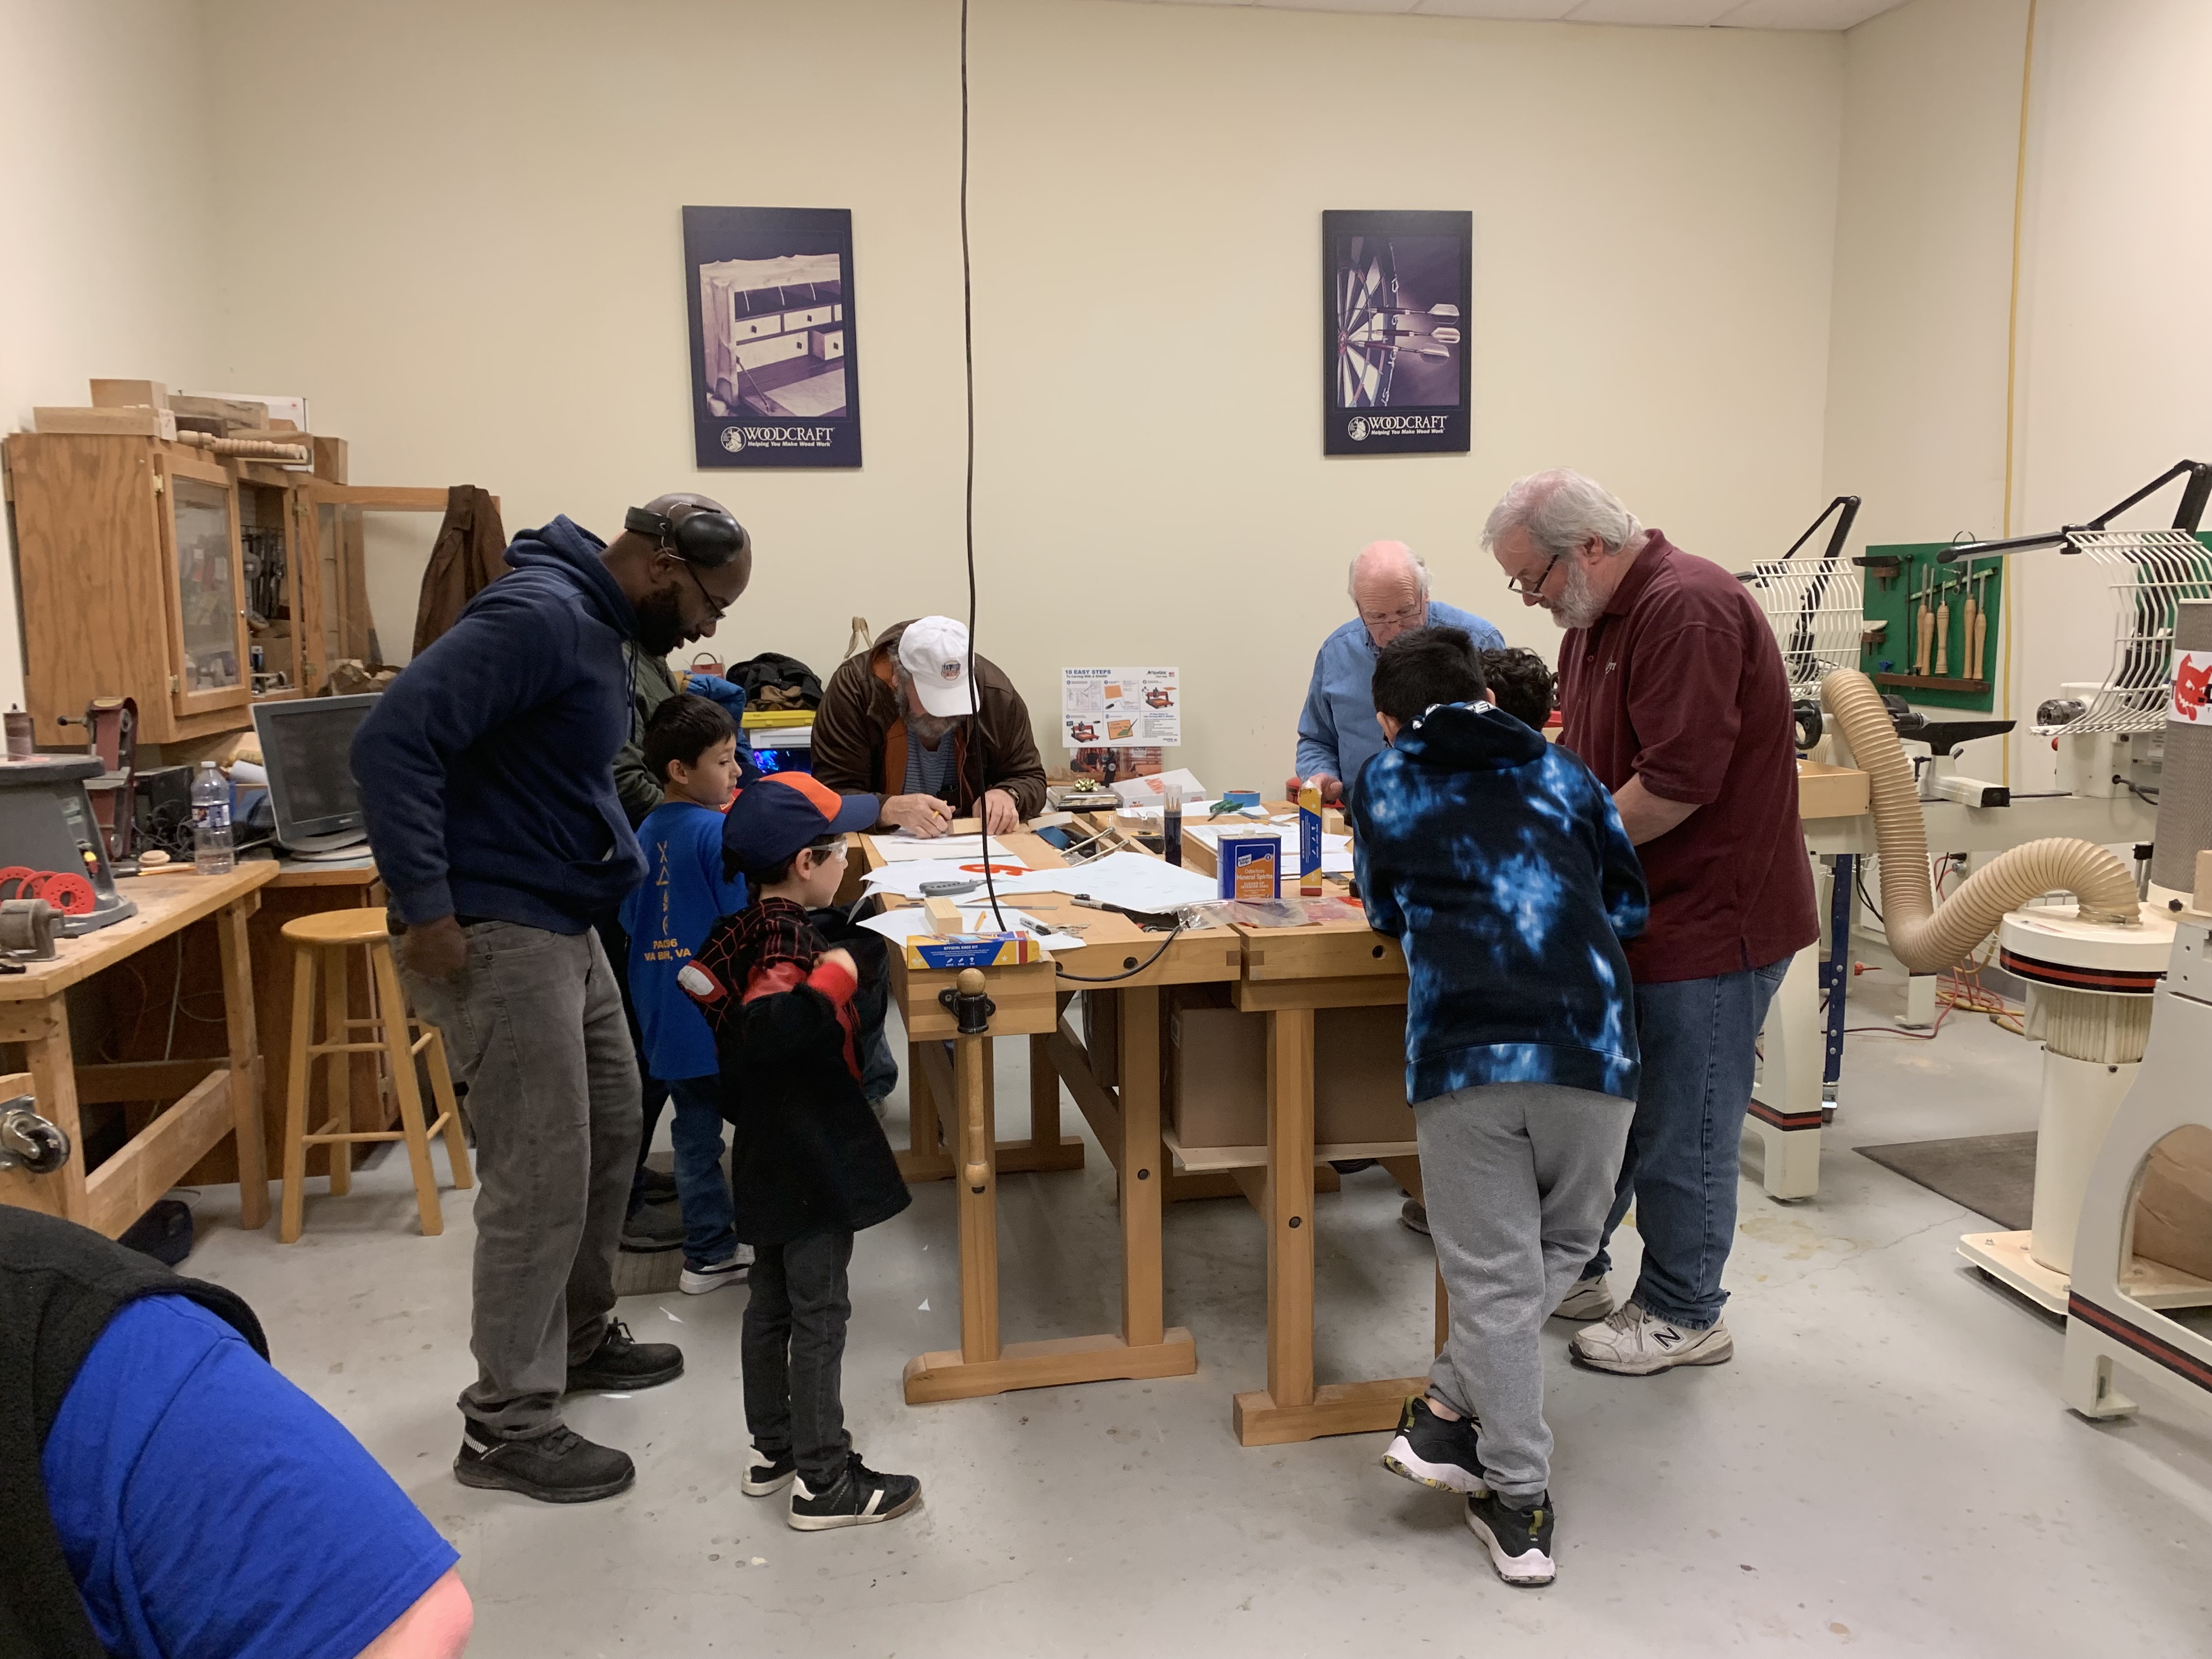
Community Project - Pinewood Derby ConstructionOn Saturday, January 7, 2023 members of the guild assisted Pack 496 and Pack 405 with the rough construction of their pinewood derby cars at the Woodcraft store in the JANAF Shopping Center. Guild members worked one on one with each of the scouts to work out the details of their design on the car and then to cut it out on the band saw and rough sand it on the spindle sander. Too say that some of the designs were quite creative was an understatement. 44 scouts signed up for the help that went from 9:30 AM till 2:00 PM. I would estimate that thirty plus scouts showed up for the construction help. Photos Of Guild Members Working At The Table On Construction Of Pinewood Derby Cars Guild members assisting in the pinewood derby included but not limited to Chris Zuchristian, Greg Guertin, Ryan Evans, Gary Stephens, Fran Foster, Lawrence Cameron, Kevin Allen, James Baldwin, Terry Nienaber and Bob Smith. If I forgot any other guild member my apologizes and I will just blame it on old age. Fran Foster Assisting A Scout & Dad (Left) Scouts Huddled Around The Work Benches (Right) Although he was not officially working with the guild, many thanks to Bret Lancaster, guild member, who was working at Woodcraft that day and assisted with help with band saw blades and tools to keep things running. Another thanks to Terry Nienaber for those wonderful Fire House subs that kept the group afloat during a short lunch break. A special shout out to Ed Sontag, owner of the Woodcraft store for hosting this event. We all hope to be back again next year. Gary |
||||
This Month's ProgramThis month's program is a two parter. From 6:00 PM till 7:00 PM Bret and Jim will continue their November presentation on Mortise and Tenon Joints. Join them early before the regular meeting starts to learn about these joints and cutting them. The second part of the regular meeting will focus on safety as we all want to keep our fingers and our hearing. |
||||
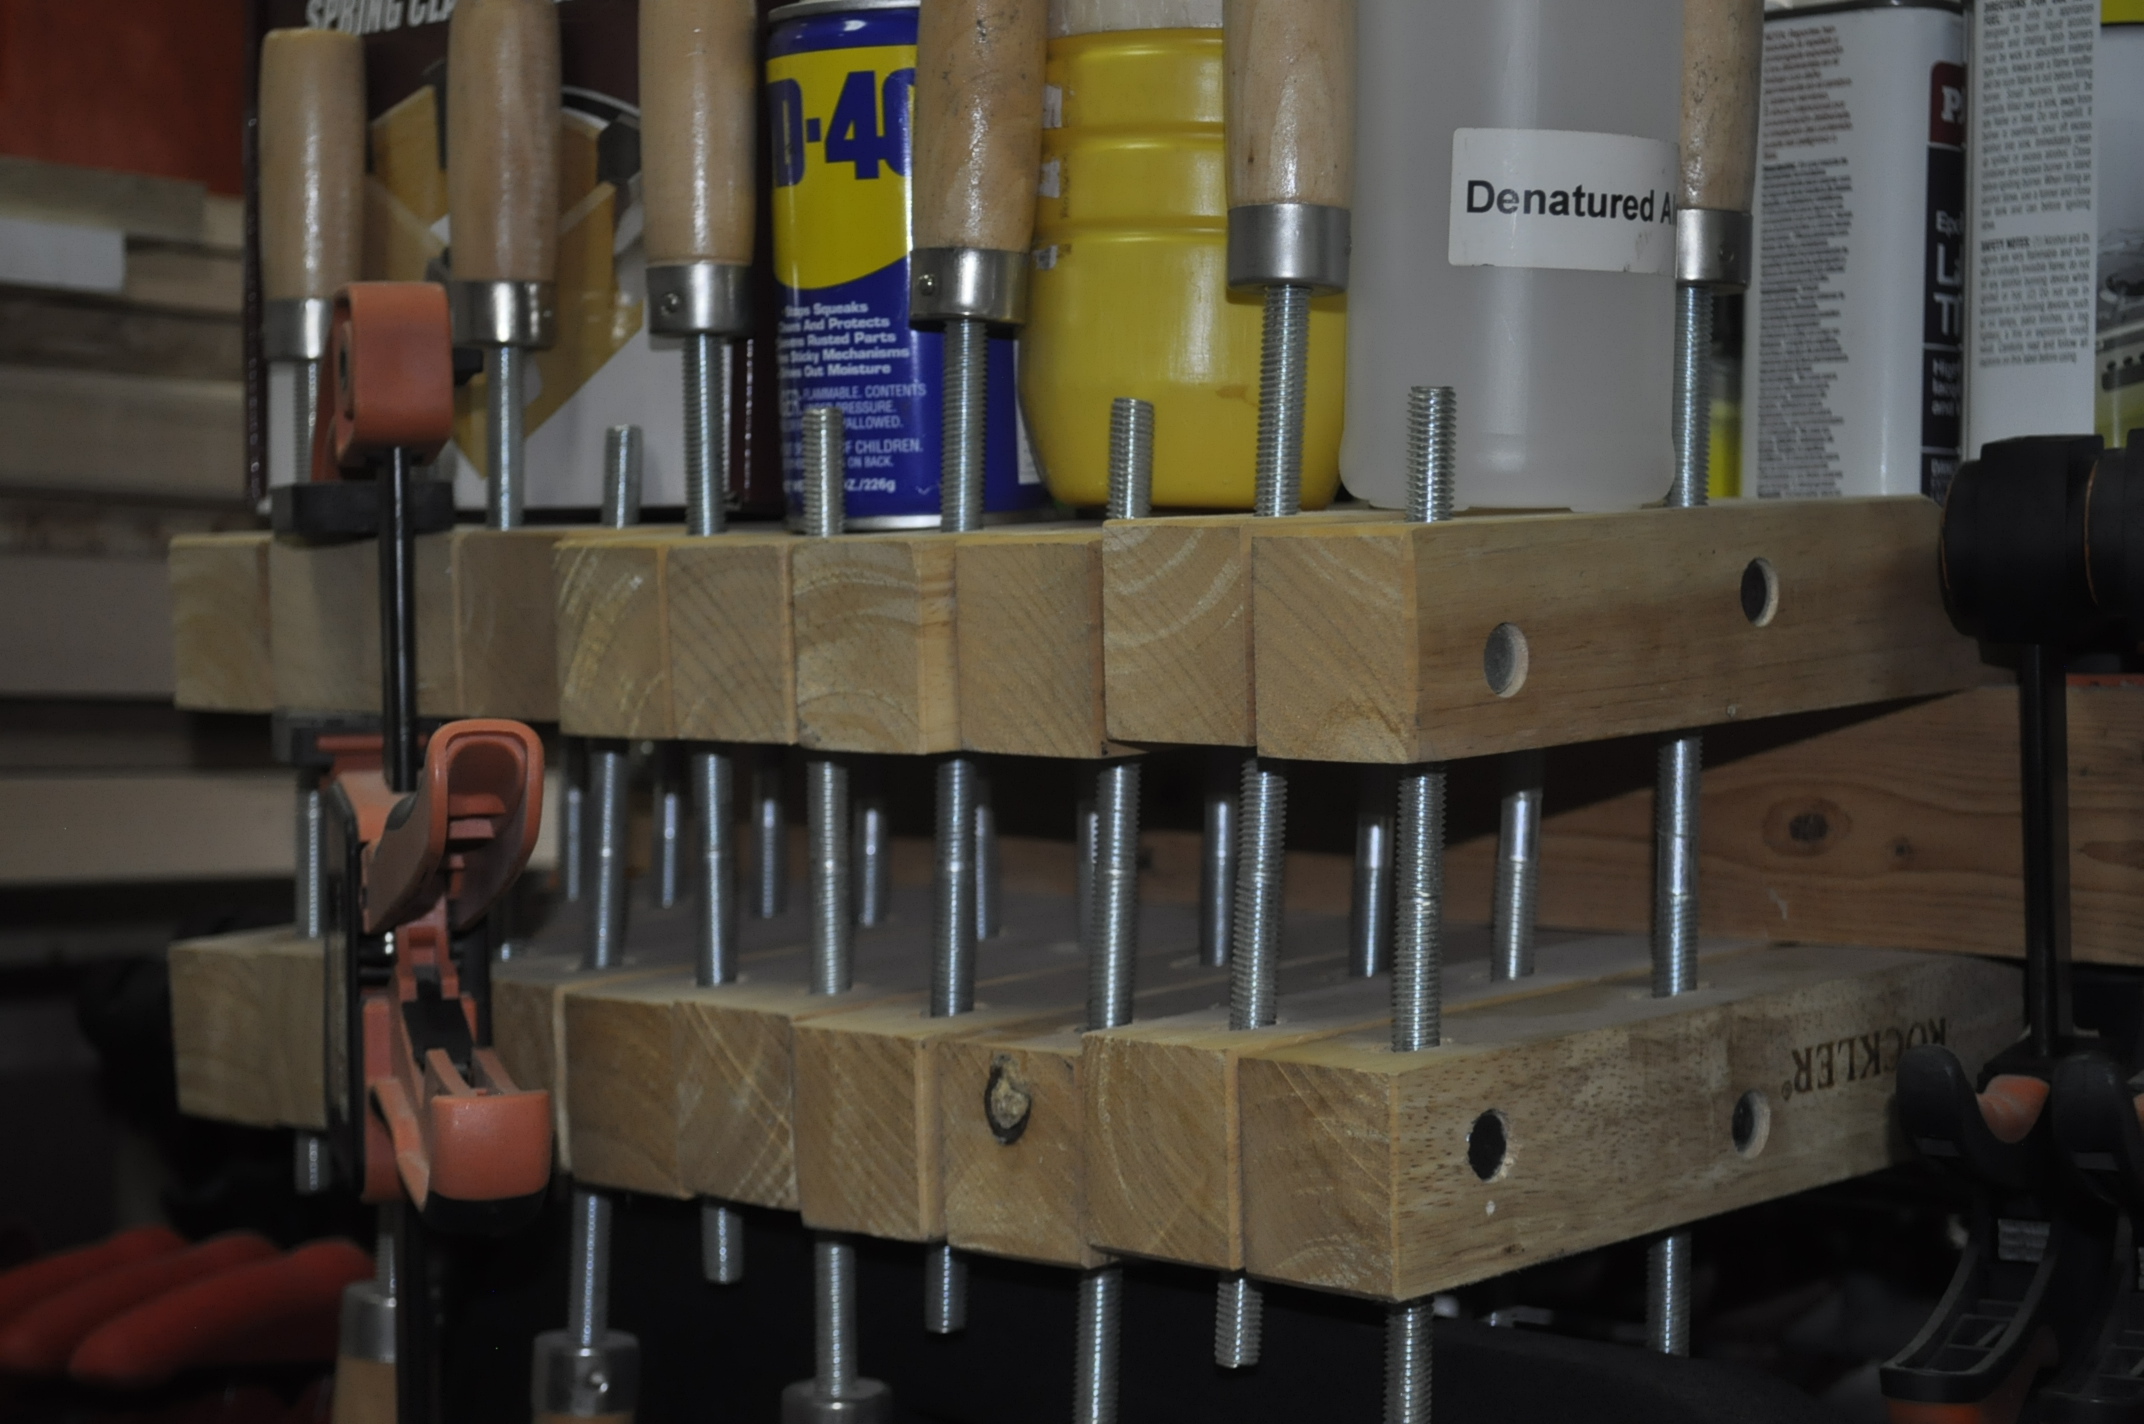
Creating Custom Hand Screw ClampsAs I was looking through the new March 2023 issue of Wood Magazine I came across an interesting article in their Shop Tips collection on creating custom wooden hand screw clamps. While these clamps have moved out of favor with a lot of woodworkers I have 10 of these clamps in my clamp collection. While they are not my go to clamp for most applications, they are my number one clamp for unusual clamping projects.
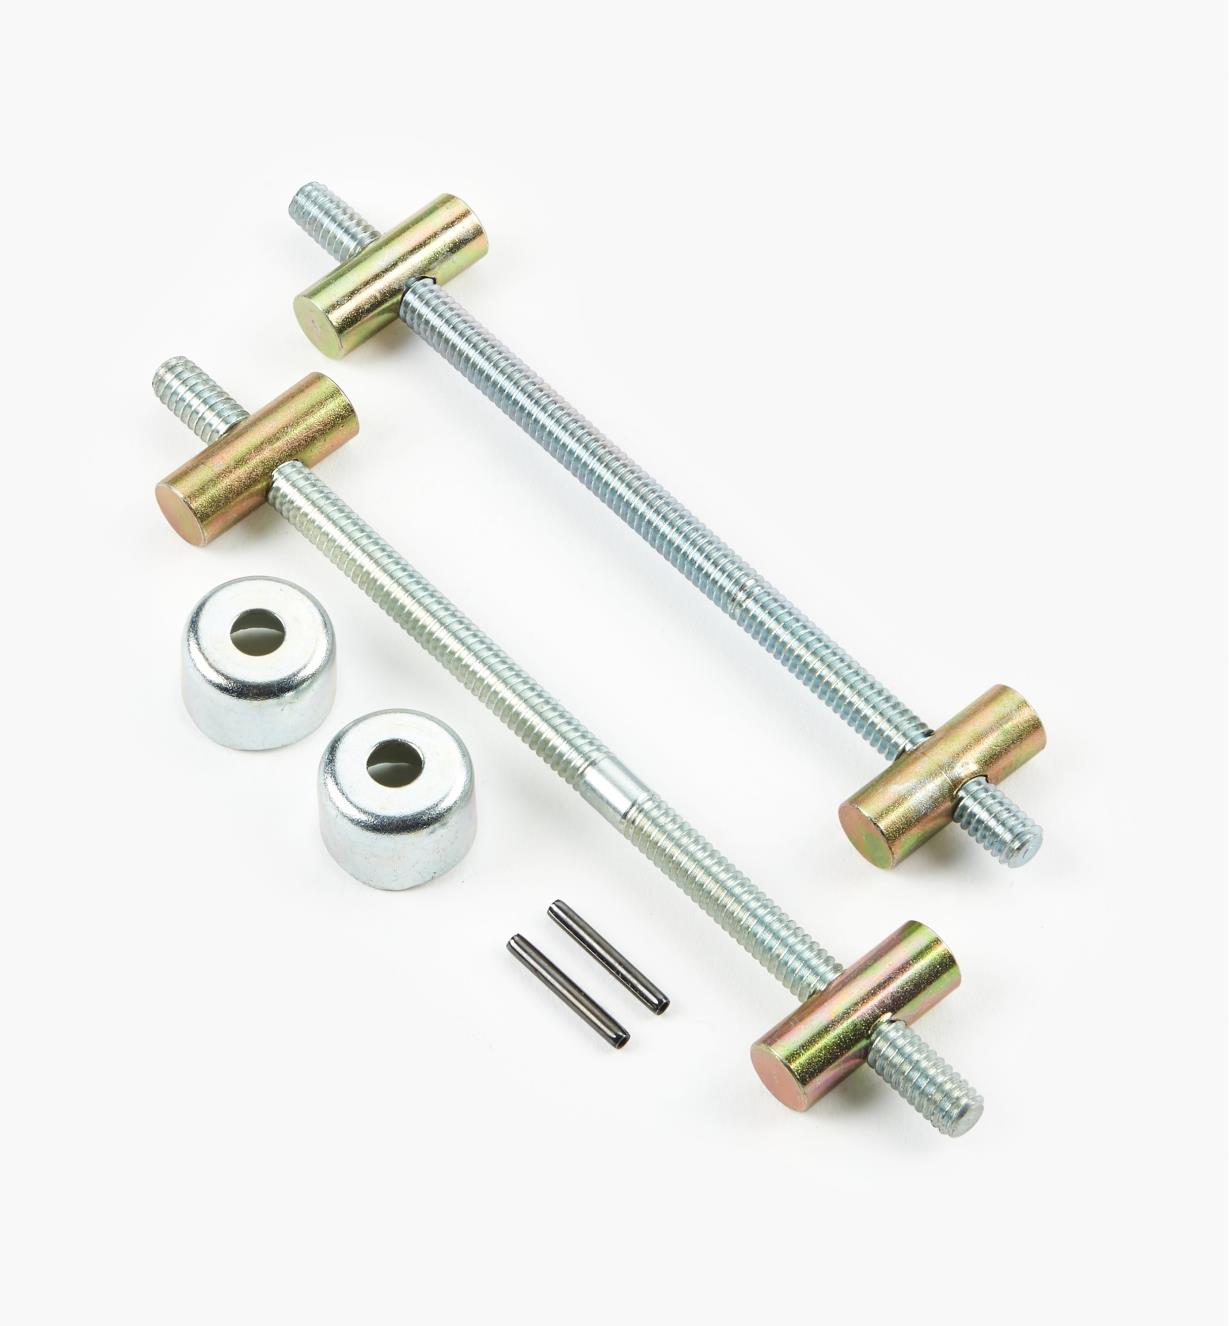
Gary's Hand Screw Collection The author of the article ordered Dubuque hand screw kits from Lee Valley but if you are interested in making a custom hand screw clamp for special applications I would suggest doing a Google search for Dubuque hand screw kits on the web as the pricing is all over the map.
Doubuque Hand Screw Clamp Hardware For my application I am going to build two of these hand screw clamps with very long jaws. When trying to clamp projects on my drill press it is sometimes awkward, my drill press was not designed for woodworking but for metal projects. With two of these clamps with extra-long jaws I will be able to clamp most of my woodworking projects on the drill press. Gary |
||||
DuesIt's that time of the year again that the guild wants your money for 2023. Cheryl, our new treasurer will be collecting dues at the January and February meetings. Dues are $20. Please pay by check or cash. The exact amount is greatly appreciated. |
||||
Understanding The Condensation In Our Workshops By Ed BunkerIt is that time of the year again ... pretty cool at night and starting to "warm up" during the day. If we have a cool night and your shop temperatures go up and down with the outdoor temperatures, all that is needed is a southerly warm and humid breeze and you'll have instant condensation on your equipment in your shop. Of course those that are made with some iron in them like your table saw, band saw, and jointer will start to rust! So if you want to avoid this problem, add a little heat to the shop to bring the equipment temperature slightly above the environmental temperature. Condensation cannot form on surfaces that are warmer. There are multiple ways to accomplish this. Now if you want the more technical side of condensation.... What do condensation and the understanding of humidity have to do with woodworking anyway? Well, if you’ve ever gone out to your workshop and found droplets of moisture all over your equipment’s metal surfaces with rust forming right in front of your eyes, you probably had your day’s events rearranged while gaining control of the “rusting situation” on the workshop equipment. Yes, water is the most unique substance on the face of the earth. As a matter of fact, it is the only substance that is present on earth as a liquid, as a solid, and as a gas. So, there are water molecules present in the atmosphere all the time. This water vapor is referred to as humidity. Specific humidity is the amount of water that is being held between the air molecules. It is interesting to note that for every 11 degrees increase in Fahrenheit temperature, the capacity of air to hold water vapor doubles! Now, the amount of water vapor compared to the carrying capacity of a gas (air) is called relative humidity. So, if the relative humidity gets to 100%, the air is saturated for that temperature. Now if your shop equipment is a few degrees cooler than the air temperature that is 100% saturated with water vapor, condensation occurs on the cooler surfaces of your shop equipment. Then, the chemical reaction between the iron in your shop equipment and the oxygen in the water creates iron oxide … or rust. What can you do? Well, here is where the understanding part comes in. For the high humidity air to “condense” on your shop equipment, the shop equipment must be cooler for the air to release the excess moisture at that cooler temperature. So if you can increase the temperature of your shop equipment above the temperature of the saturated air around it, the water vapor cannot condense on it. Placing a simple 100-watt “drop light” under the equipment (yes it has to be “on”) can raise the temperature enough to preclude condensation. This will always work however it is not always practical. For those of us without shop heaters, there is a simple method that will minimize the effects of condensation. Covering the bare metal surfaces with a coat of wax will not change the laws of physics but it will keep the oxygen in the moisture away from the iron in that band saw table thus minimizing the reaction that causes rust. So, warmer days are on the way as spring arrives in March each year. This warmer air will have a greater capacity to carry moisture. So now is the time to add a little heat to the shop and rub down those metal surfaces with some quad ought (0000) steel wool and apply a fresh coat of paste wax. You will also note another significant benefit to this waxing application. It will reduce the sliding friction and allows the wood to slide over the surfaces much more easily, yielding better control of the work piece. Better control means safer operations and that is always important. Wishing you all the best in maintaining your woodshop tools and equipment. |
||||

