Copyright 2023
Tidewater Woodworking President: Terry Nienaber, Vice President: Chris Zuchristian, Treasurer: Cheryl Davis, Secretary: John Tirey
  |
||||||||||||||||||||||||||||||||||||||||
| Web Links | At the Meeting | Last Meeting Notes | Tip of the Month | Editors Notes | ||||||||||||||||||||||||||||||||||||
|---|---|---|---|---|---|---|---|---|---|---|---|---|---|---|---|---|---|---|---|---|---|---|---|---|---|---|---|---|---|---|---|---|---|---|---|---|---|---|---|---|
What's In The Newsletter?
|
||||||||||||||||||||||||||||||||||||||||
President's Shavings ...During the isolation of the pandemic, I missed the comradery and social aspects of woodworking, but I enjoyed far more time in my shop to try new things. At the same time, online content providers were working overtime to share ideas, making it easy to research various methods of how to do what I wanted. I’m definitely ready to be out and about again and see and share your experiences. The turnout from our first few gatherings in 2023 show that you all are ready to work together as well. Our guild showed up with enthusiasm at every planned event this past year. Continuing that theme of comradery, we launched a monthly benchtop discussion forum on the second Monday of the month. I dubbed them “Benchtop Talks,” though they are actually an interactive discussion rather than a one-way talk one might think of. Our February session had 18 participants, including a number of visitors from our friends in the Turners Guild. The discussion was interactive indeed, with everyone sharing their experience and challenges with the theme of “repairing damaged wood.” This edition combines the February and March news, since I just didn’t get the February issue completed prior to our meeting. I’m including recaps of the January and February member meetings and notes from that first benchtop discussion. We also have a brief update on the Hampton streetcar restoration project, being run by Jim Francis with a number of members contributing. Finally, I’m excited to see what members share for the Scrap Wood Challenge at the March meeting, particularly seeing the amazing entries at our last challenge! It is obvious how talented our members are, and how generous they are with their time and talents. I’m proud to be a TWWWG member! Terry Nienaber, President TWWWG |
||||||||||||||||||||||||||||||||||||||||
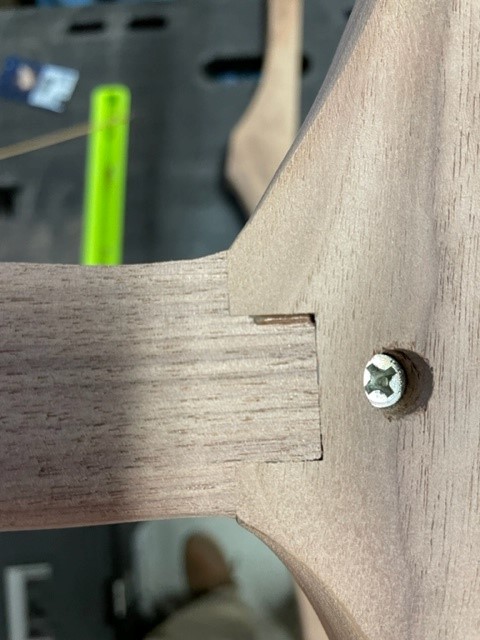
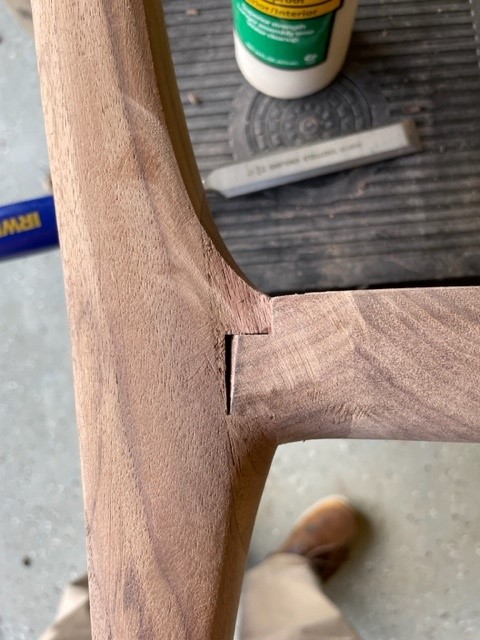
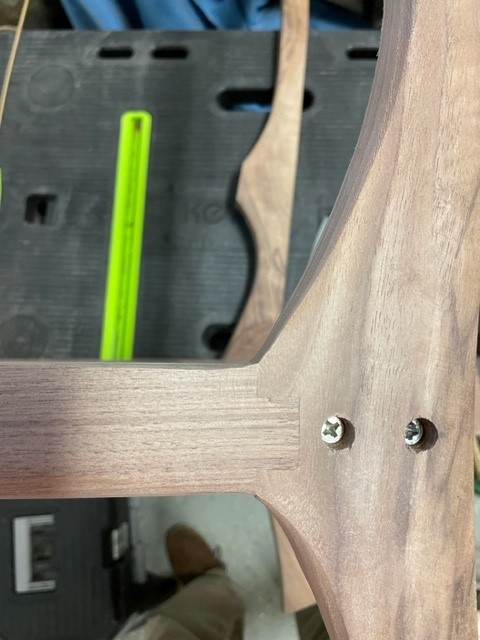
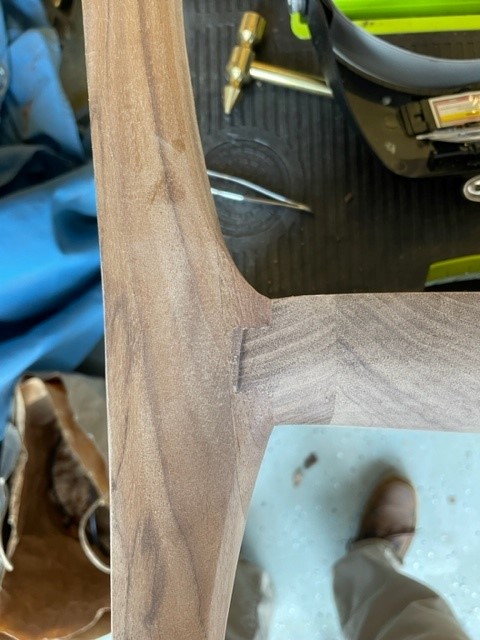
Building A Sam Maloof Rocking Chair Part VWith the cold weather we have had the past month or so, I have not been out in the shop much. Plus I also had a couple other projects going on such as the scrap wood challenge. But I did do some more shaping and sanding on the seat and legs to get ready for the final glue up of the seat and legs. So after a little bit more refining during the past month or so, I found some warm days when the temperatures got into the 50’s where I could do a glue up. Yes, the front and rear legs have been glued and screwed into place. So you can actually sit in it now. I used Titebond III for this part of the glue up and as you may know, the glue and pieces of wood need to be above 40 degrees. We didn’t have a lot of weekends in the upper 40s, so when I saw the potential for 50 or better temps one weekend, I took all the parts and the glue inside for a few days to at least get to room temperature and then took them back to the garage for the actual glue up. So I guess that is a milestone accomplished as there is no going back now. Unfortunately, with all the putting together and taking apart and moving pieces around here and there I got some damage at a couple of places. Nothing any woodworker would like to talk about, but as I am sure all of you have had a project where a little chip here or there happened. So I thought I would share a couple of the repairs I had to make as part of the final assembly of the legs and seat. Below are a couple pictures showing where a small chip of wood was knocked off of one of the tenons. The one on the left is the side of the rear seat on the right side. The one on the right is the back of the seat where that tenon joins with the rear leg. So to fix these I had to find some scrap that had similar color and grain to the missing pieces. The other problem is that these two repairs are going in different directions. The first photo, the grain is going horizontal to the seat. The second repair, the grain is actually going into the seat (back to front), so you are dealing with end grain. Obviously if you notice the damage when it happens and can save that chip that came off, it will make your life and the repair a lot easier. But if you can’t you’ll need to use a piece of scrap. So you will want to save whatever scraps you can until your project is complete. Particularly if you are dealing with wood that has variations in color and figure so you have more options. Anyway, below are two pictures showing the repairs for each. I spent the last weekend or so cleaning up the glue squeeze out and getting that final blending of the seat to the legs. Next will be more sanding of the seat and leg joints. I want to get these areas sanded to at least 220 before I add the arms as it is a lot easier to sand and move around without the arms attached. So hopefully for the next issue, I’ll have the arms attached and possibly the head rest and spindles attached and sculpted. Scott Paris |
||||||||||||||||||||||||||||||||||||||||
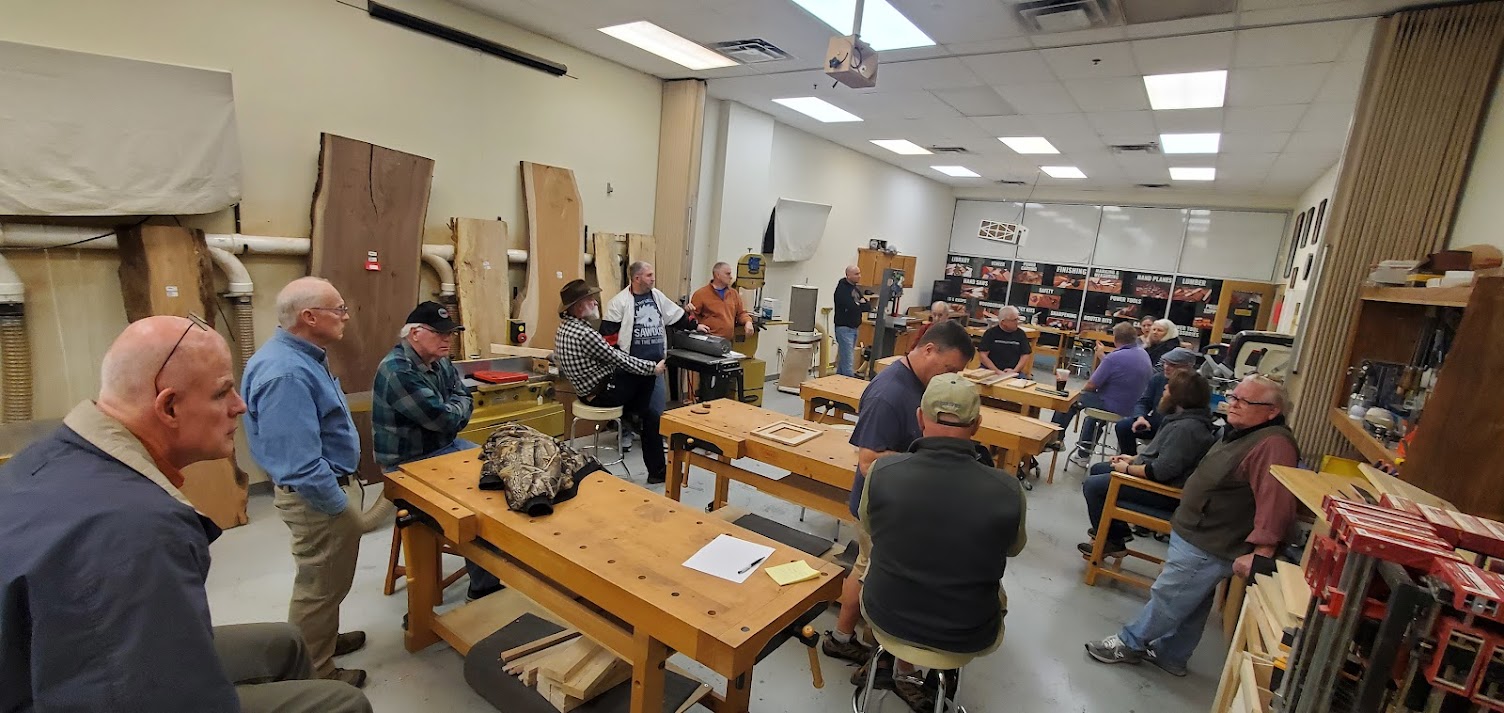
Benchtop Talk: Repairing Wood DefectsMembers from TWWWG and visitors from Tidewater Turners gathered at Woodcraft on February 13th to share experiences in repairing defects in wood prior to final finish work. The below notes are a glimpse of the topics from this discussion: Opened with several boards containing examples of defects, each requiring different techniques for repair.
Members of TWWWG and Tidewater Turners share experiences in wood repair techniques at the Benchtop Talk on February 13th. Examples included cracks/splits, voids with (or without) decayed wood surrounding edges, tool gouge, tear out. Challenge: How to avoid changes of color of wood from glue application that highlights the repair when finish/topcoat is applied Recommendations:
Timbermate:
Durarock (powder; you add water):
Tips for 2-part epoxy applications/pours:
Tips for how to contain epoxy when applying/pouring (e.g. forms and dams):
Coloring:
Techniques for making epoxy smooth after pour:
Can edge/exposed corner be repaired:
|
||||||||||||||||||||||||||||||||||||||||
Vendor DiscountsGreg has been actively looking for vendors that will provide a discount to guild members for various supplies. A basic listing of the vendor will be published in each months newsletter. To keep this from getting too complicated for this newsletter the list will only contain the most basic information on the vendors. To get to the real meat of the vendor discounts you will have to go to the TWWWG web site www.twwwg.com and click on the tab marked "Member Information". Scroll to the bottom of the page and click on the Previous icon. Once on the second page click on the previous link one more time. This should take you to the article called TWWWG Vendor Discounts.
|
||||||||||||||||||||||||||||||||||||||||
Guild Merchandise Available
|
||||||||||||||||||||||||||||||||||||||||
2023 Guild Officers & CommitteesCurrent officers and committee members are listed below. To reach out to members, send an email to This email address is being protected from spambots. You need JavaScript enabled to view it., and your request will be forwarded to the member you’re trying to reach.
|
||||||||||||||||||||||||||||||||||||||||
How To Dry LumberThere was a very good video from Fine Woodworking that ended up in my inbox this weekend entitled "How To Dry Lumber". There is a LOT of information out there about turning a tree into stable lumber ready for working, but this video distills the important elements to give woodworkers and non-woodworkers a great idea about the process of drying lumber properly. "Learn the secrets to drying lumber in this video hosted by author and furniture maker Mario Rodriguez. We traveled to Worcester, Penn., to the mini mill of Dave and Carol Spacht, for a comprehensive overview of the drying process. The video explains how a kiln works, how to build your own kiln for kiln drying lumber, how to air dry lumber, in addition to a handful of tips on how to dry wood that only a seasoned sawyer can reveal." (from Fine Woodworking) Click on this link to learn more about kiln and air drying Drying Your Own Wood. Gary |
||||||||||||||||||||||||||||||||||||||||
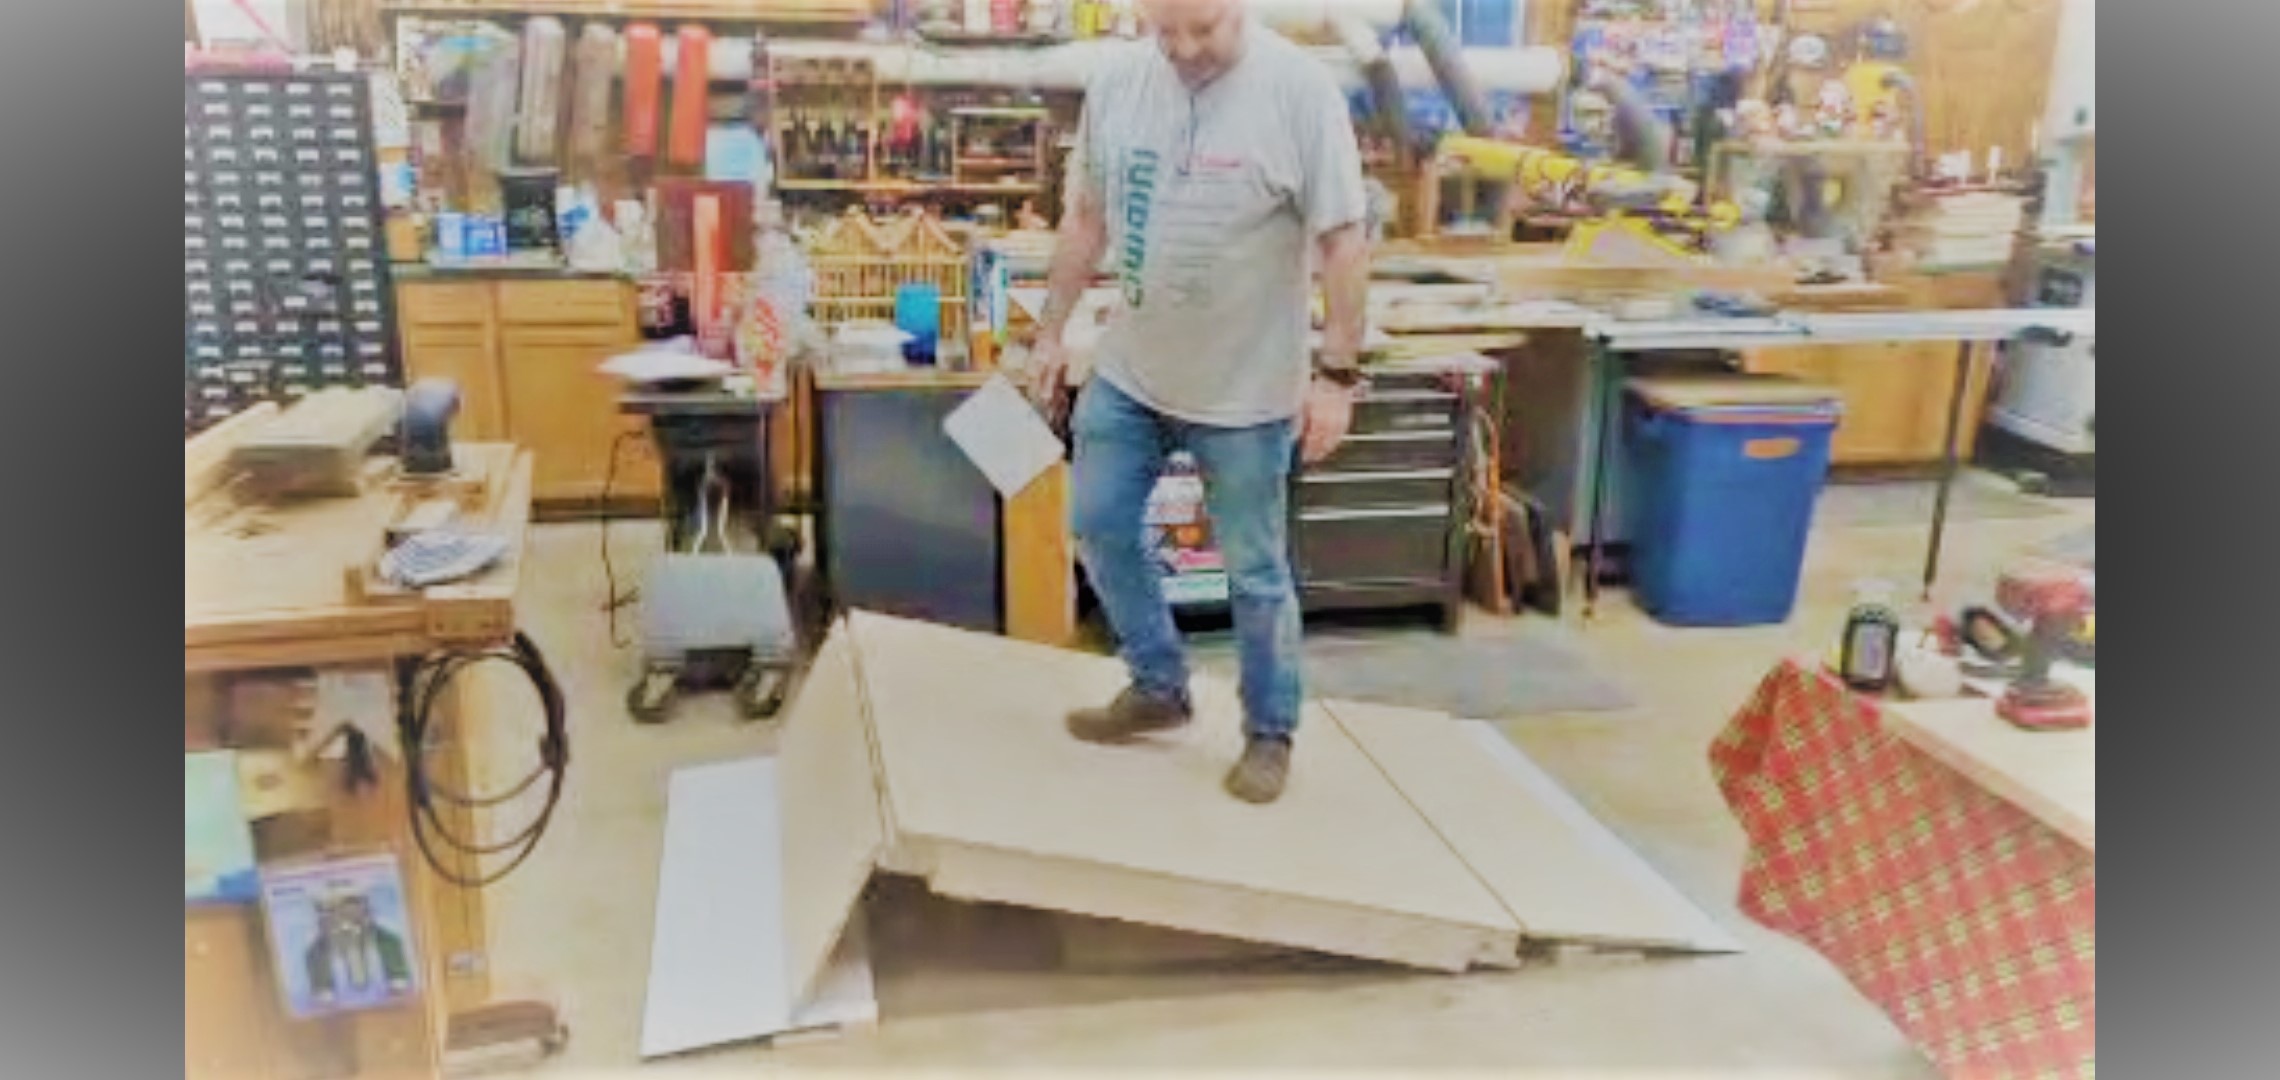
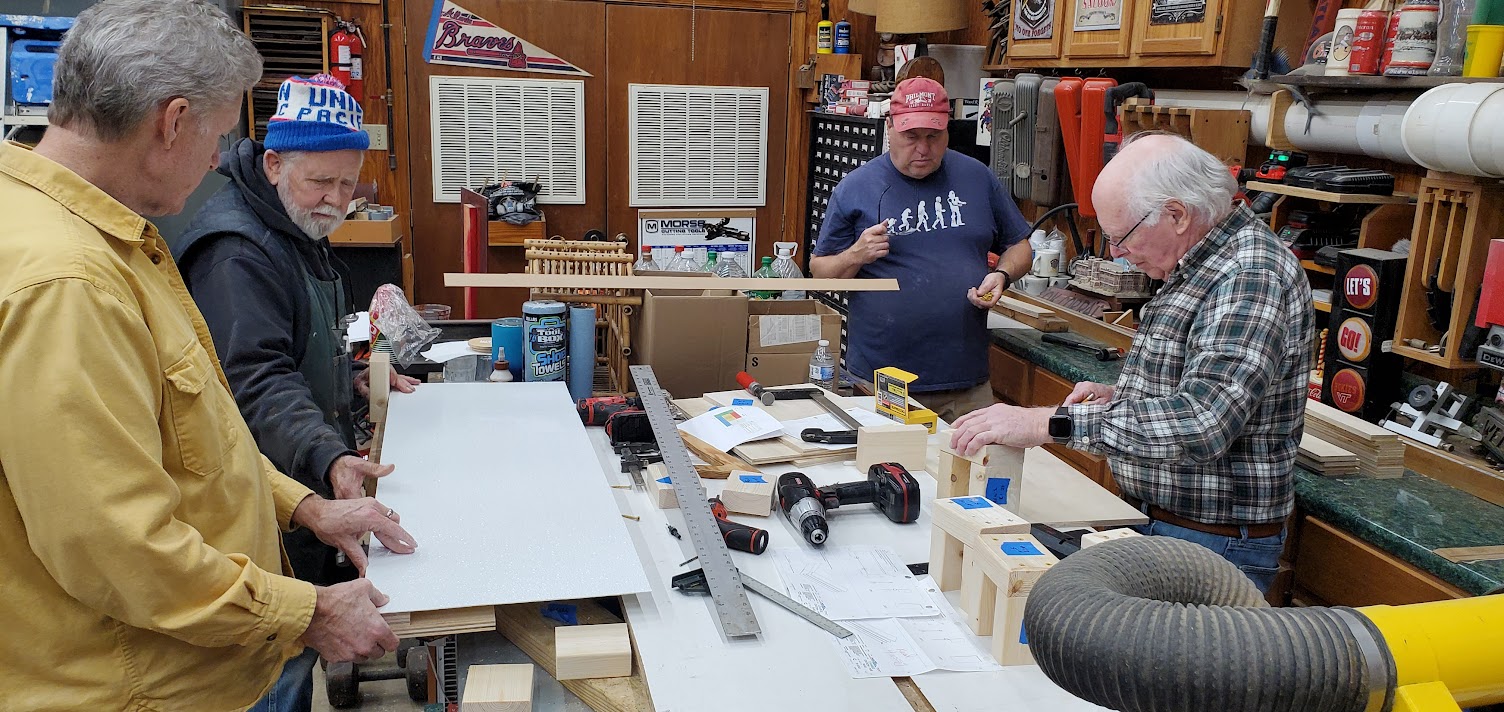
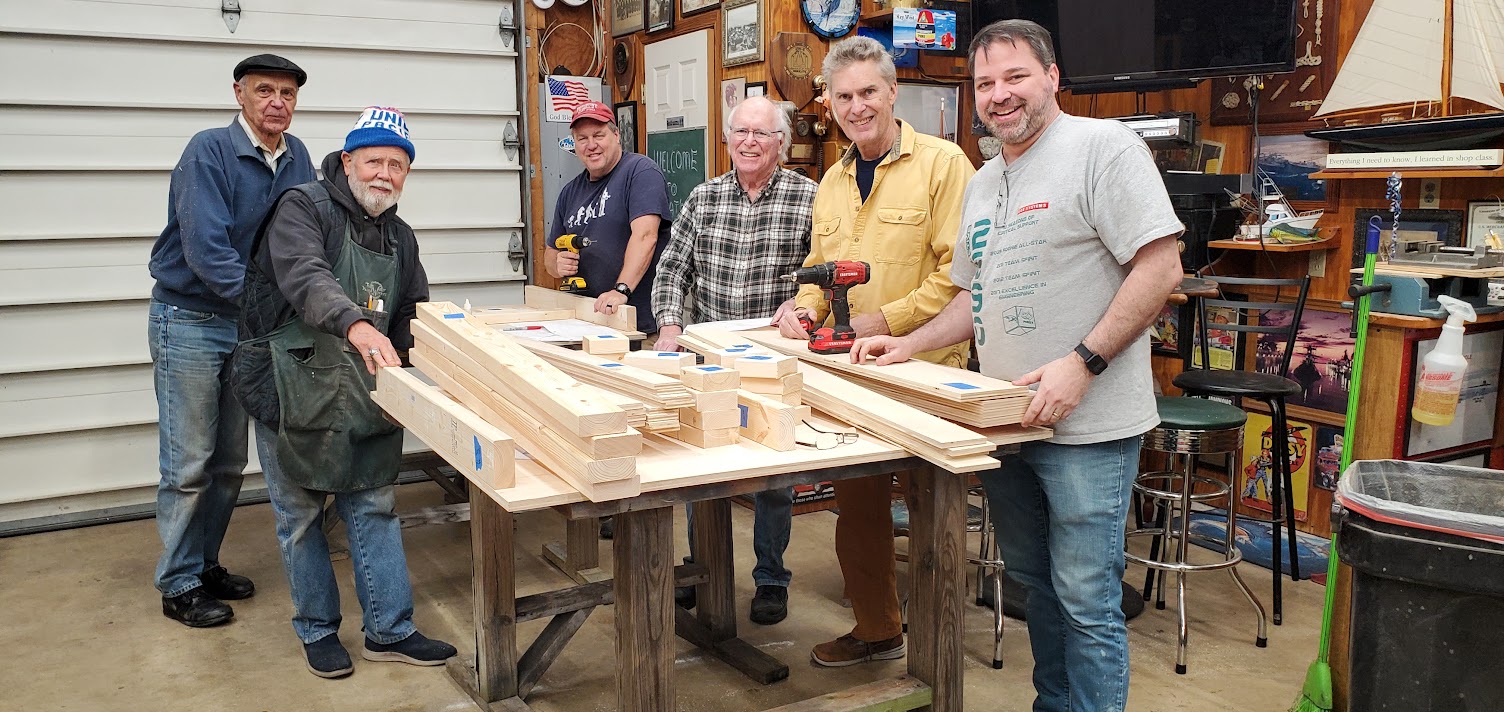
TWWWG Makes Balancing Platform for High School Robotics Competition“Members of the TWWWG met at Pat Lester’s workshop in January to fabricate a pair of balance beams that were used as field elements to challenge robots created by local high schoolers as part of the FIRST Robotics Competition. FIRST, which stands for “For Inspiration and Recognition of Science and Technology,” is a world-wide organization that has thousands of teams compete in a game they modify each year. This year, three 100-plus pound robots will drive onto the balance beams we made near the end of each two minute match, attempting to collectively balance the platform to score bonus points. A consortium of teams on the peninsula contacted me in December and asked for help in populating their practice field for the 2023 season. They naturally saved back the balance platform for us, as the most complex of the field elements. (Gee, thanks?) We came through! Having been a mentor in this event since 1999, it is an encouraging experience to see what high school students can create in roughly two months of effort between the release of the game and regional competitions.
Terry Nienaber testing the teeter-totter balancing platform built by the TWWWG for high school robotics teams to be used in the 2023 FIRST Robotics Competition. TWWWG members at Pat Lester's home shop, building a balancing platform for FIRST Robotics teams.
Chris Zuchristian & Pat Lester working the assembled balance platform for the high school robotics competition practice field. Terry |
||||||||||||||||||||||||||||||||||||||||
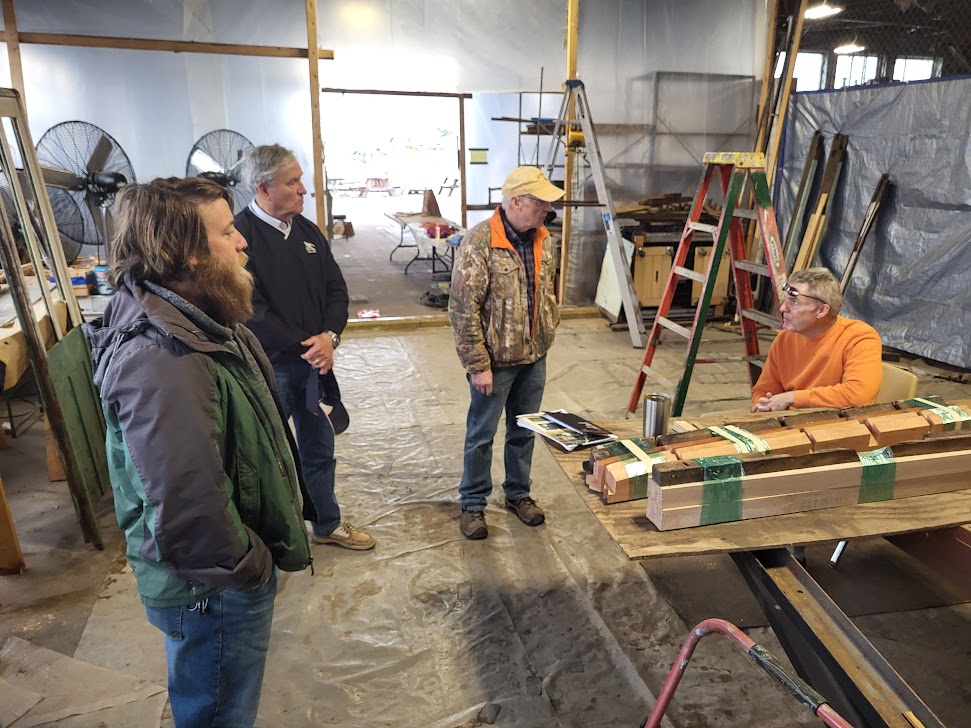
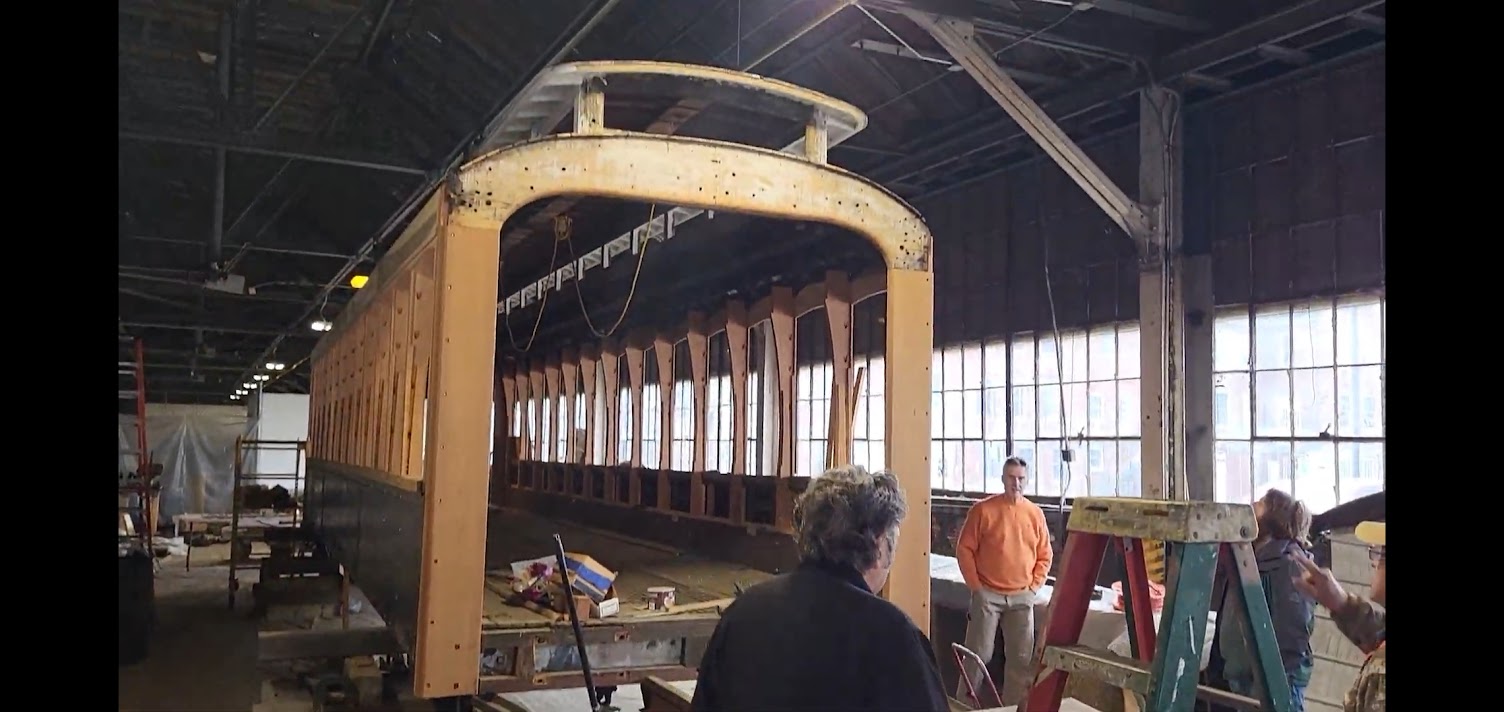
TWWWG Street Car UpdateProgress continues as members of TWWWG help reconstruct the wooden components in the streetcar being restored at a facility in Fort Monroe. Jim Francis is leading the guild effort, evaluating what information or templates are available, ordering materials, and parsing out work to be performed by other guild members. A large order of cherry lumber has been received and delivered to the streetcar, with thanks to Woodcraft for helping with the order. Tim Roach finished drawings of the bifold door. Jim began a prototype panel to develop the process and think through how to divide up work going forward. Photo of TWWWG members delivering parts needed to reconstruct portions of a curved wall on the Hampton streetcar.
Scott Paris, standing next to the Hampton streetcar in the restoration facility at Fort Monroe. Editor |
||||||||||||||||||||||||||||||||||||||||
Thermo-Wood?As I was sitting in my favorite recliner chair at Chesapeake Regional Hospital getting my morning or was it evening IV's to combat this infection that got into my heart I came across an interesting article in the latest Woodcraft Magazine (Vol. 19, No 112 /Apr/May23) titled "Slatted Outdoor Table". What caught my eye about the article was not so much as the project but the wood it was made out of called Thermo-wood. I had never heard of Thermo-wood and the article did not go into any details about the wood characteristics so I decided to do some internet research. So what is Thermowood? Thermowood, also known as heat treated timber, is a beautiful, sustainable timber material produced using chemical-free heat treatment. How is Thermowood Produced? Thermowood is created by heat treating Scandinavian softwood to temperatures ranging from 180 – 230° in special chamber kilns for up to 96 hours. Steam is used as a protective gas and helps to prevent the wood from splitting and becoming damaged during treatment. Thermowood’s Characteristics & Qualities This process causes chemical and structural changes to occur within the timber, which therefore alters some of its characteristics and qualities. Some of the characteristics and qualities that make Thermowood such a popular specie includes: Dimensionally Stable – The intensive heat the wood is exposed to during its production dries out deep into the core, causing all moisture and resin to be removed from the timber. Thermowood therefore doesn’t react to changes in humidity as drastically as untreated wood (the risk of swelling, cracking and shrinkage is decreased), allowing it to retain its shape far better. The wood also doesn’t secrete sap or resin even in high temperatures. Environemntally Friendly – The softwood used to produce Thermowood originates from well-managed, PEFC-certified forests, and as no chemicals or foreign substances are involved during its production, Thermowood is an environmentally friendly material produced by using only natural methods. Resistance to Rot and Fungi – Due to the heating process breaking down hemicellulose, the wood doesn’t contain the appropriate nutrients to allow rot and fungi to grow and develop. Increased Longevity – When wood is treated with heat, its average life span is prolonged. It will depend on the exact heat the wood is exposed to as to how long it is expected to live, but generally the higher the temperature, the longer the life span. Improved Insulation – Wood that has been heat treated is much more porous than untreated wood, vastly improving its insulating properties. Can be Recycled – Unlike pressure impregnated wood, Thermowood can be discarded or recycled as untreated wood when it is no longer required. The above information came from a web site called NORclad which is part of the National Timber Group. To read more about the product click on this link NORclad. Gary |
||||||||||||||||||||||||||||||||||||||||

