Copyright 2020
Tidewater Woodworking President:Fran Foster, Vice President: Greg Guertin, Treasurer:Chris Zuchristian, Secretary: Don Newsome
  |
We Work With Cutting Edge Technology! |
|||
| Web Links | At the Meeting | Last Meeting Notes | Tip of the Month | Editors Notes |
|---|---|---|---|---|
| Tips |
What's In The Newsletter?
|
|||
Presidents Report ...The Tidewater Woodworkers Guild is alive and well. We have not been able to hold our monthly meetings at Woodcraft, but we do hope to do more than communicate via email in the near future. After checking what other woodworking guilds are doing to keep things going, it appears that there is a mix of activities being used to stay in touch and provide ideas, training and awareness for the members. Some have not sent out newsletters or had other activities since the pandemic started. Others have held virtual presentations and demonstrations using primarily Zoom. We are looking into using Zoom as a means to keep things moving. Keep checking back to see how we progress. Fran |
||||
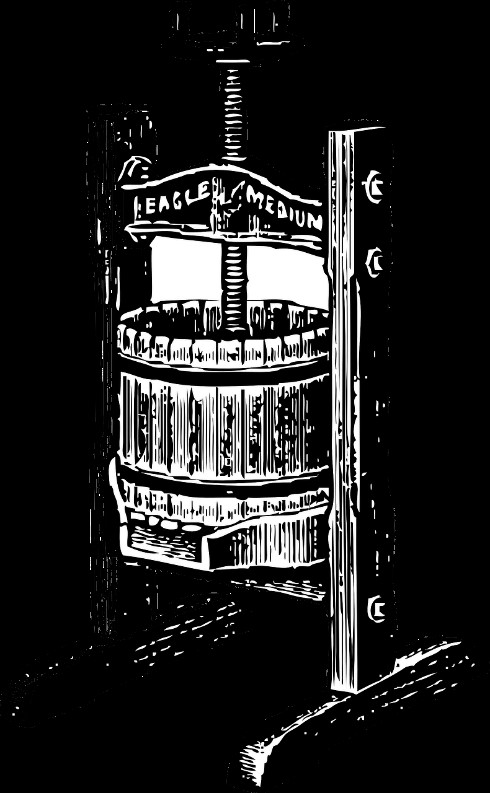
"Branding" & Customizing Your WorkA few weeks ago my wife and I made our annual trek over to Riverside Hospital to meet with her neurosurgeon for her annual checkup. This year was year 5 and she is doing fine. One more year to go and she will discharged her forever! Thanks to Covid 19 I was not permitted into the building but regulated to staying in the car for the duration of the exam. This actually gave me some quality time to catch up on my woodworking magazines and during the sequestration time in the car I noticed a very interesting article in the February / March issue of Woodcraft magazine. The article on page 12 of the magazine was titled “Missing The Mark" and it had to do with “branding” your wood projects so that others would know who built the project. As I had always been interested in labeling my work but found it too expensive to have a branding iron made I looked at what the author had done to mark his work. My first step into looking into what the woodworker had done led me to his suggested web site for the ink only to find that the ink was not available for the application. My next step was a Google search on “creating image on wood using ink”. That led me to a Youtube video called “5 Ways To Print On Wood”. It was very interesting to see how he created his custom logo and transferred it to wood. Very impressive. A link to the video is listed below for your educational purposes. https://www.youtube.com/watch?v=xHOWUR8vTvo This link led me to another video on Youtube called “EASY Photo Transfer to Wood | LASER PRINT on Wood Using Mailing Labels, Fast, Reusable, Cheap DIY”. In this video the creator used a laser printer to transfer a colored image of a bird onto wood. The link to this video is listed below. https://www.youtube.com/watch?v=h7FKdW5ndLw These two videos really got me to thinking about making my own logo so I went out to the web and “borrowed” an image of a wooden plane and dropped it into Word. I added some text to the image and came up with this quick logo as an example of what I could do. The logo came out really good as shown in the image below. Made In Chesapeake, VA Gary’s Custom Woodworking Designs This gave me the idea of customizing my woodworking projects for special occasions like maybe a Christmas gift. I considered making customized wooden wine bottle holders for family members and came up with this quick design for my wife’s sister. I again went out on the web and “borrowed” an image of wine related products and dropped them into Word. The image below was my first attempt at customizing the woodworking project. Now all I have to do is go into Word and change the words and I then have another unique Christmas gift. Play with this information and see what you can create! Marsha’s Vineyards
Haslet, TX Gary Stephens, Editor
|
||||
Eliminate Drift From Your BandsawWe all know about “drift” when using our bandsaw, the tendency for the saw to wander to the left or right when cutting wood. Drift has been discussed since the bandsaw was invented and there are as many opinions on how to compensate for drift as there are on setting up the bandsaw properly and never having to deal with drift. Last week I received an e-mail or e-letter from Fine Woodworking on the subject of eliminating drift from your band saw. The article and 10 minute video on setting up the bandsaw for zero drift was well written and produced. For those of you who do not get their e-mail letters I thought I would include the link to the article and video for your education. https://www.finewoodworking.com/2018/07/16/two-fixes-for-bandsaw-drift Editor |
||||
Society of American Periodic Furniture Makers MeetingWe have begun planning for our November 7, 2020 fall meeting at Ben Hobbs place in Hertford. We understand the concerns we have with the current situation. You are under no obligation to attend. If you feel uncomfortable being around others or are sick, please don’t come. Right now we are asking to place a mark on your calendar for November 7. We are open to any topics you want to present (hint, hint), this is your chapter not ours. See you then. Barry Daniel |
||||
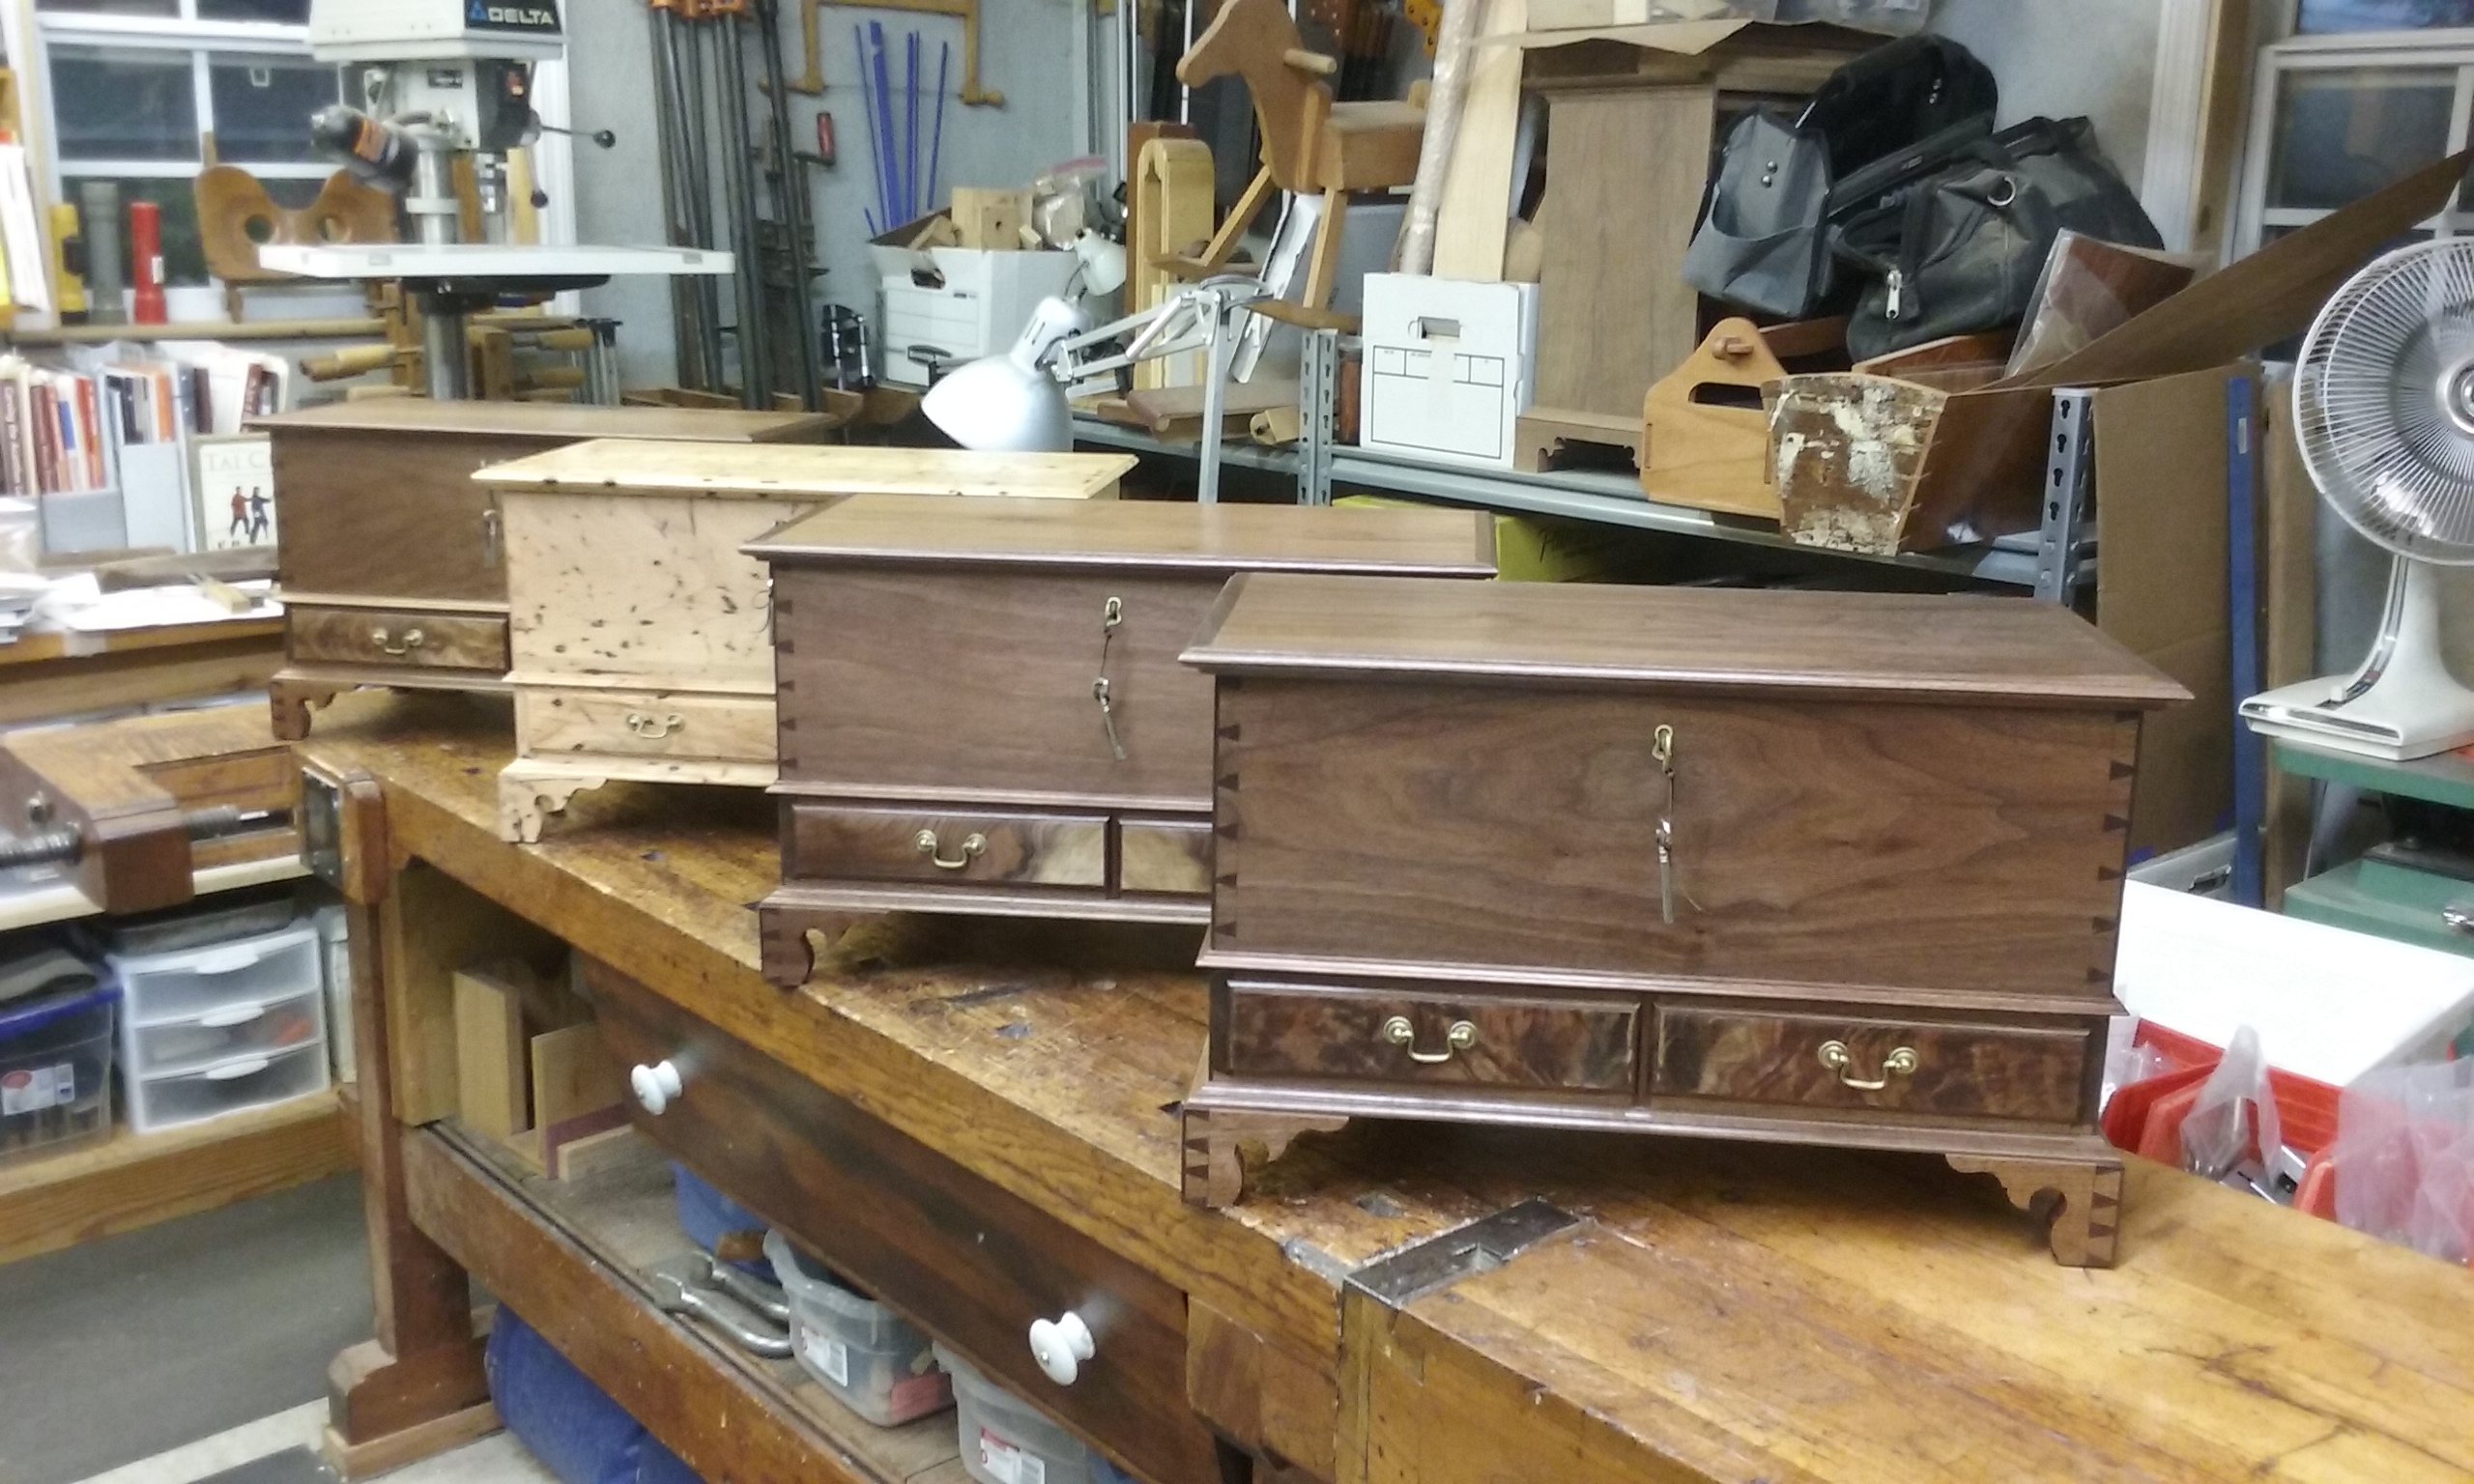
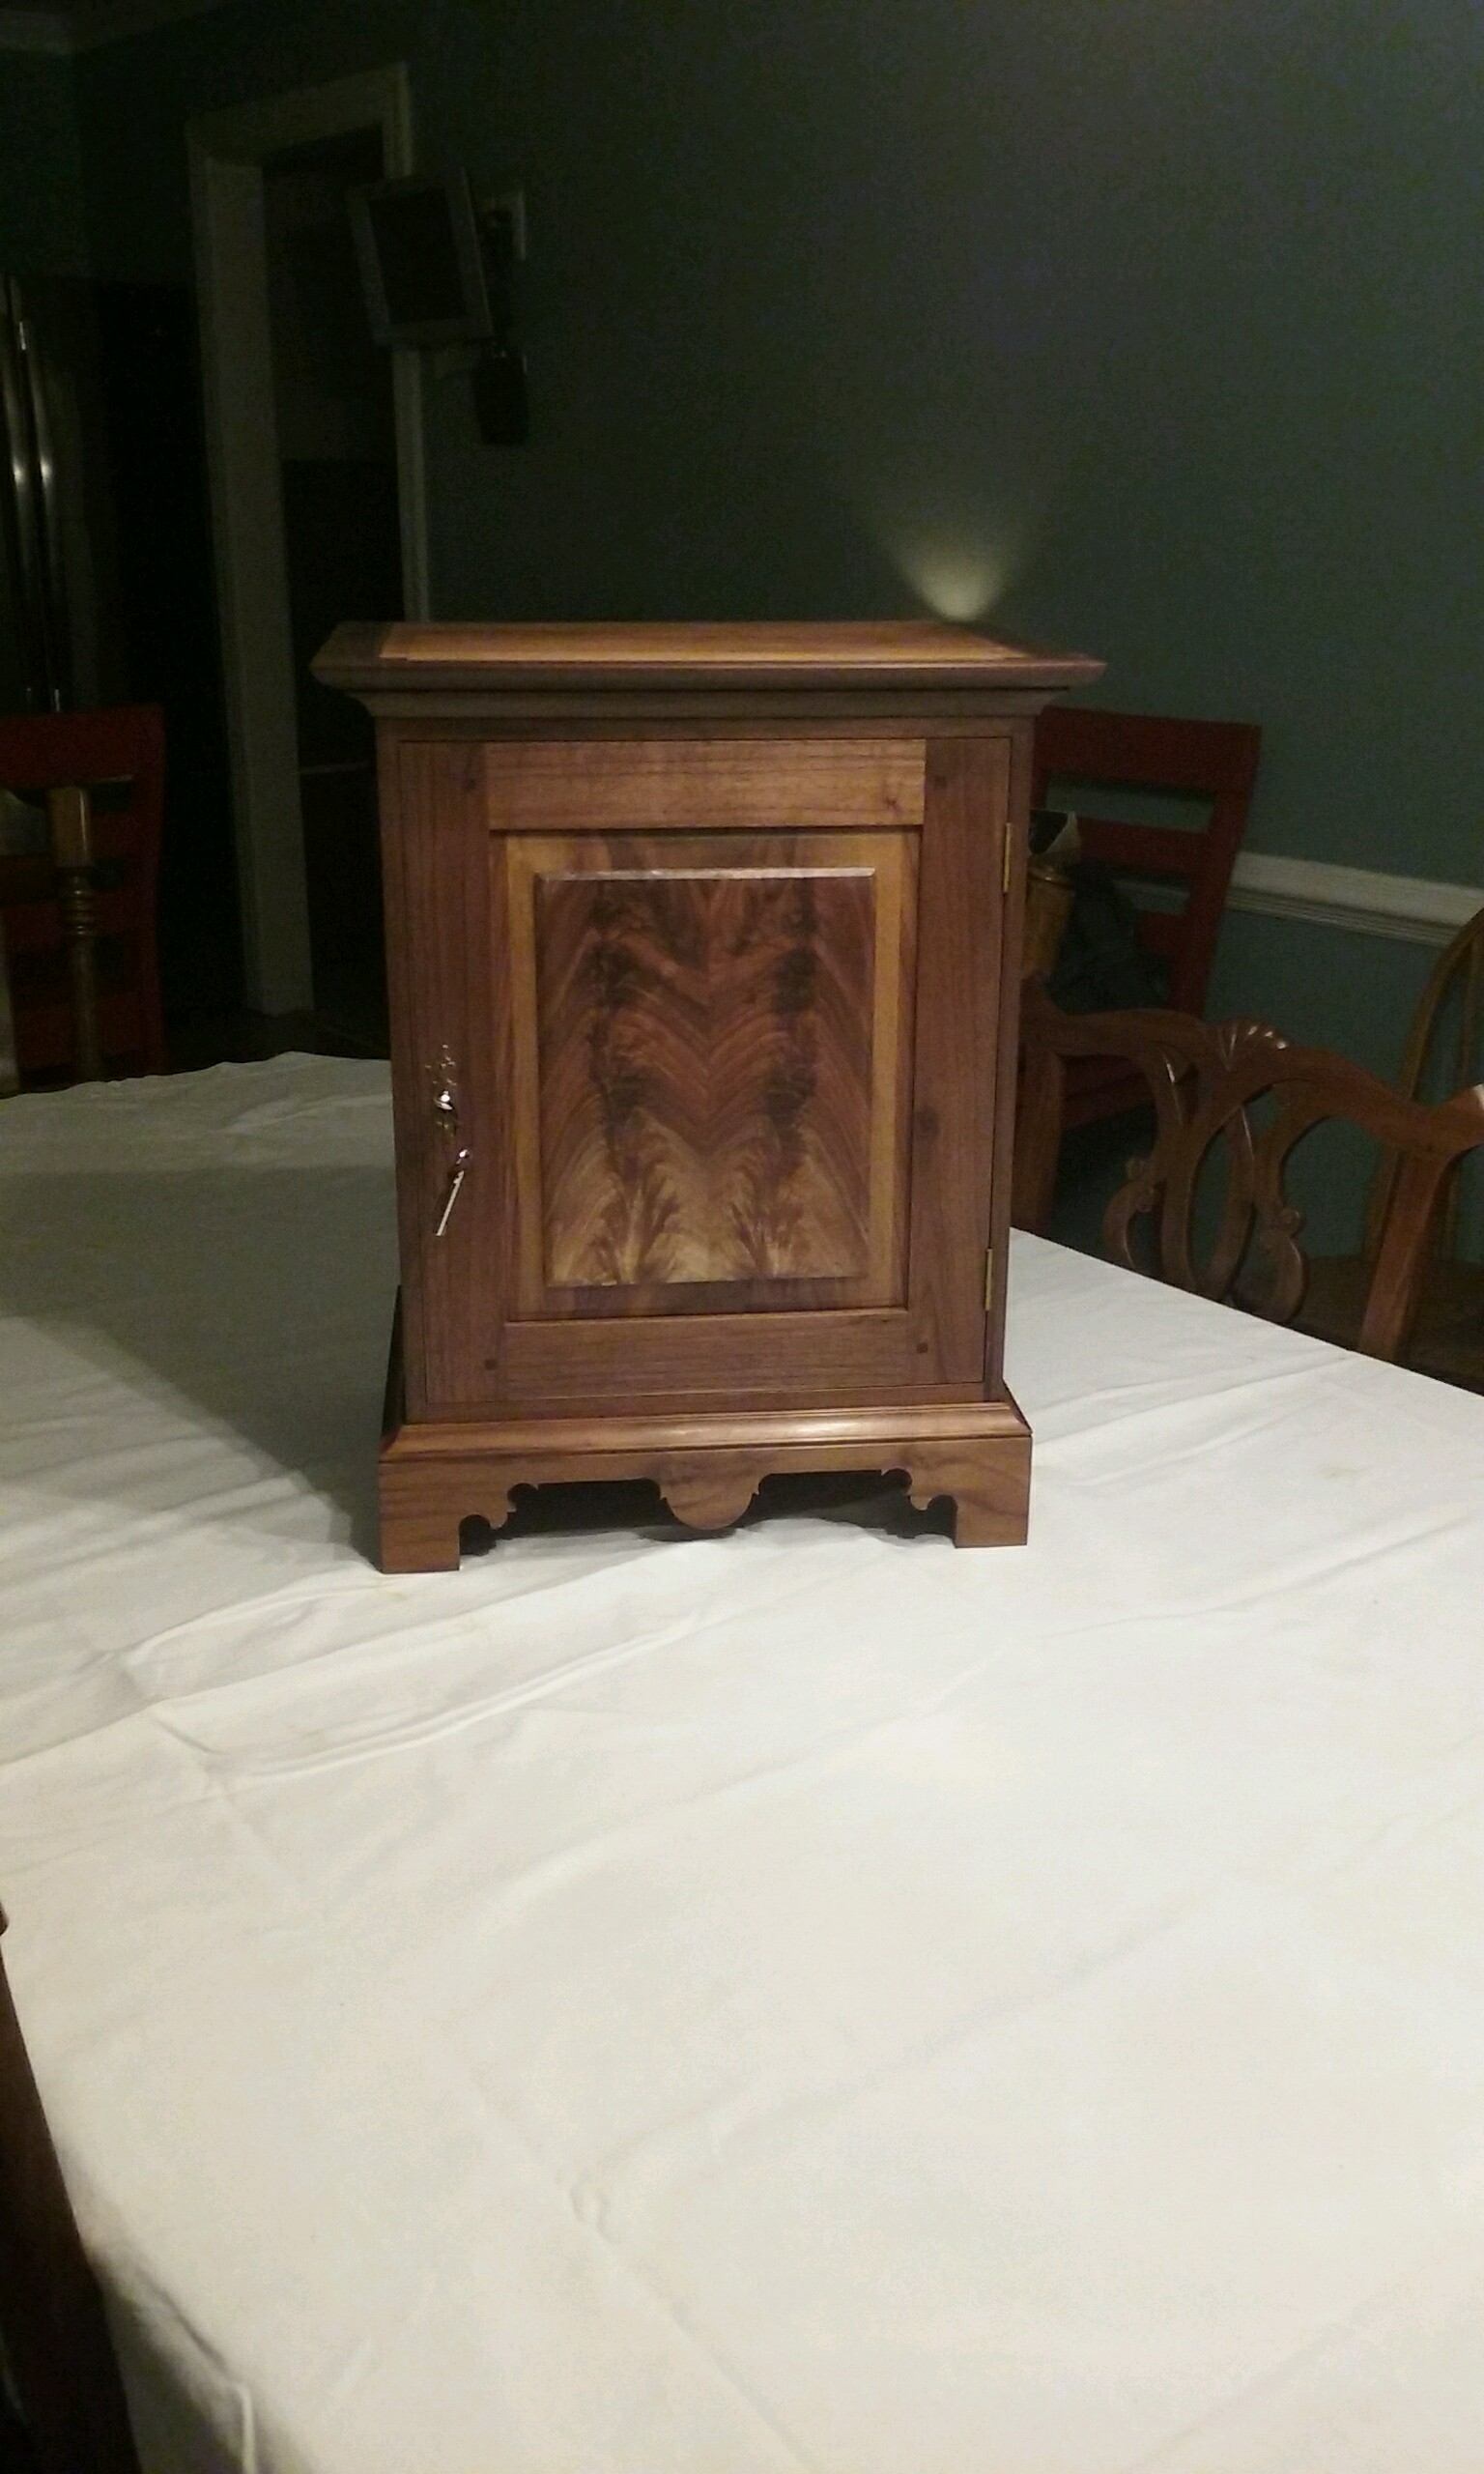
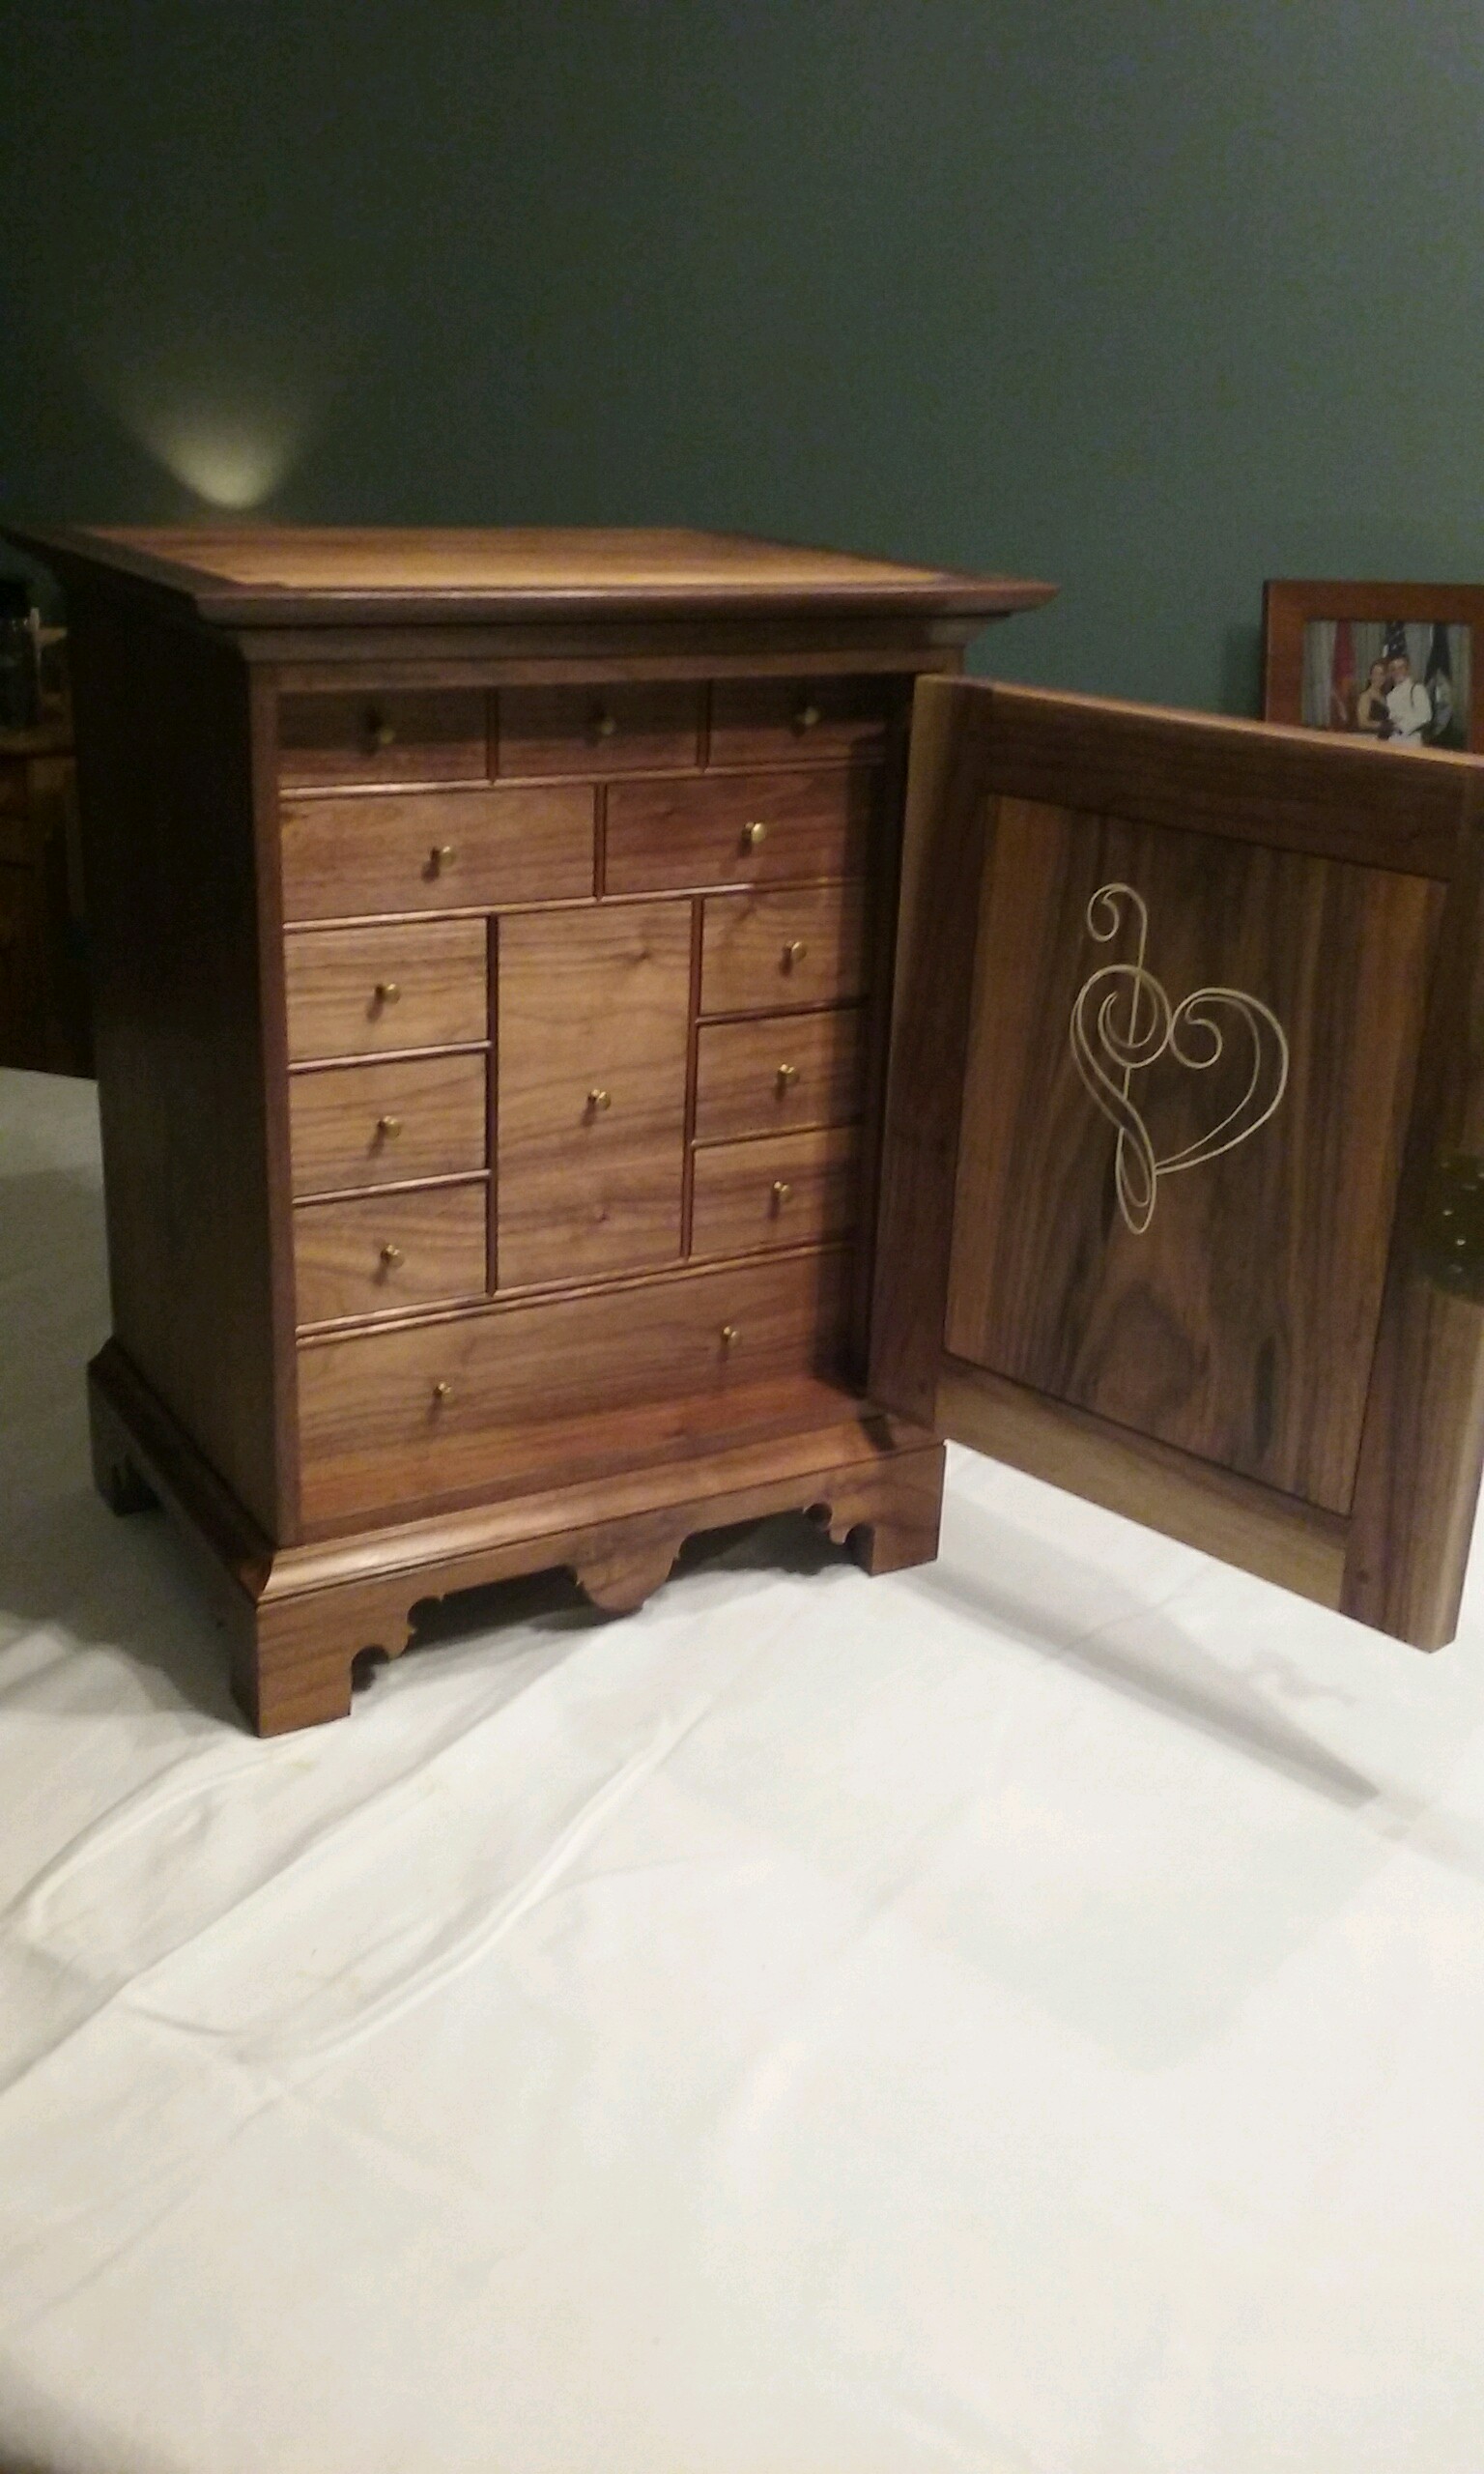
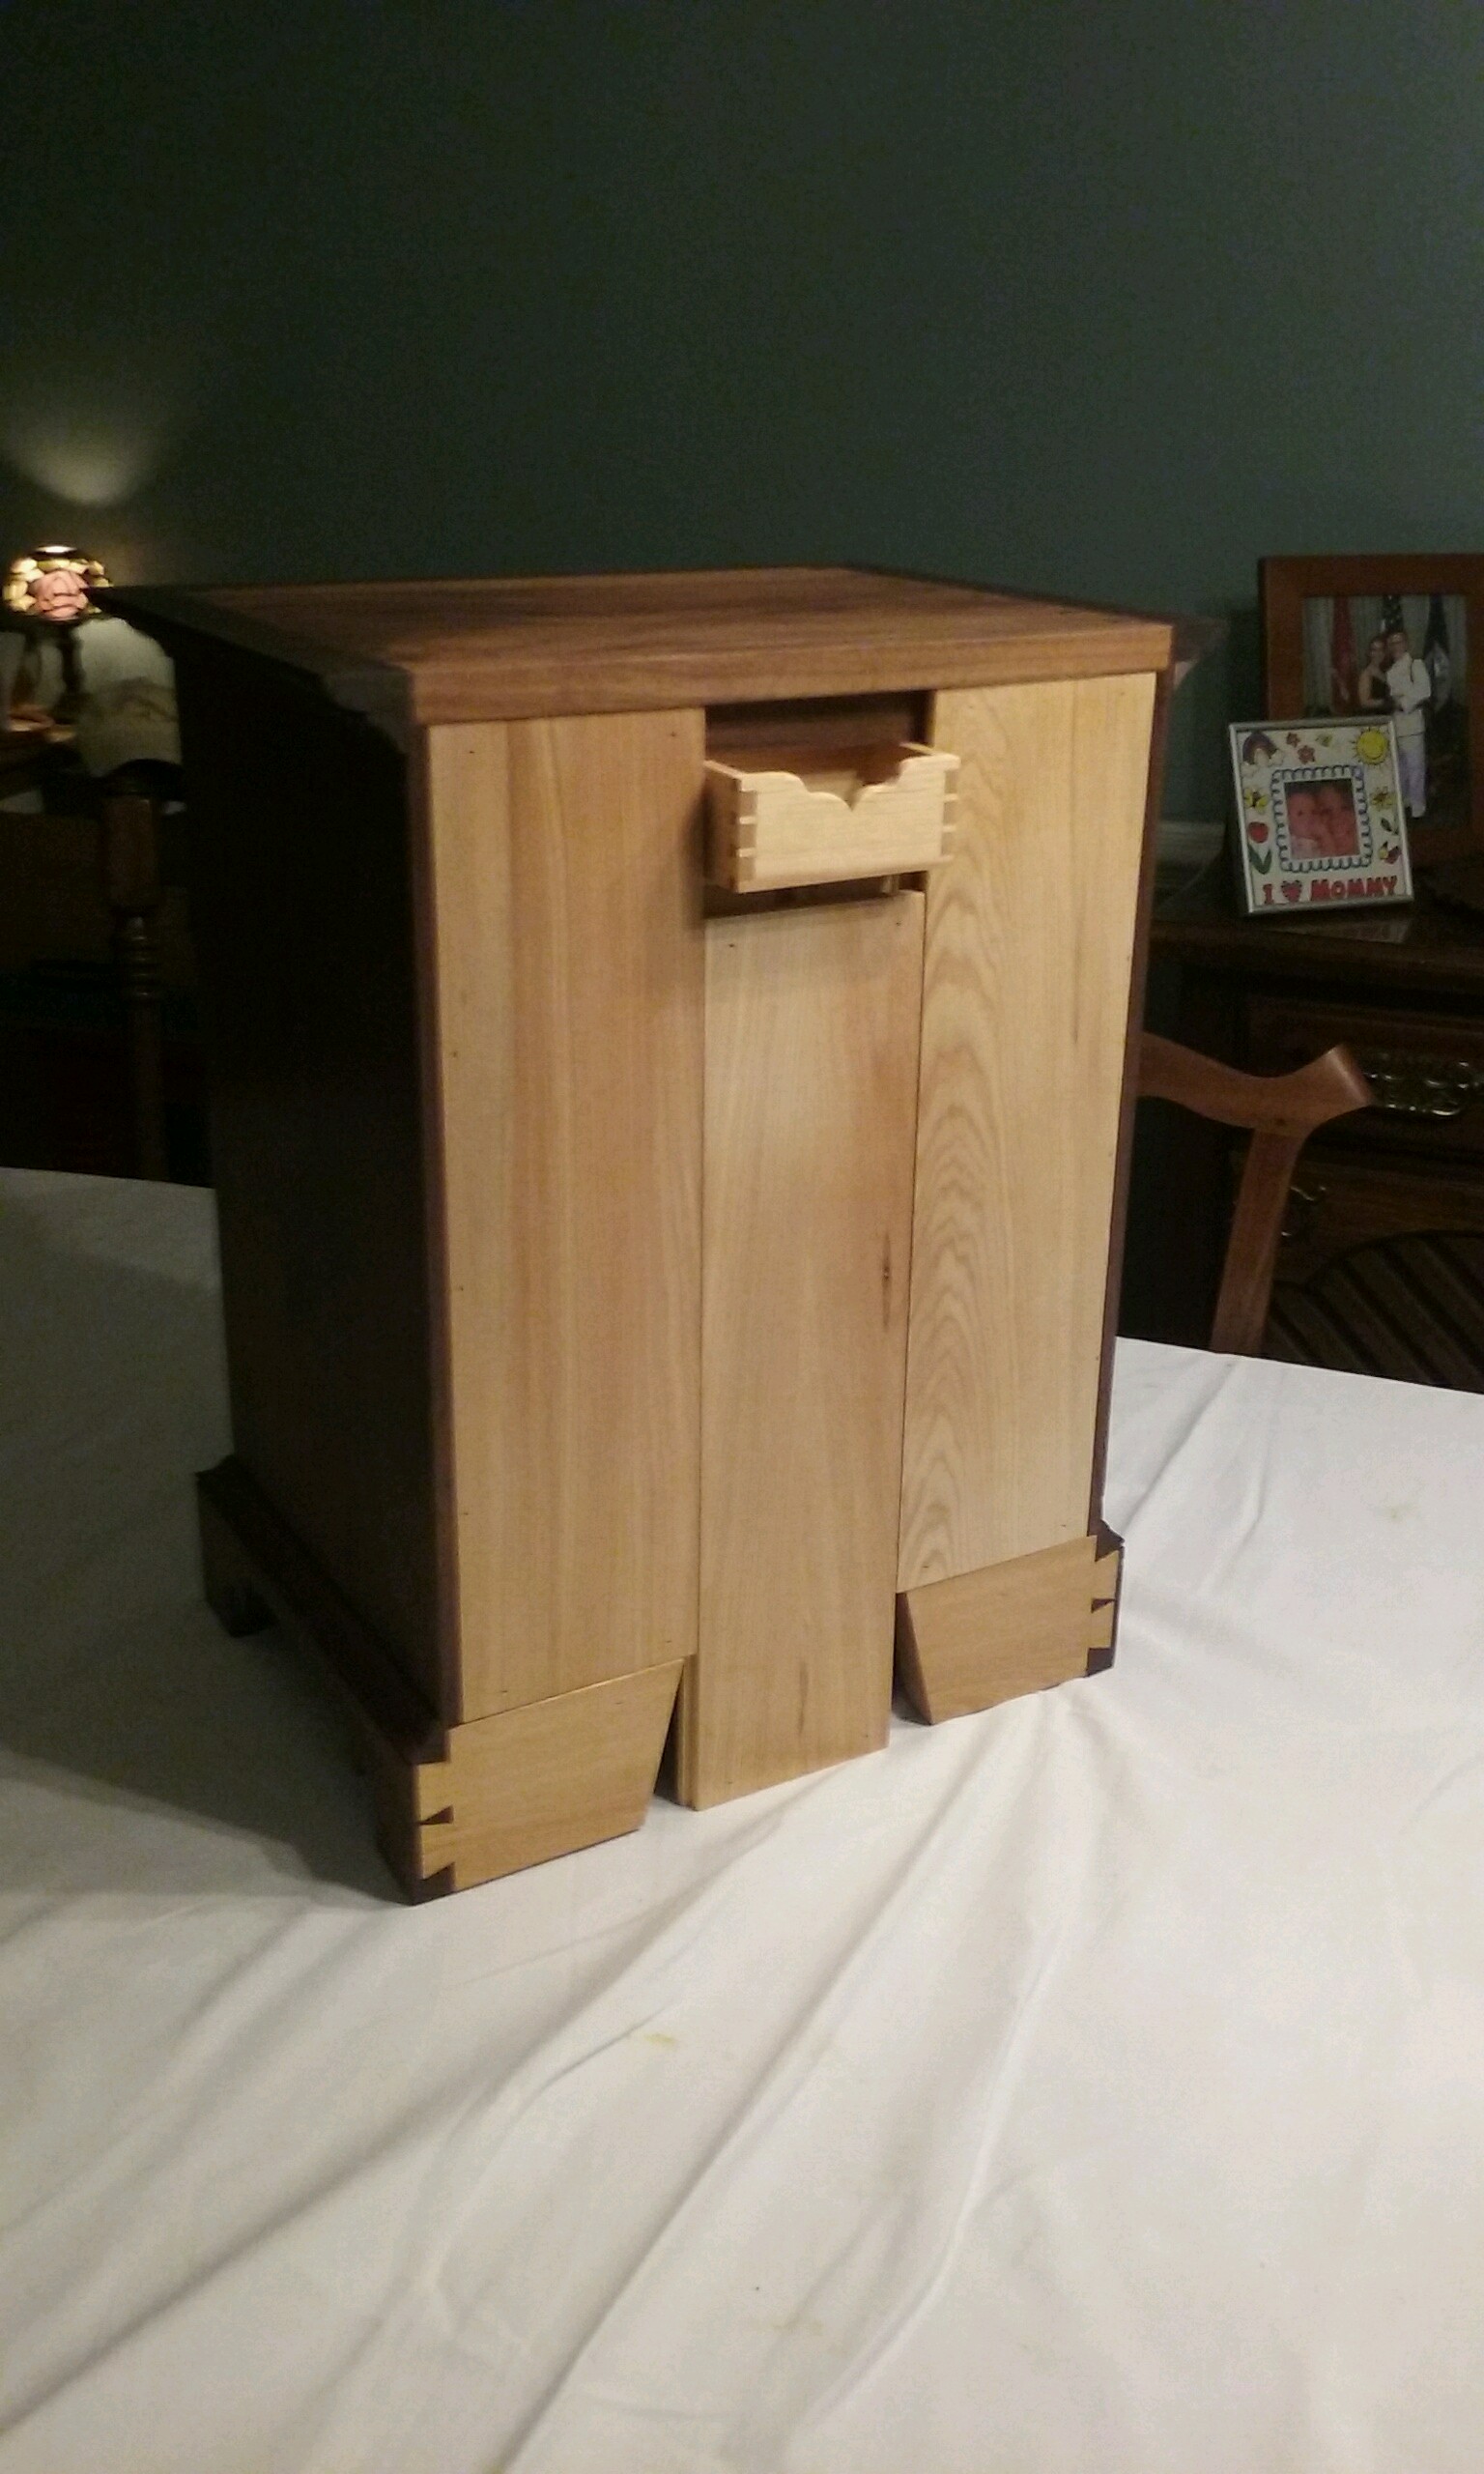
Guild Woodworking ProjectsOur first projects for this month’s newsletter comes from Jim Francis, somewhere near the Arctic Circle in an area called Wyoming! Furniture Heading West It's been a busy spring/summer in the shop to support friends and relative weddings/anniversaries/special occasions in Wyoming and Colorado. Shown are four Pennsylvania style keepsake boxes; three of black walnut, and one of wormy pecan harvested locally. In addition, there's a Pennsylvania style spice box of black walnut with two secret compartments (false bottom in the center drawer, and one behind the rear panel). The secondary woods are pine, poplar and cypress. There are a lot of dovetails (the boxes themselves, drawers, keepsake box feet and the tray inside the keepsake boxes), as well as mortise/tenons (keepsake box breadboard lid and spice box door frame). Also, with both box types there are all sorts of possibilities for personalization; carving as well as inlay. As an example, shown on the inside of the spice box door is an interesting design executed with holly stringing.
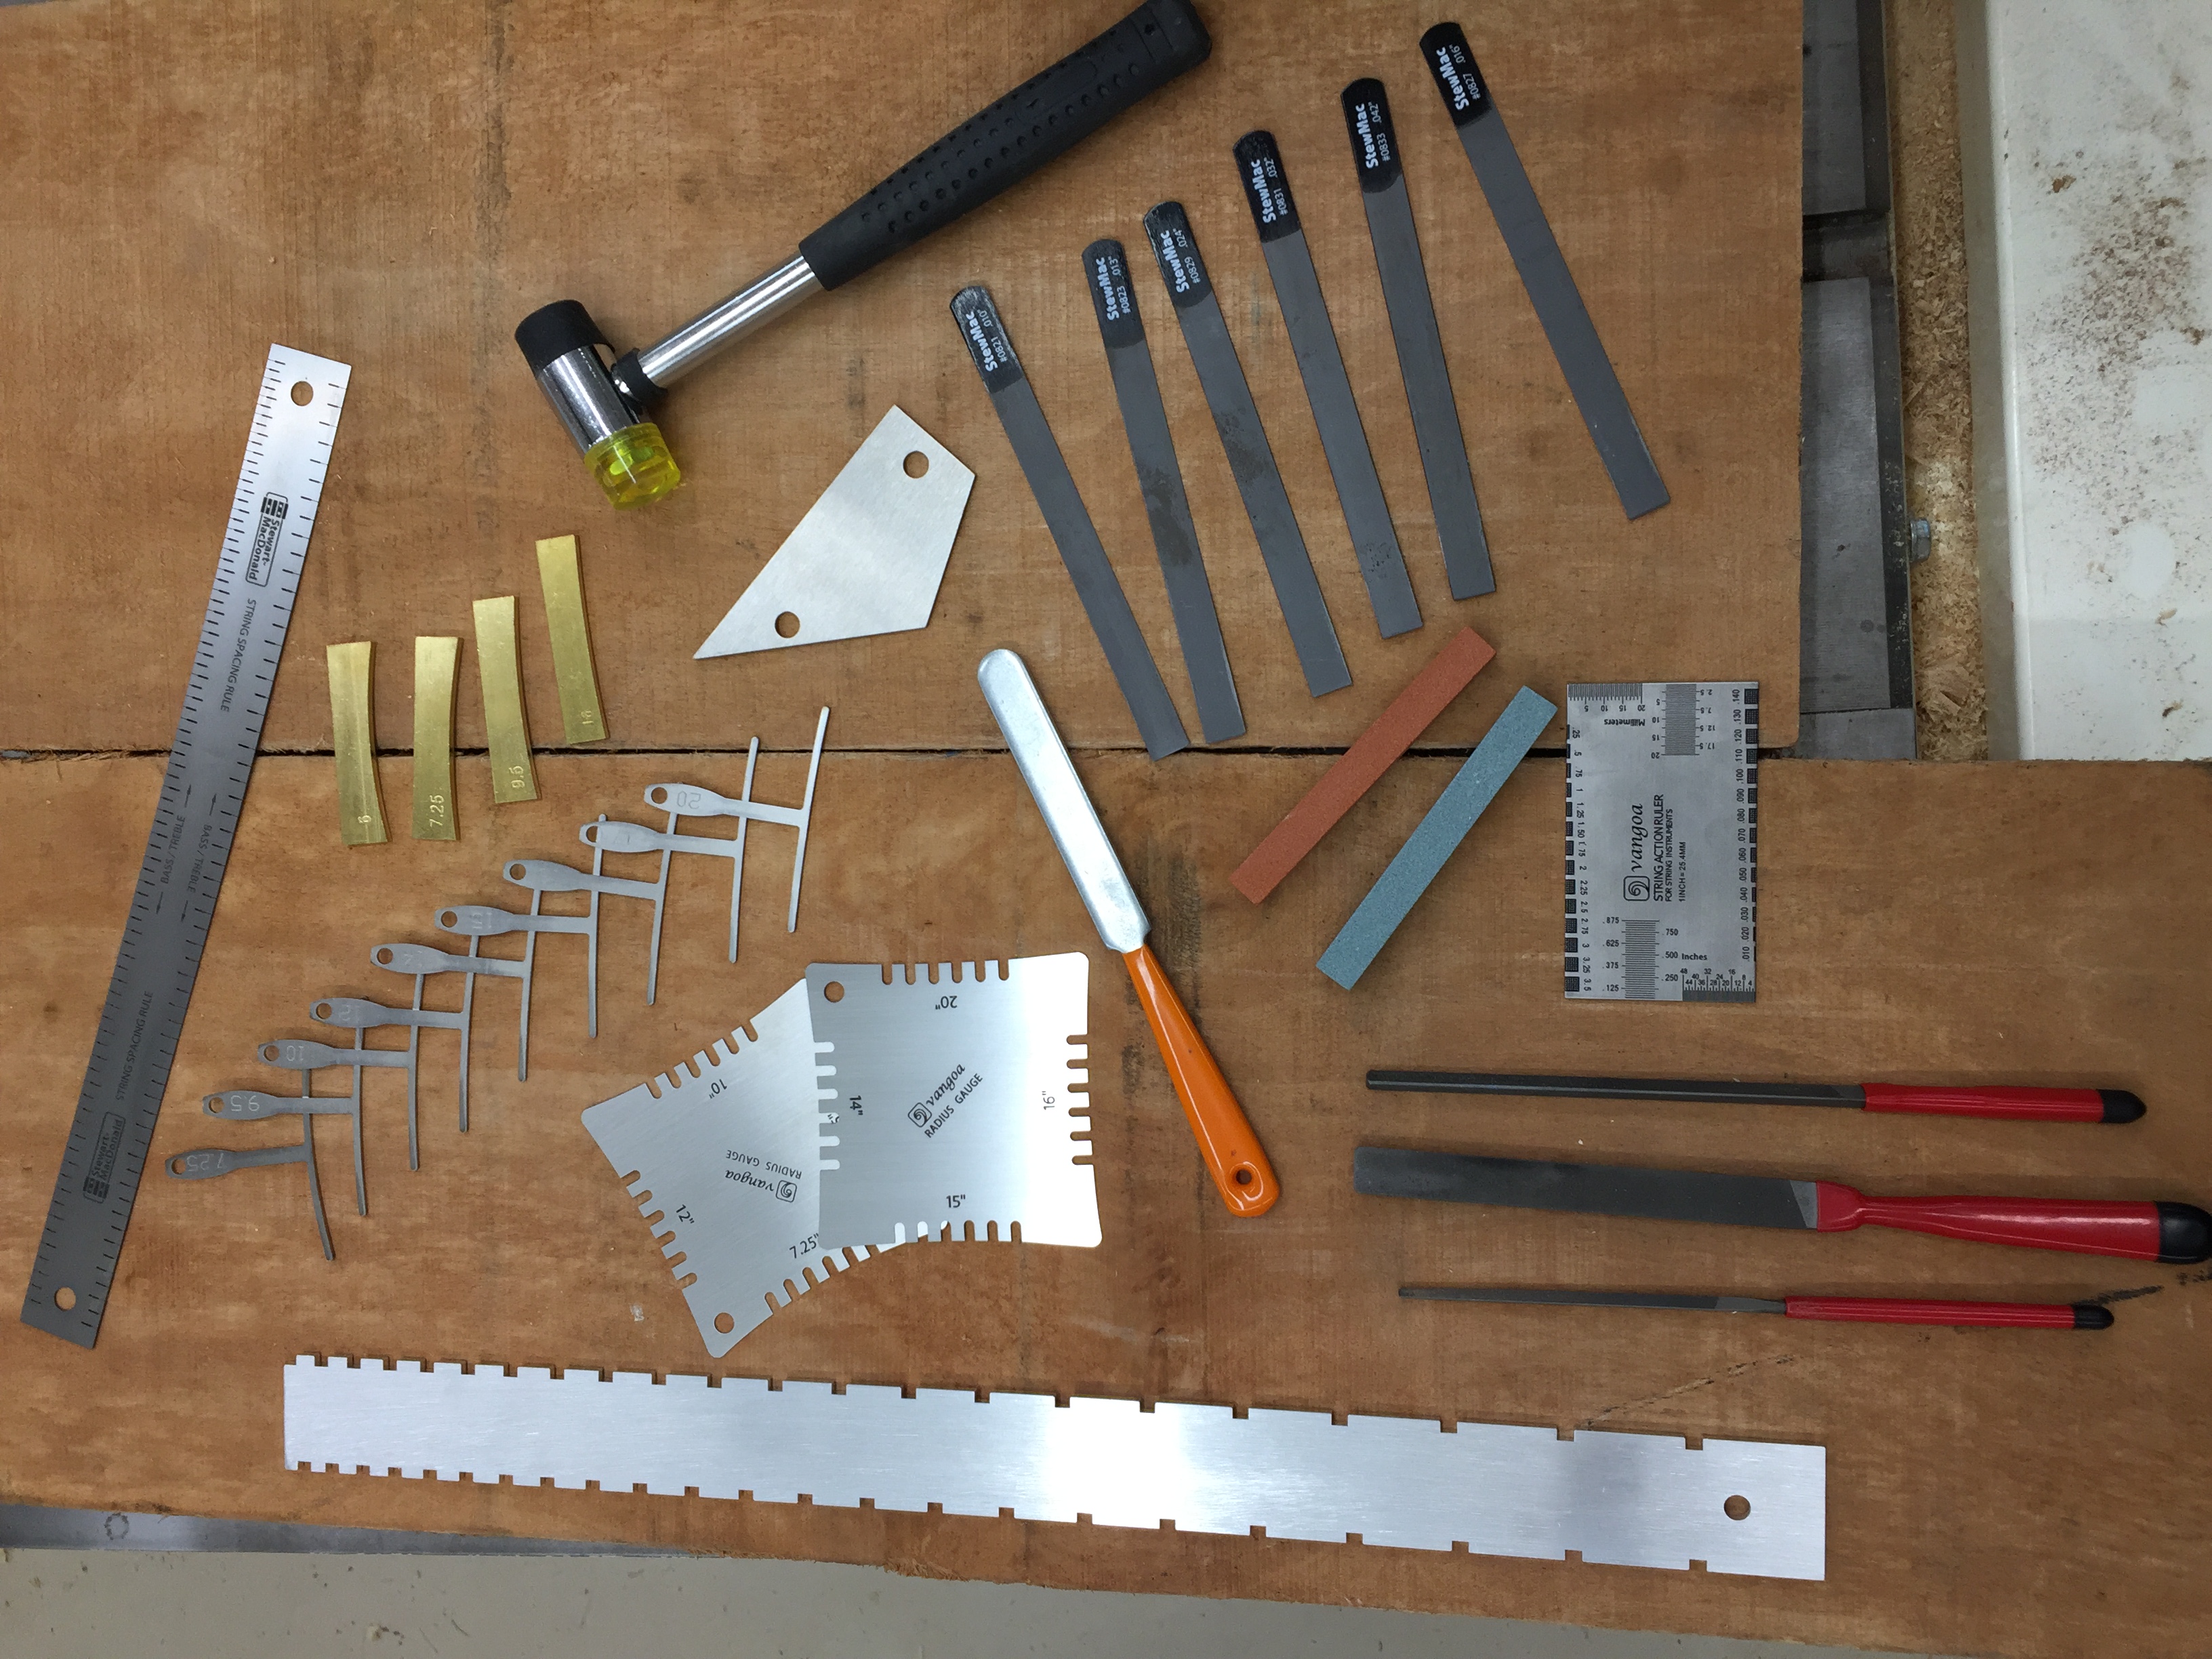
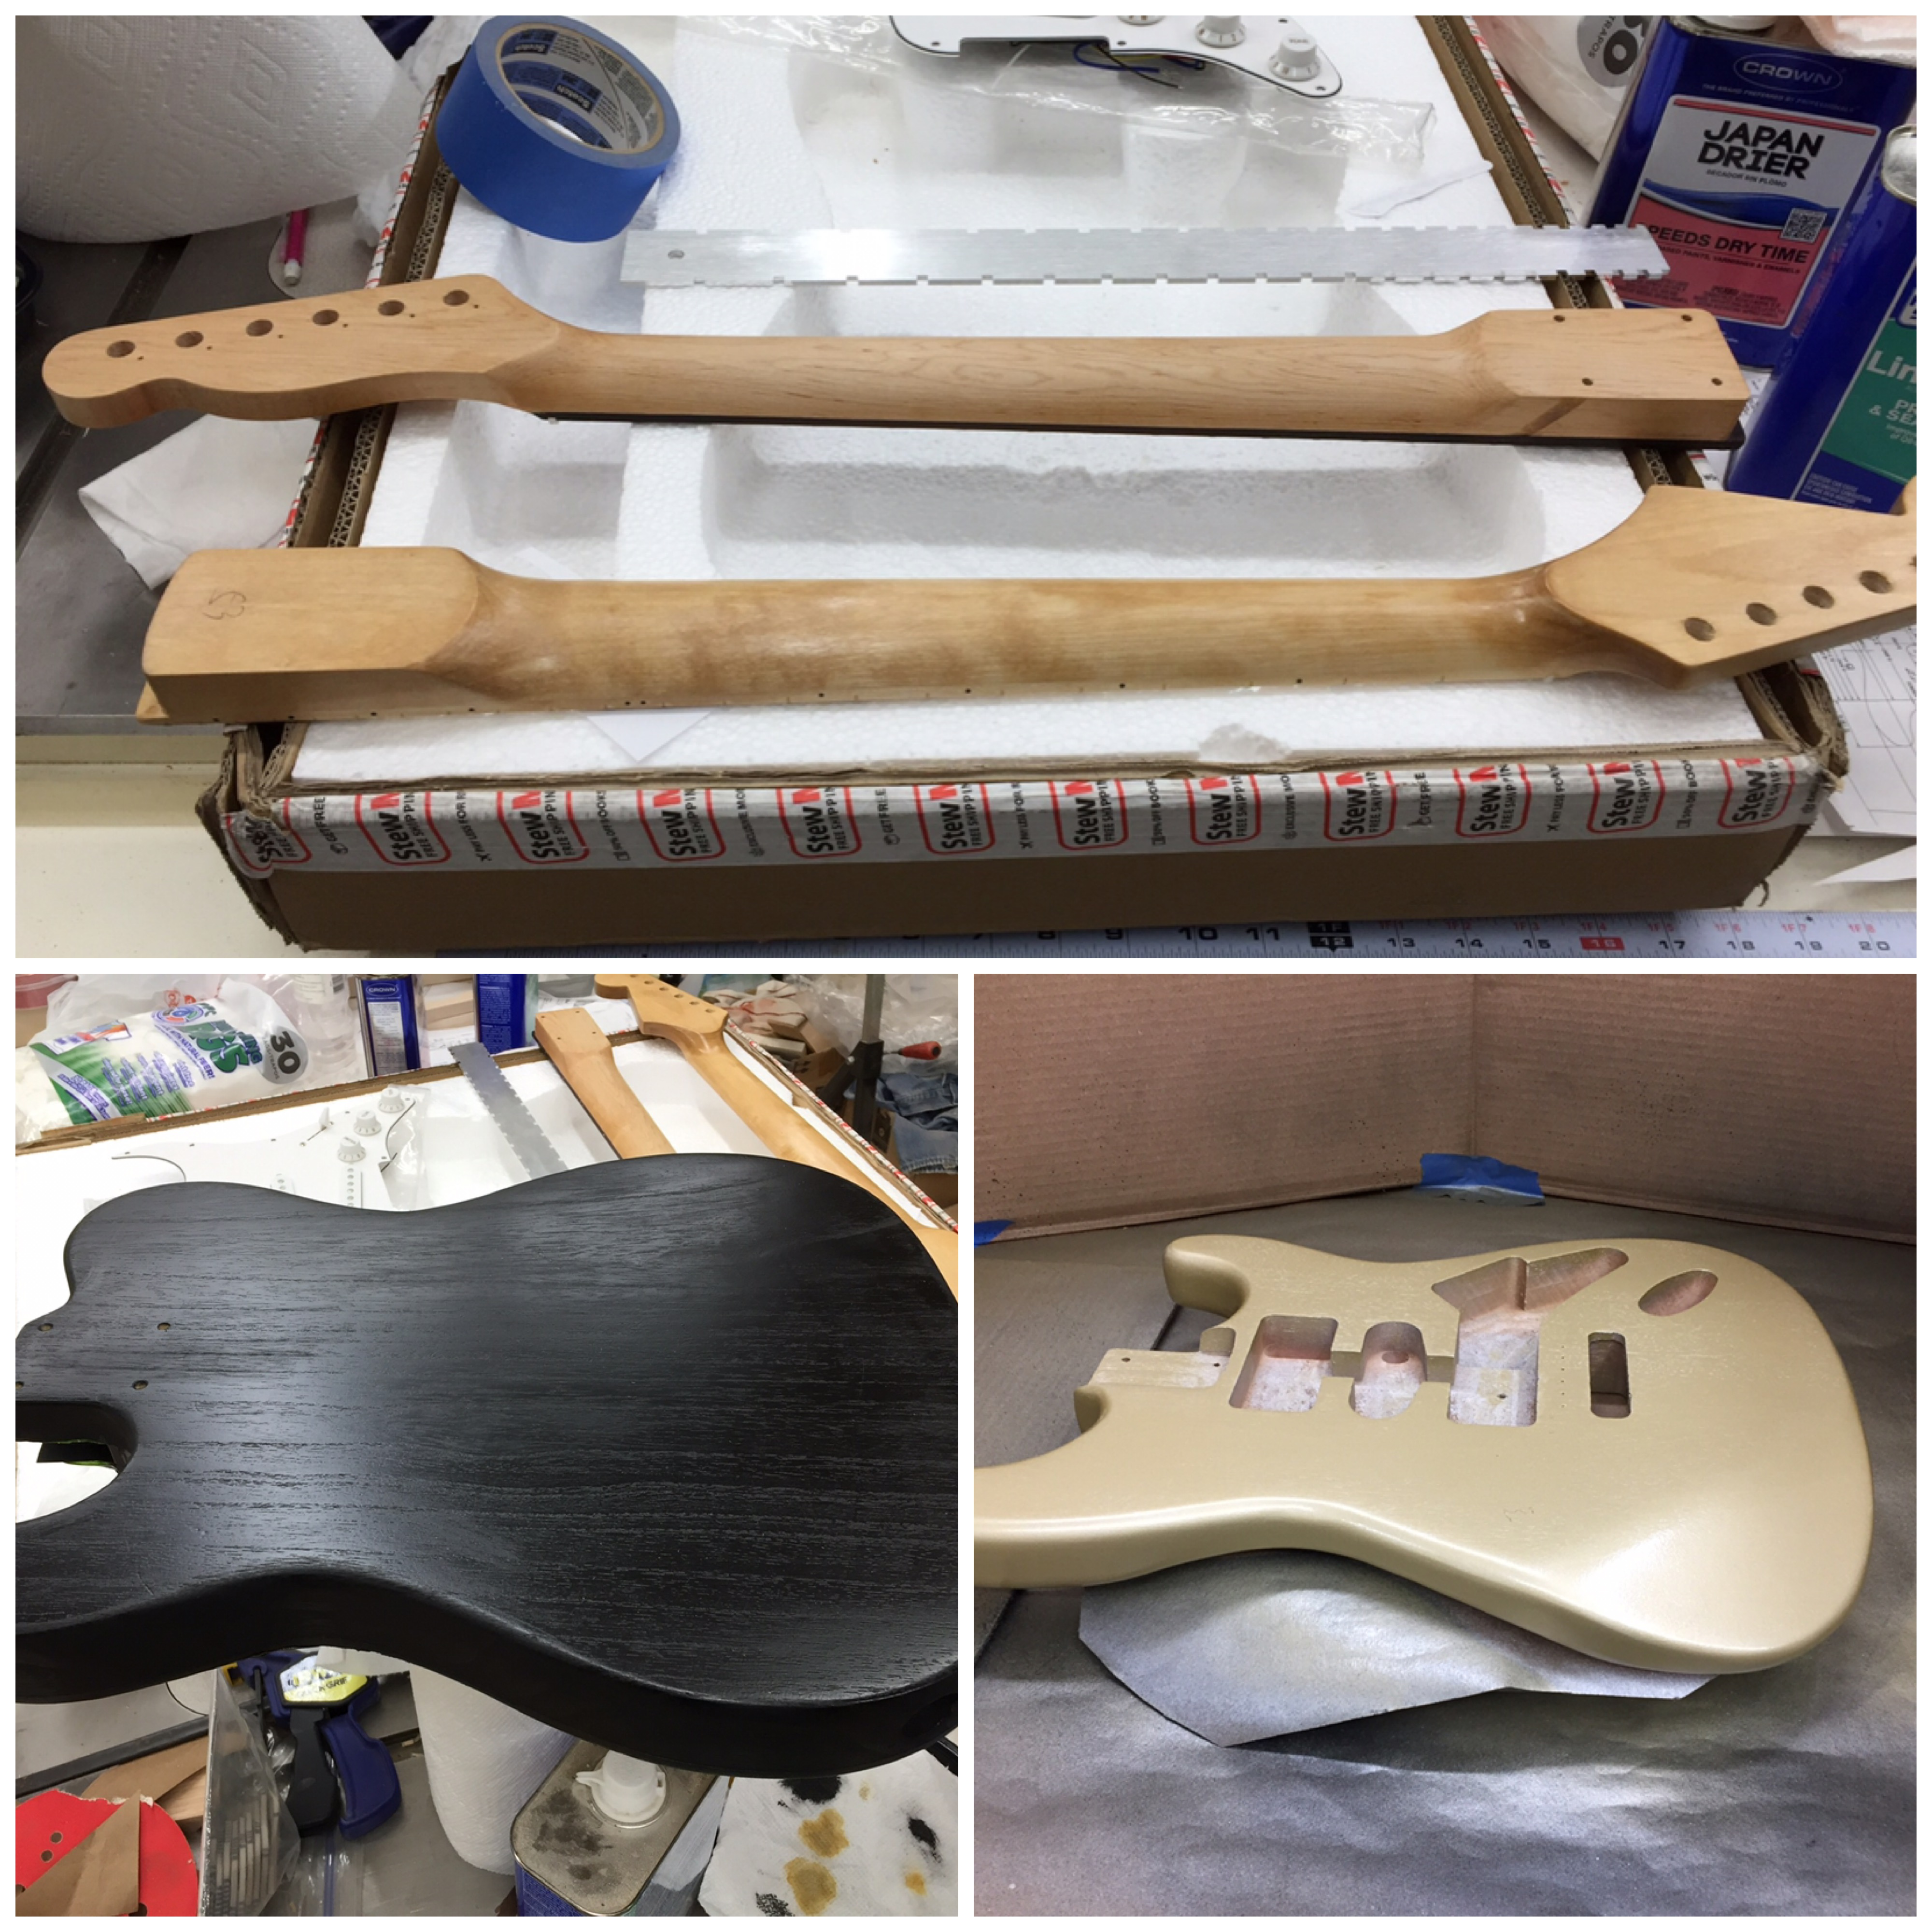
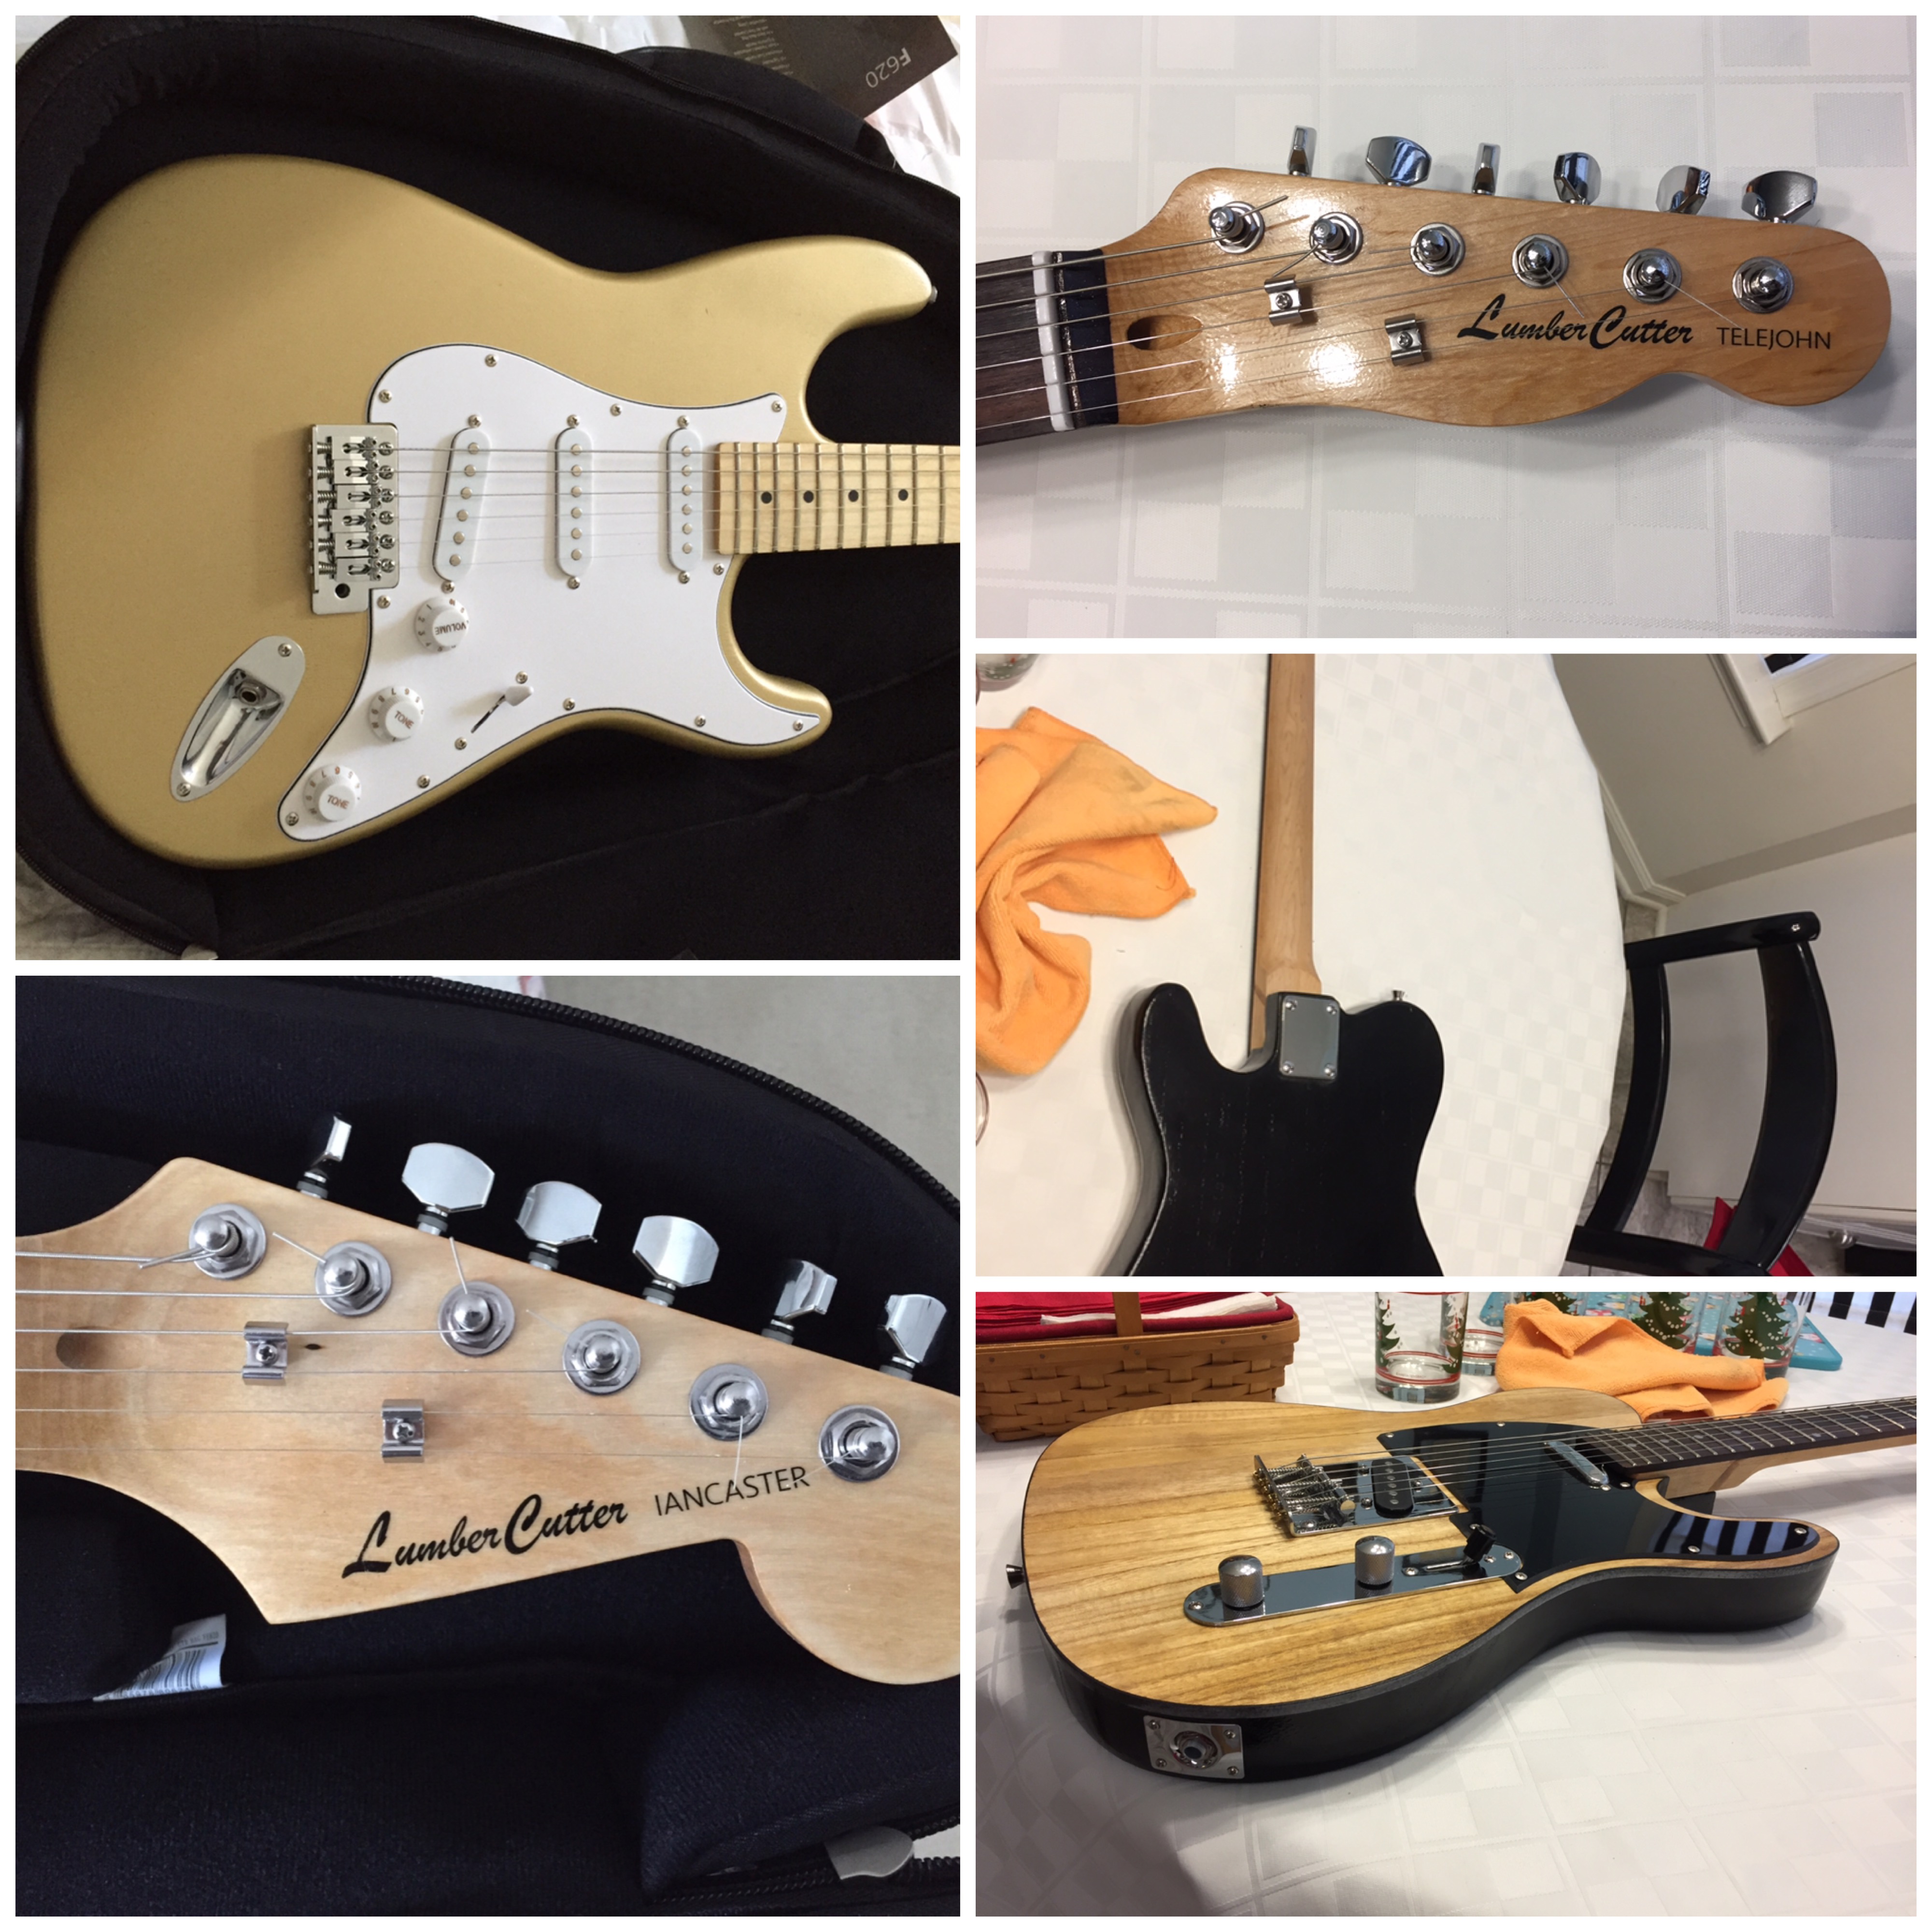
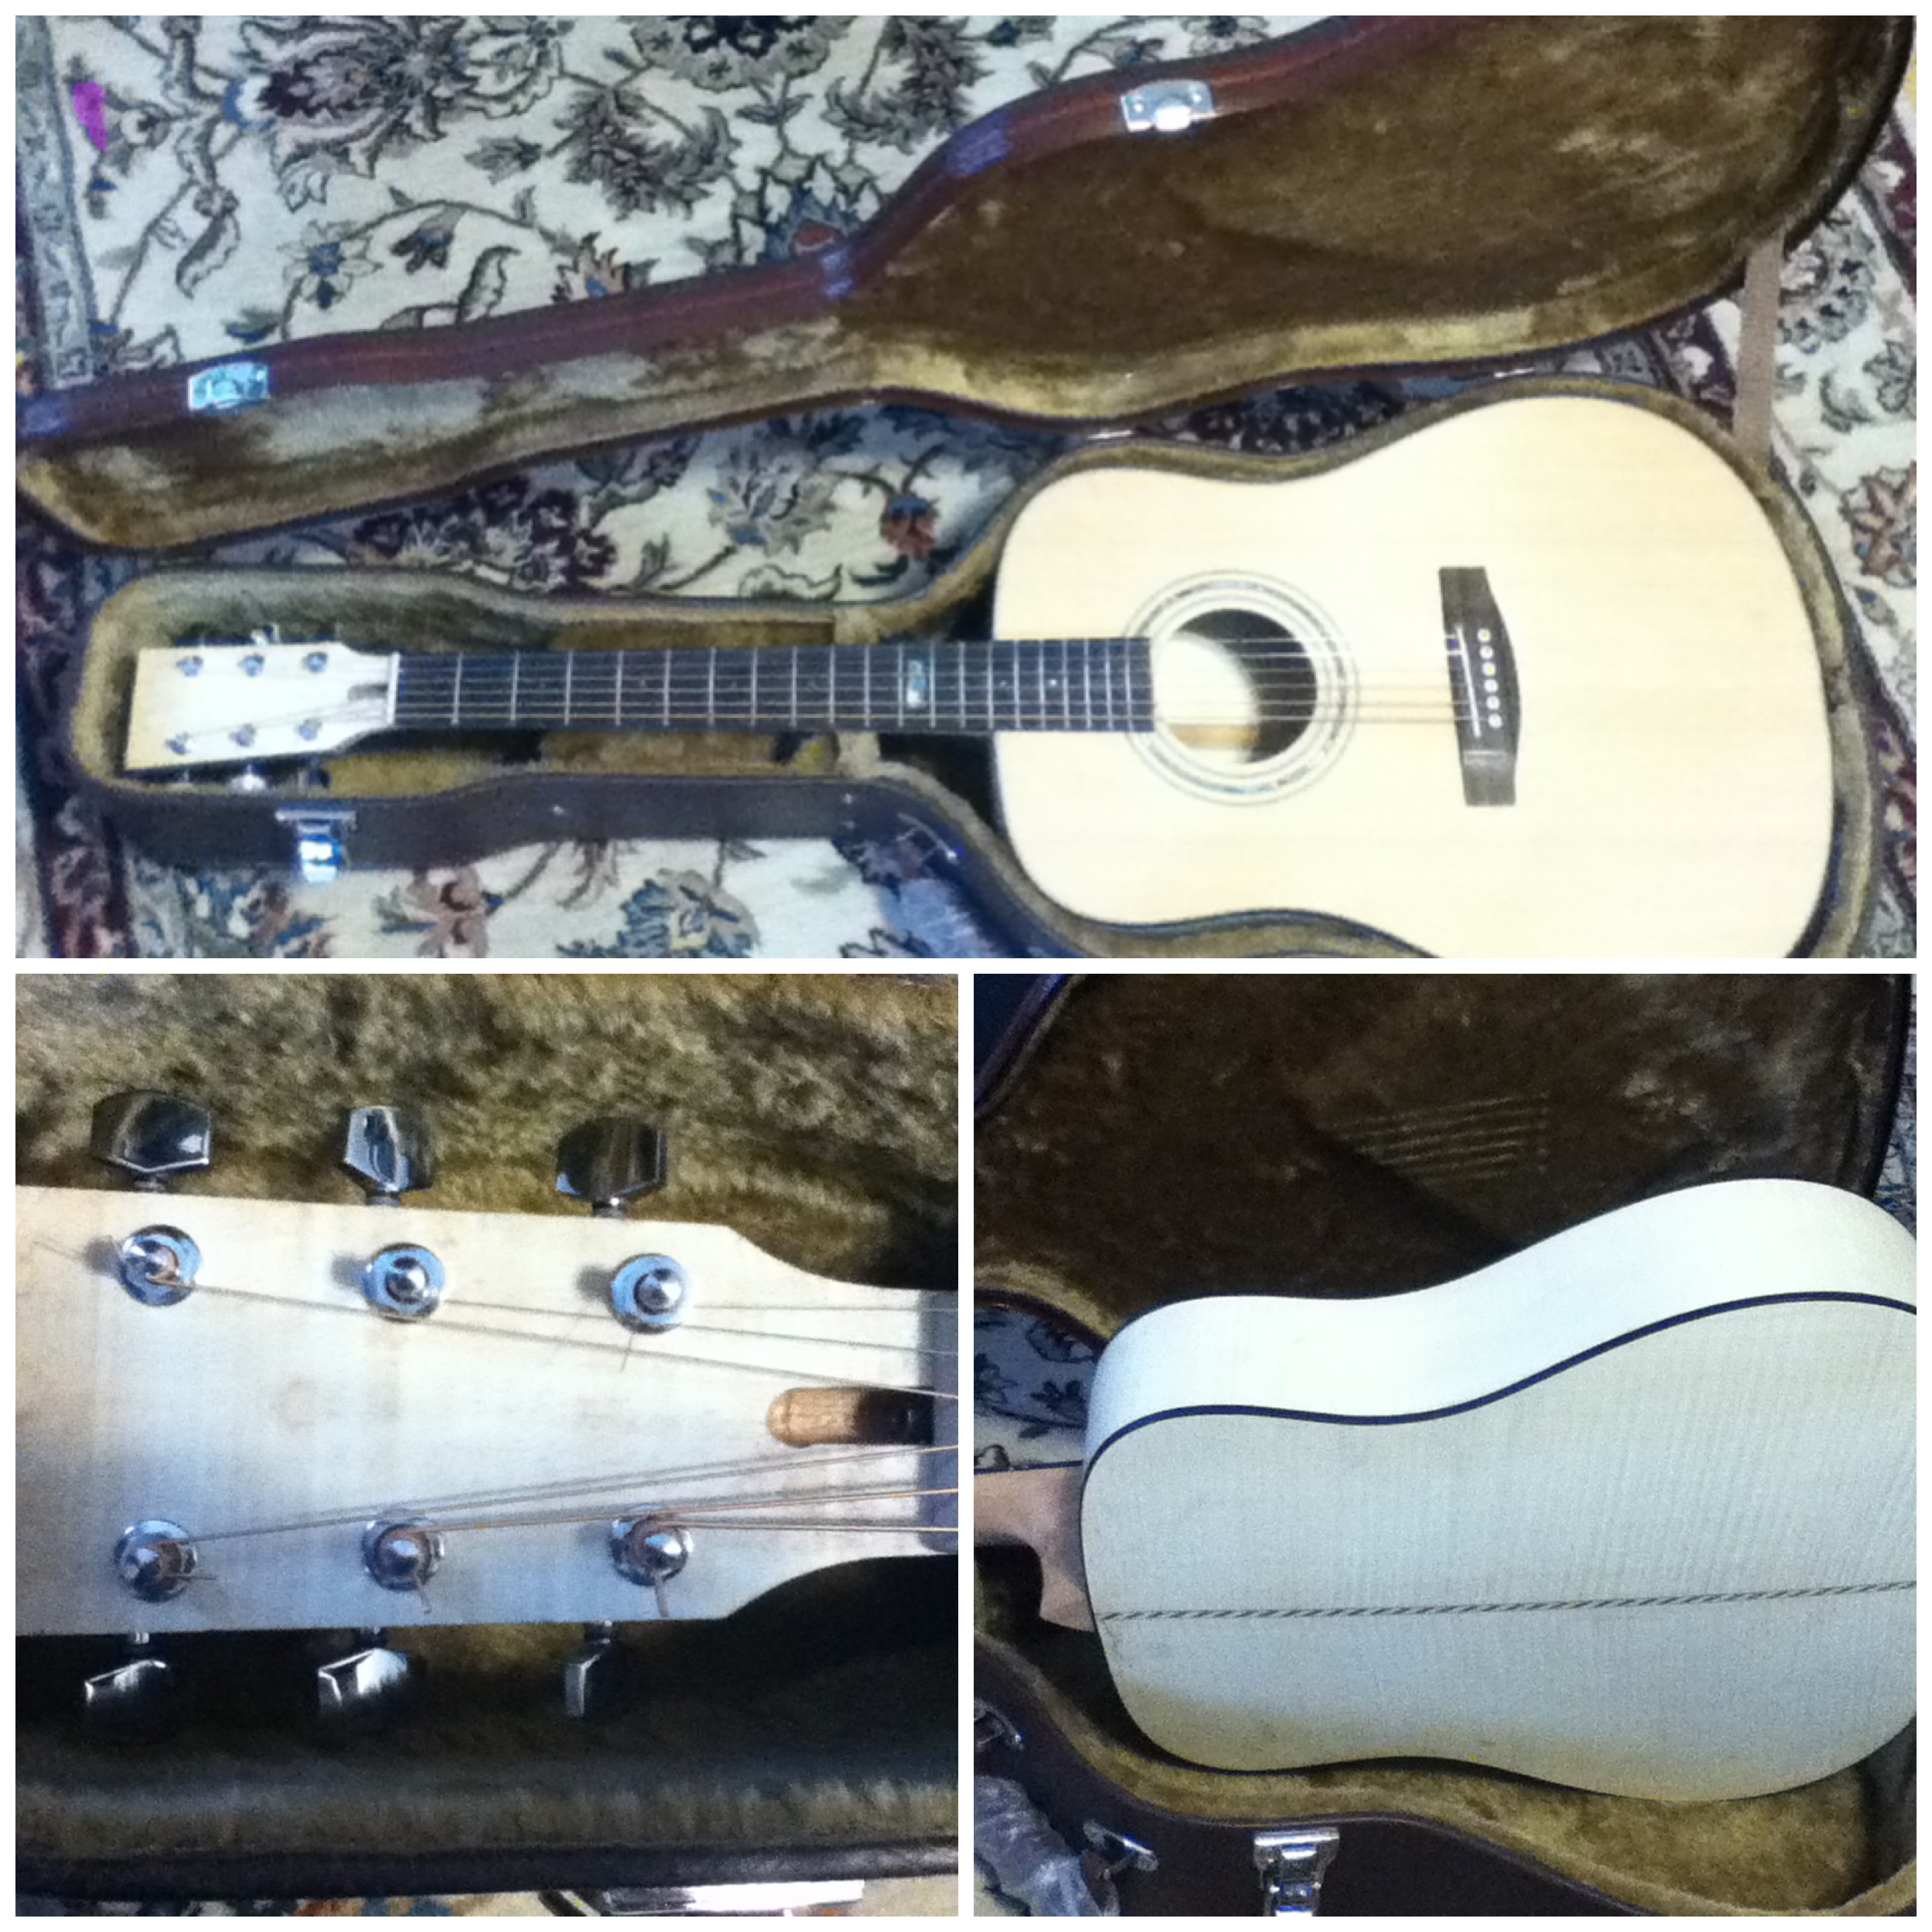
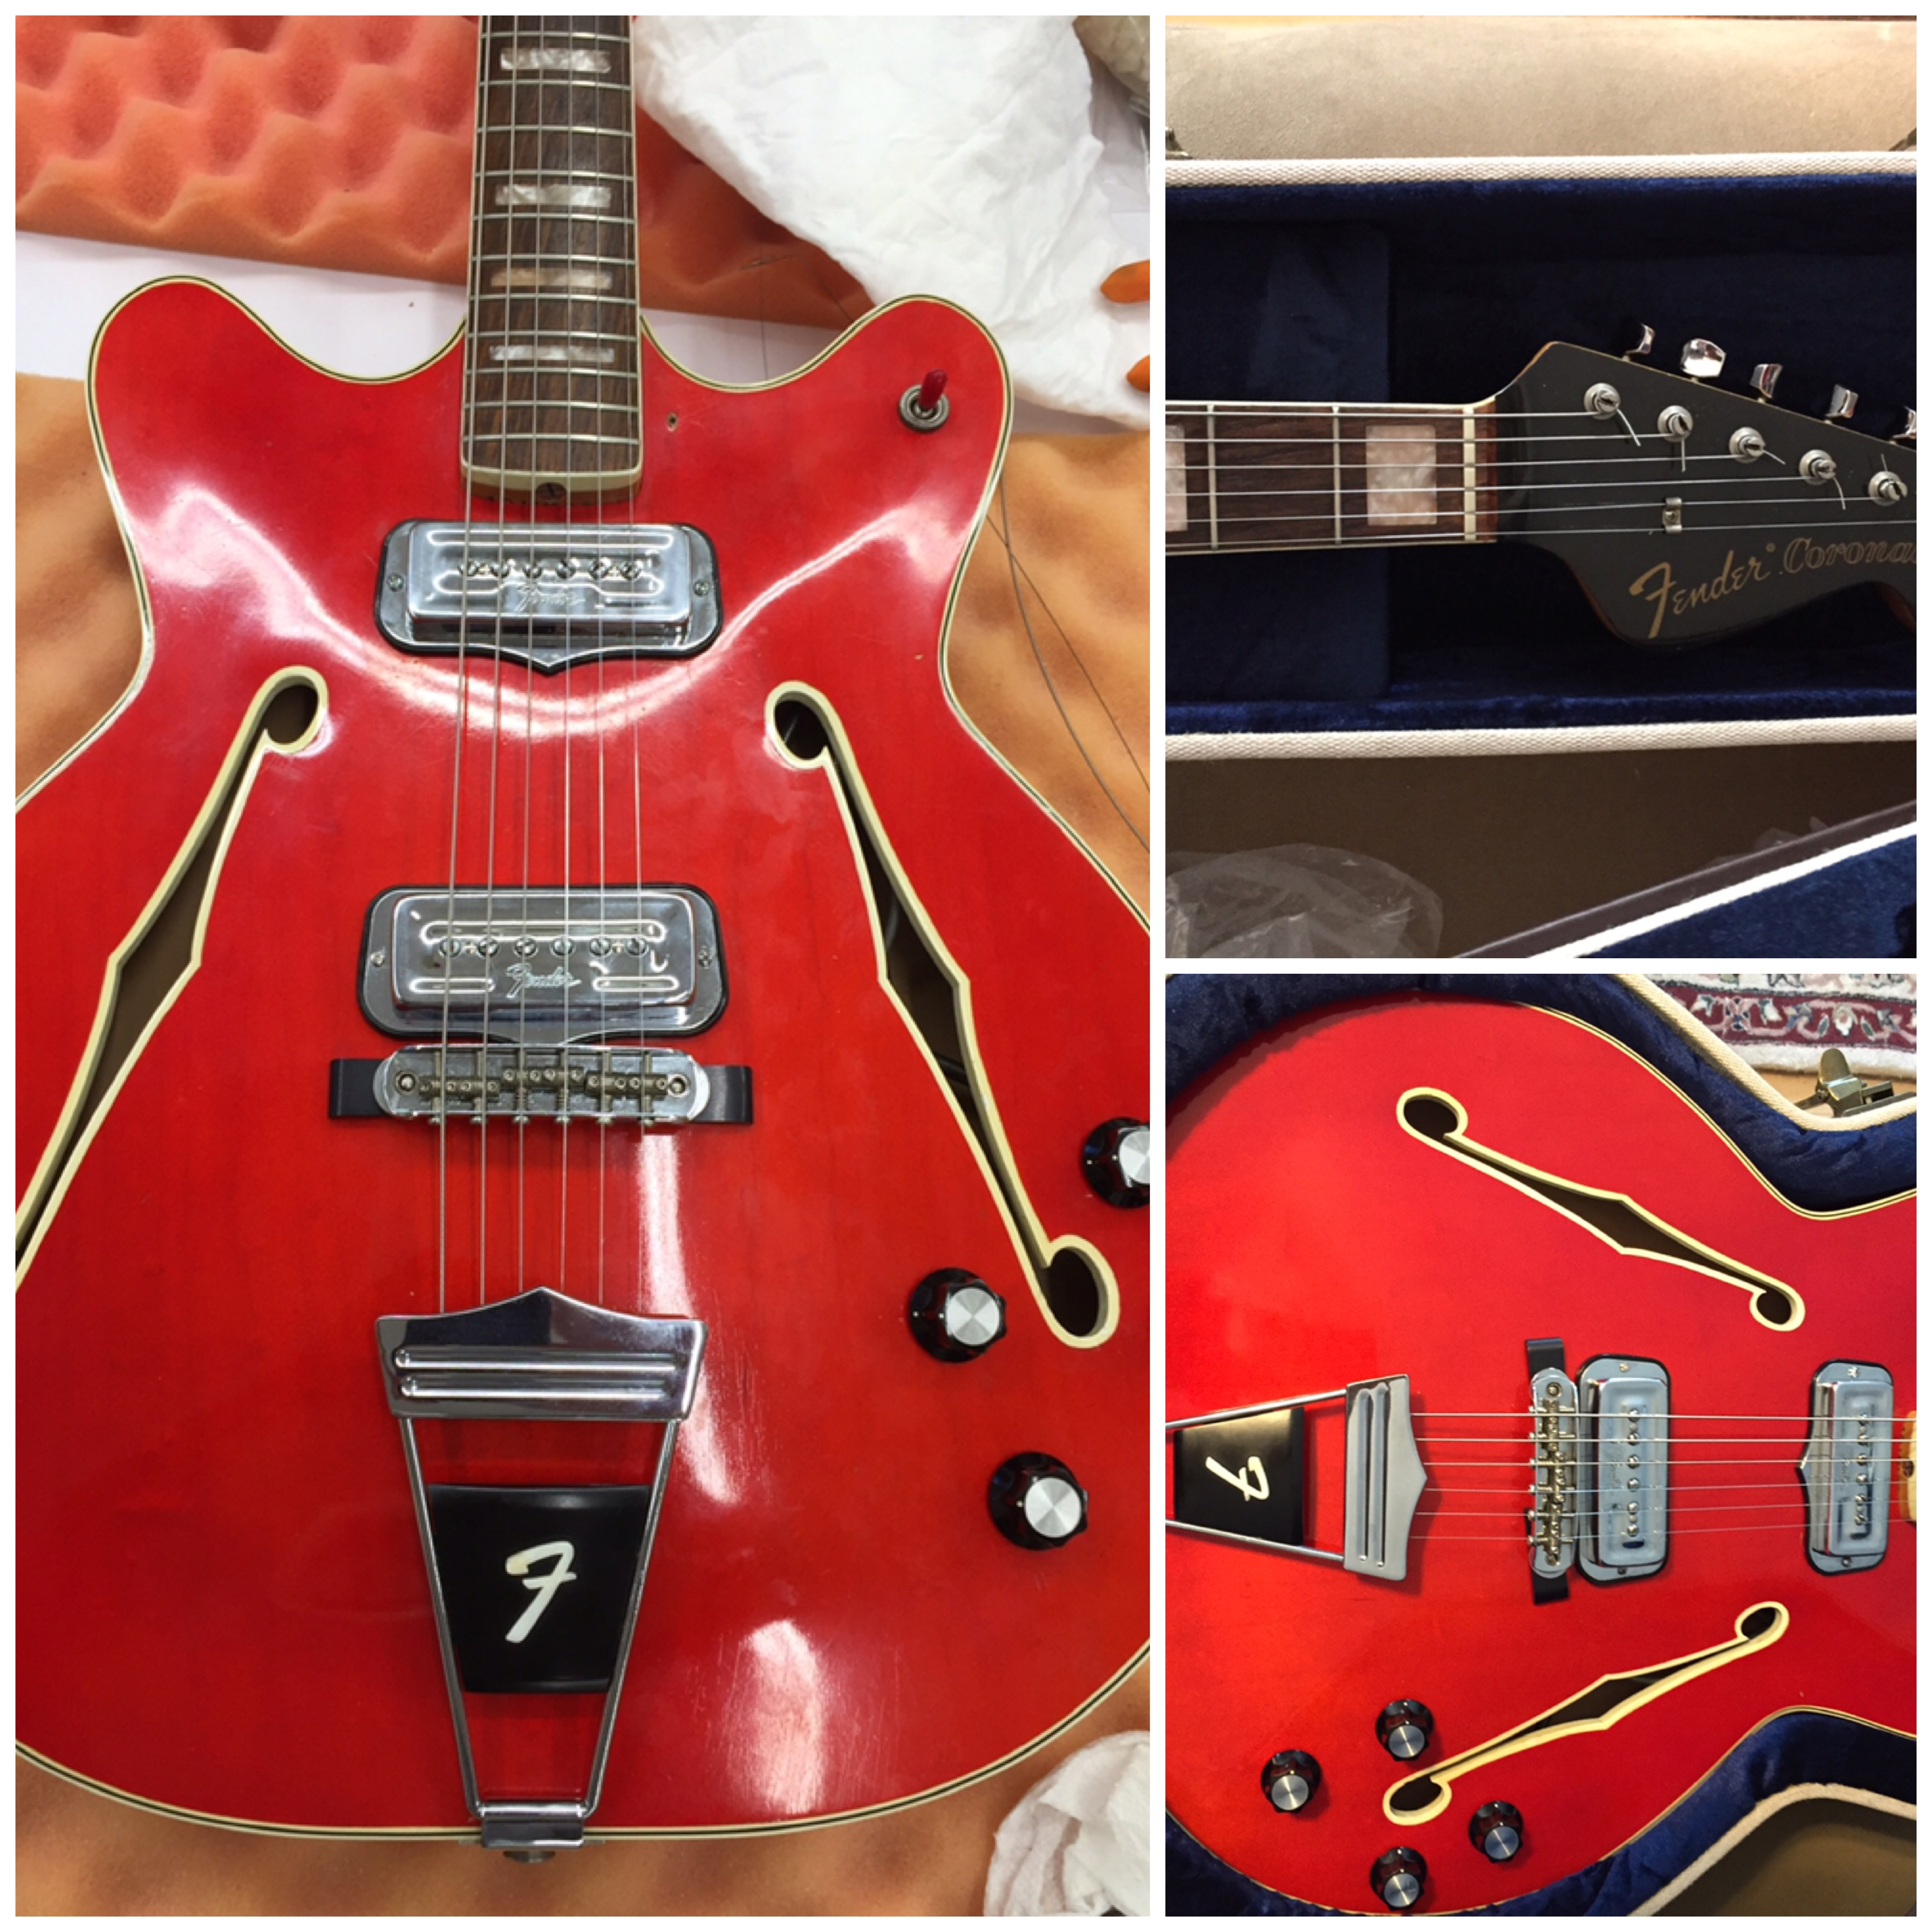
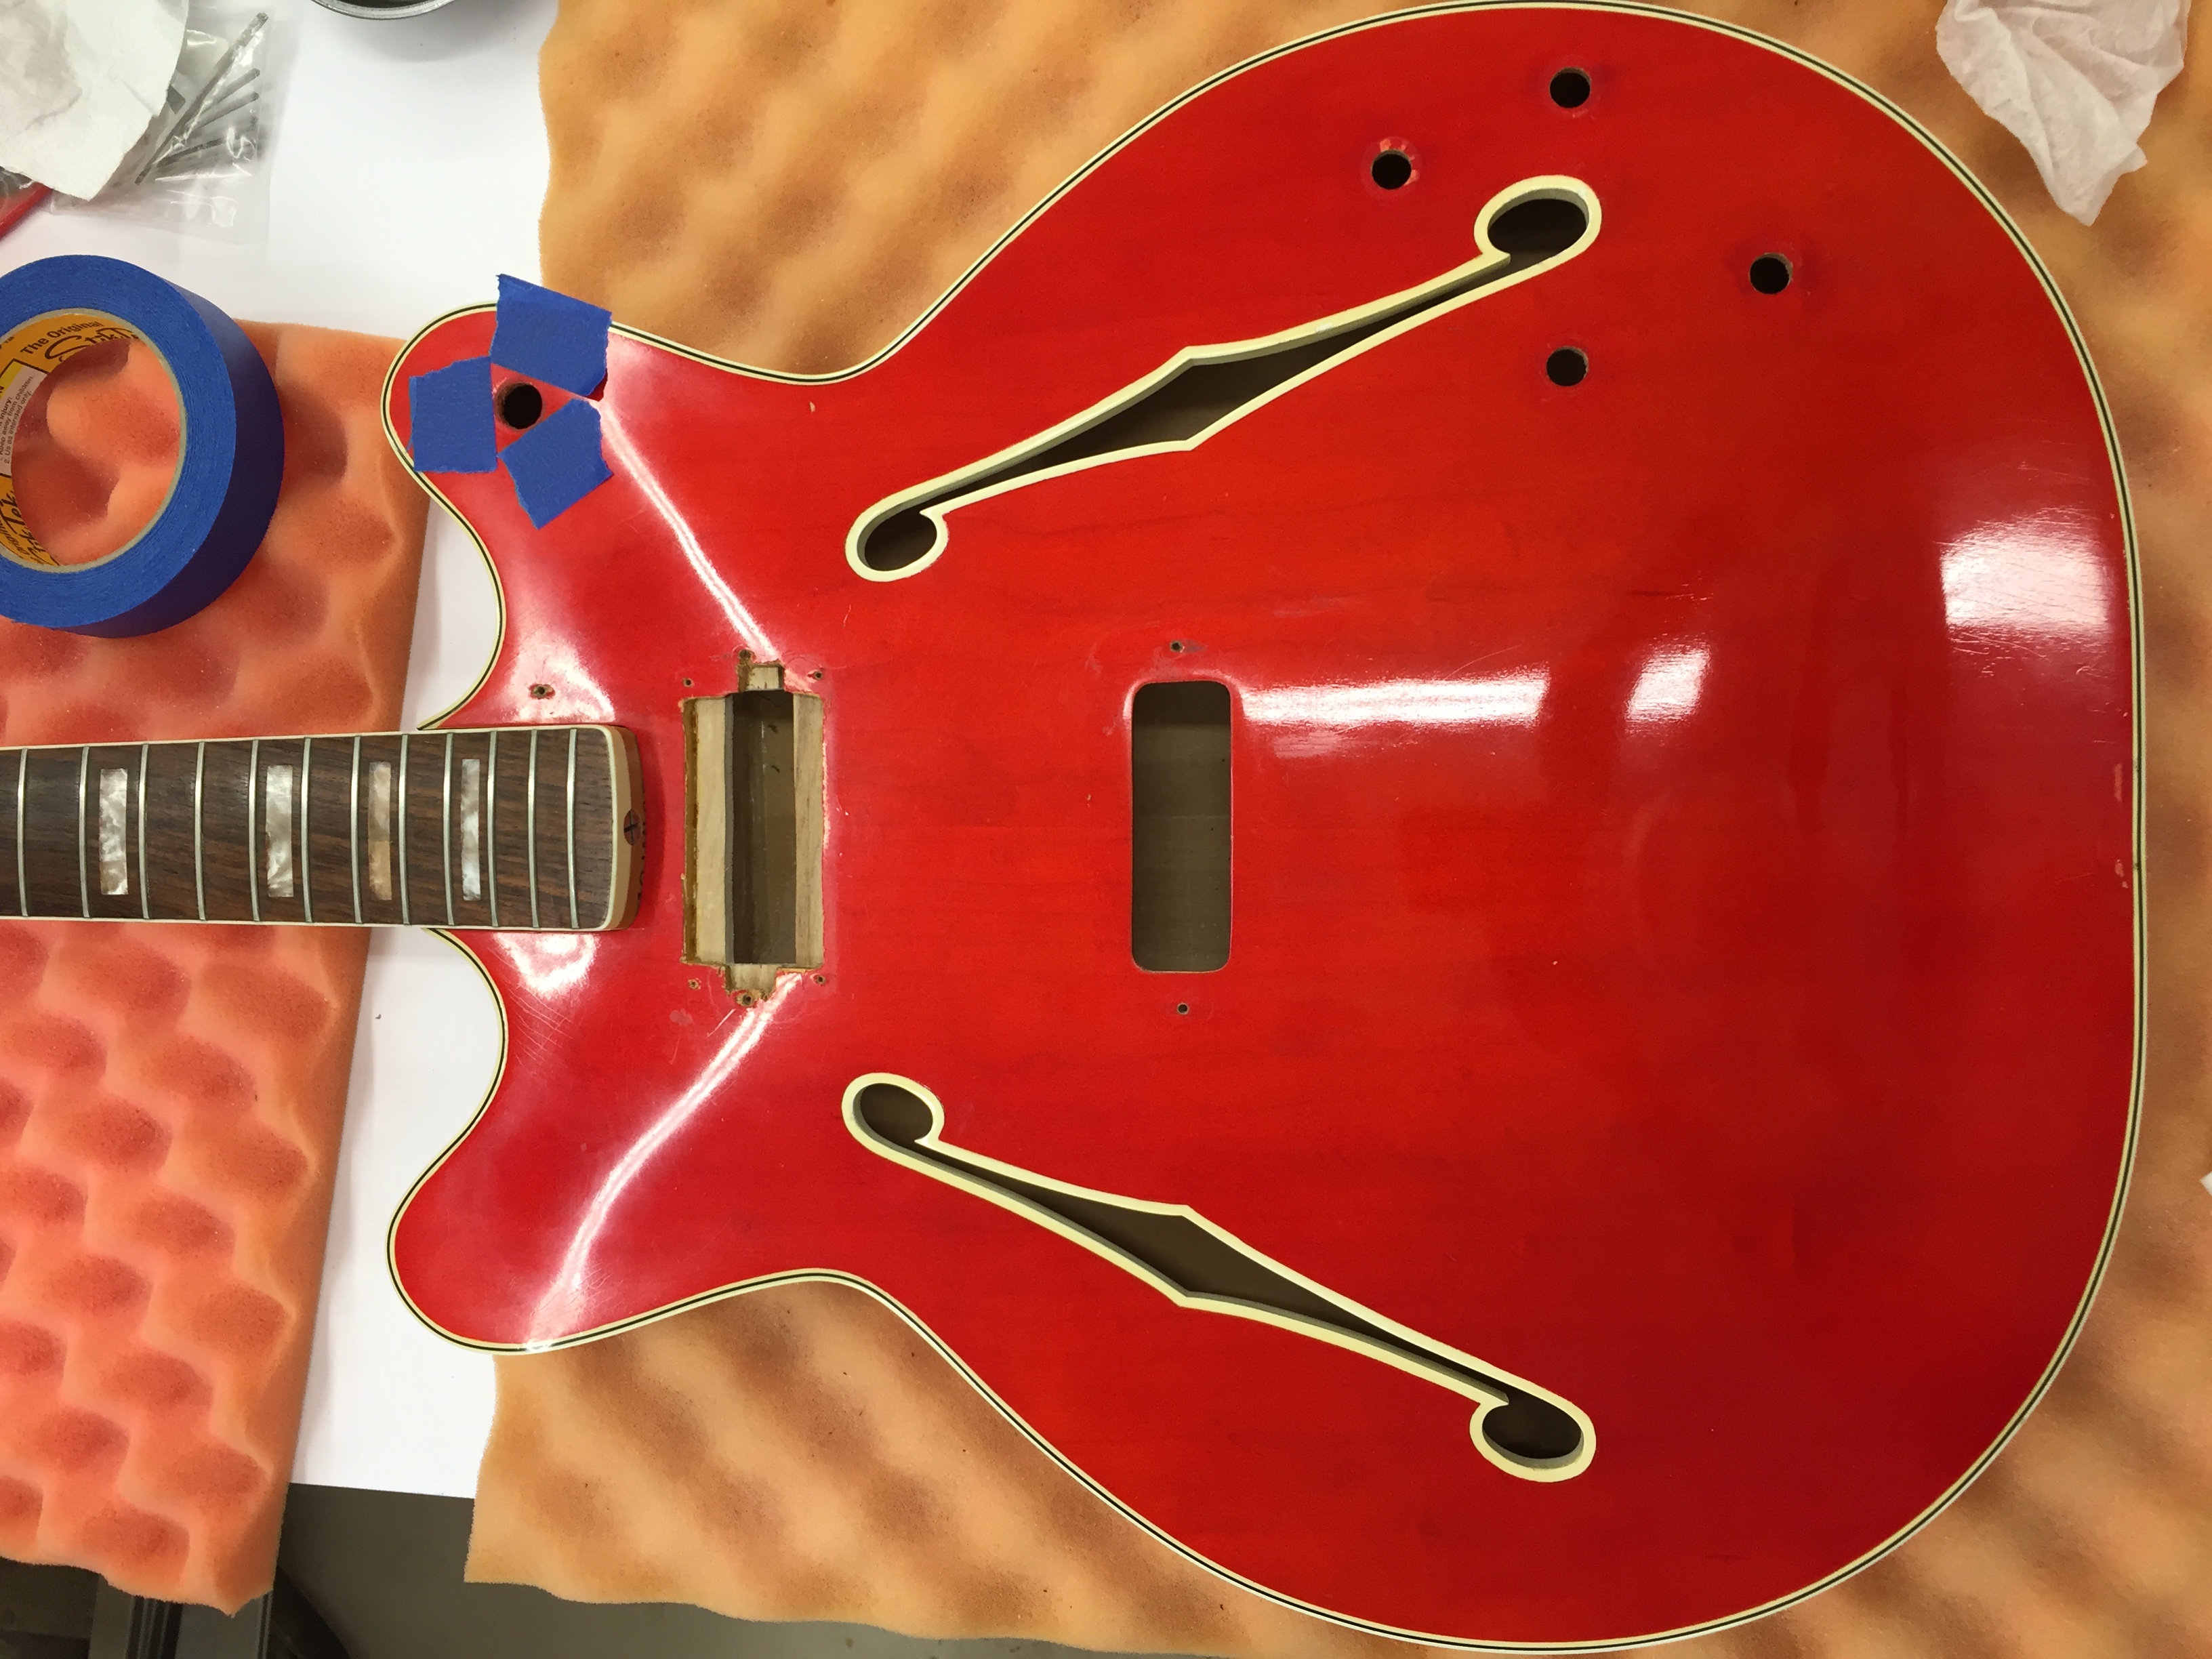
Guild member Don Newsome has also been busy in his shop with two different projects, guitar building and shop and storage cabinets. One of my woodworking goals is to scratch build guitars (both electric and acoustic). This requires special luthier tools as well as understanding the techniques and processes used to produce a quality instrument. One of my woodworking goals is to scratch build guitars (both electric and acoustic). This requires special luthier tools as well as understanding the techniques and processes used to produce a quality instrument. The final step includes the proper setup of the instrument in order to satisfy the requirements of the musician who will play it. Guitar players are a unique group of musicians and no two players seem to agree on what gage strings are best, how high or low the string action should be, and what type of frets to use. To date, I have built 3 guitars from kits (one acoustic and two electric). These kits required much hand work to complete but the experience allowed me to gain some valuable luthier knowledge and experience. The above guitars are clones of two of the most popular electric guitars ever built (the Fender Stratocaster and Telecaster). I built these for my two grandsons. Note the decals I created for the headstock which has my LumberCutter logo as well as my grandson’s names mixed in with the guitar style name (IanCaster and TeleJohn). The acoustic guitar: This acoustic guitar was a real challenge. Built during a 3 day course at the Woodcraft store. The course was intense but very satisfying and this inspired me to want to build more. This guitar mimics a Martin style acoustic with maple back and sides with a sitka spruce sound board. Along my luthier journey I’ve also accomplished repairs to a couple of guitars in order to bring them back to a playable condition. Luthiers know that repairing guitars is a valuable way to improve your instrument building skills. I also have a background in electronics, this has been very helpful in also troubleshooting problems with electric guitar circuitry. Recently I had the opportunity to repair a 1966 Fender Coronado II Hollow Body acoustic/electric guitar. A guitar that is 56 years old. It was not a playable instrument because it had multiple issues both mechanically and electrically. Several years ago someone had decided that it would be a great idea to replace the original neck pickup with one from a Gibson brand guitar. In doing so, they took a saw to the body cavity at the neck to accept the wider Gibson pickup. The modification devalued this vintage guitar. The bridge was also rusted and one of the tuners was broken. Adding to the problem, the volume and tone controls were not responding properly when plugged into an amplifier. Getting to the electronics is tough on this type of body style so before I decided to go through the effort to take it apart, I wanted to inspect all the wiring connections first. This required a peek inside the body. In my tool box of goodies is a bore scope which allows me to peek inside some really tight spaces. It has a camera with a dimmer controlled light and it connects to my iPhone so I can see what it sees and I can also take pictures. In peeking around inside the body cavity I discovered a broken ground wire on the sleeve of the input jack. The ground wire from the large gray wire is suppose to be soldered to the input jack. It had broken off due to a very sloppy solder job as the picture shows. I decided the only proper action for this guitar was to try and bring it back to its original 1966 glory by using genuine vintage parts. Fortunately I was able to snag several used 1966 Coronado parts from eBay; however, finding an original Fender neck pickup was not so easy but after several months someone finally posted one for bid and I scored. The bridge and tuner were easy to replace but mounting the neck pickup was a problem due to the body modification that had been accomplished. Here is the body after removing the pickups, controls, selector switch, and wiring harness. Note the butchered body at the neck. While I had it apart, I decided to clean and polish the body. I was amazed at how well the finish survived after all these years. After replacing parts and soldering the ground connection, it was time to test the electronics. The pickups and controls worked as designed. Success! After minor adjustments to the neck it was time to setup the guitar. Here are some pictures of the completed work: The best part is that the customer who owns this guitar is very grateful that it’s now a player and it’s value has been restored. Since I also play guitar, my next guitar will be a scratch built Fender Telecaster built to my specifications.
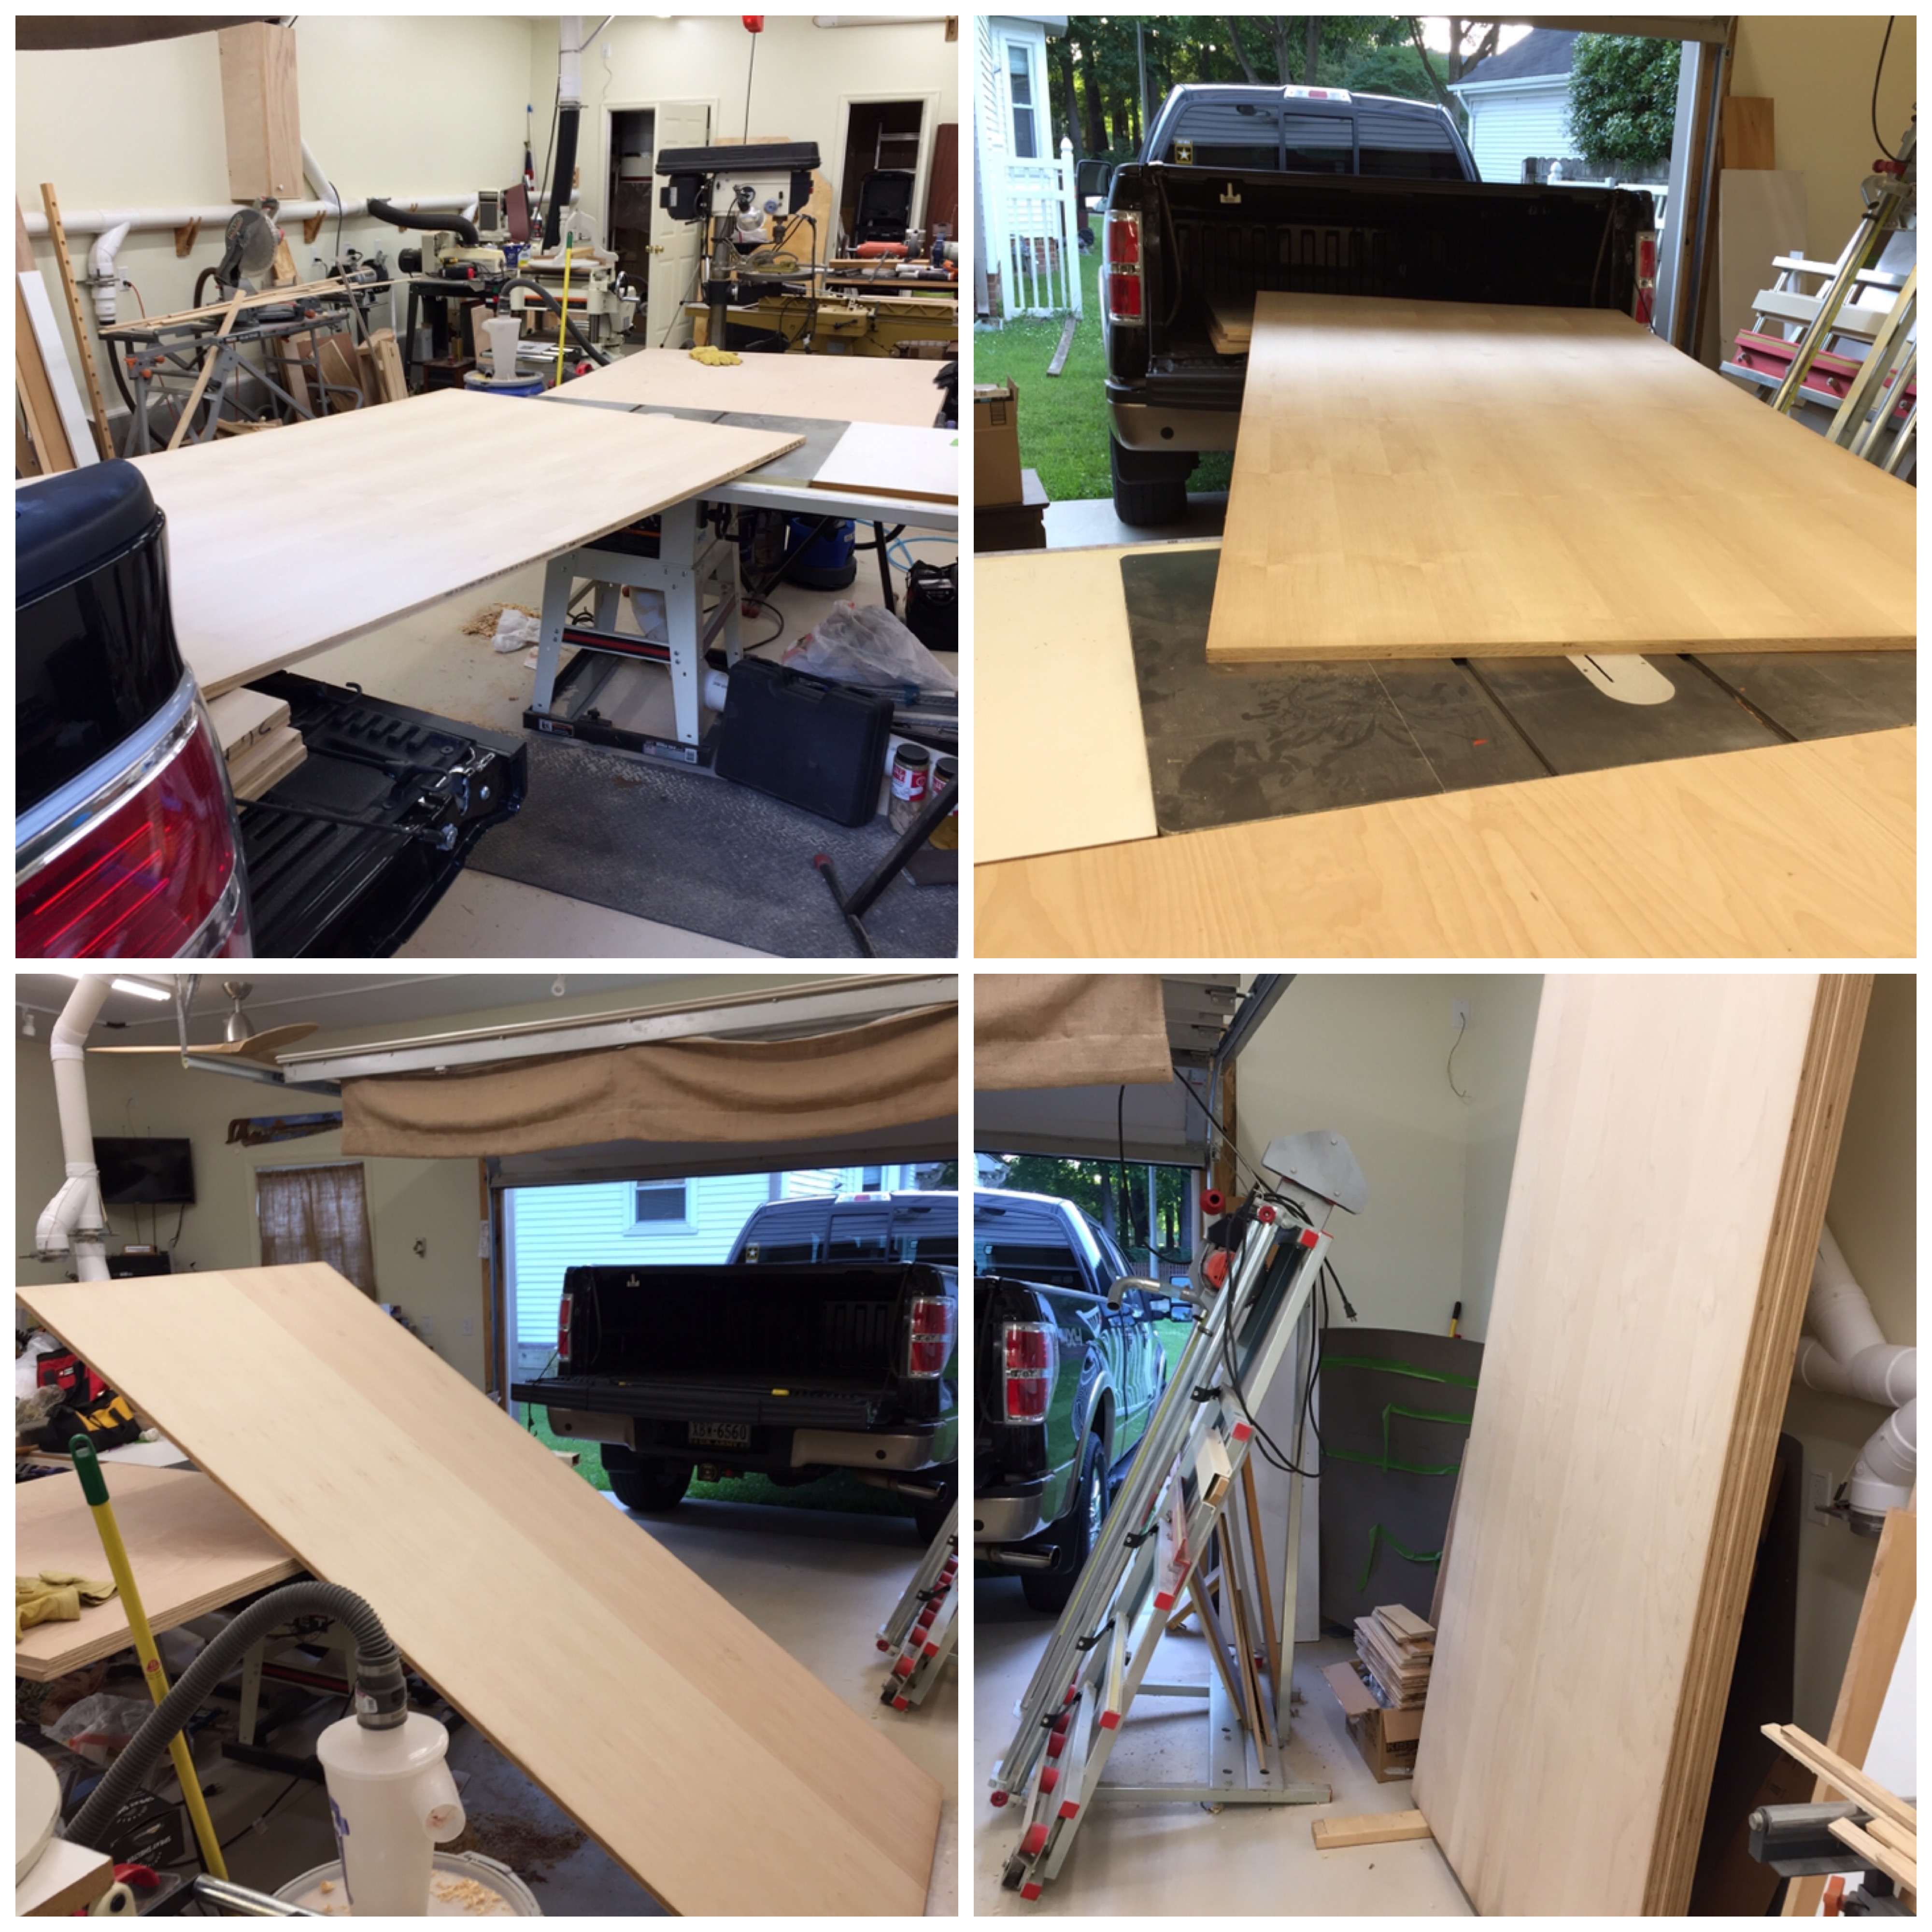
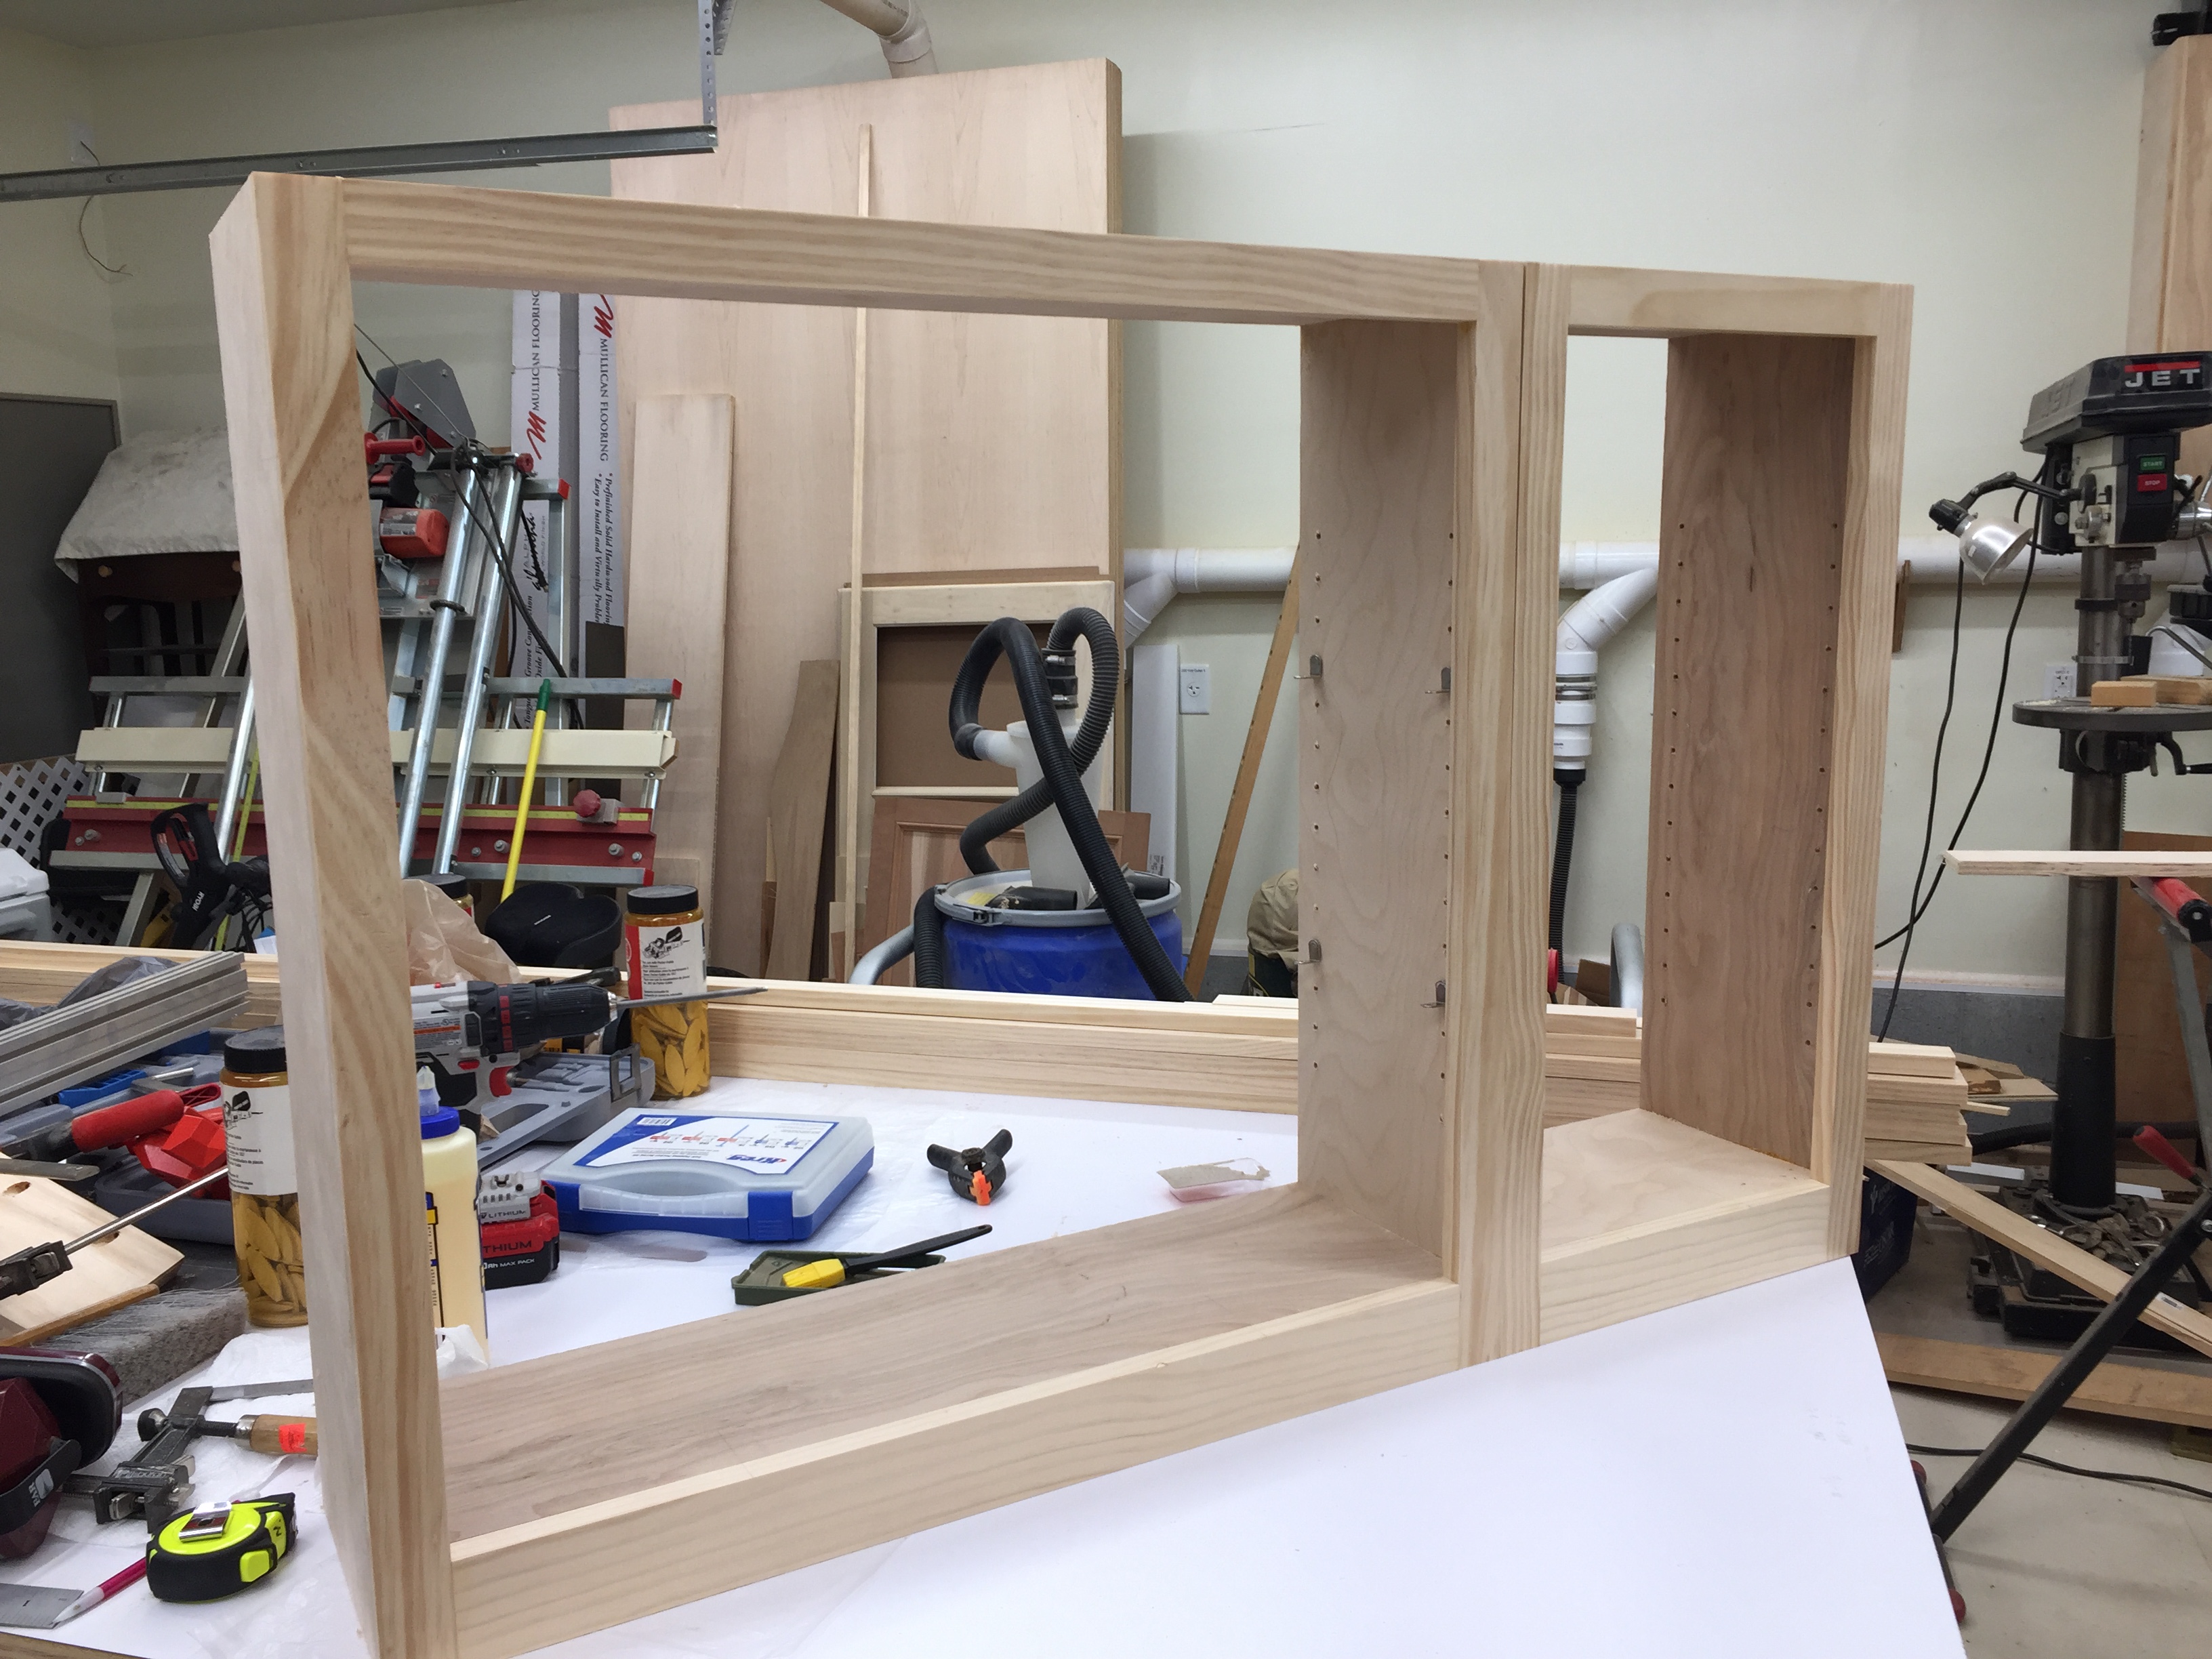
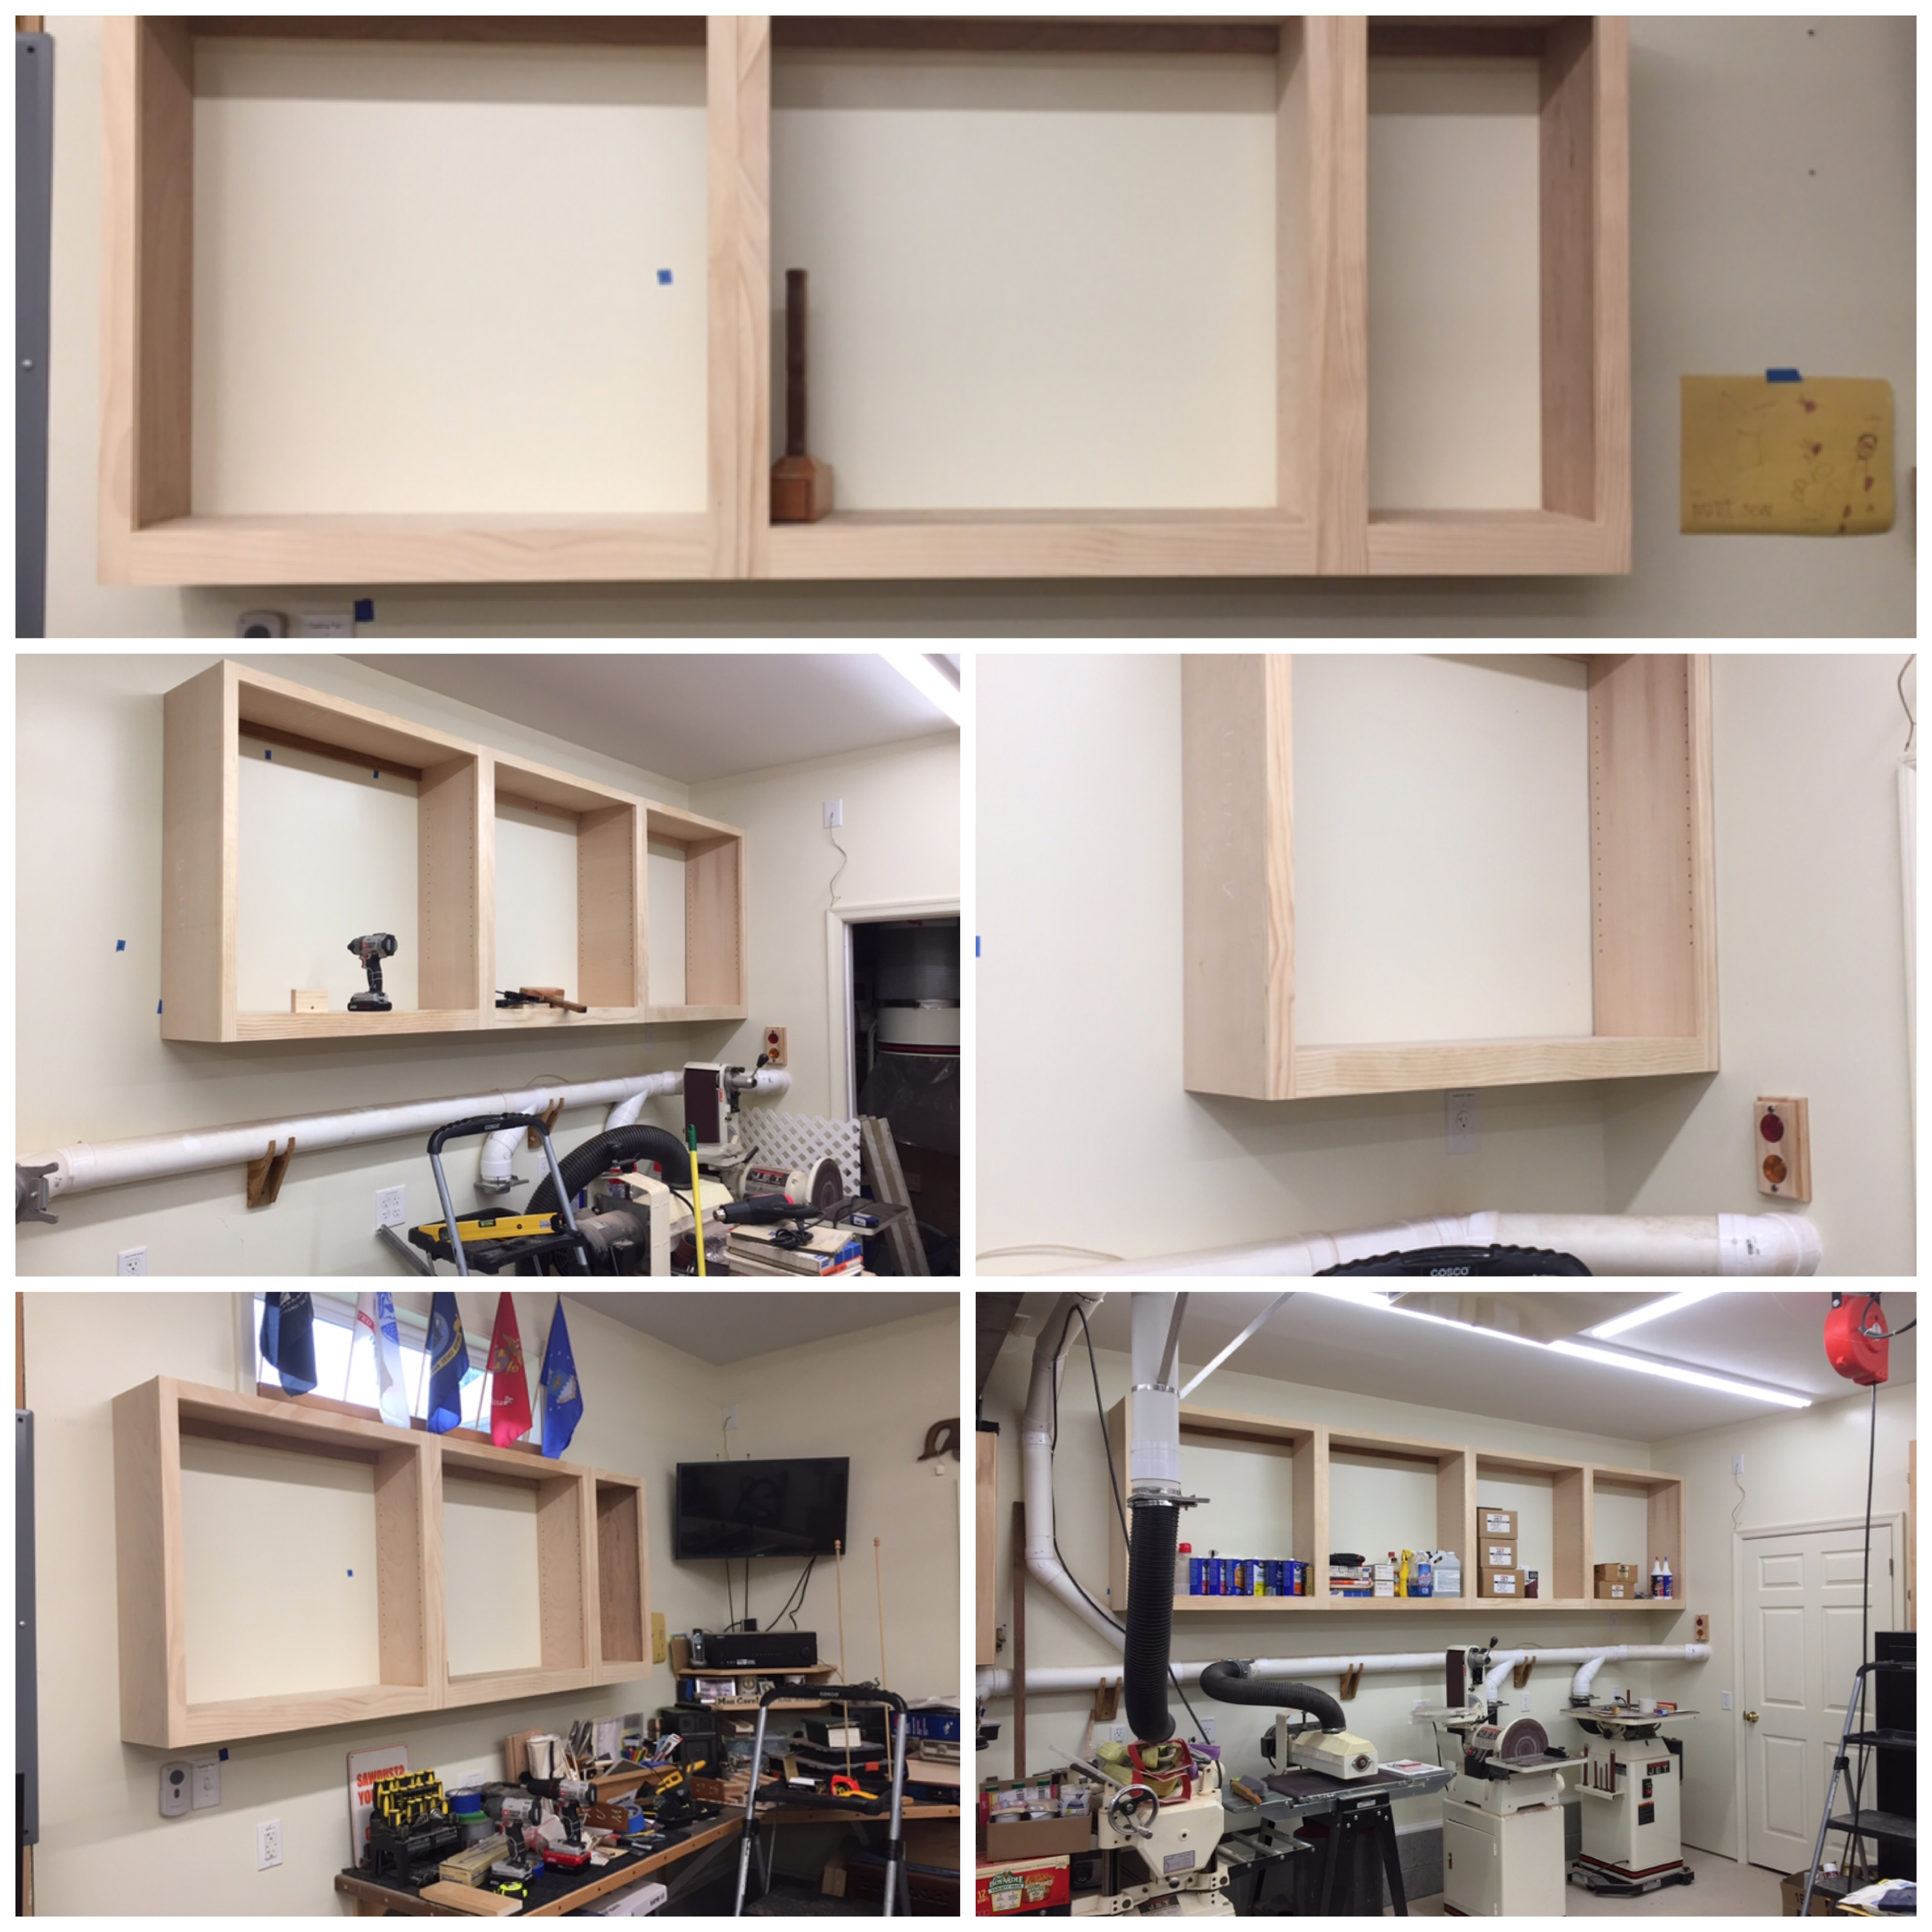
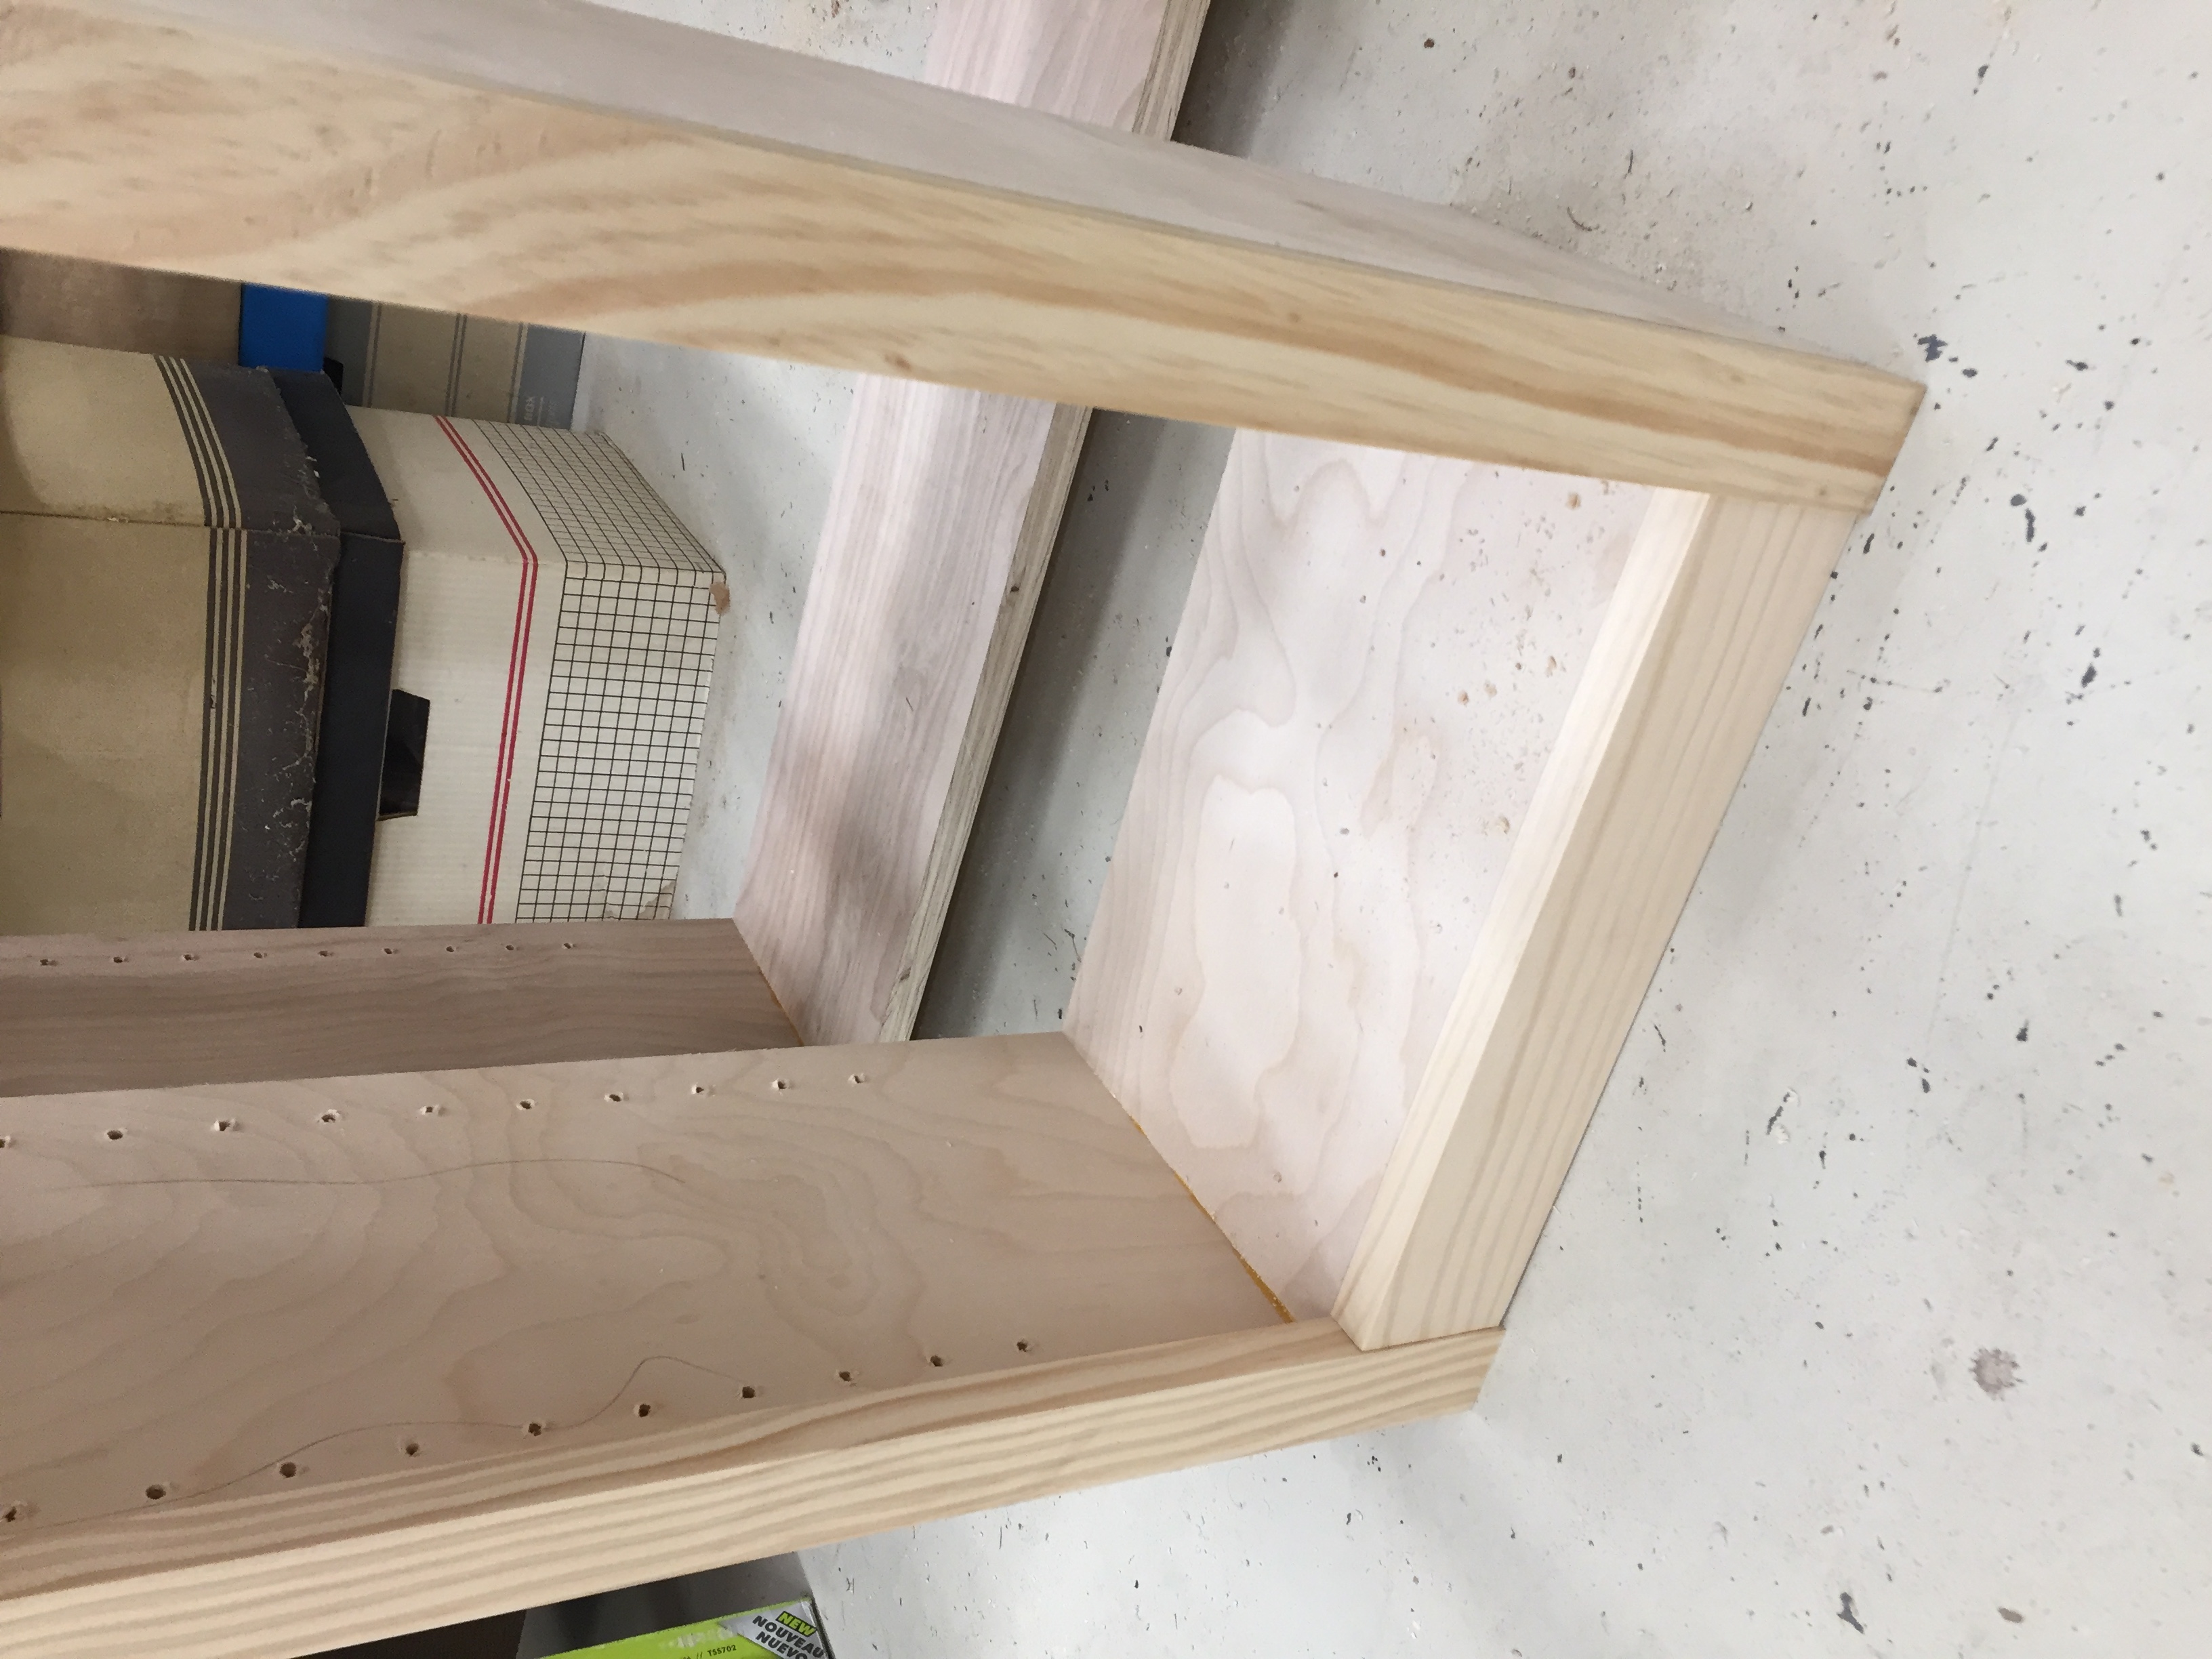
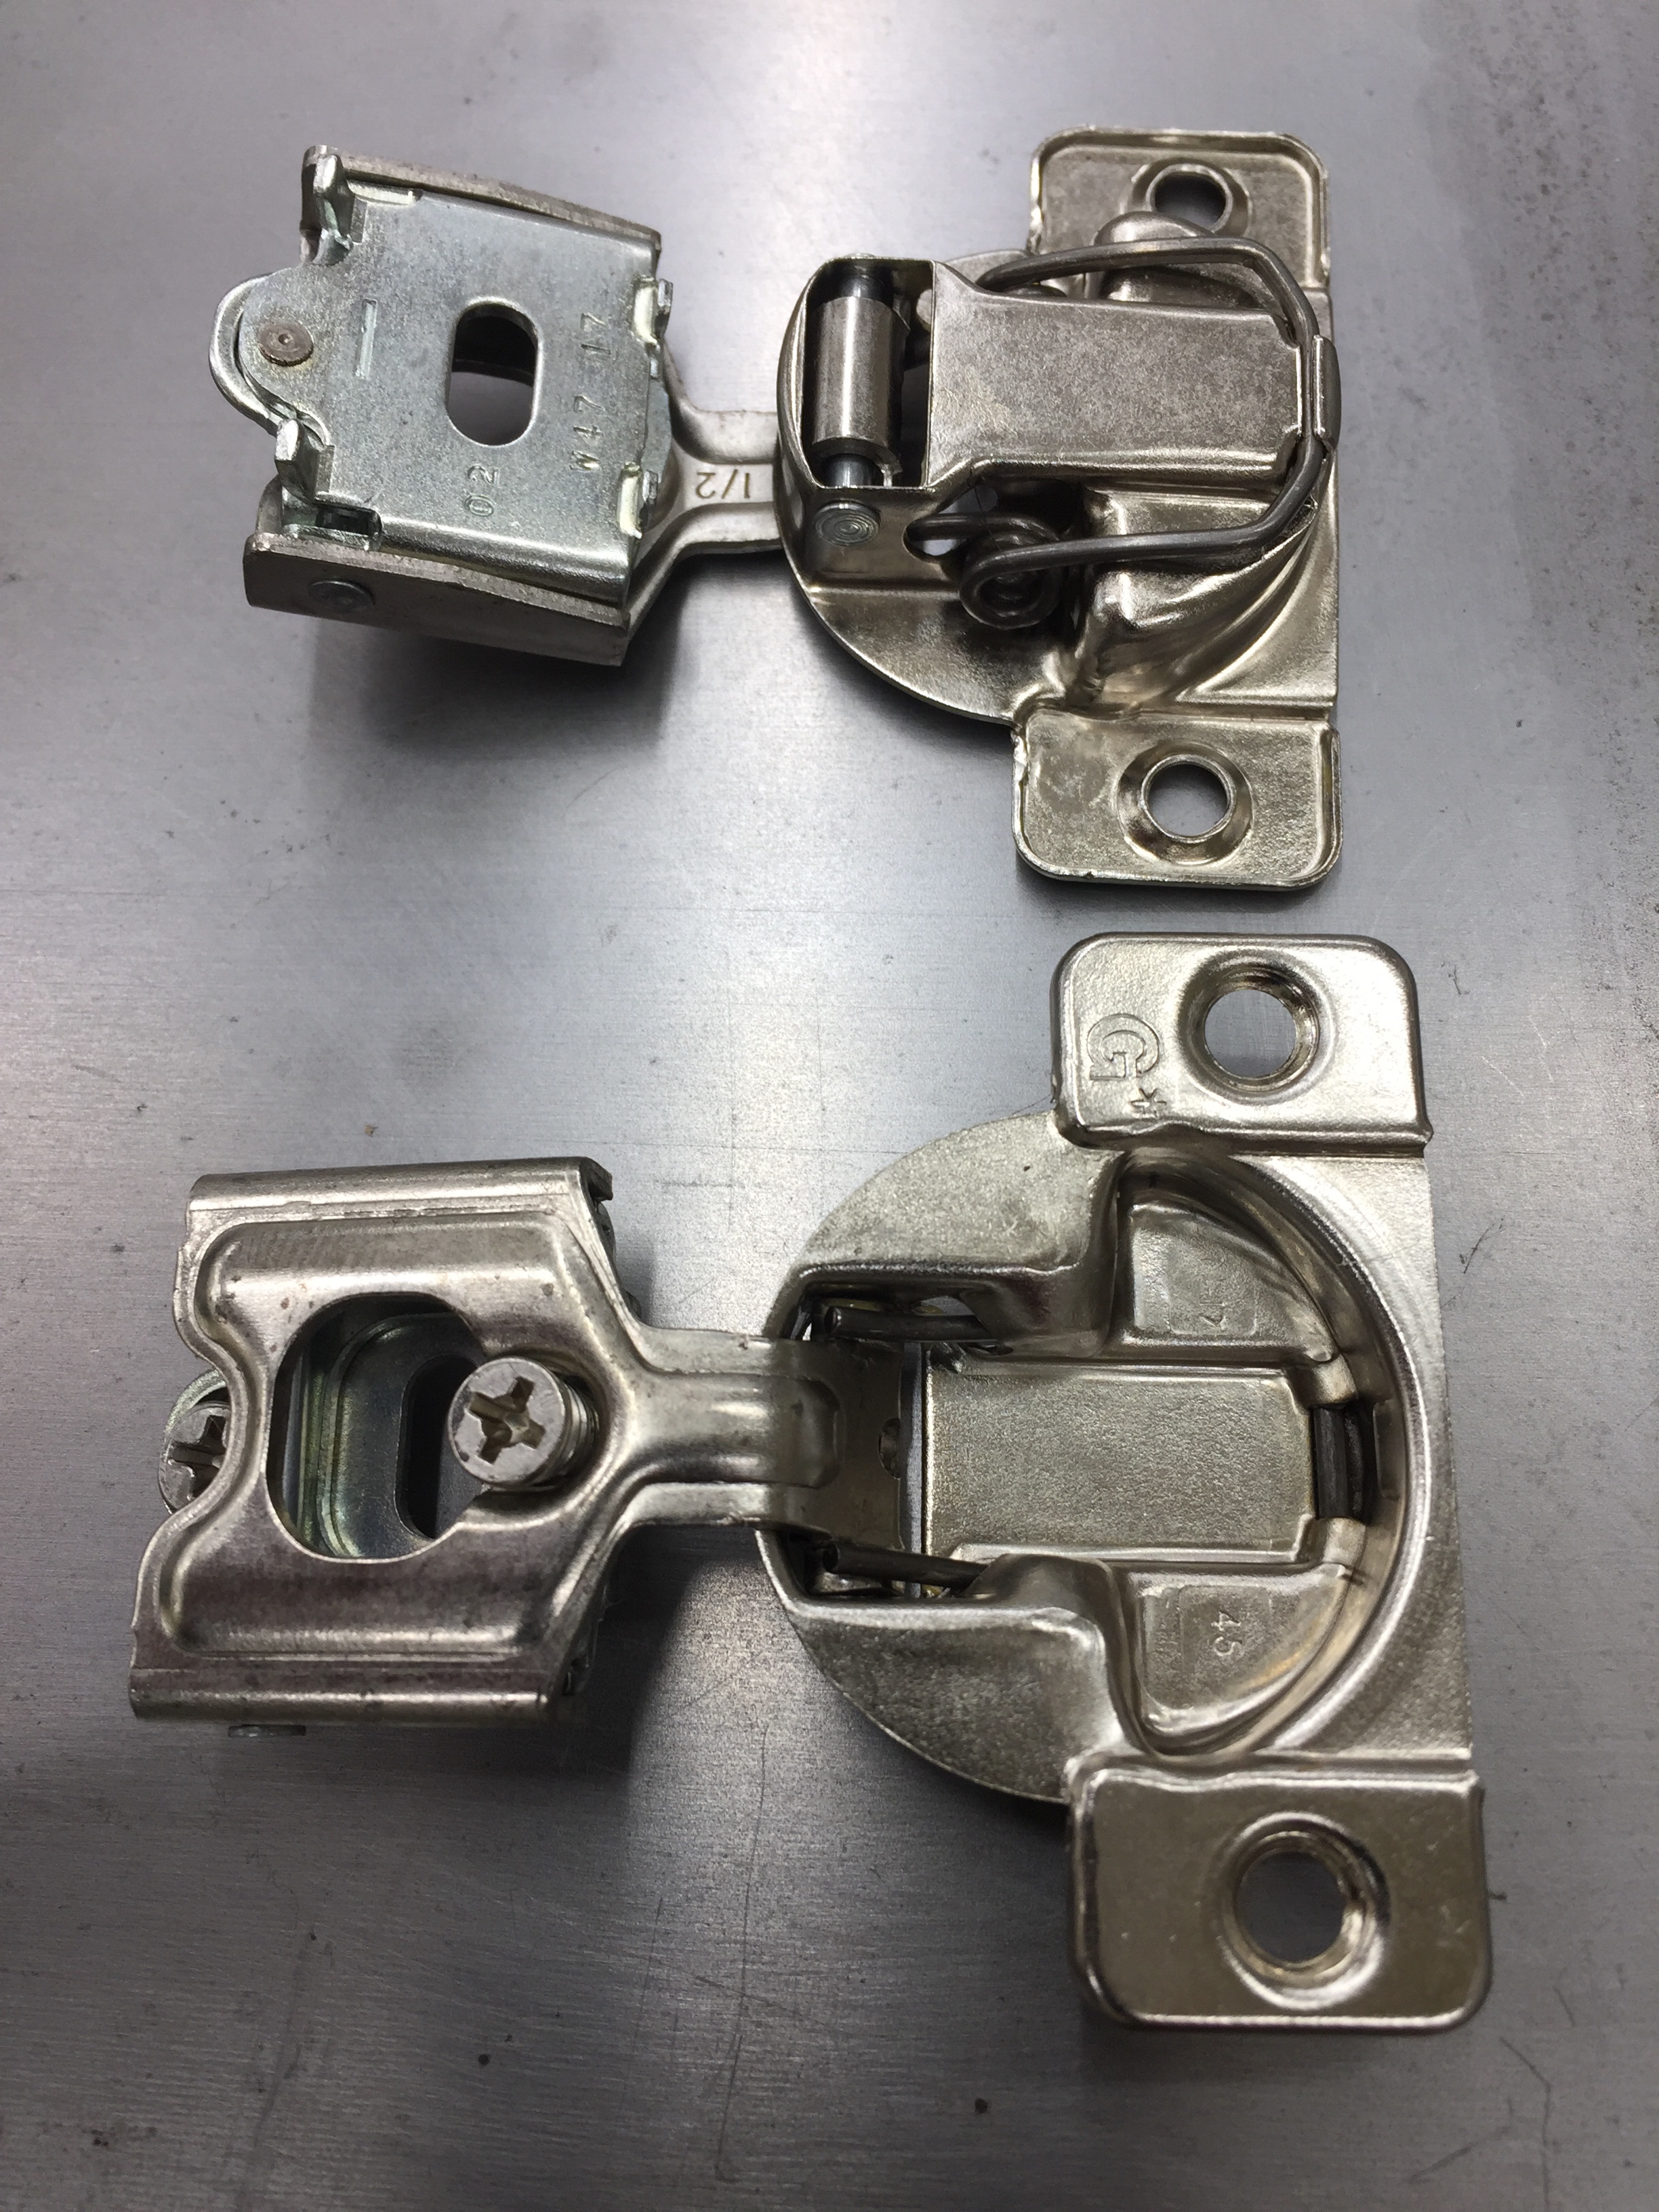
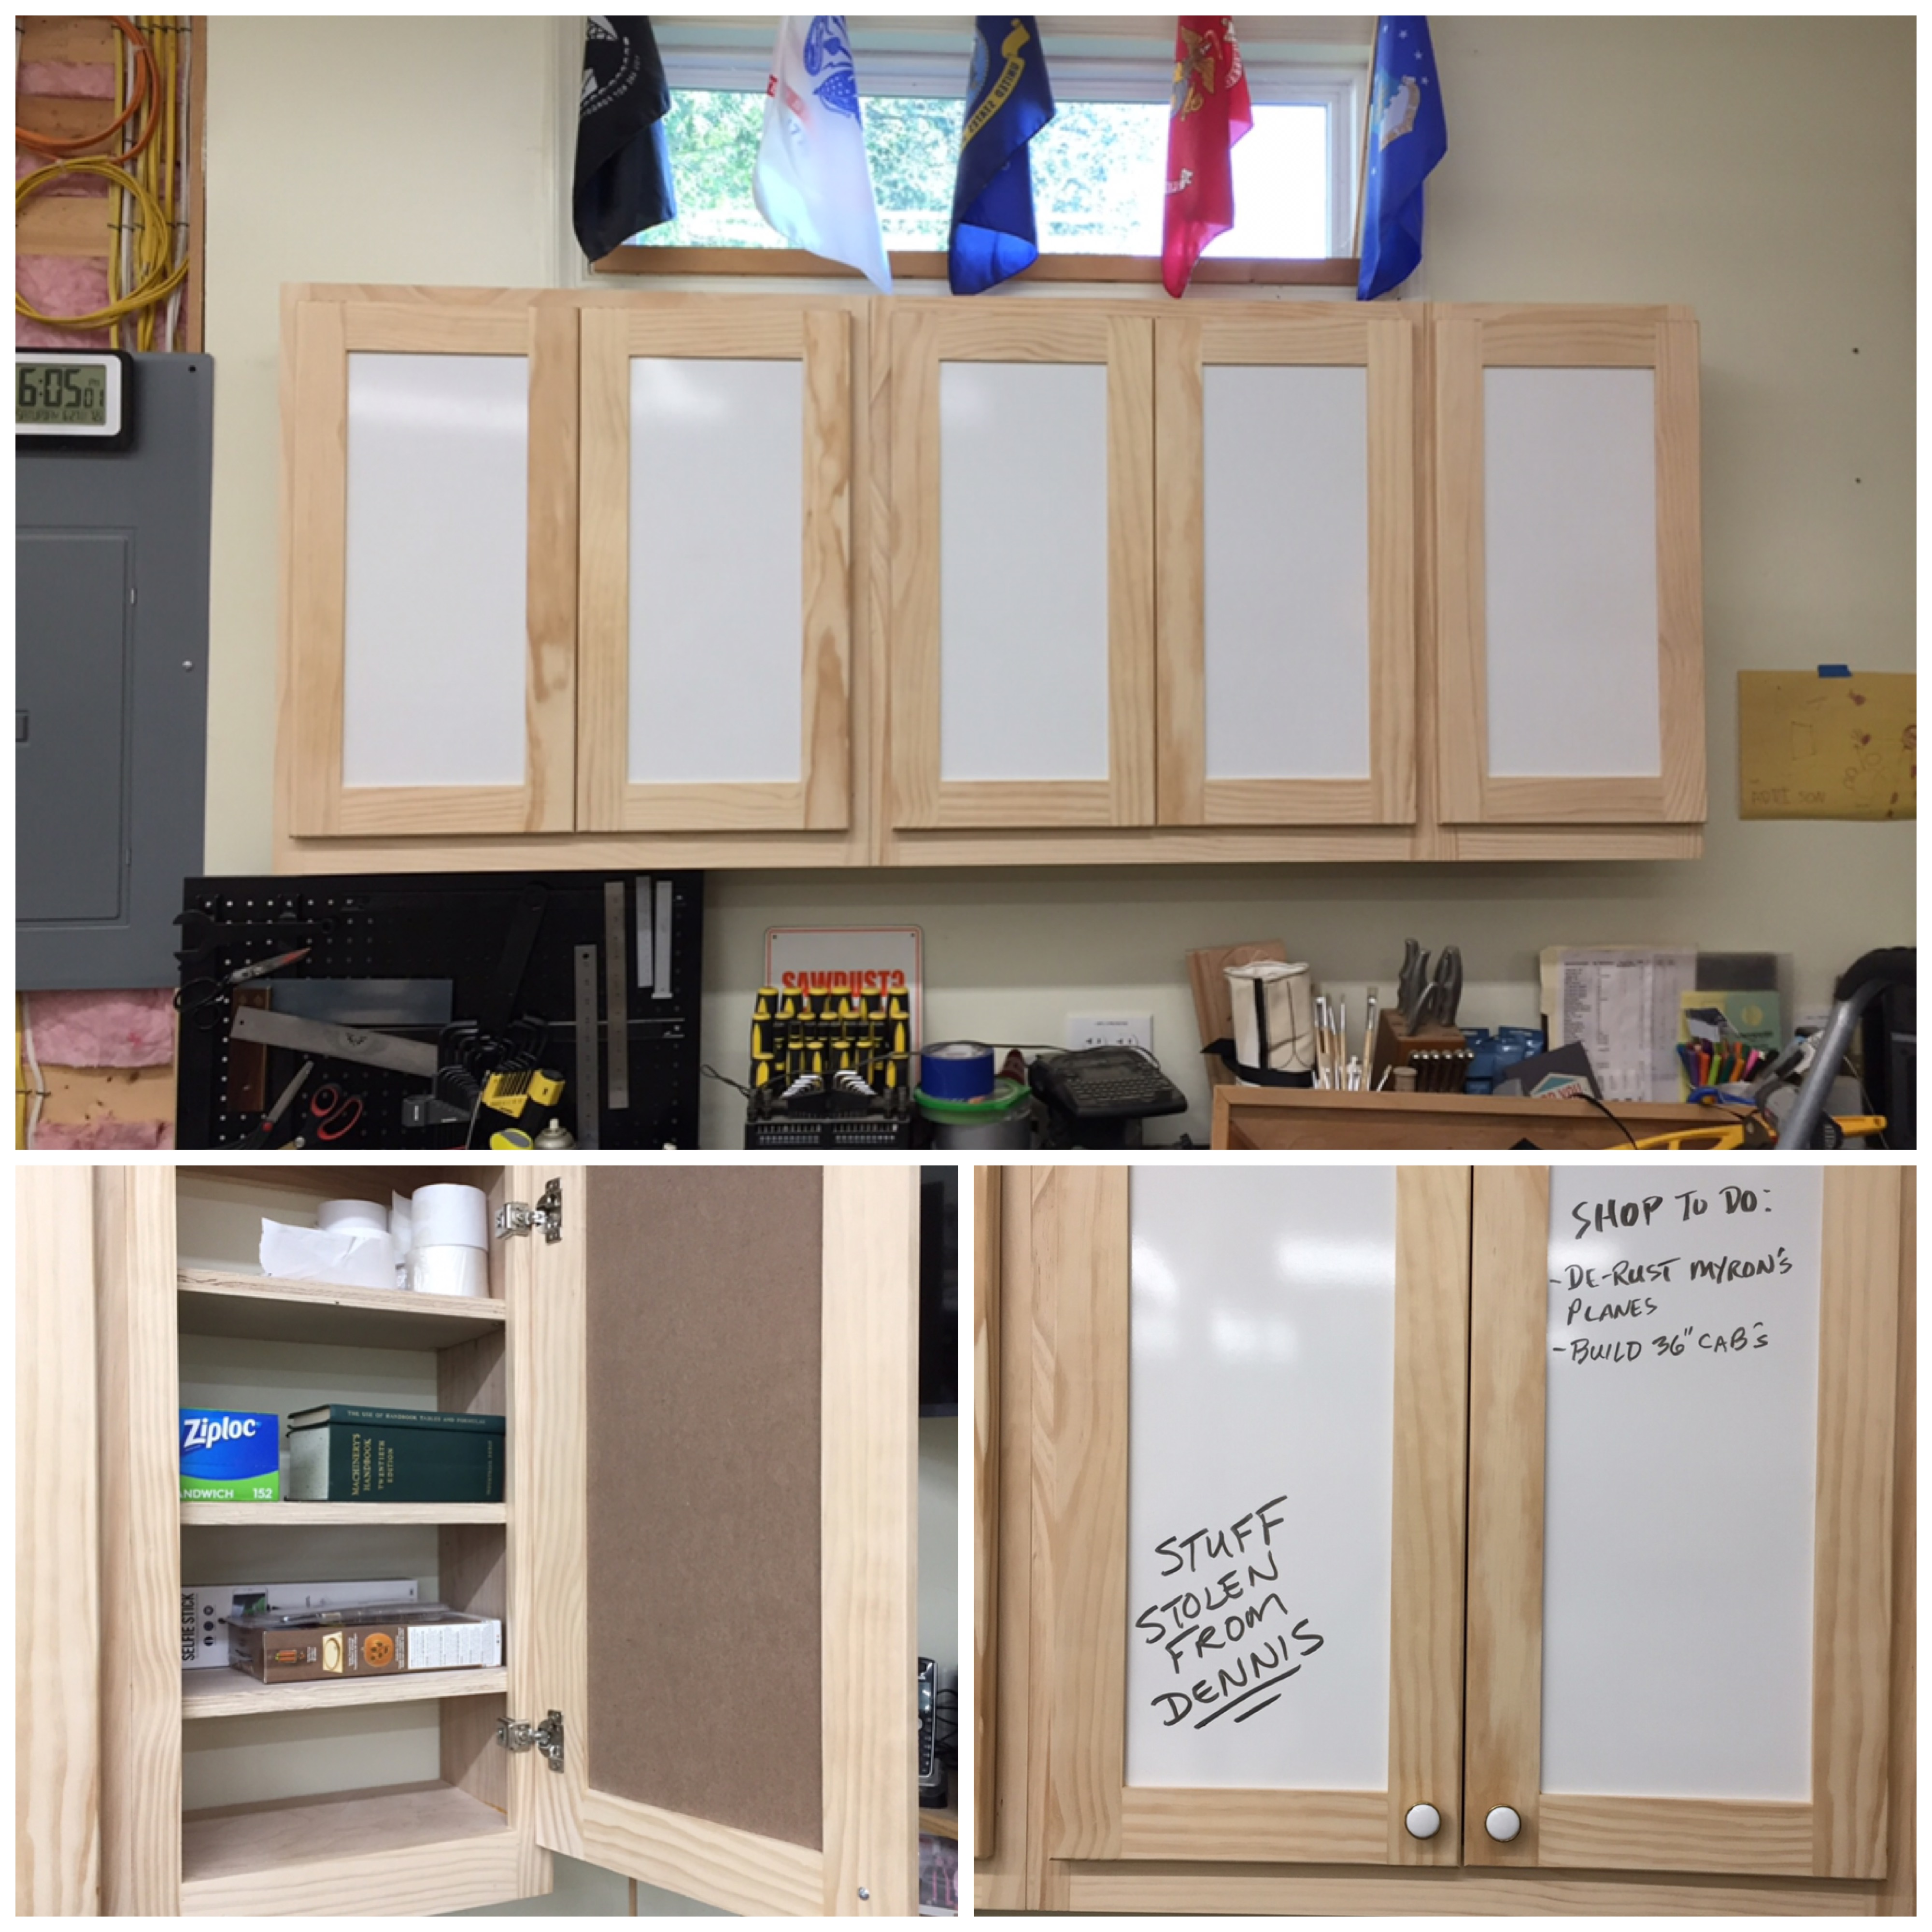
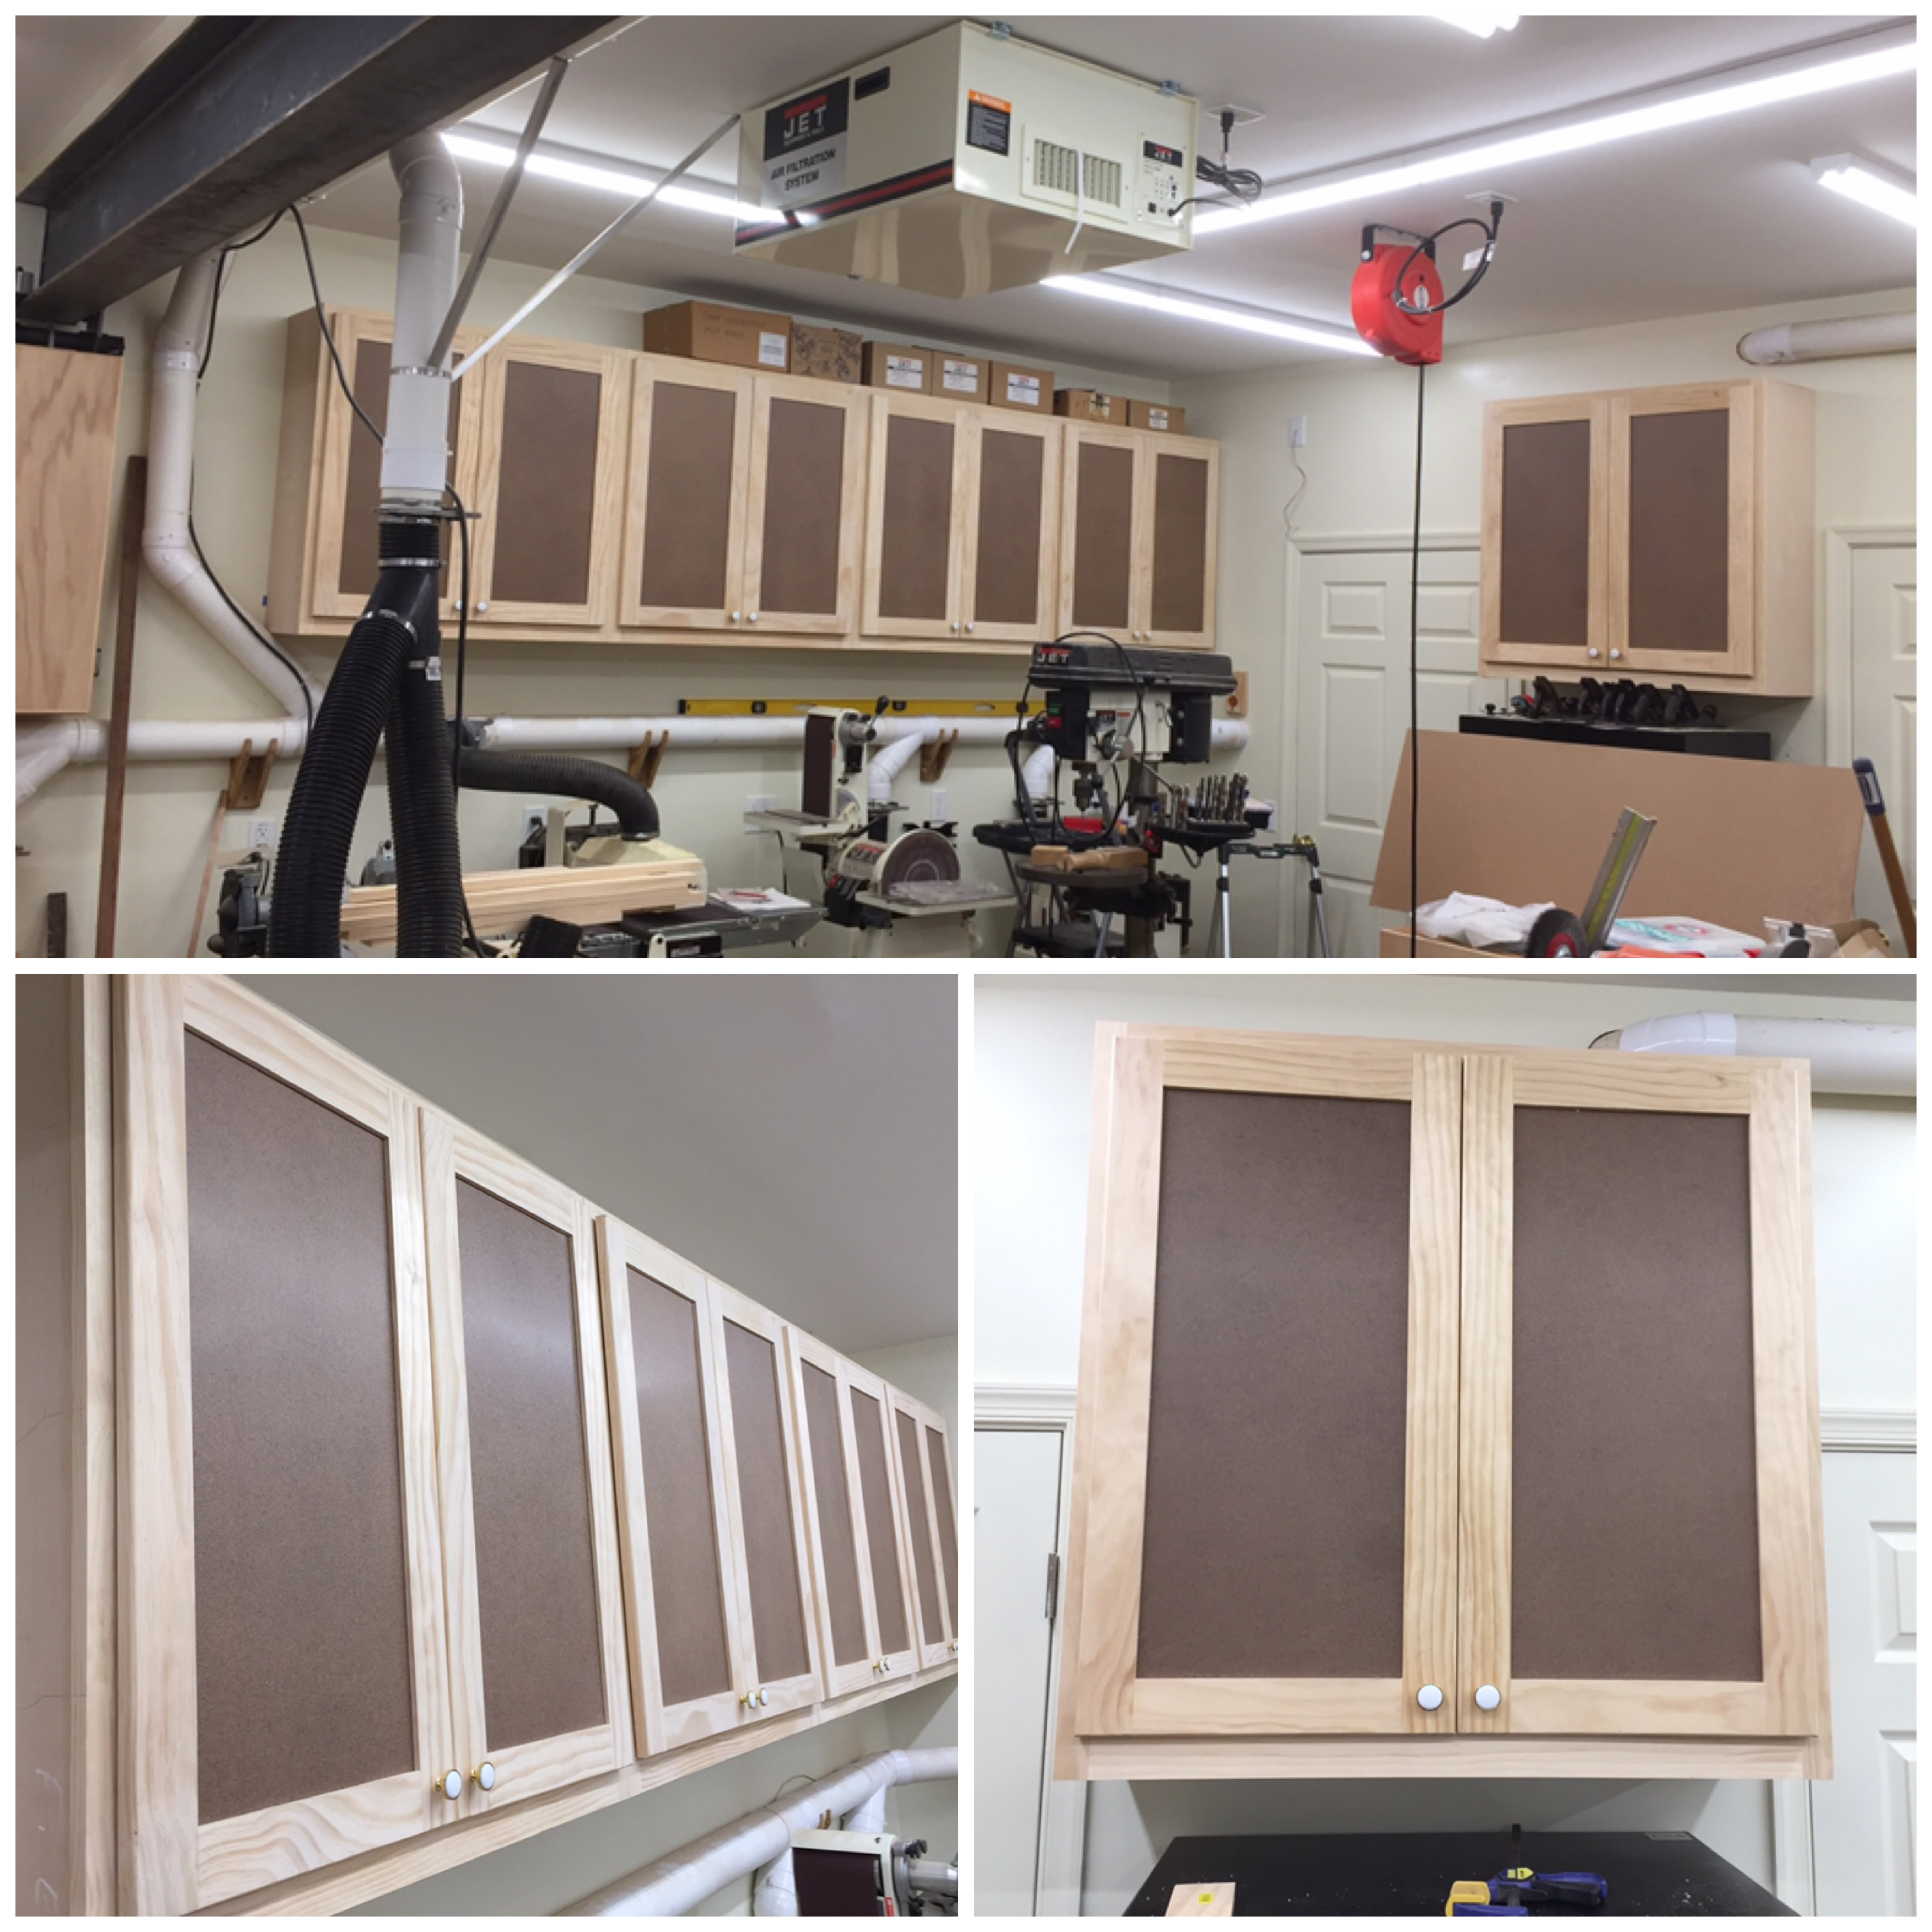
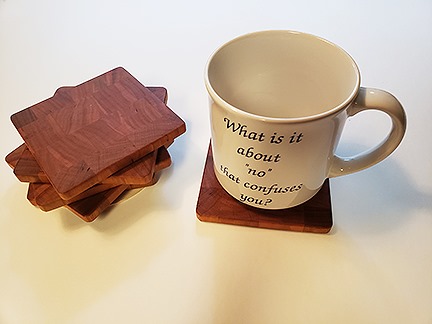
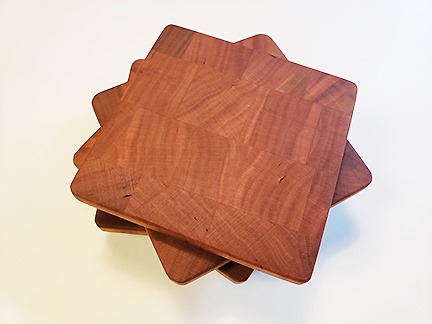
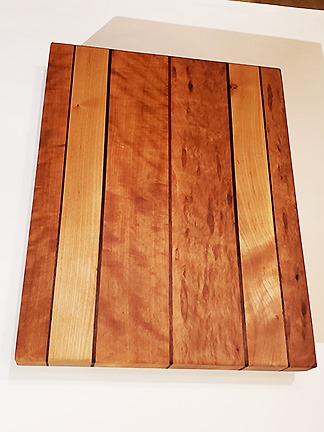
When the construction for my dream wood shop was complete, the budget got tight as I started to outfit the shop with things like dust collection piping, air conditioning, etc. Some shop projects on my priority list had to be placed on hold. As time went on, I knew that my much needed shop cabinets had to jump to the top of the priority list because items that should be stored in cabinets, were stacked on the floor and on much needed horizontal work spaces. Early on, I tinkered with the “make” or “buy” decision. I spent a considerable amount of time researching on-line for the cheapest cabinets that would also meet my needs. I was not thrilled by the construction nor the material used and the less expensive cabinets were still too expensive. So, I started pricing out material to build my own cabinets. Occasionally I would stop at thrift stores to search for bargains. One day, I discovered a large bag of 33 used European style cabinet hinges for only $4.95. This was a great find because European cabinet hardware can be expensive. In previous visits to thrift stores I had managed to score bundles of used cabinet hardware (pulls and knobs), at bargain prices. All I needed now was the wood to move forward with the cabinet build. Last year at one of our Tidewater Woodworkers Guild meetings Andy Steinberg (one of our past presidents) asked if anyone was interested in purchasing plywood at a reasonable price. I couldn’t raise my hand fast enough. Thanks to Andy, myself and other guild members were able to get quality 3/4” thick plywood at a very reasonable price. Thank you Andy. Because the European hinges were face frame type hinges with a half inch overlay, the decision to build face frame style cabinets was an easy one. For simplicity, I decided to build shaker style doors. I used graph paper to help me figure out a cut list and to help me get the most out of each plywood sheet in order to minimize waste. After slicing up the plywood for 3 of the cabinets, I did a dry fit. I used pocket hole joinery and glue to construct the boxes. Before attaching the face frames I used a Kreg jig to drill holes for the shelf pins. As you can see in this picture, there are no backs to these cabinet carcasses. That’s because I’m cheap. That required special attention to keeping the boxes absolutely square during the assembly and glue up process. The face frames helped with keeping them square. It worked out perfectly. I mounted the cabinets to wall studs using a traditional ledger strip affixed to the inside top of each cabinet. Each cabinet is also screwed to the adjoining one through the edge of the face frame. Now on to the doors. Shaker style doors use mortise and tenon joinery. The panels are usually simple. I like the idea that some woodworkers have used white board material for their cabinet door panels. This allows you to use dry erase markers so you can write on the cabinets. So, I decided to use whiteboard panels on a few of the doors. For other cabinets, I used hardboard for the door panels. I saved a lot of money doing these myself and I like how they turned out. More importantly I was able to make them to suit my needs and specifications. I still have many more to build. I just have to decide what finish to apply. Karl Bogot has also been busy pulling lumber out of the scrap pile and making some interesting projects. Project 20-16. This is another in my 'treasure from scrap from scrap series'. The original project, a laminated solid cherry kitchen counter, yielded a large cutout for the sink. That cutout was resized to become a large cutting board. Too long, we cut off one end, leaving a 4 inch piece of laminated cherry some 18 inches long. I took that one, cut it into sections and glued it up into a 4 inch cube. Then, I sliced off 7/16 inch pieces, sanded, and finished them to a set of six 4-inch coasters. Waste not. Want not. (Oh, I have a 4x4x1/4" piece left. Any ideas?) Project 20-12 is a cutting board made from American Sycamore with Maple highlights and trimmed with thin strips of cherry and walnut. This wood had been hanging around the dark reaches of my woodpile. The gorgeous grain is surprisingly tight and the wood is heavy and dense. It measures 16 x 12 x 1.25. I'm going to put it up on Etsy for $100 + $15 shipping. Local friends get free delivery (with proper social distancing.) I have another Sycamore board in process, along with two made from Cherry. Think Christmas gifts, wedding presents and house warming.
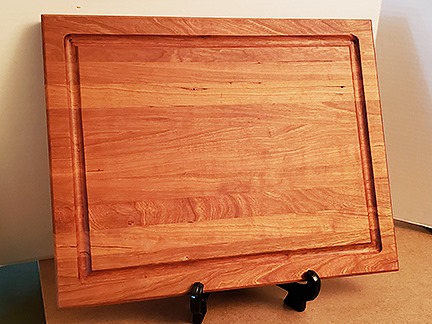
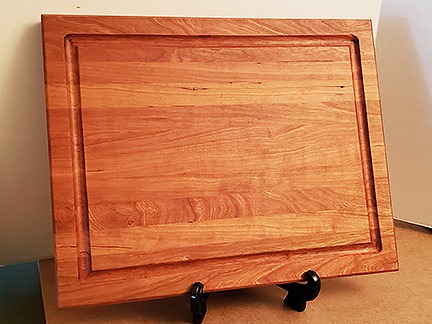
This is the cherry board. It measures 18” x 14” x 1.25” and weighs 8 pounds.
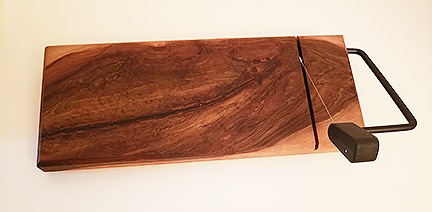
Project 20-15 is another gift from my pile of sycamore scraps. This one, a 9” x 5” x 1" thick cheese slicer has splits and inclusions that are filled with clear epoxy resin. I cut the slice off a piece that had a clear grain. I've sliced the rest for a future box. On this piece, the grain was too fantastic to waste. This piece is priced at $35 + shipping (if necessary).
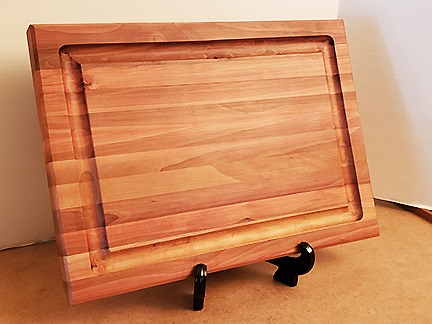
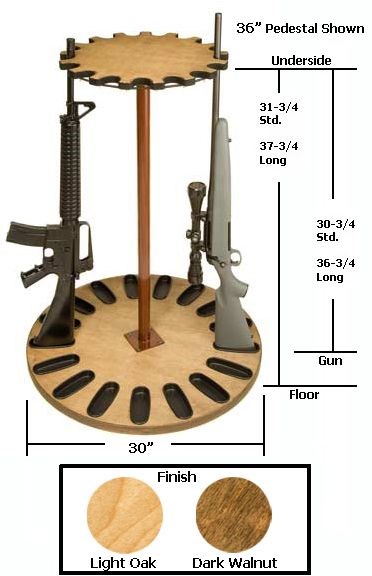
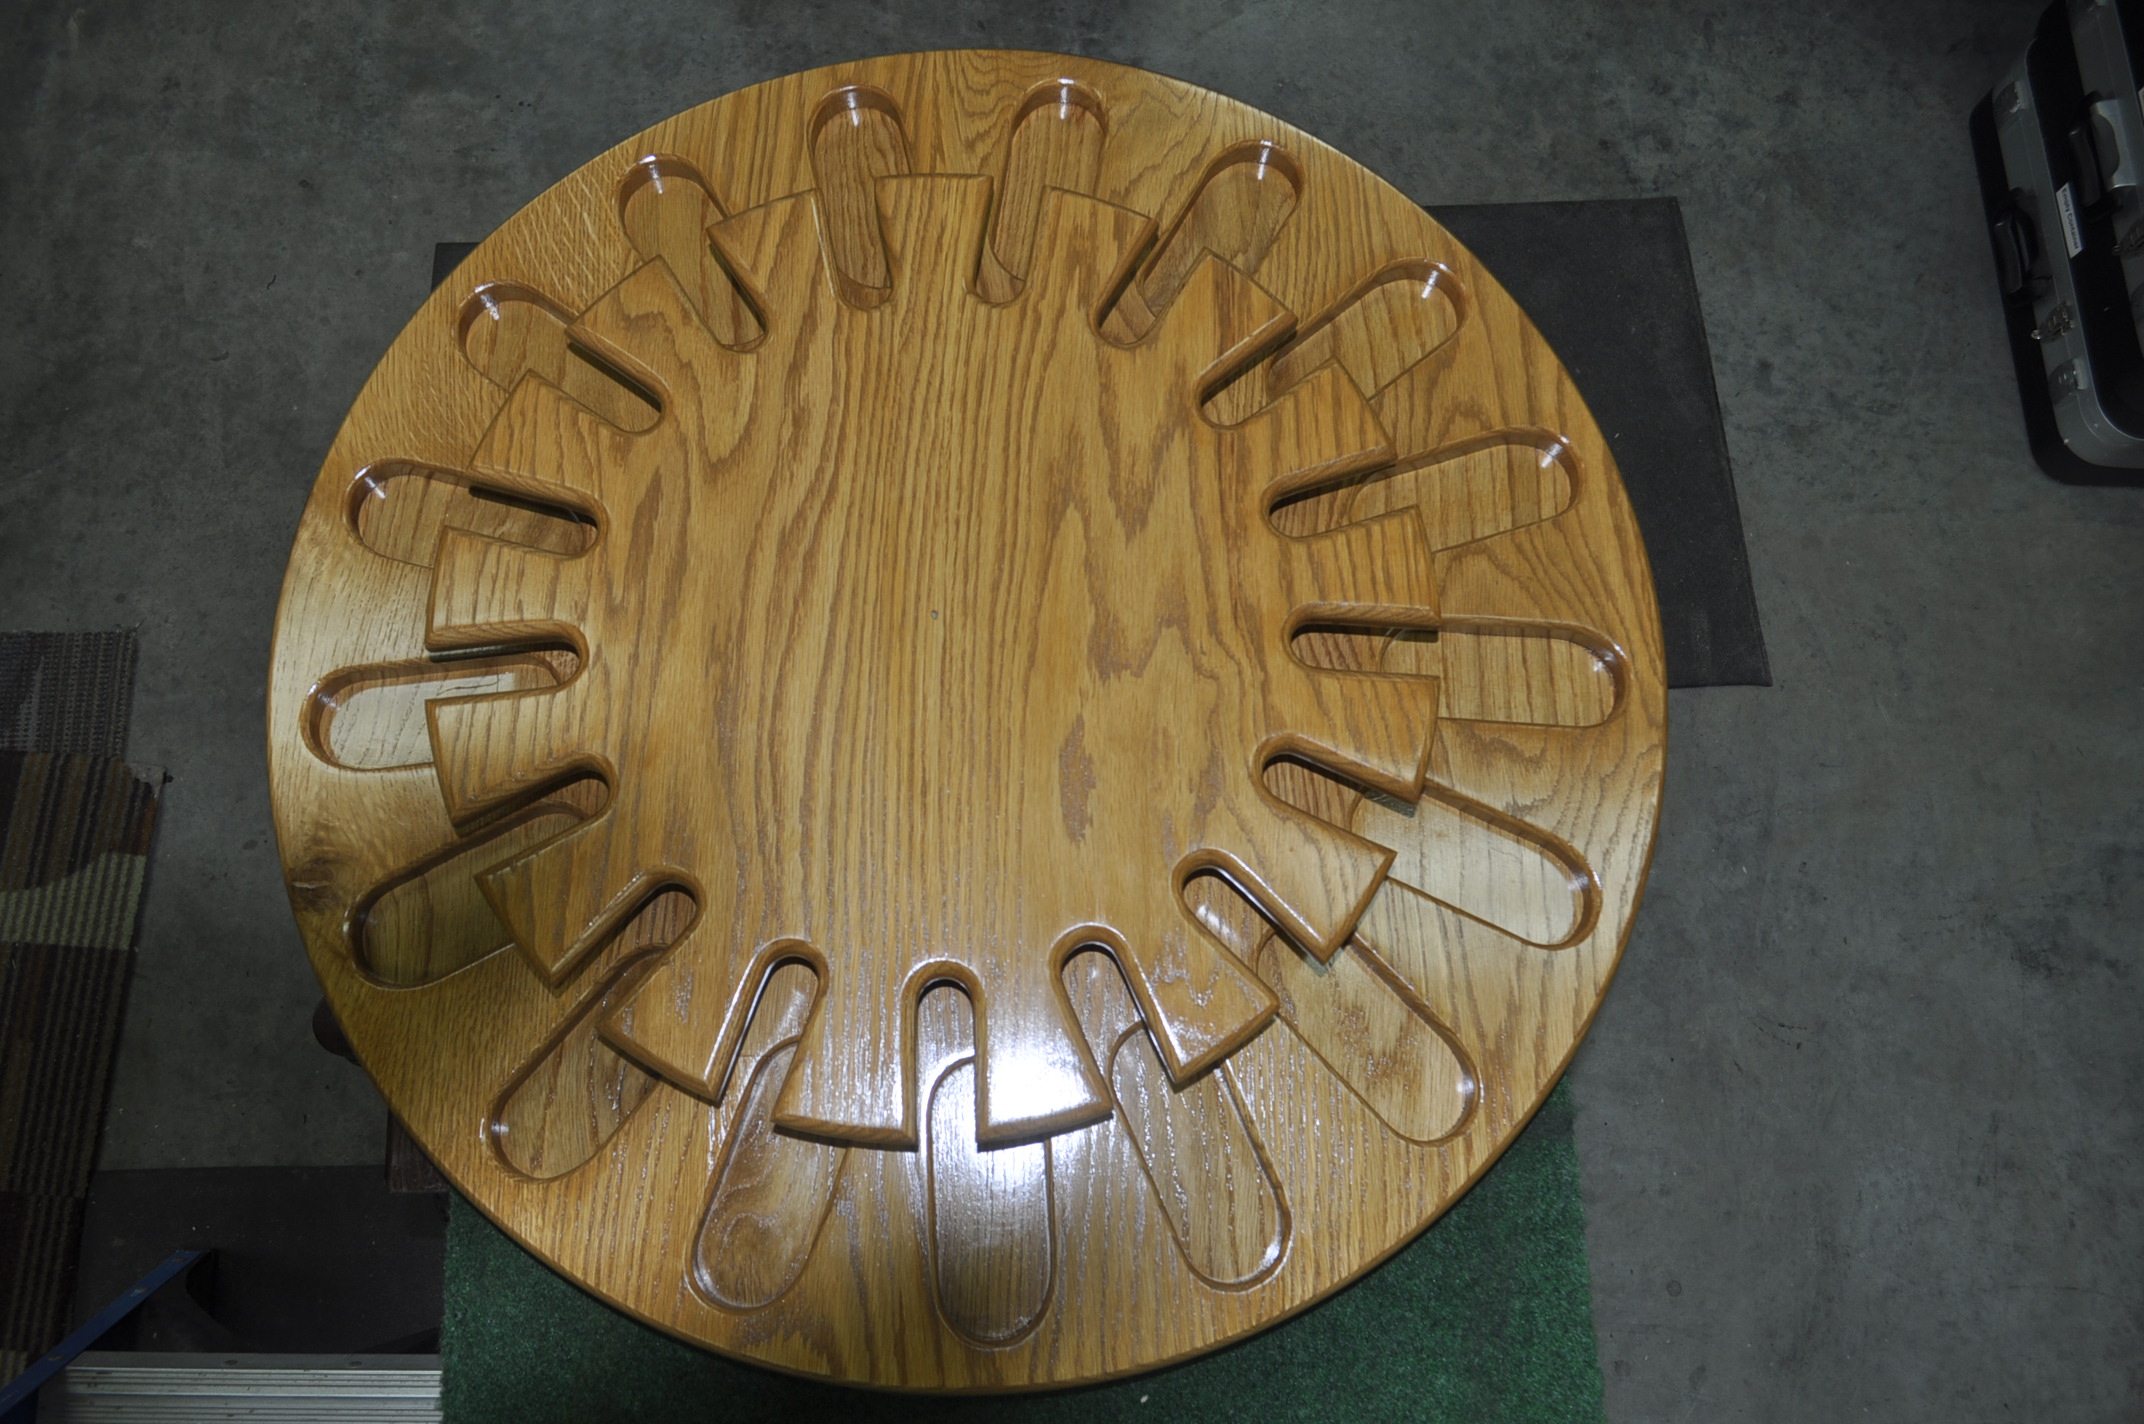
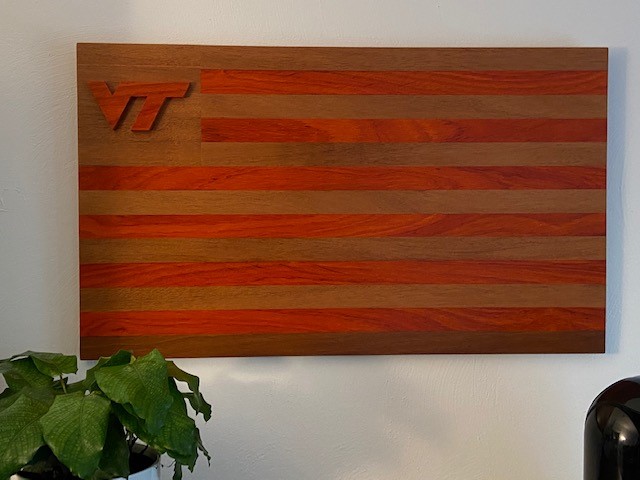
Projects 20-13 and 20-14 are complete. Two cutting boards sporting a juice groove to collect carving juices. One is American Sycamore, the other Cherry. Both will be offered for sale at $100. Shipping is dependent upon method, but both boards weigh in at 8 pounds. Newsletter editor Gary Stephens has been working on the wooden components for a rotating vertical gun rack for his brother out in Kansas. My brother is a tool and die maker but limited on woodworking tools so he commissioned me to make the base and top part of the gun rack. He is making the center part of the gun rack out of metal. Any interested guild members wanting to build this 17 gun display are welcome to my drawings and the MDF template I used to cut out the slots for the barrels and the gun butt using the router. Our last projects come from President Fran Foster The VT flag was made using wood for their colors. Mahogany for the red and Osage orange for the orange.
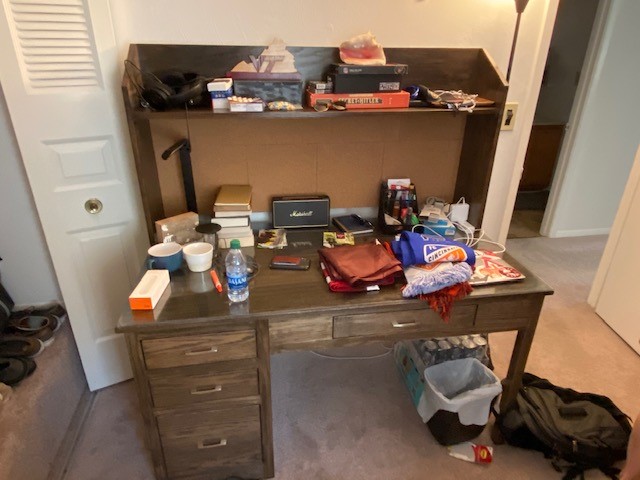
The desk was a made to order for the space in our grandson dorm. It was made with oak plywood and solids. The finish was from Woodcraft. The only problem was when it was assembled at Tech, the single drawer made it difficult for my grandson to sit at the desk! He is a big young man, 6’ 3”. So I just made riser blocks, oak of course, and sending them to him as a temporary fix. A future trip will remove the single drawer.
Gary |
||||
| Dust Duct Work Plumbing
Pat Lester has modified his dust collection in his shop and is offering FREE 4” PVC duct plumbing to any interested guild member. The offer is 15-20 foot of 4" PVC duct work with fittings, pipe, gates and brackets. If you want, he will even help your install it in your shop. He hates to throw it out but now that he has installed 6” PVC in his shop he no longer needs it. Pat also built a 10’ long by 24” x 24” kiln in his back yard to dry wood that he harvested from the Pecan wood that was cut at Andy’s shop several weeks ago. He took lots of pictures and will make it available as a presentation post Covid 19. He is also working on a complete bathroom rebuild. He has torn everything out of the bathroom and it is now bare studs making up the room. The renovation will include a new floor, double sink vanity with a new marble top, new shower door, a tiled shower wall and lighting, He is asking for luck on the project and lots of his favorite adult beverage to help him through the project! |
||||

