Copyright 2020
Tidewater Woodworking President:Fran Foster, Vice President: Greg Guertin, Treasurer:Chris Zuchristian, Secretary: Don Newsome
  |
Woodworking |
|||
| Web Links | At the Meeting | Last Meeting Notes | Tip of the Month | Editors Notes |
|---|---|---|---|---|
| Tips |
What's In The Newsletter?
|
|||
Presidents Report ...The Tidewater Woodworking Guild is alive and maybe well! We have not met as a group since last February due to the pandemic, but we are planning on starting to meet virtually maybe as soon as October Everyone that I have heard from for the last six months, has said that they miss the social interactions and informative demonstrations and presentations. We hope to be able to bring this back, but we must go through the learning curve in order to know how to function in a virtual environment. We hope that everyone is doing well and staying safe. We shall return to our normal lives sometime in the future. We just need to stay the course until then. |
||||
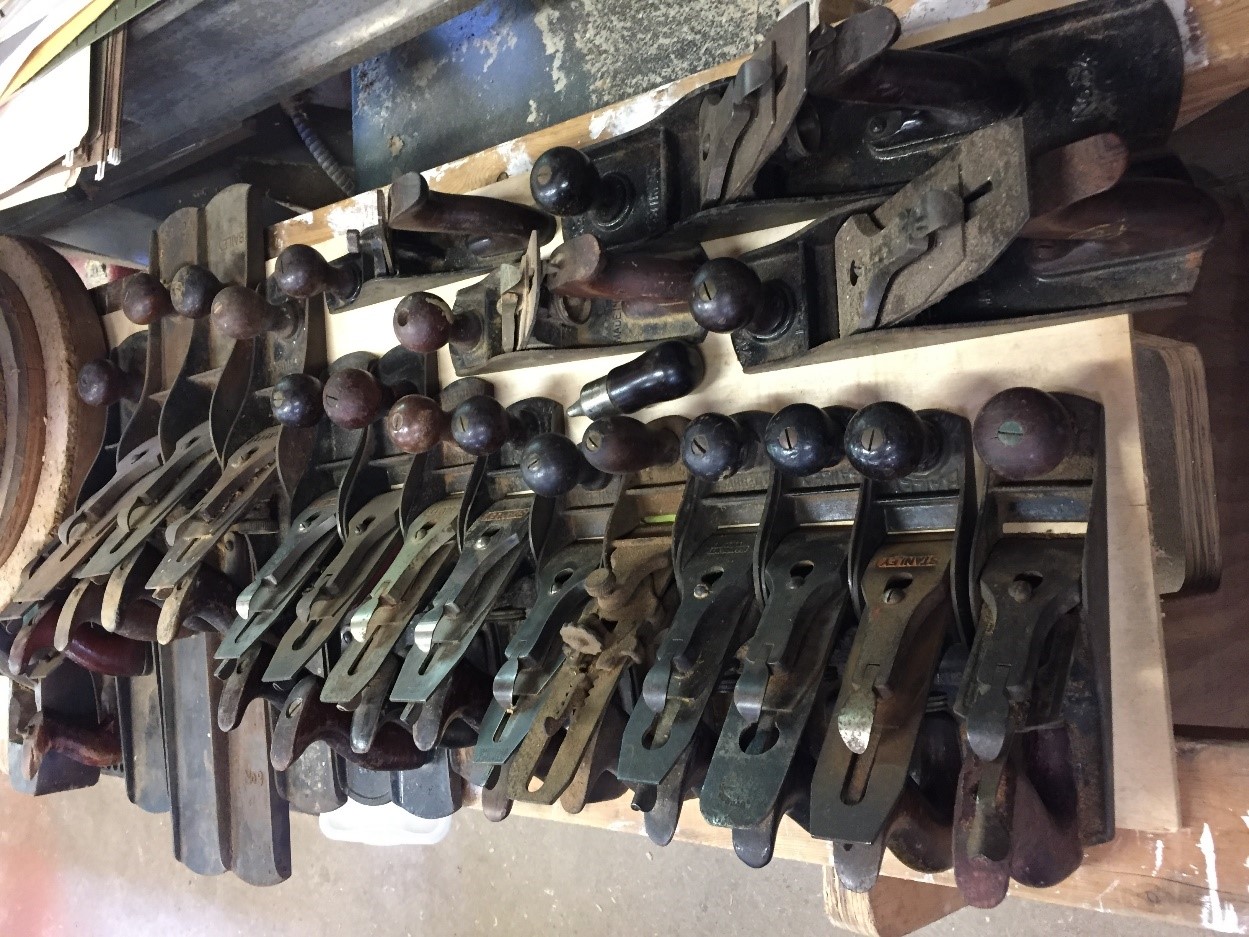
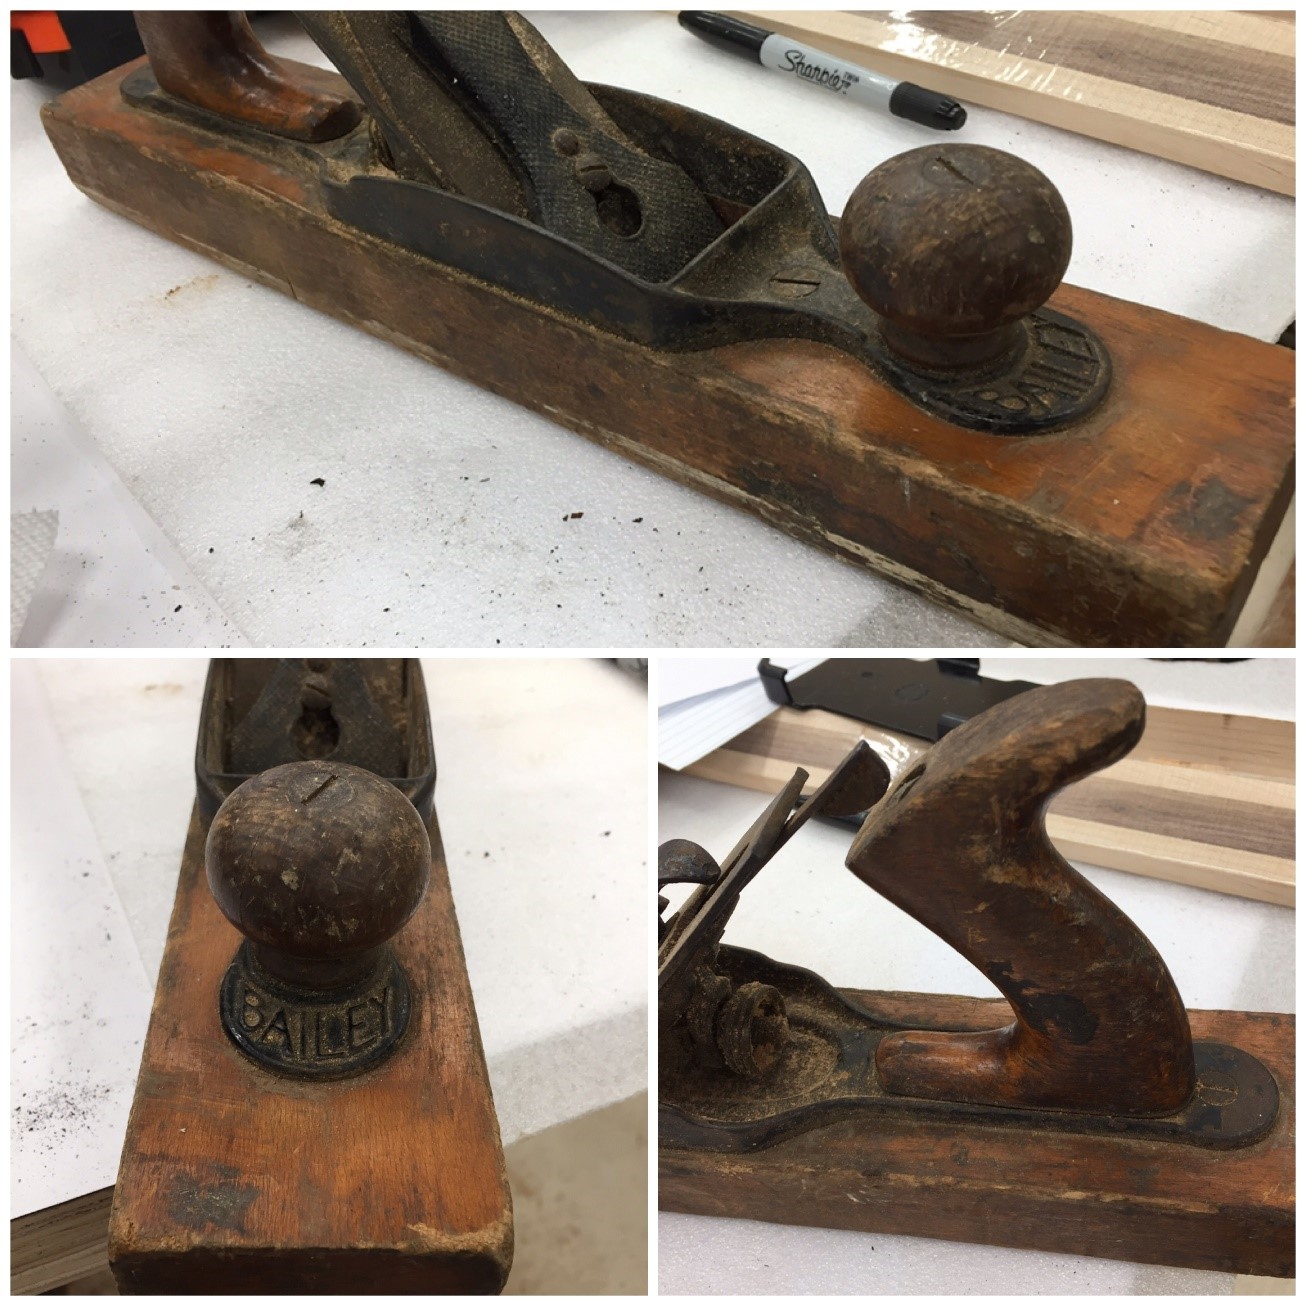
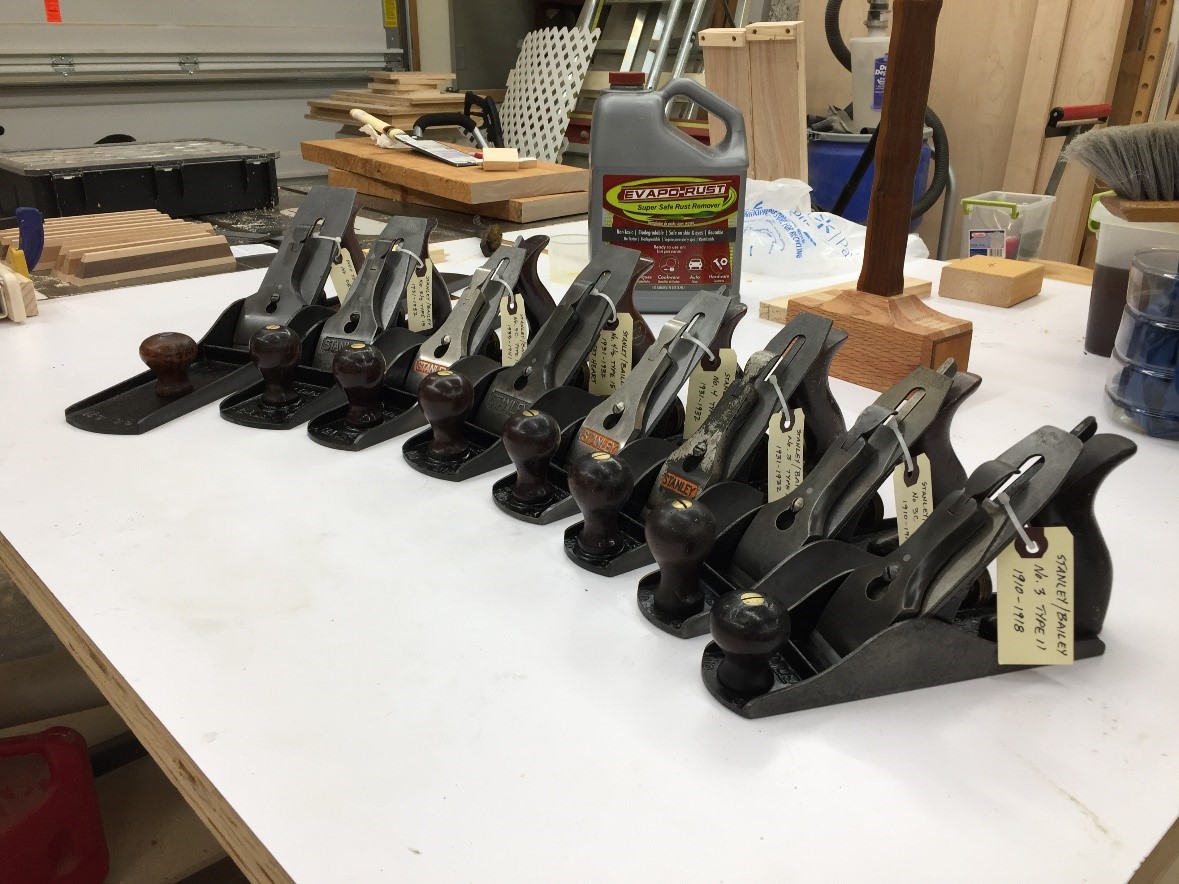
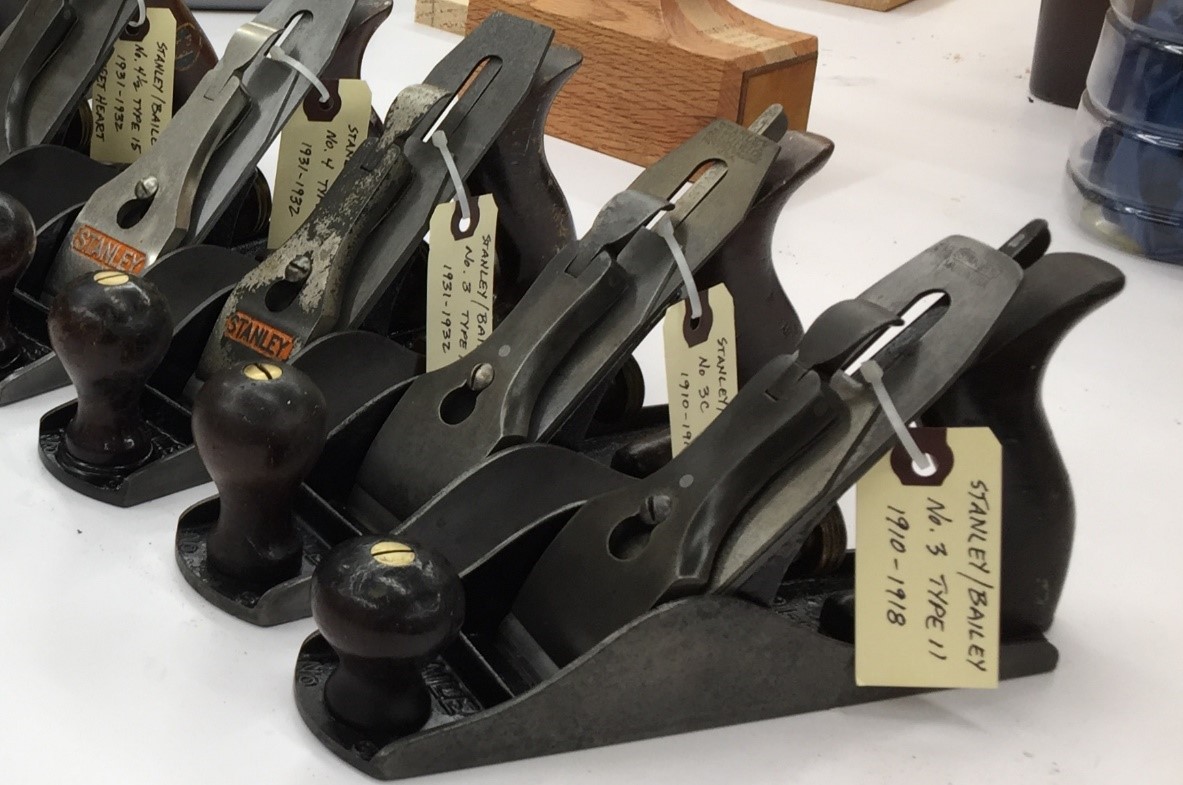
Restoring Old Hand ToolsDon Newsome provided me with this information on his restoration process of hand planes for the last newsletter but because of time constraints and other issues I was not able to get it into the newsletter but it got me to thinking about the philosophy behind restoring old tools. Don is restoring the old hand planes for a friend who is a tool collector whose philosophy is different than that of mine and Don’s. We both restore old tools but our philosophy is to make them look and feel like brand new and use them to in the shop. It is this philosophy difference on tool restoration that determines how we will restore the old tools. Don's Process For His Friend Before everyone gets insanely jealous, the hand planes in this article do not belong to me. I’m just helping a friend with his massive hand plane collection. Not just standard hand planes but many of the specialty planes including scrapers, spoke shaves, router planes etc. What has managed to escape my friend’s collection is the well sought after Stanley #1 which sells for $1,000 to $2,000 depending on the condition.
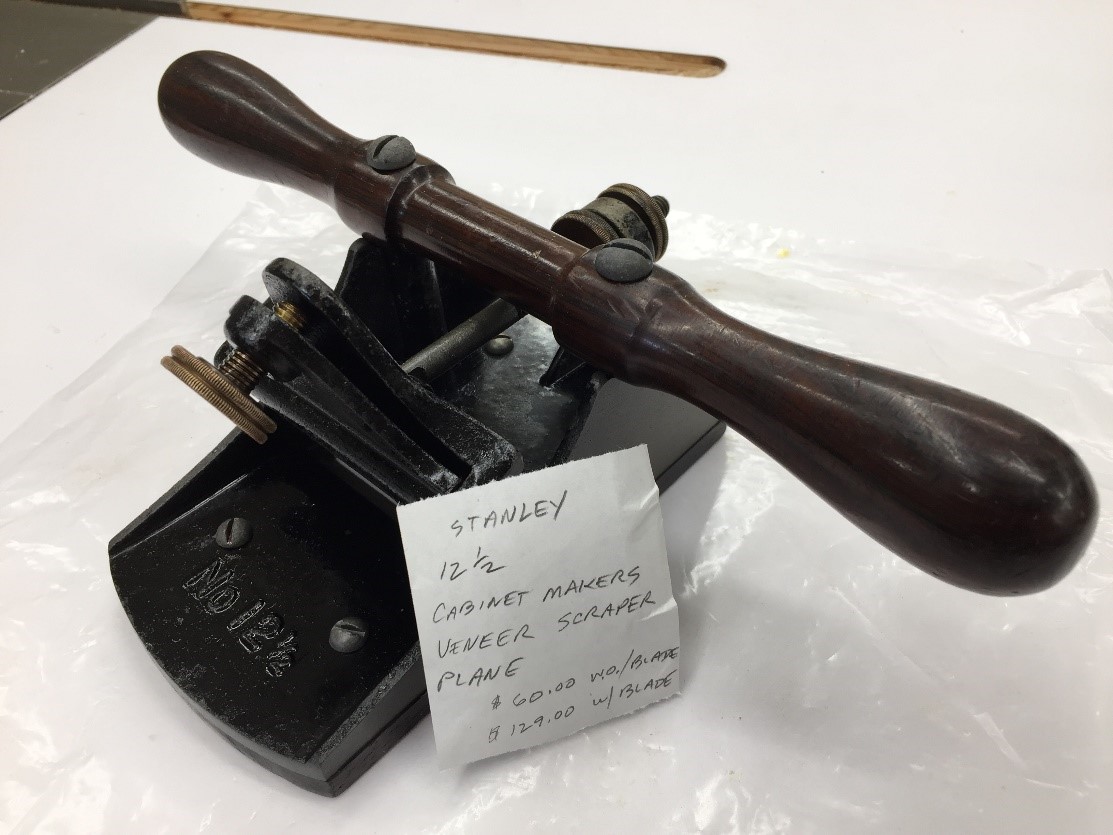
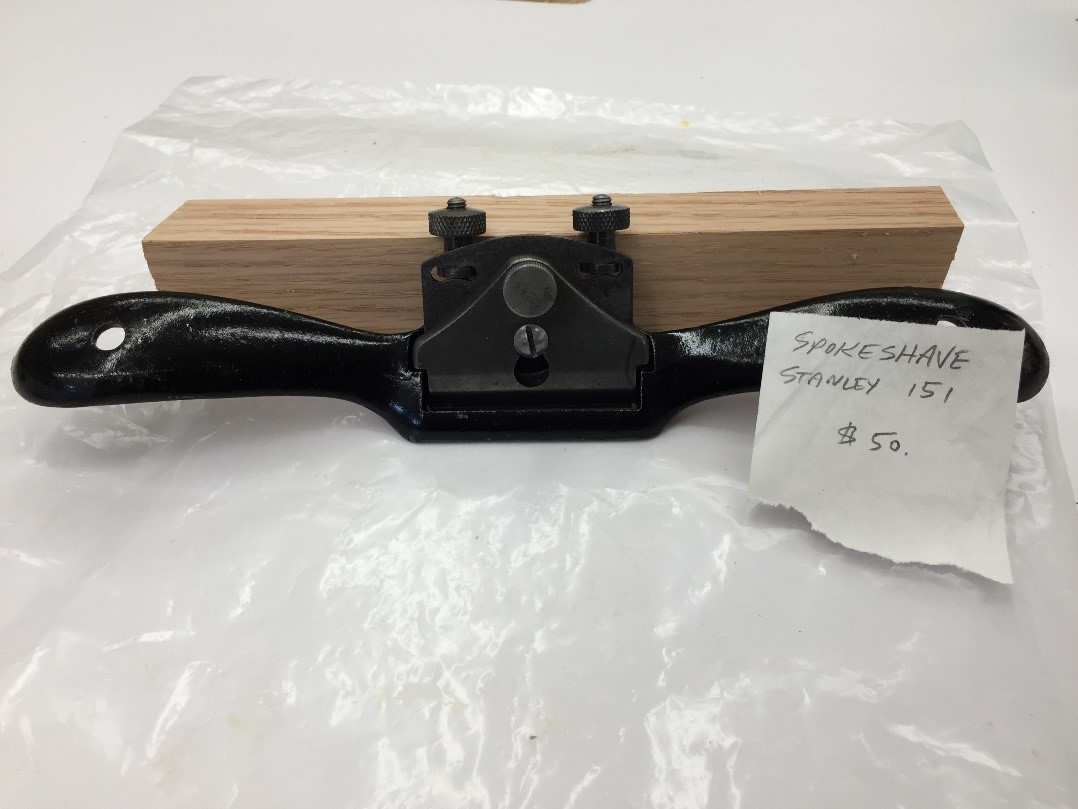
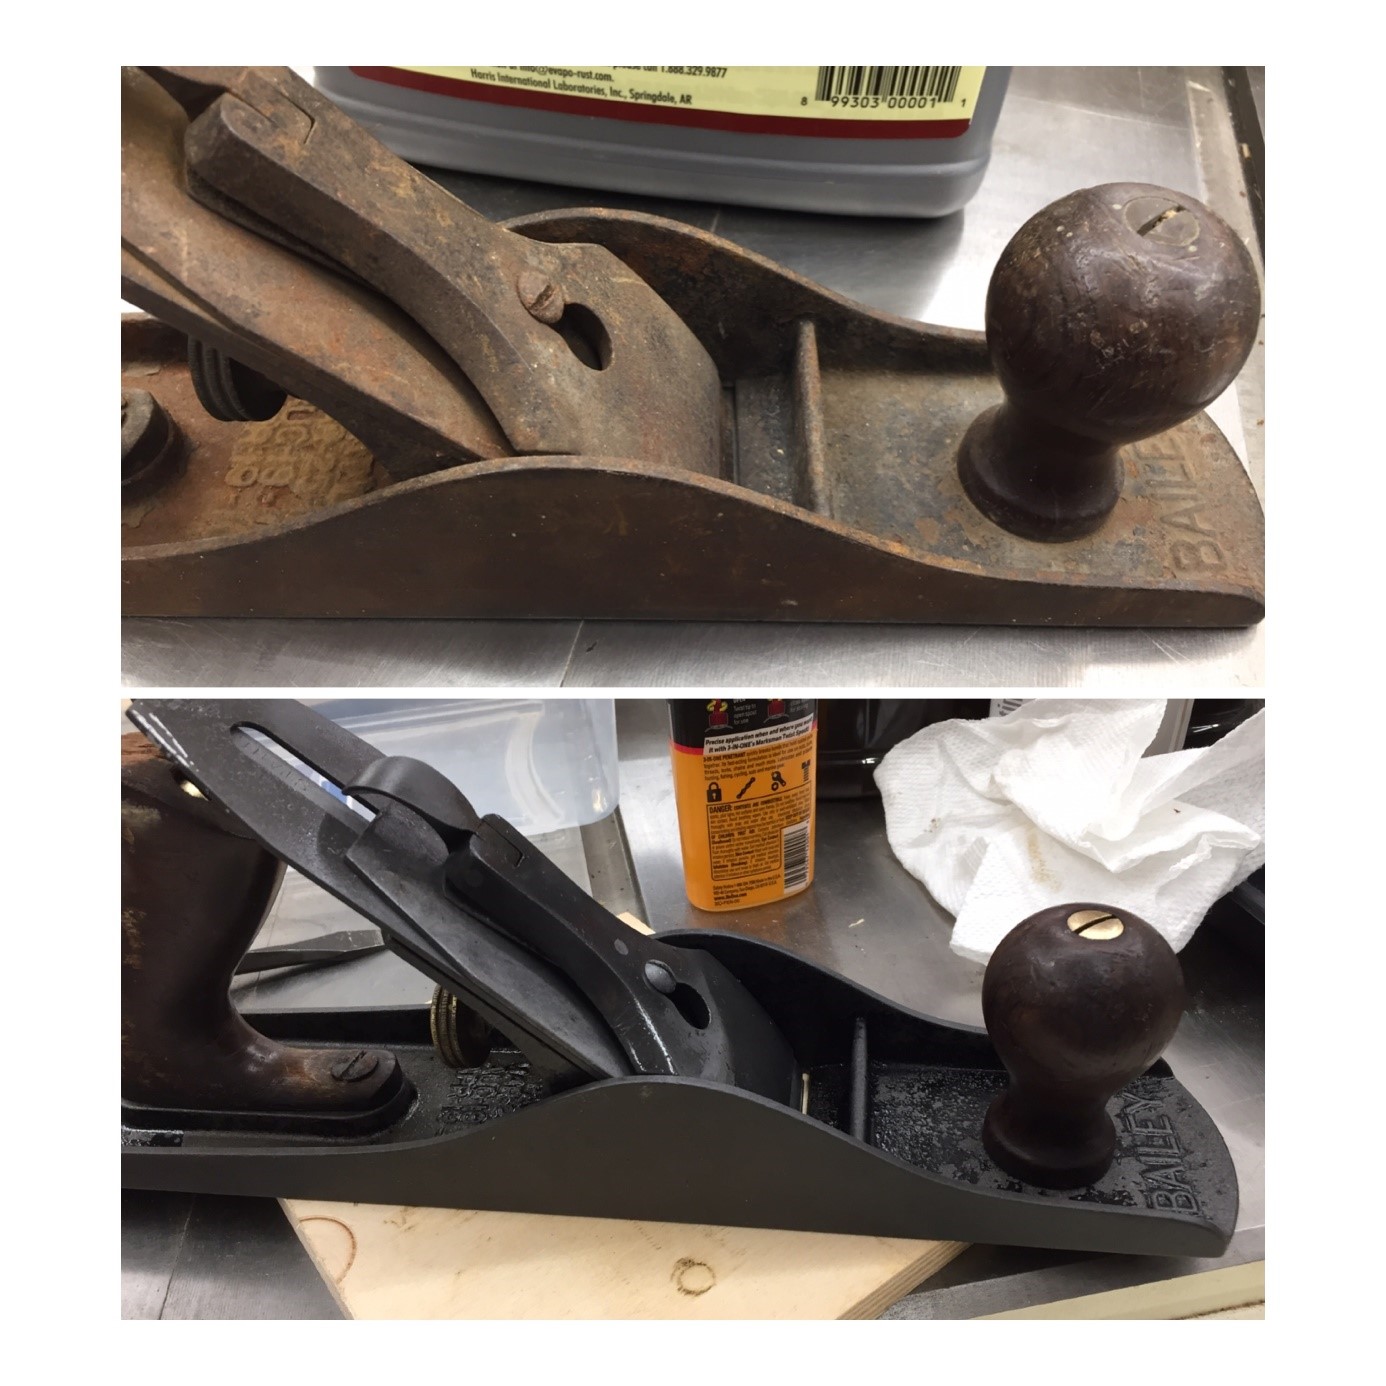
Plane Collection Stanley 12 1/2 Cabinet Makers Lever Scraper Plane Stanley 151 Spoke Shave These are just a few of the many hand planes in my friend’s collection. Most are Stanley/Bailey hand planes but there are a few made by the Ohio Tool Company as well as Sargent, Miller’s Falls, and other Stanley competitors. I even found a #3 DRPa hand plane which was made in Germany. Before After My friends goal was to just remove the rust from each hand plane without disturbing the natural patina and the black Japan paint. Some planes were in worse shape than others but most all cleaned up nicely. It was very satisfying to see the transformation of each plane but what was more exciting for me was the identification and dating task. How to identify Stanley Bailey antique hand plane age and type. Includes Links to eBay for reference. https://woodandshop.com/identify-stanley-hand-plane-age-type-study/ Another Reference Tool Patrick’s Blood and Gore web site: http://www.supertool.com/StanleyBG/stan0a.html
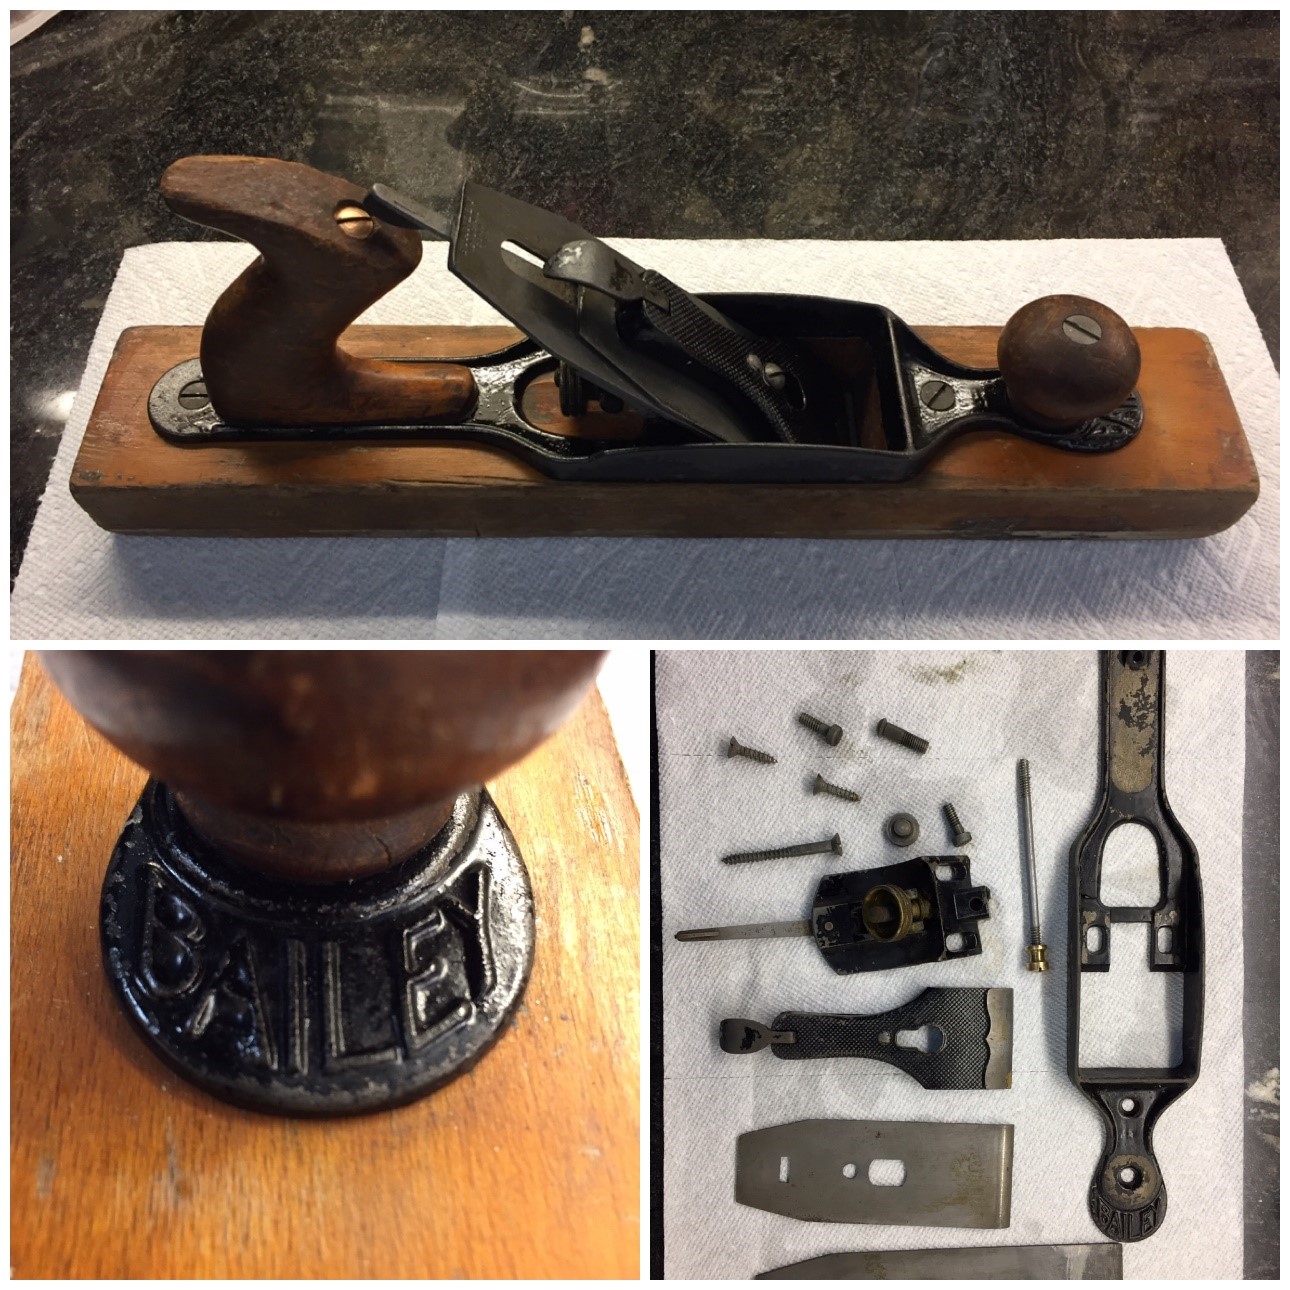
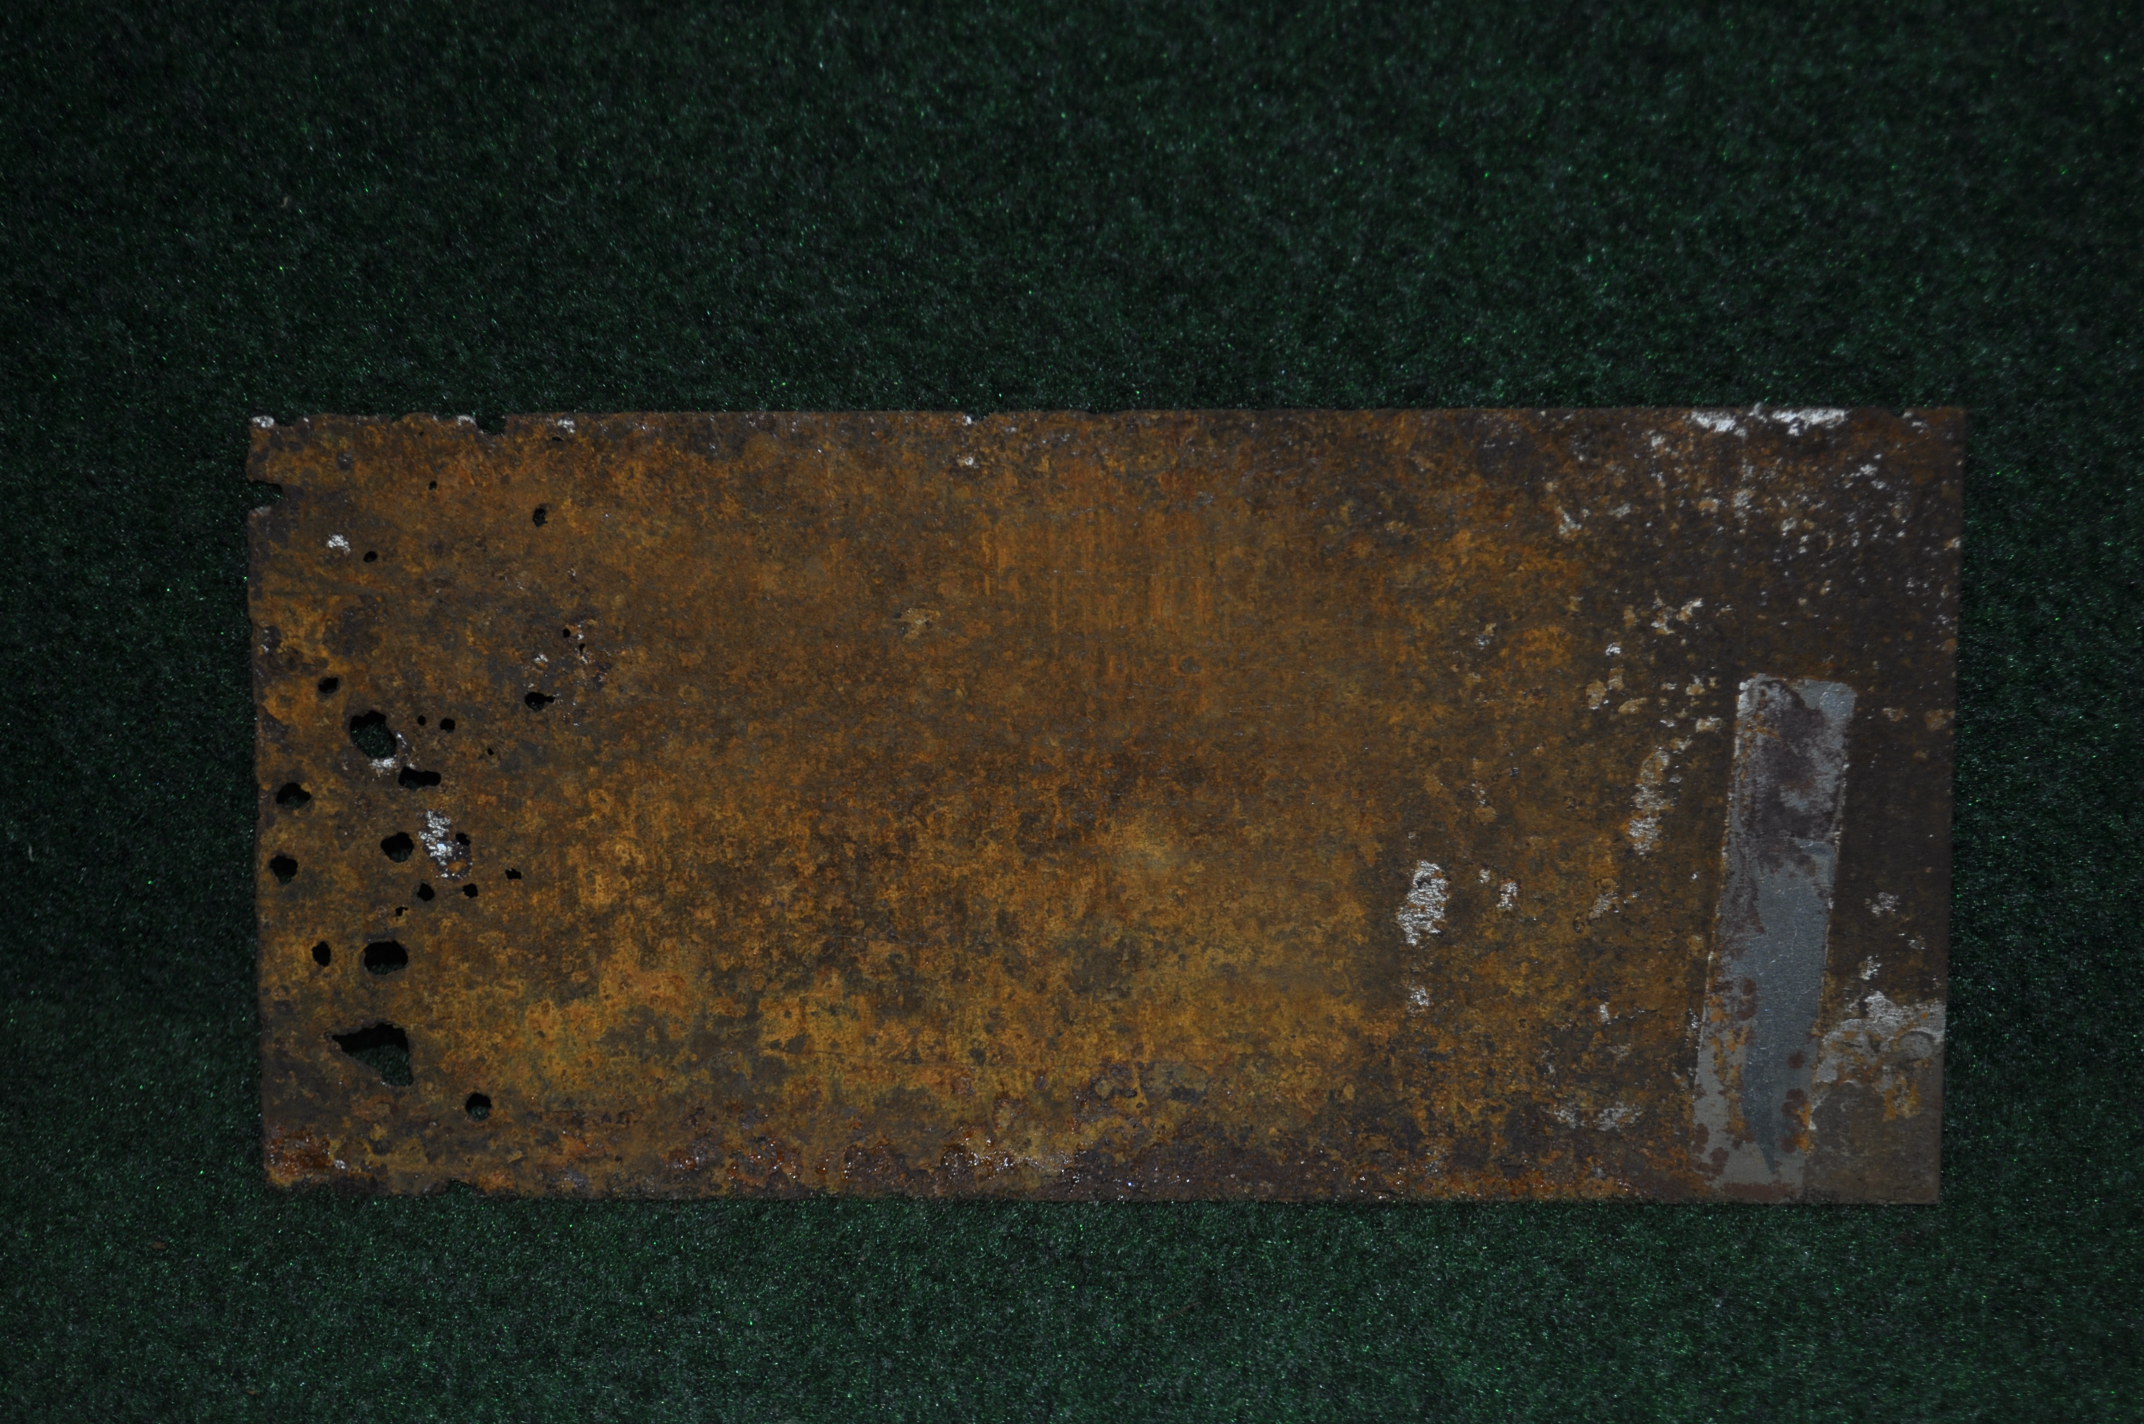
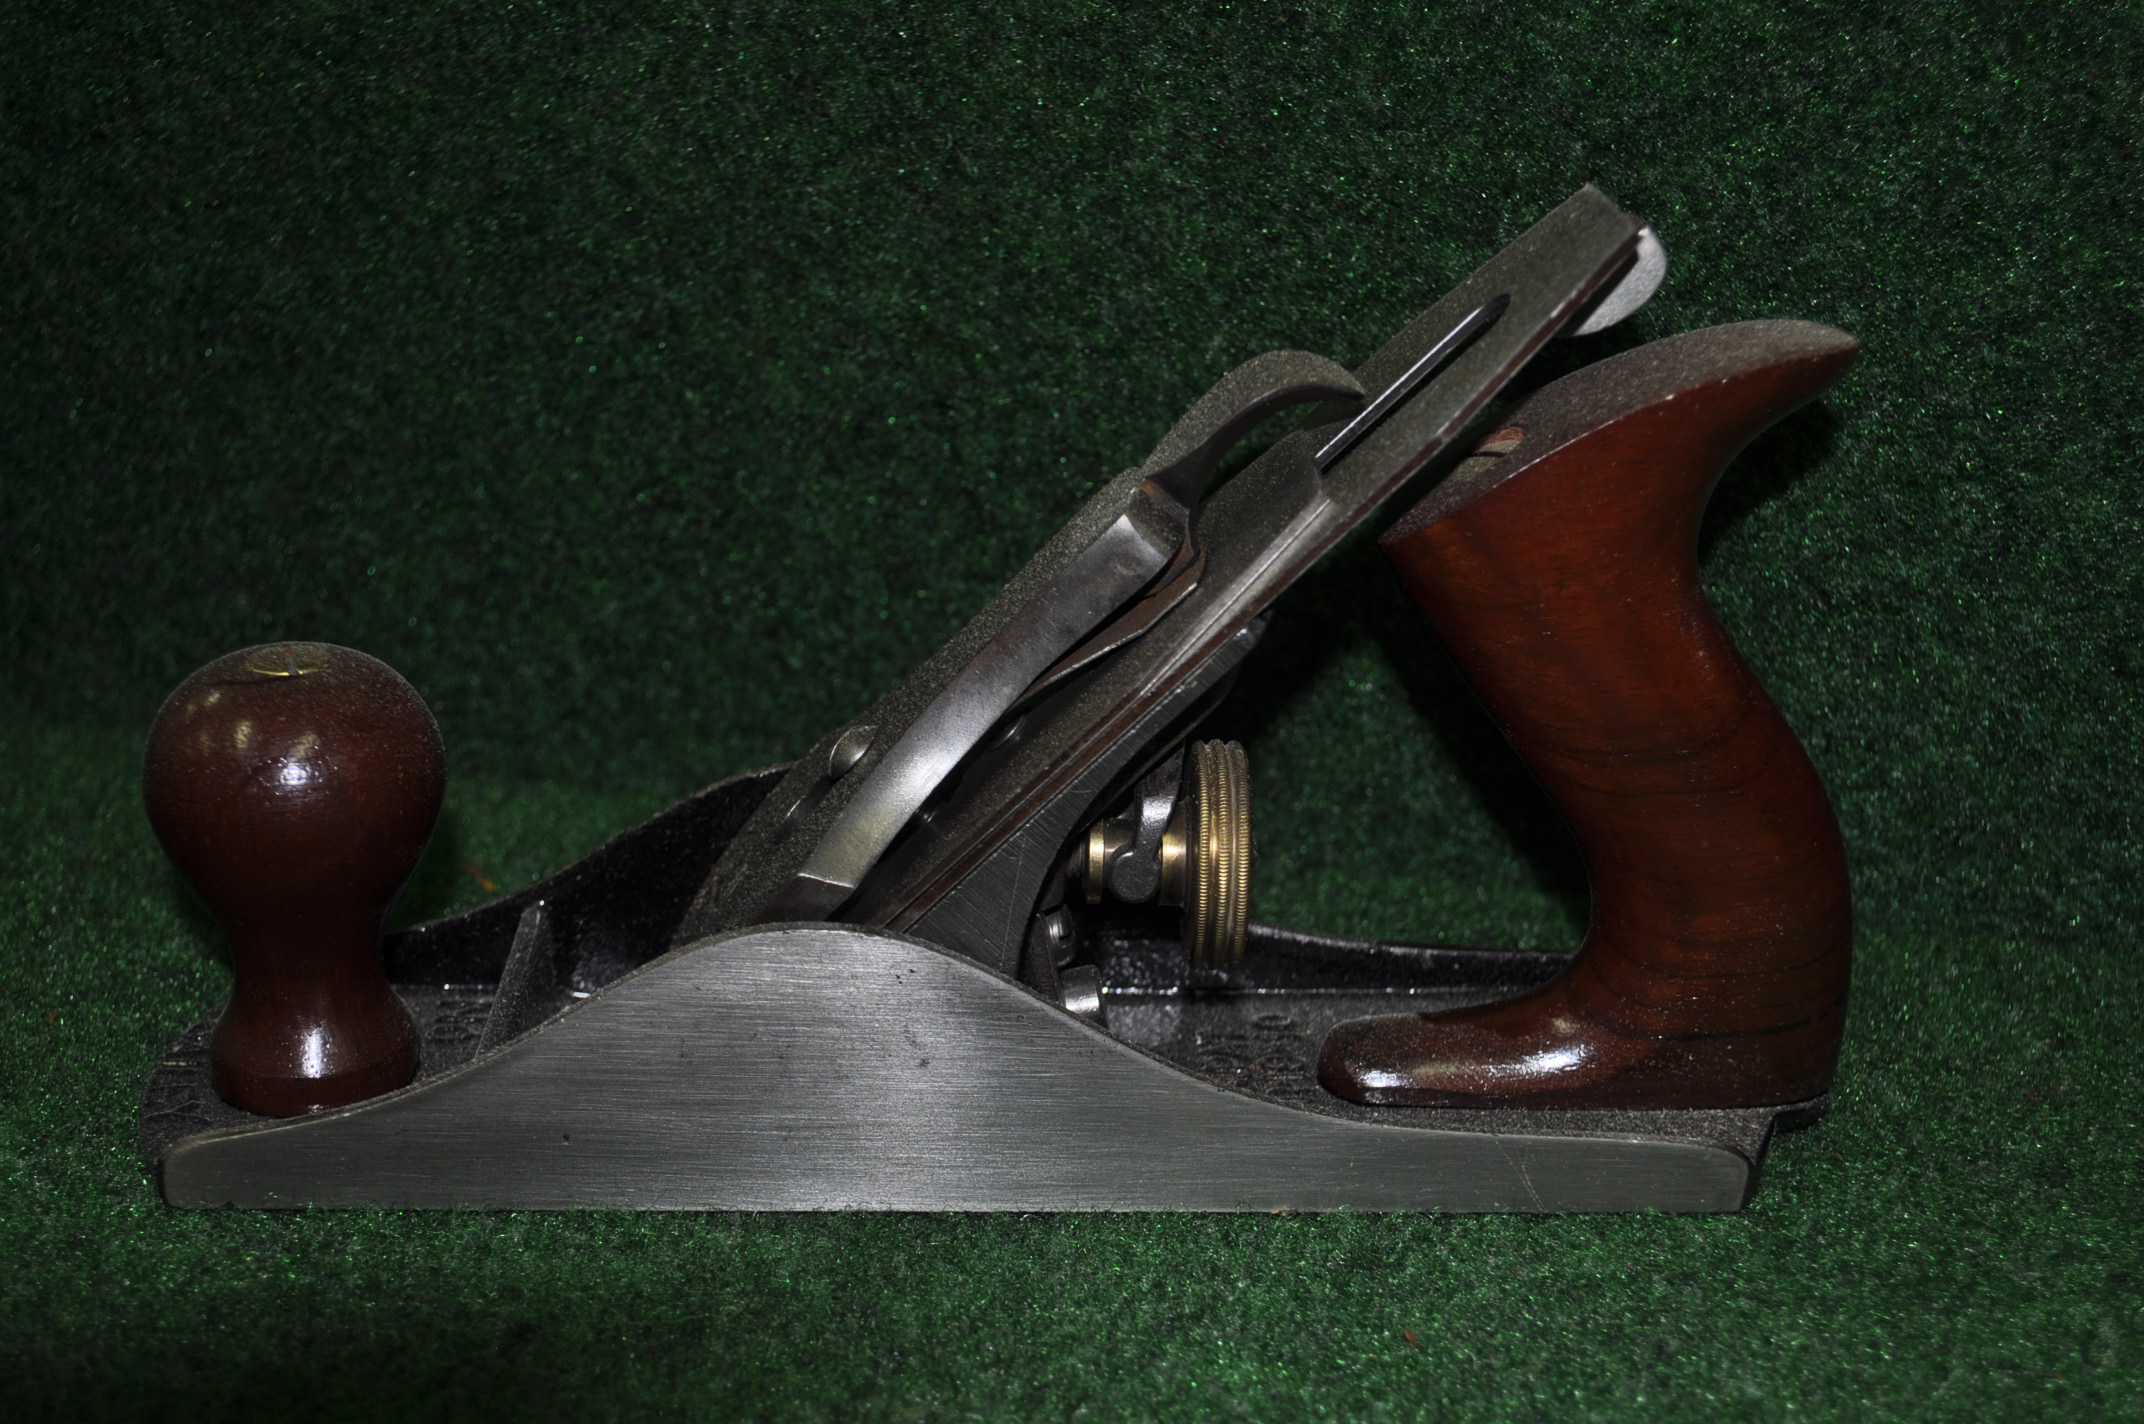
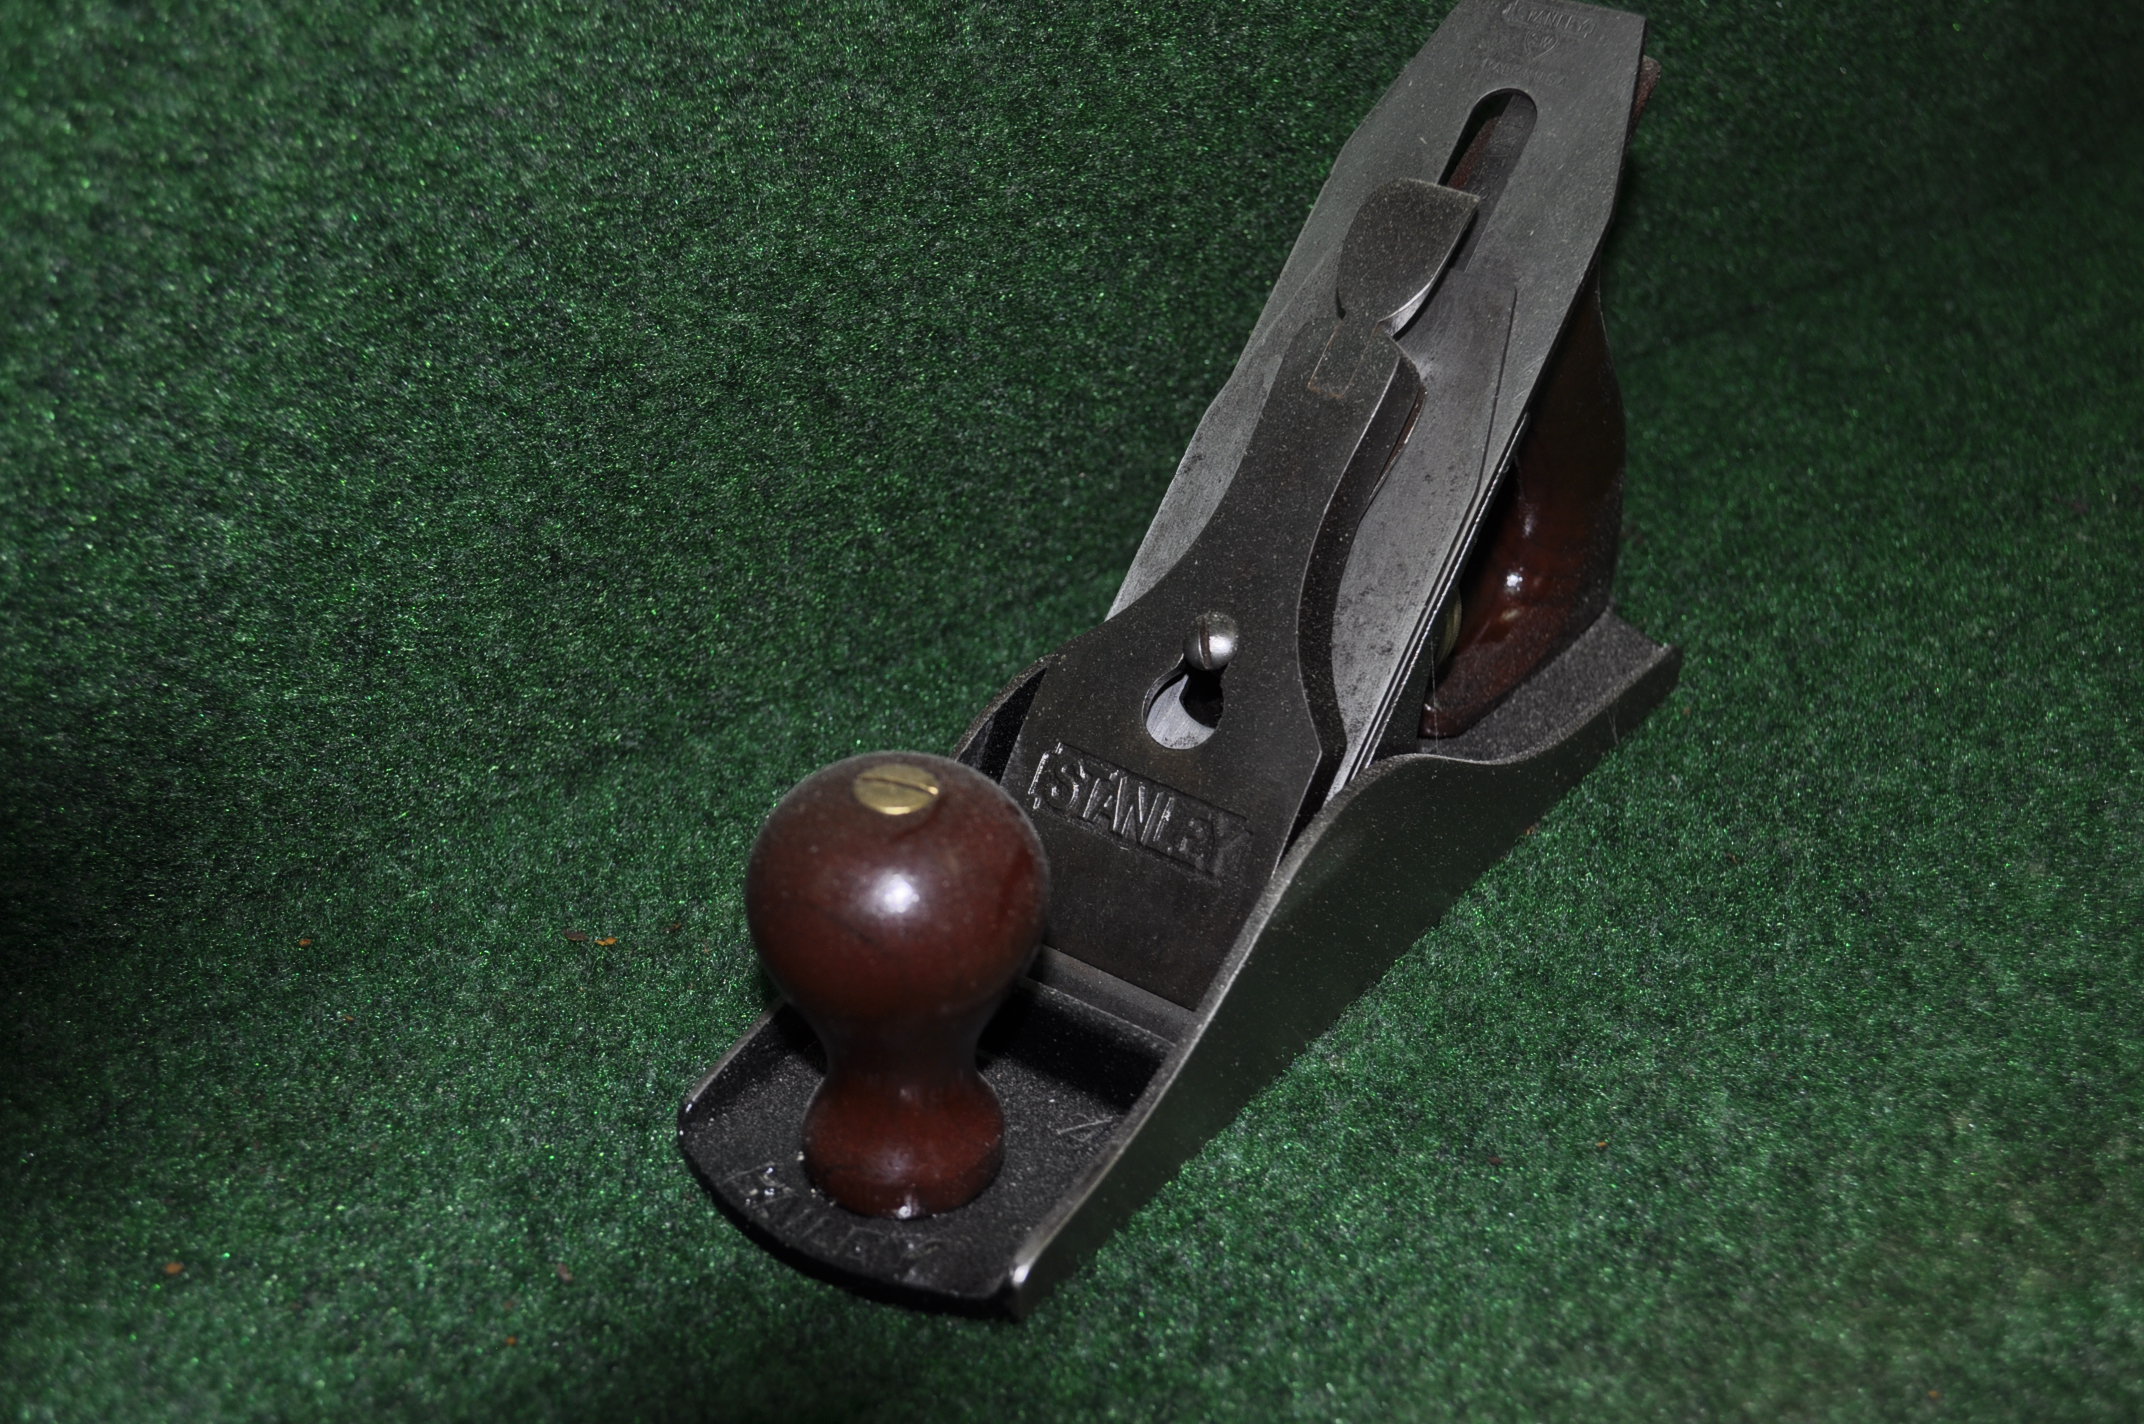
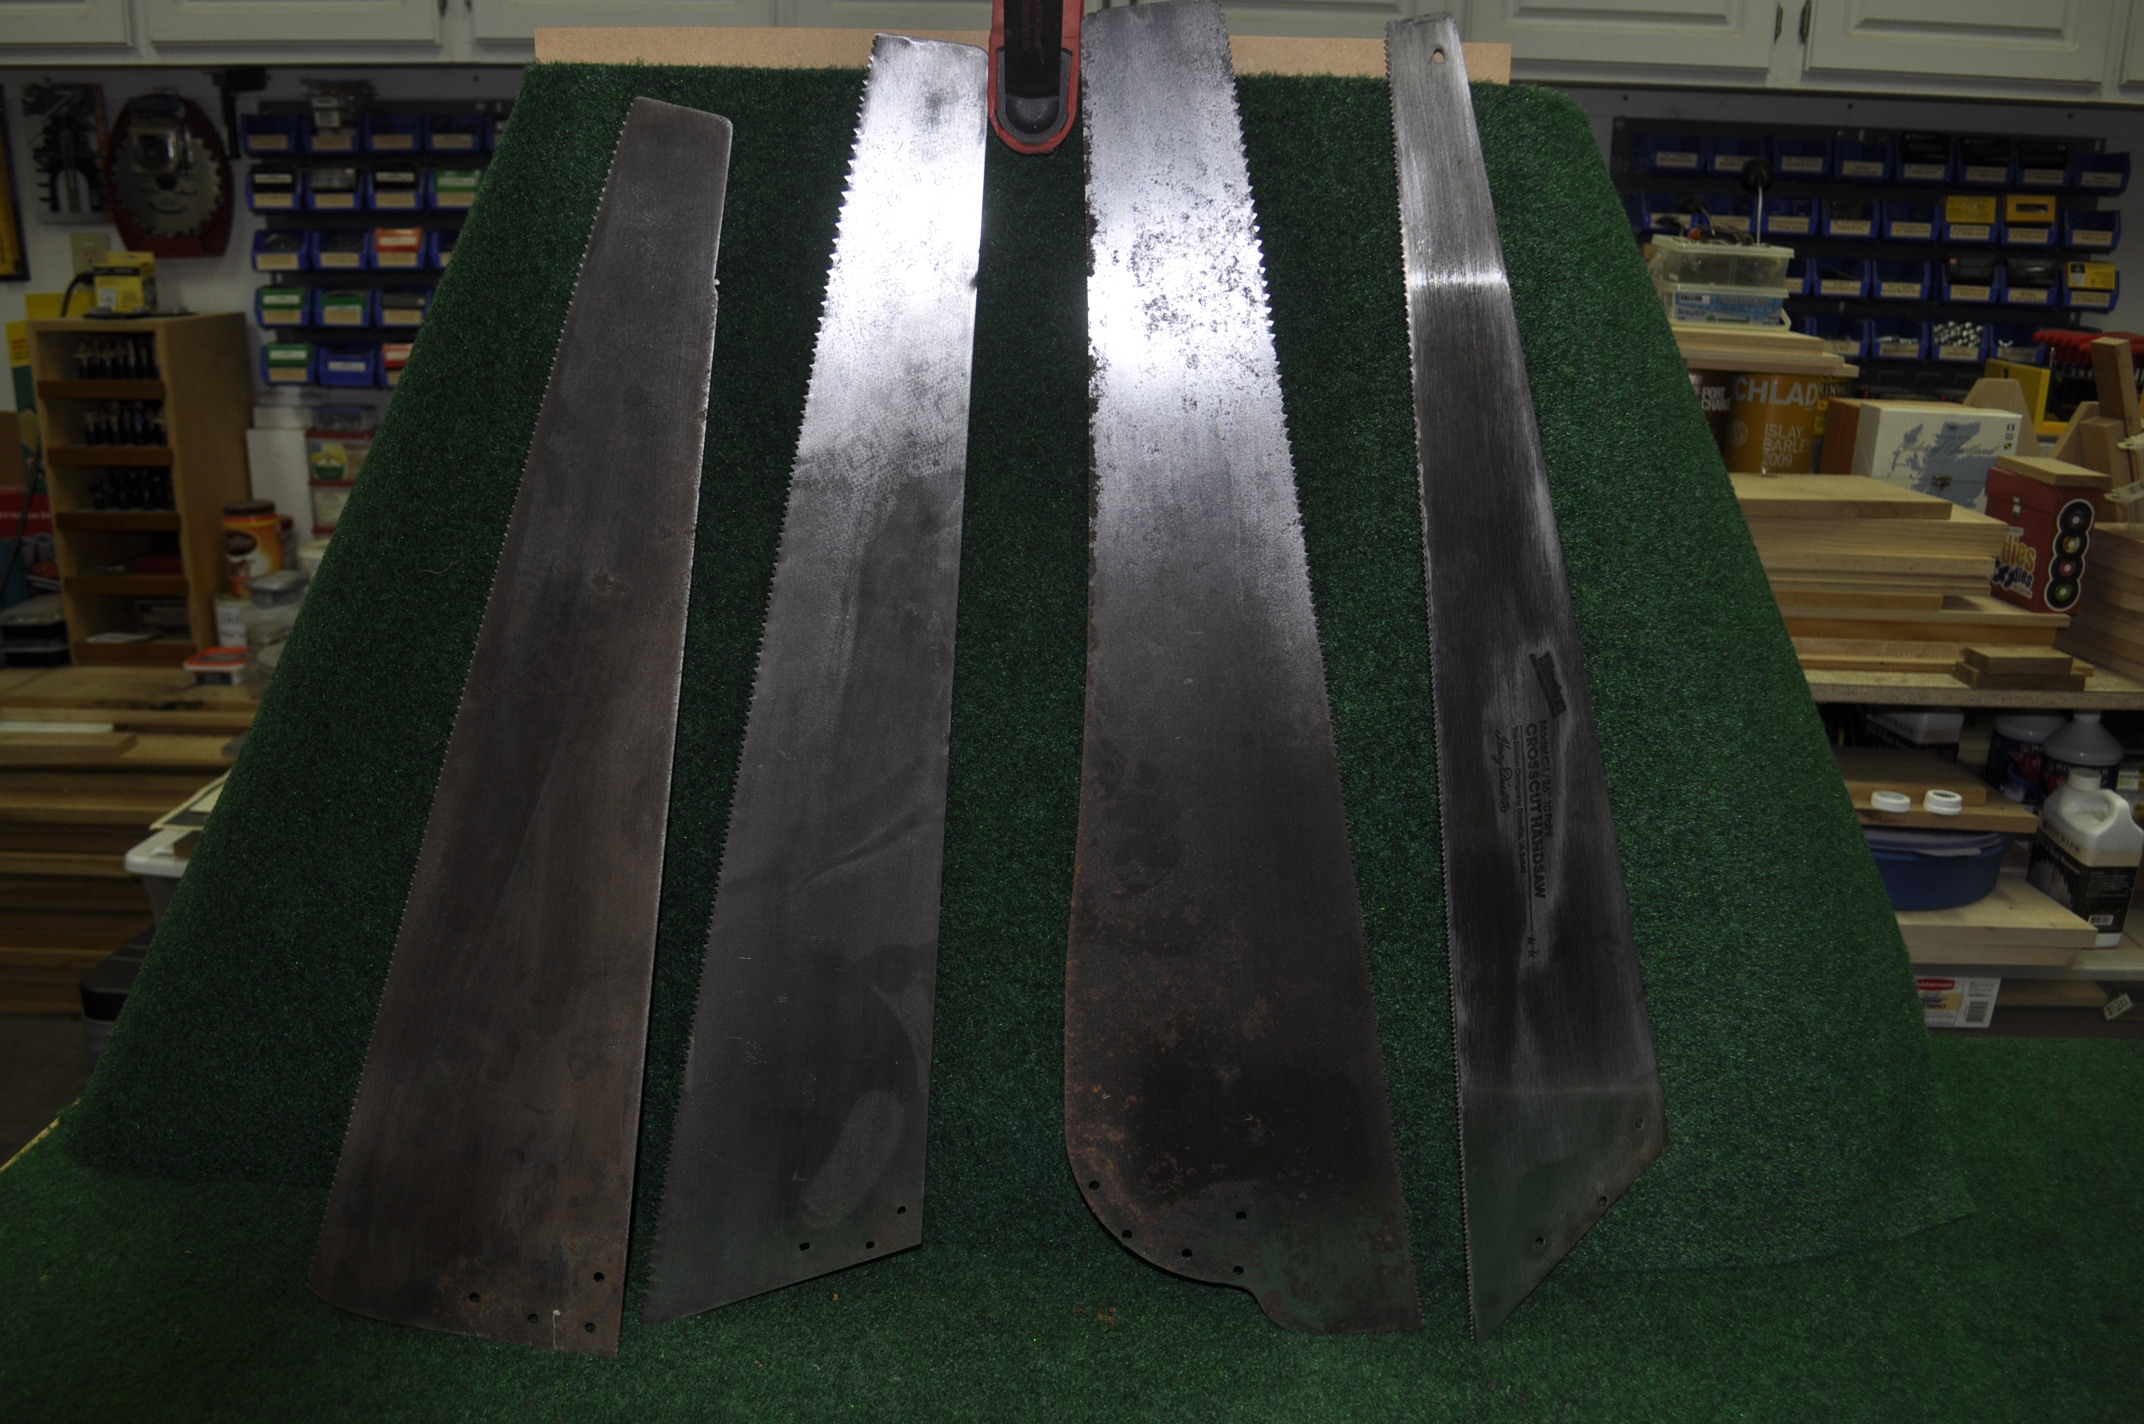
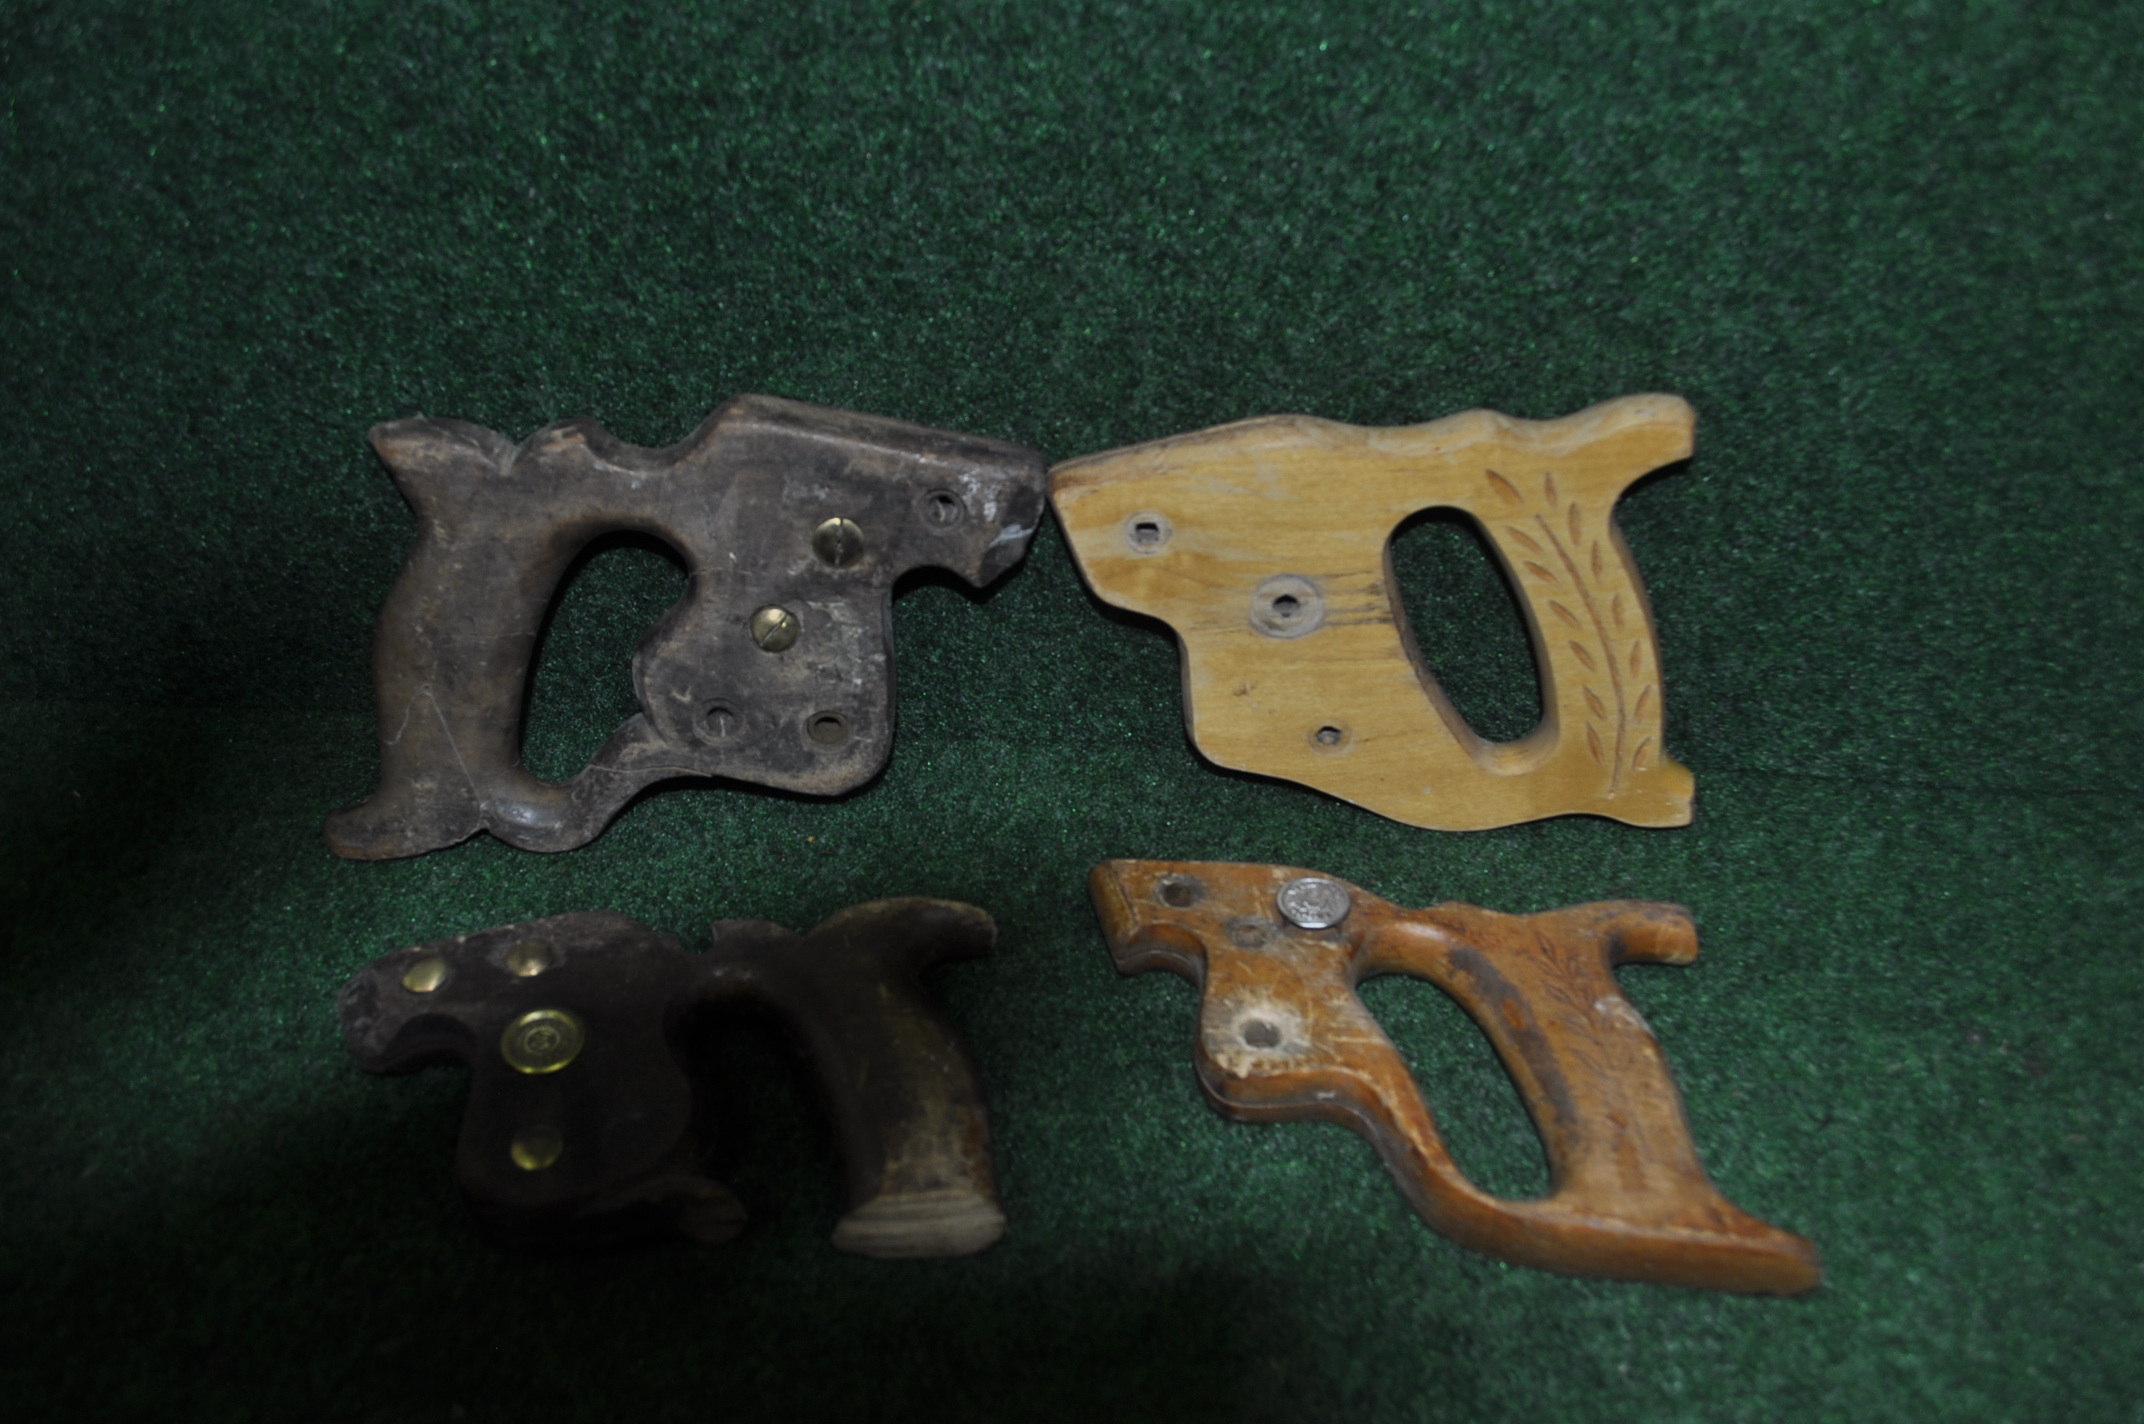
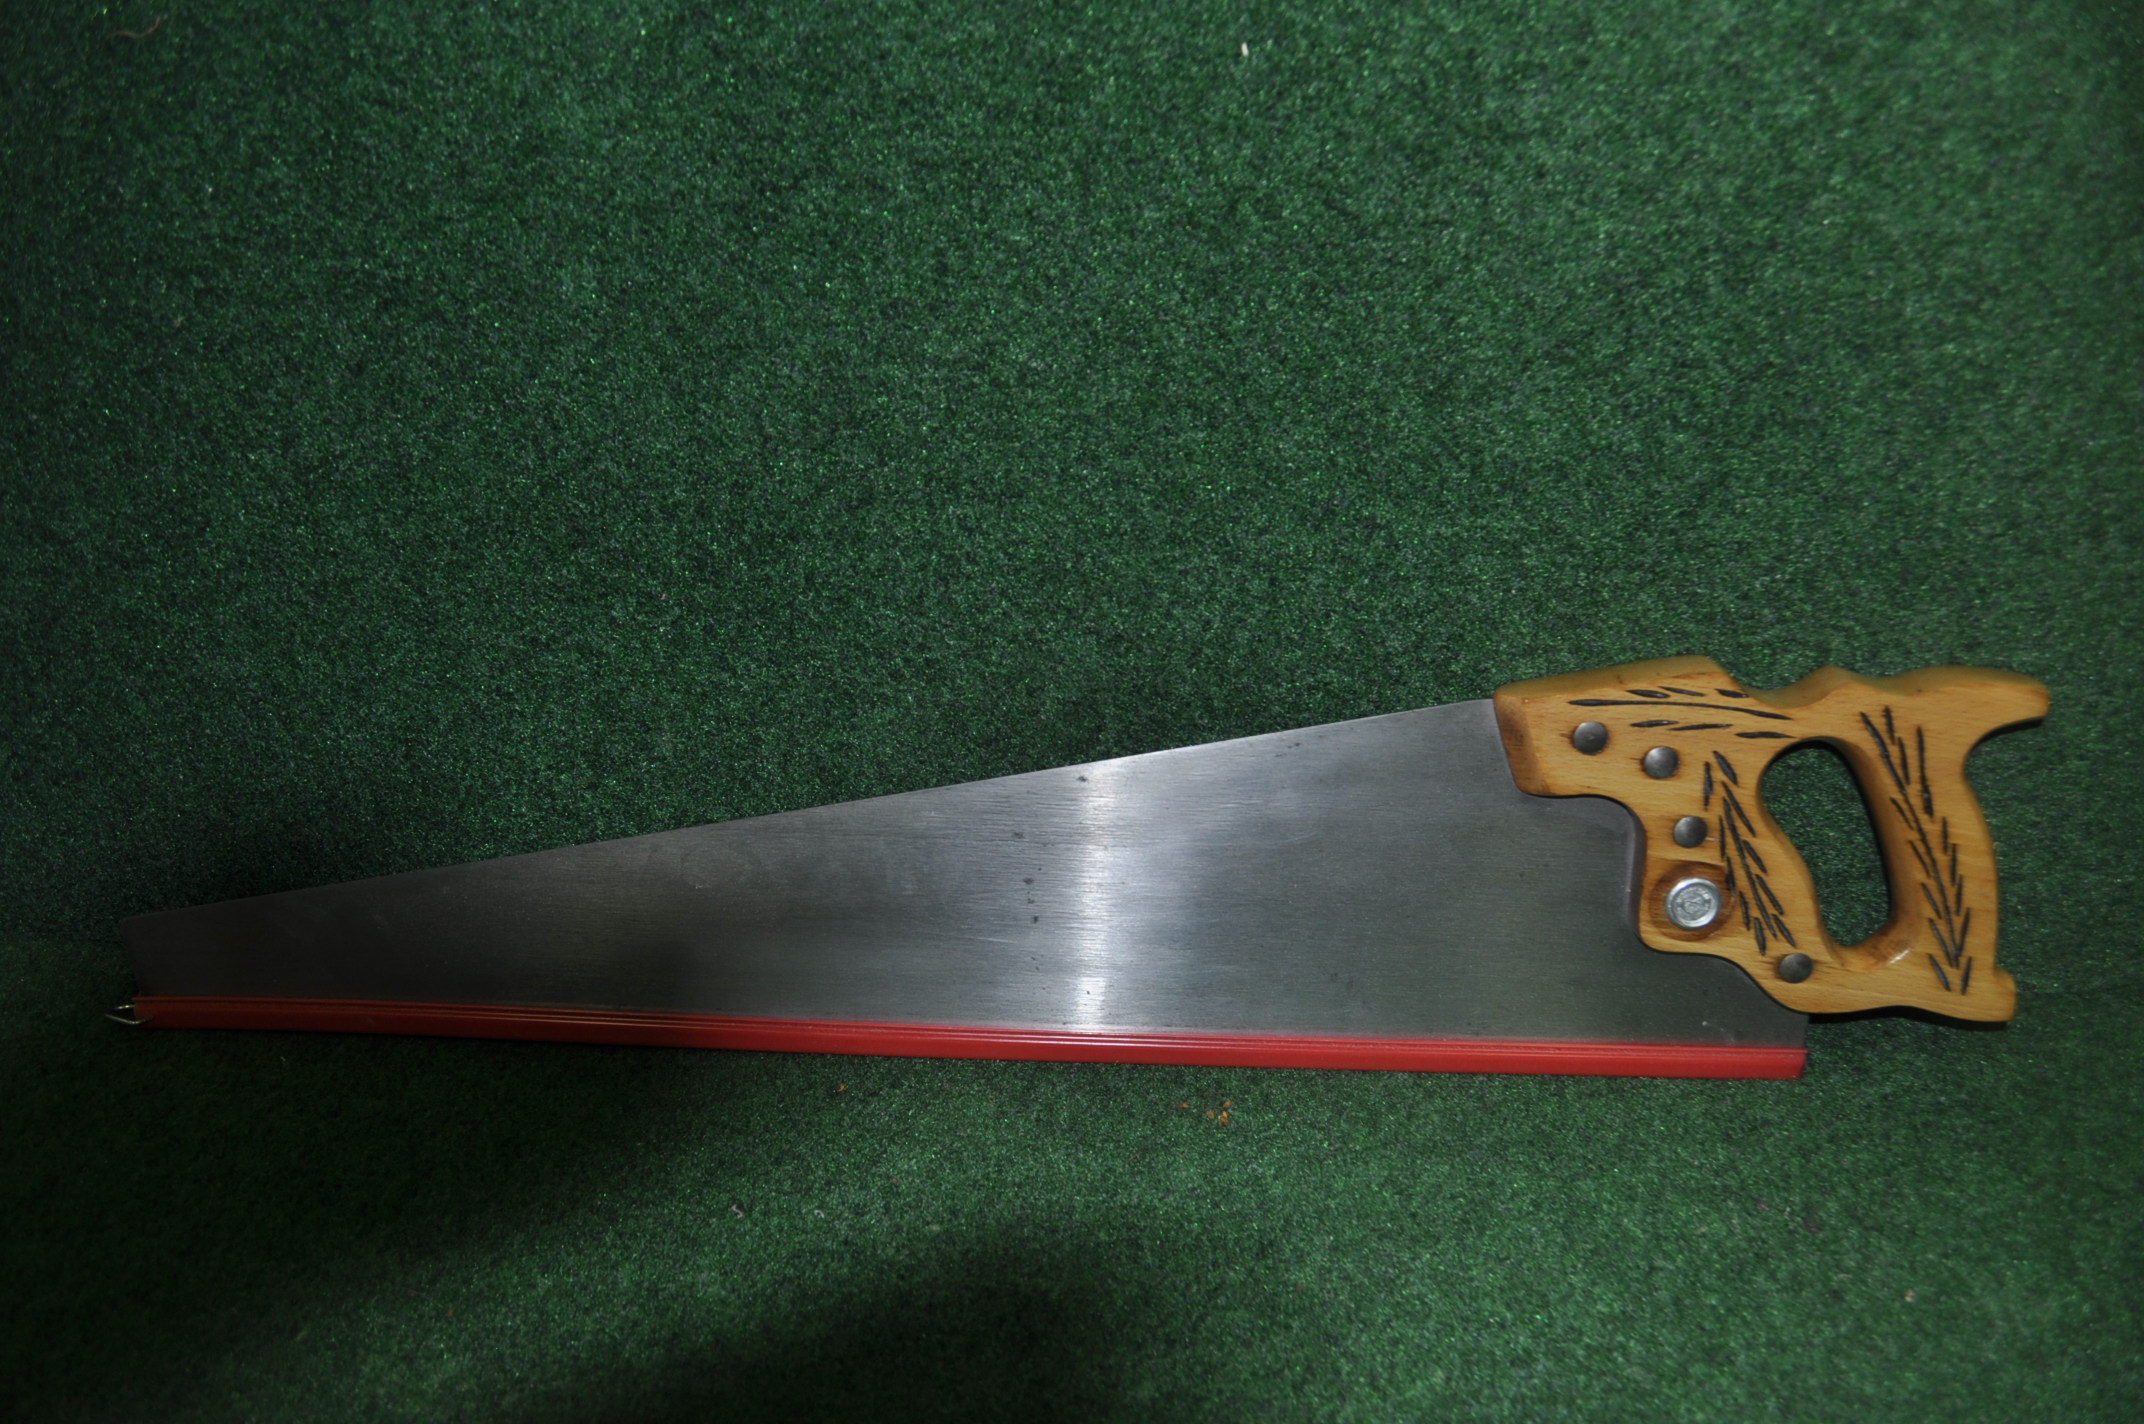
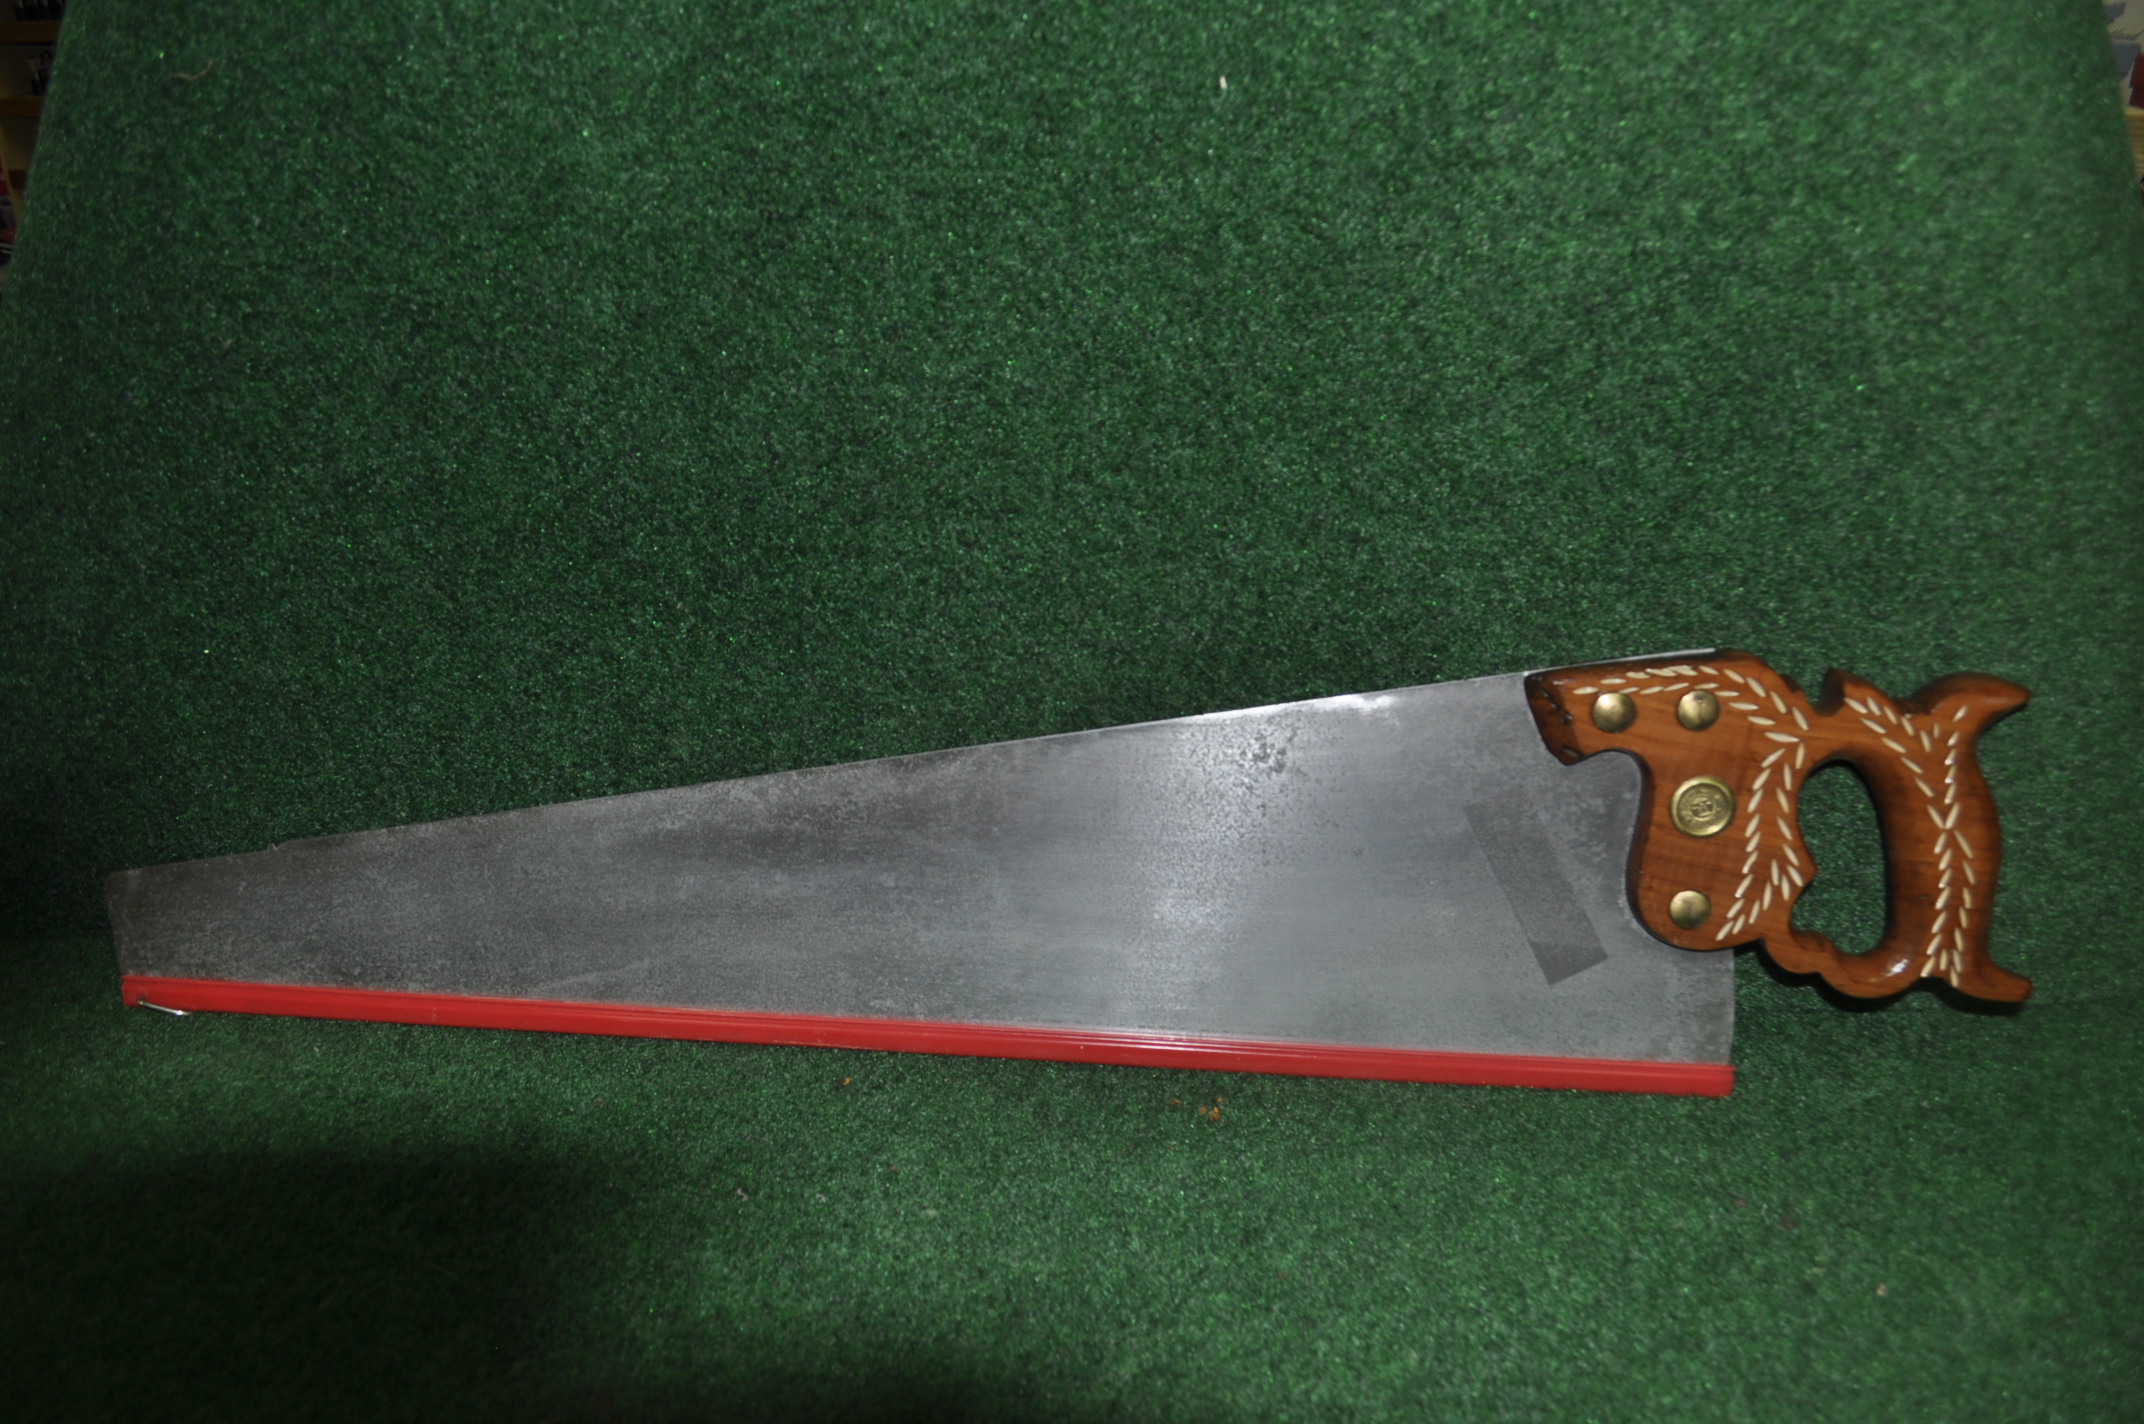
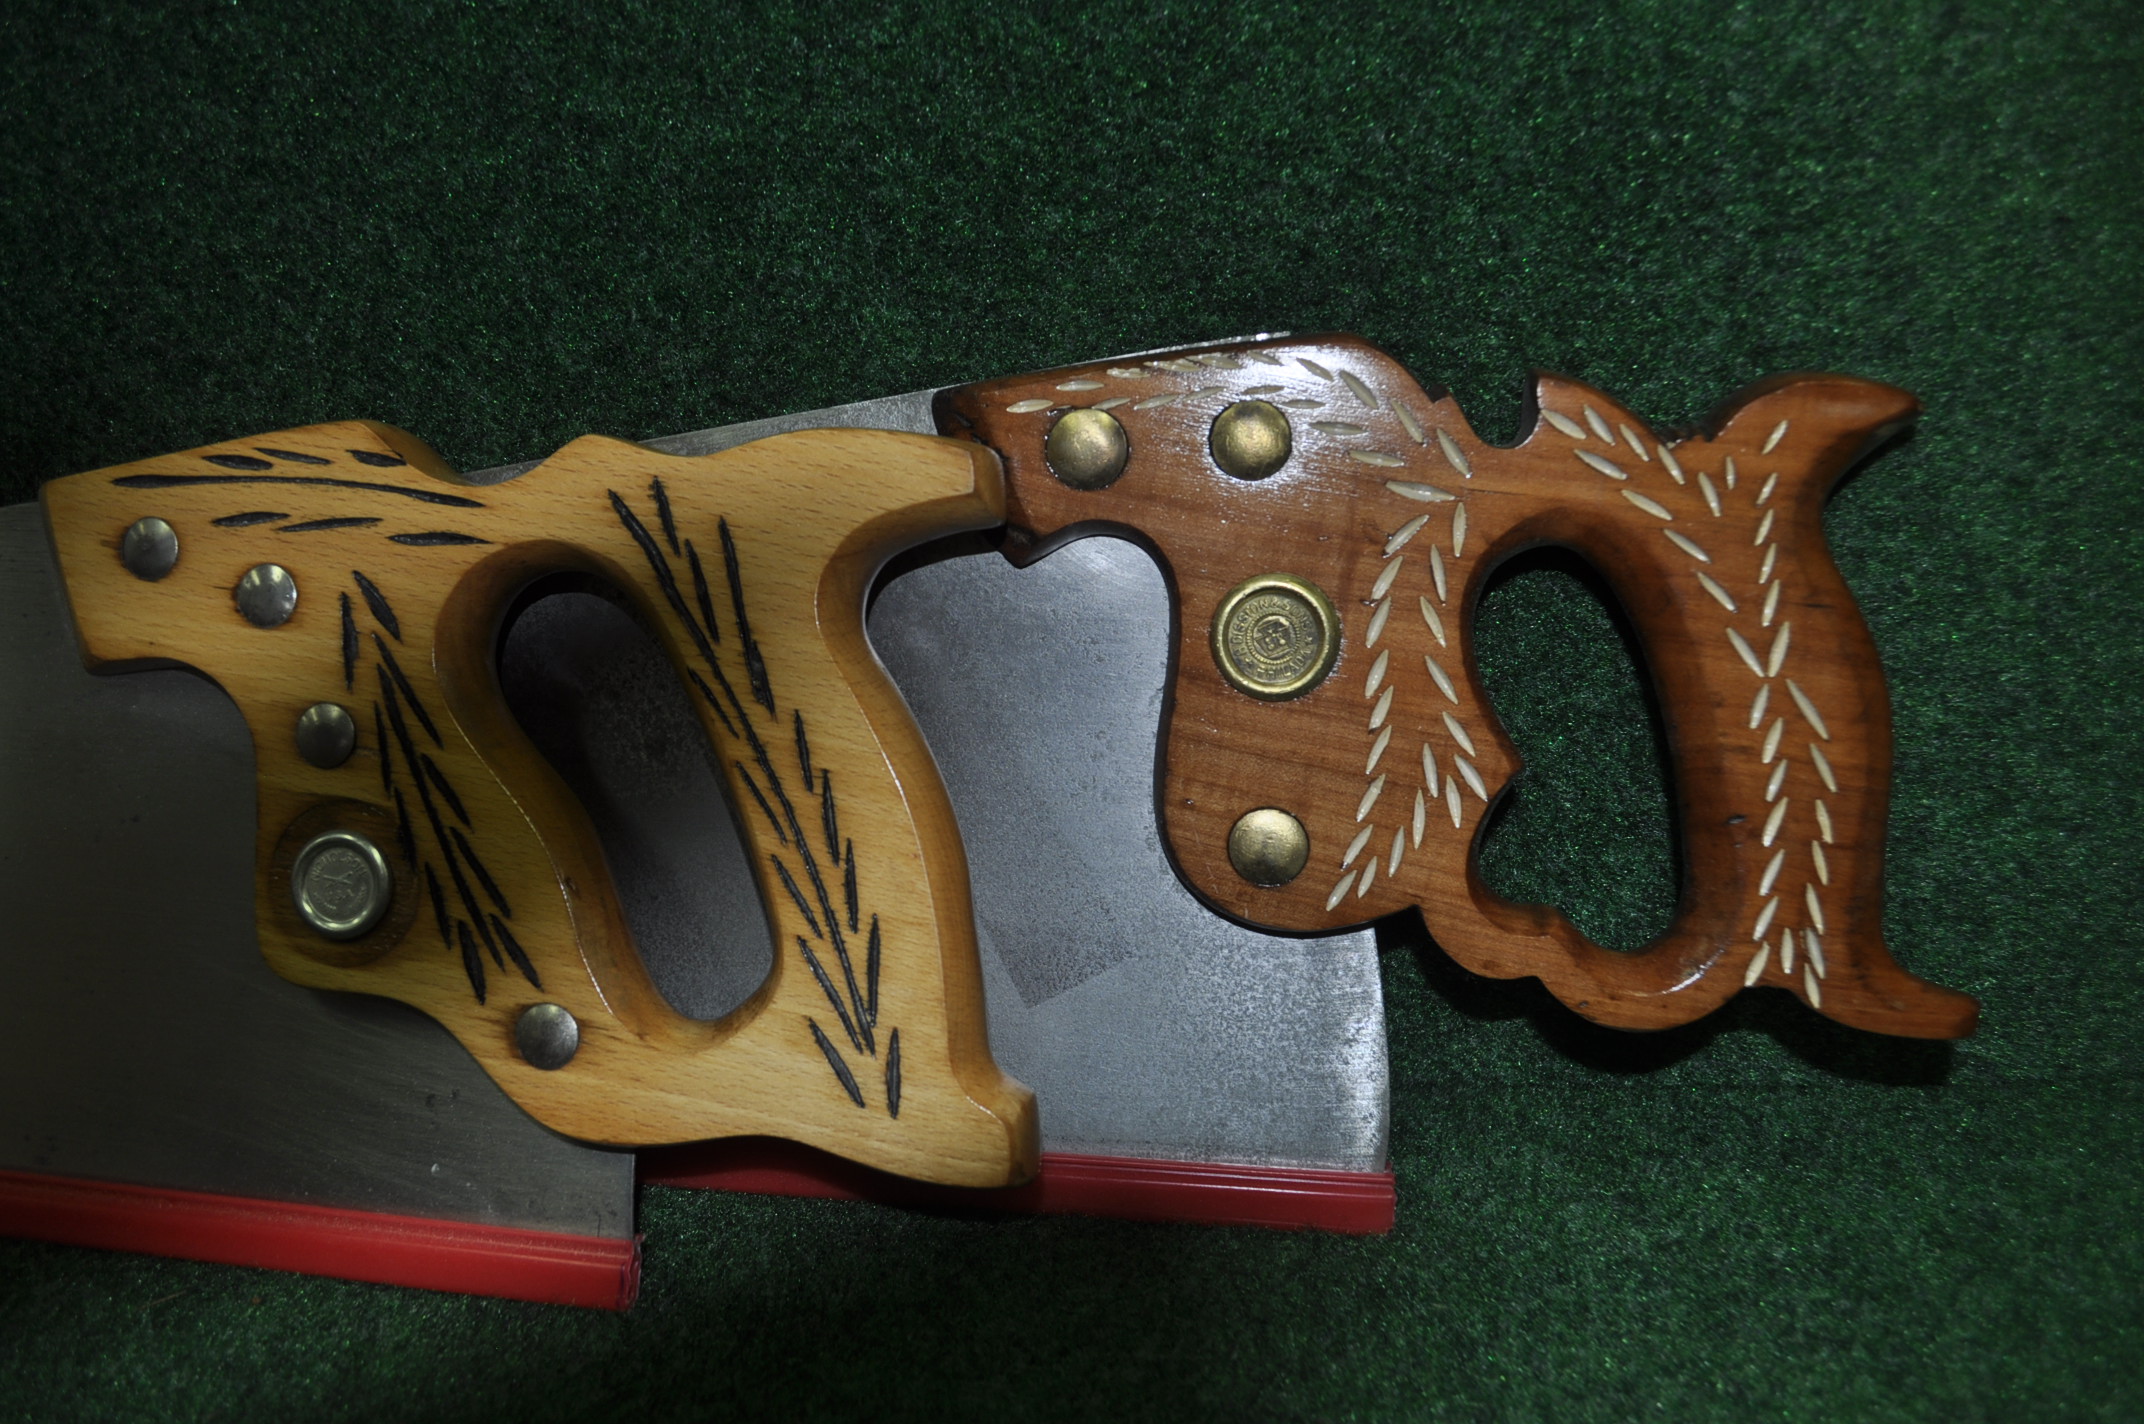
Gary’s Process For Restoring Old Tools I like to pick up old hand saws and planes at yard sales that are in bad condition and restore them to a brand new condition and put them to use in my shop. Don uses “Evapo-Rust” which is a chemical agent to remove the rust. I like the lazy process of removing rust by electrolysis. The hand plane or hand saw is broken down into its individual parts and then placed in a big plastic tub for the rust removal. My big plastic tub came from a big box store in the mortar area. Masons use them to mix up small batches of concrete or mortar for laying brick or cement block. I pour in 5 gallons of water into the tub, add 5 table spoon of Arm and Hammer Washing Soda to the mix and I am ready to fly. The solution is order less and after removing the rust it may look awful but the contents are safe to pour out on the ground is some out of the place area. Electrolysis is the least destructive and most thorough method available to remove oxidation. Electrolysis removes no base metal and does not require grinders, wire wheels, scrappers, acids or sandpaper, and when done properly can remove rust and oxidation yet leave the appearance of "patina" so valued by the collectors. Electrolysis comes as close as possible to a compromise to the ideals of both categories of old tool enthusiasts. For the electrolysis to work you need a battery charger and a scrap piece of metal. You clip the black lead of the battery charger to your iron tool to be cleaned and placed it in the vat making sure that the tool is completely submerged in the water. Clip the red lead to the scrap piece of metal and place it in the vat but making sure that the red clip does not get into the solution or it will be eaten up the electrolysis process. Turn on the battery charger and you are set to go. Usually after about 3 or 4 hours the tool is ready to come out of the vat and ready to be cleaned up with one of those 3M Scotch Brite Finishing Pads. After cleaning up the tool with the pad, look and see if the tool needs more time in the bath or if it is ready for the next phase. I have had some hand saw blades take up to almost a week in the bath because of the corrosion. You will note in the picture below that the electrolysis process is very tough on the scrap piece of metal. For more info on using the electrolysis process click on this link. http://www.rickswoodshopcreations.com/Miscellaneous/Rust_Removal.htm At this point I depart from the “collector” view and begin my total restoration of the tool. I have a fine wire wheel on my bench grinder that really gets rid of everything on the metal that the electrolysis did not remove. I also use a cup wire brush on my drill press to get into tight corners of the plane. Next comes the flattening of the sole of the hand plane and the sharpening of the blade. At this point I paint any parts of the plane with a gloss black spray paint but take care to use painters tape to cover any parts of the plane that I do not want painted. The final step is to take the wooden components, strip them down with paint stripper, sand the pieces and apply new finish. I then reassemble the parts and I have a working hand plane. This restored hand plane looked like the picture Don had of one of his rusty planes The hand saws follow the same procedure as described above but with a couple of extra steps thrown in to make them work and look like new. Some of the saw blades are really in bad shape and will require some oil, wet dry sandpaper and elbow grease to get them back to a usable condition. After getting the blade restored to the best condition that I can I usually take it over to Sure Set Saw and have them sharpen and set the blade. For the $8.00 that they charge to sharpen the blade it is not worth my time and effort to mess with the sharpening process. The wooden handles are all stripped of the old finish and sanded down to get a clean wood look. If they have any decorative carving on the handle I will take a very tiny paint brush and some model paint, fill in the carvings, let it dry, sand over the carving area very carefully and then apply a spray coat of clear finish. I then have a good working saw in my shop. Hand saws after a electrolysis bath and handles waiting to be restored. Restored hand saws.
Restored hand saw handles |
||||
Eating The ElephantThere is nothing more daunting to a hobby woodworker than to see someone else's completed project. The initial response is always. “Gawd! I could never do that.” Of course, you can. Now, having said that, any woodworker knows the key to Of course you can. It's having the tools, a few skills, old or new, and the desire to just do it! But one of the important hints is to remember that, faced with a whole elephant, the idea of eating the entire pachyderm is likely to cause fear. The key, my friends, is to eat it one bite at a time. Andy Steinberg, past Guild President, and owner of Indigo Woodworks contracted to build a library for a client. Now, in full disclosure, I work with Andy and we handle a full range of woodworking projects out of his Norfolk shop, from cheese slicers and cutting boards to kitchen installations and Client “X”s library. Now, let me tell you about this library. There are two sides. One side had to be mounted above baseboard heating. This was a real library. The books are those of a scholar, large thick, heavy, and numerous. The library would be built in sections, one column at a time from floor to ceiling. This was a daunting task; a huge, if you will, elephant. Let's carve this elephant into edible pieces. • Boxes. There are eight individual shelf units, including two corner units and one unit that fits beneath. a window. Each will hold four shelves on adjustable pins. • Toe-kick. These elements are made separately. It makes it much easier to level the cabinets if all you have to level is the toe-kick. Where the toe-kick goes, the cabinet will follow. • Shelves. The shelves had to hold a prodigious weight in books without sagging. • Consolidation. How do we make, on one side, four units look like one? • Crown molding. Everyone hates crown molding. No one understands it and everyone hates to install it. Right? • Stuff. There are eight electrical receptacles that had to be dealt with on the lower shelf: one cable, two phone and five duplex electrical. • Installation. We had to deal with a Norfolk (Ghent) home. That means walls, floors and ceilings that were out of plumb and not square. I'd like to say something about installations when walls and ceilings are out of plumb, but my mother taught me not to say things like that. Hungry? Let's take a few bites of the elephant. If there was any easy part of this project, it was the boxes. Once the math, Oh God! Not math? Was done, it became a simple task of creating boxes from 3/4” cherry plywood. That's top, bottom, sides and back, right? (The back is ½”.) Let's talk tools, now. (I will mark tools required in bold type and list all of them at the end of this paper.) We used a table saw to cut the pieces. The back would fit into a rabbet. That requires either a dado blade set for the table saw or a router. We chose the dado blade set. But wait, there's more. The shelves had to be adjustable. That meant four sets of holes, two per side, had to be drilled in each box. We've all gotten the catalogs with the expensive shelf jigs, right? Nah! We have a piece of MDF with holes drilled at intervals that we clamp to each edge of each side. With a jig that accurately repeated the hole pattern, all we needed was a shelf pin drill guide to drop the pin holes in the exact center of the template hole each time. The two corner shelves required the melding of two backs strong enough to support the corner of the shelves. Also, the fit of the shelf pins had to be within 1/16” to avoid shelf wobble. That's where the MDF hole jig came into play. There were an average of 57 holes in each column and four columns in each unit. Math again! 228 holes per cabinet unit, and they had to be within 1/16”. And they had to be within that same 1/16” with their neighbors. The shelves had to align horizontally. I'll save you the effort. That 1828 holes, give or take, that had to be aligned. Truth be told, that was the hardest part of the project. (W-e-l-l, maybe the crown molding gave them a run for the hardest. But that's just me.) I'll talk about the finishing process at the end. So, let's move on to the shelves. Hey, what's a shelf, right? In this case, we had to support an estimated thirty pounds per shelf. The cabinets were designed to keep shelves less than 36” long, but sag was still an issue. Over time, wood sags. We glued two pieces of 1/2” plywood together and then attached 1” cherry edges. These are some stout shelves. The toe-kick, the support piece that's about 4” tall, also of 3/4” plywood is designed for a 3” set-back. There isn't much to say about this element, except that it has to support the weight of the shelf structure AND the books. The especially designed structure that had to support the shelves and let the baseboard heat function, required three design iterations before a satisfactory design was constructed. Each unit was long enough to span two or three shelf units, being integral in holding them together and level. Each had nailers top and bottom to secure to floor, wall, and shelf unit. Remember to find the studs in the wall before you start mounting. A good stud-finder is necessary. (Cautionary note: In older homes, don't depend on the studs being 16” or 24” on center. Also, a half-inch of plaster and a quarter inch of lath will test the best stud finder. Metal mesh beneath the plaster will make a stud-finder crazy.) About now, it's time to introduce a tool and skill invaluable to cabinet makers, the pocket screw jig. While Kreg is the benchmark, there are others, but pocket screws are the most effective method of attaching side, top, and bottom together. Assembling the shelf boxes with pocket screws provides a strong and tight joint where the connectors are not seen. They also allow for ease of disassembly before finish is applied and reassembly after. Okay, we have shelf units, shelves, and a toe kick. Now, how do we join them together to produce a single shelf assembly? In this project we screwed the units together and put a fluted post between each. The post provided a reveal to hide the edge of the shelves as well as a vertical surface that would hide any minor differences in the shelf positioning. These posts are 3/4” x 3” cherry with three flutes in each. A plinth block sits at each end of the post; a simple 3 1/2” square block. While we used a molding machine to make the flutes, the machine was acting as an over-powered router. The flutes are made with a 3/4” round nose router bit. Your router and its guide fence are all you need to make fluted elements for your work. The crown molding was a two-part effort. There is a spacer that sits atop the shelf units to provide an attachment surface. It's wide enough to allow the actual crown molding to float and bend to fit against the ceiling. In this project we had a 1” variance in the room. (On other projects the variance has been as much as 3 1/2” as a result of crazy ceilings and wonky floors. Beware of older construction. Over time, even the best workmanship will sink, settle, twist, warp, and move.) The final elements to construct are the venting face frames that hide the baseboard heaters. Simple pocket-screwed 1x2 cherry face frames with a rabbet on the back to take a metal grating available at the big box store. How's that elephant taste, now? Finishing was the last step. The cabinet parts were finished before reassembly to ensure good coverage. All parts were stained and wiped with a cherry stain custom-matched to the client's taste. Then all parts were sprayed using an HVLP sprayer with two coats of lacquer. Once again, a big project is a simple matter of understanding each component and how they fit together. Use good materials and good tools. Be patient and your patience will be rewarded. |
||||
ElectionsIt’s time to start thinking about leadership of the guild for 2021! Hard to believe that a year has passed and most of it has been in seclusion with the Corona virus pandemic. Hopefully 2021 is a different year. It’s YOUR guild and it is in need of leadership for next year. Please think very much about the guild, its future and direction as you contemplate stepping forward as a candidate for one of the positions. This needs to be done in September as our by-laws specify that the candidates for these positions need to be introduced in the October newsletter. For your reference I have copied out the responsibilities of these positions from the by-laws SEC.4. - OFFICE OF PRESIDENT The President shall have general charge and supervision of the affairs and property of the TWWWG, subject to such rules and regulations as may from time to time be made by the Executive Board. The President shall preside at all meetings of the Guild and Executive Board and shall be an ex-officio member of all committees. He/She shall appoint committee Chairmen, where not expressly assigned in these Bylaws. SEC.5. - OFFICE OF VICE PRESIDENT The Vice President shall preside in the absence of the President, shall assume the duties of the President upon a vacancy in that office, and shall have such powers and perform such duties as may from time to time be prescribed by the President, or the Executive Board. The Vice-President shall be the Chairman of the Program Committee. In the event that both offices of President and Vice-President should become vacant or those officers are absent or incapacitated to act, the Executive Board shall elect one of their members to fill the vacancy in the office of President. SEC.7. - OFFICE OF TREASURER The Treasurer shall be responsible for the receipt, disbursement and custody of all membership fees [annual dues] and other monies belonging to the TWWWG. The Treasurer shall receive all monies and bills, and similar property belonging to the TWWWG and safely keep the same in the name of the Tidewater Woodworkers Guild, depositing all monies to the credit of the TWWWG in such depositories as may be designated by the Executive Board. He/she will make current disbursements prescribed by the President or Executive Board, [see monetary limits, below], shall keep such financial records as may be required by the Executive Board as well as make an annual report and such other reports as may be prescribed by the Executive Board. The TWWWG shall pay all authorized expenses of the Treasurer incurred on behalf of the Guild. The books of the Treasurer shall at all times be open to inspection by the members of the Executive Board. SEC.6. - OFFICE OF SECRETARY The Secretary shall keep the minutes of all Guild and Executive Board meetings in record books provided for that purpose by the TWWWG. He or she shall provide a written or verbal record of these minutes to the Newsletter Editor within 10 days following any meeting. The Secretary shall have custody of the administrative records, membership lists, and archives of the Guild, to include a register of the names, addresses and telephone numbers of all members. This register is to be coordinated with the Treasurer to maintain a current dues paid status. |
||||
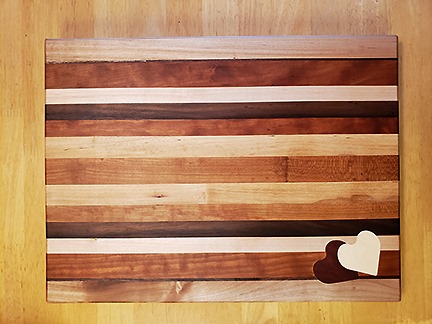
Guild Woodworking ProjectsSorry for not reaching out to the guild this month for projects but your newsletter editor is working for the City of Chesapeake Virginia as a poll worker for early voting. Chesapeake opened up its voter registration HQ and 6 of its public libraries for early voting 45 days before the election. I am helping head up the HQ part for early voting and it means 9 plus hours a day. M-F. I rarely make it past 8:00 PM when this old body gets home, hence no reaching out for guild projects. Karl Bogot fills in the blanks with his woodworking projects and food projects on Facebook! Karl's project is a sweetheart tray, a 16" x 12" x 1" combination of maple, cherry, sycamore and black walnut with redwood and aspen heart inlay.
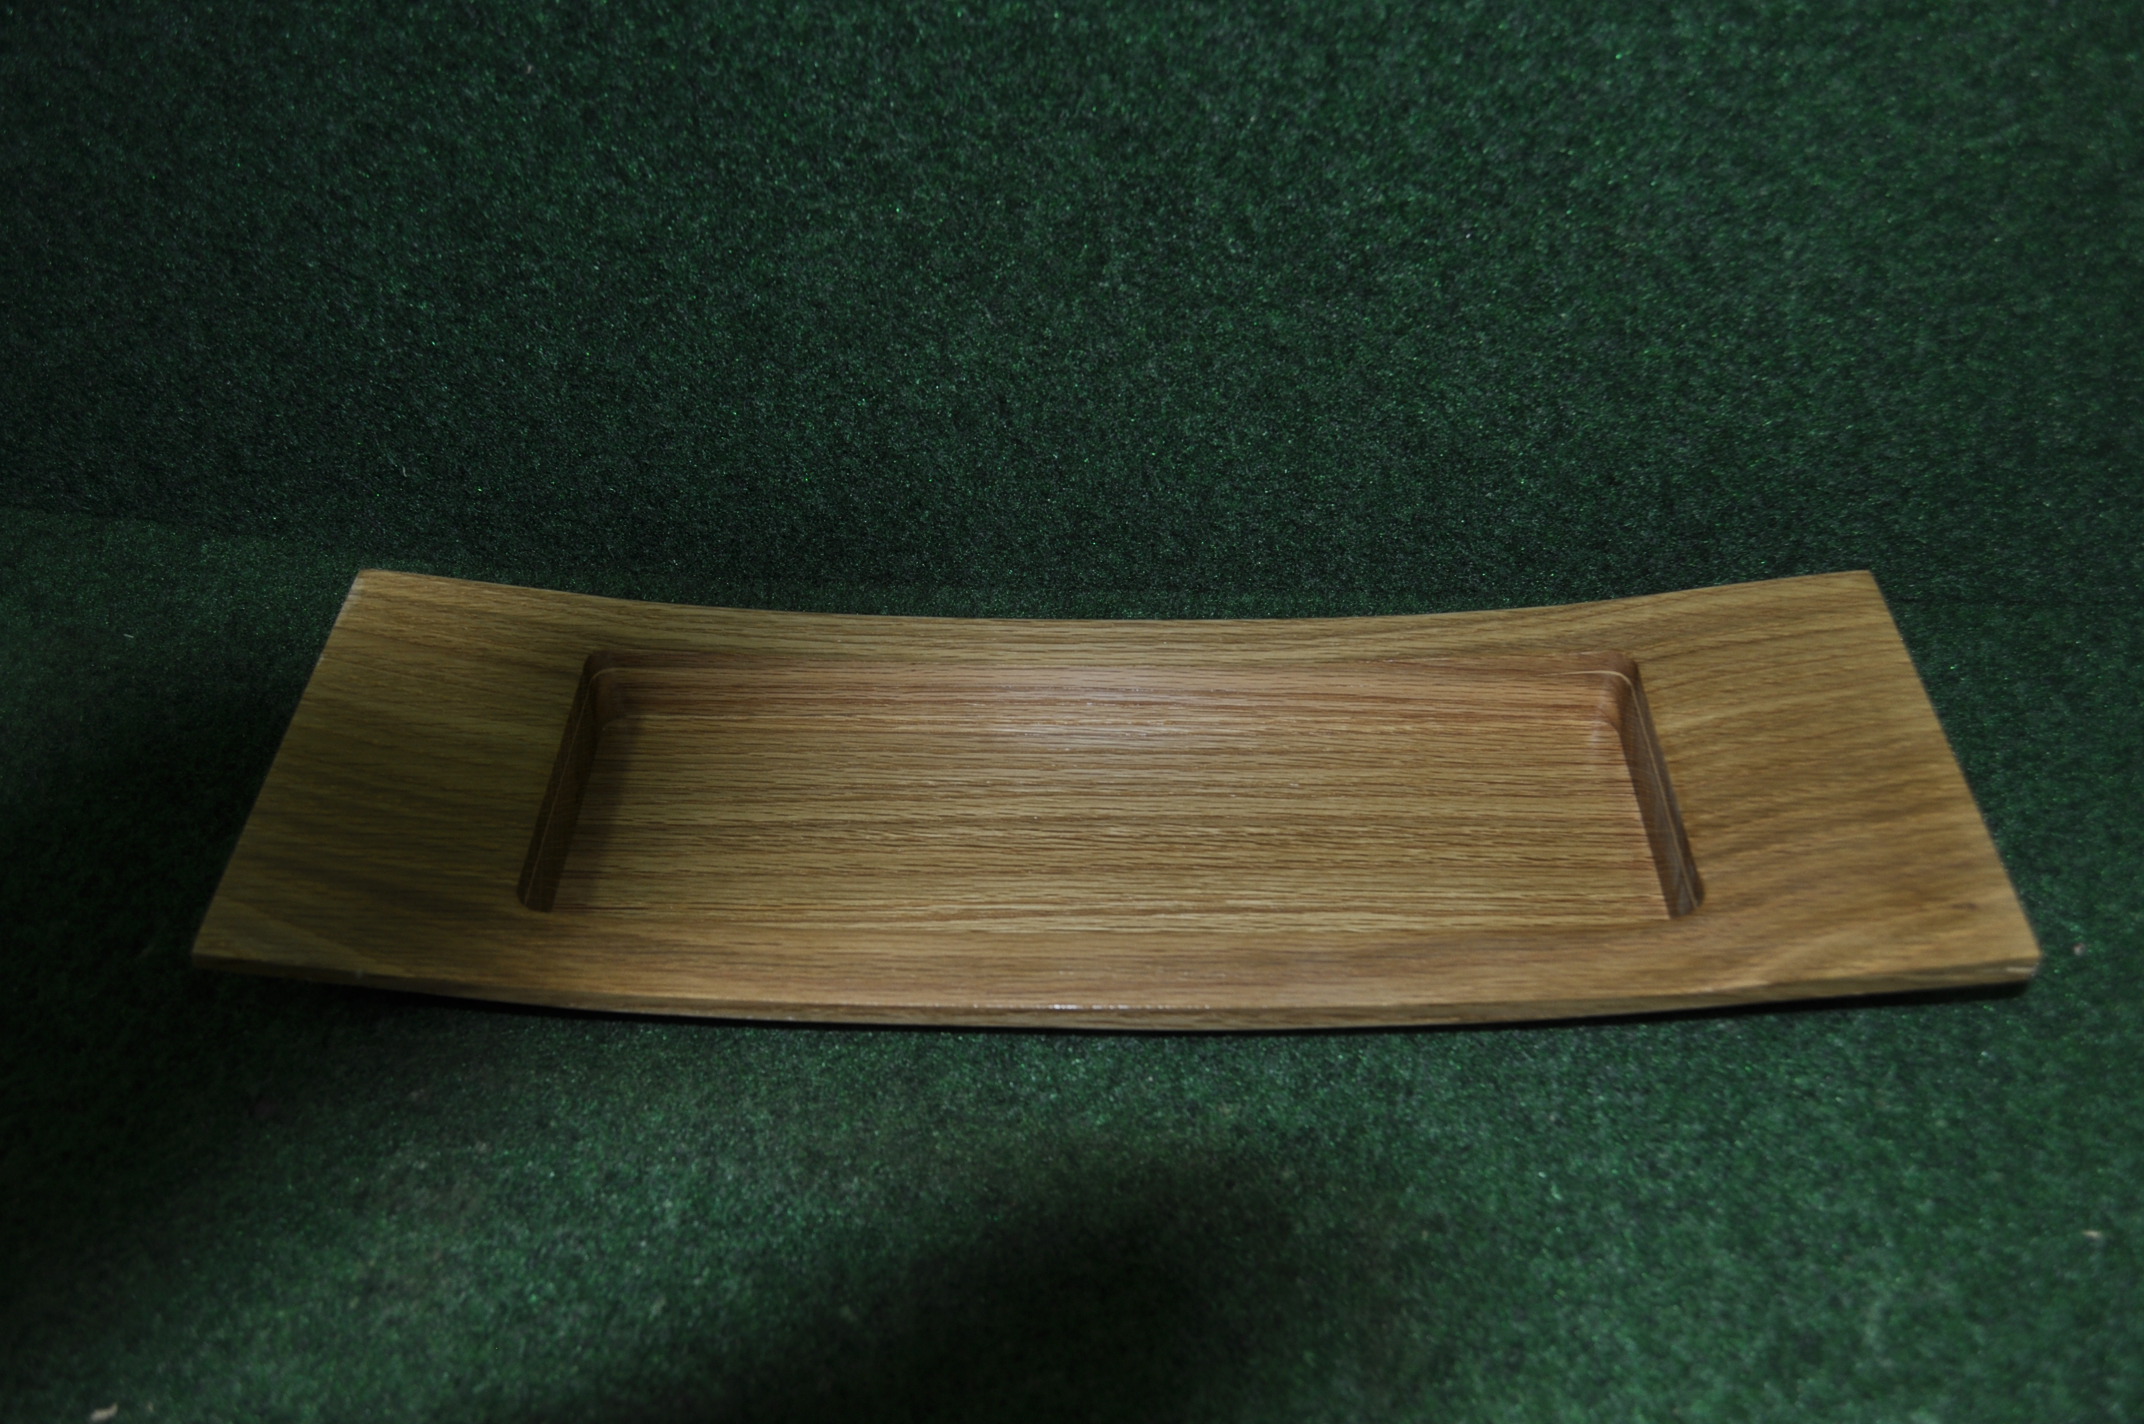
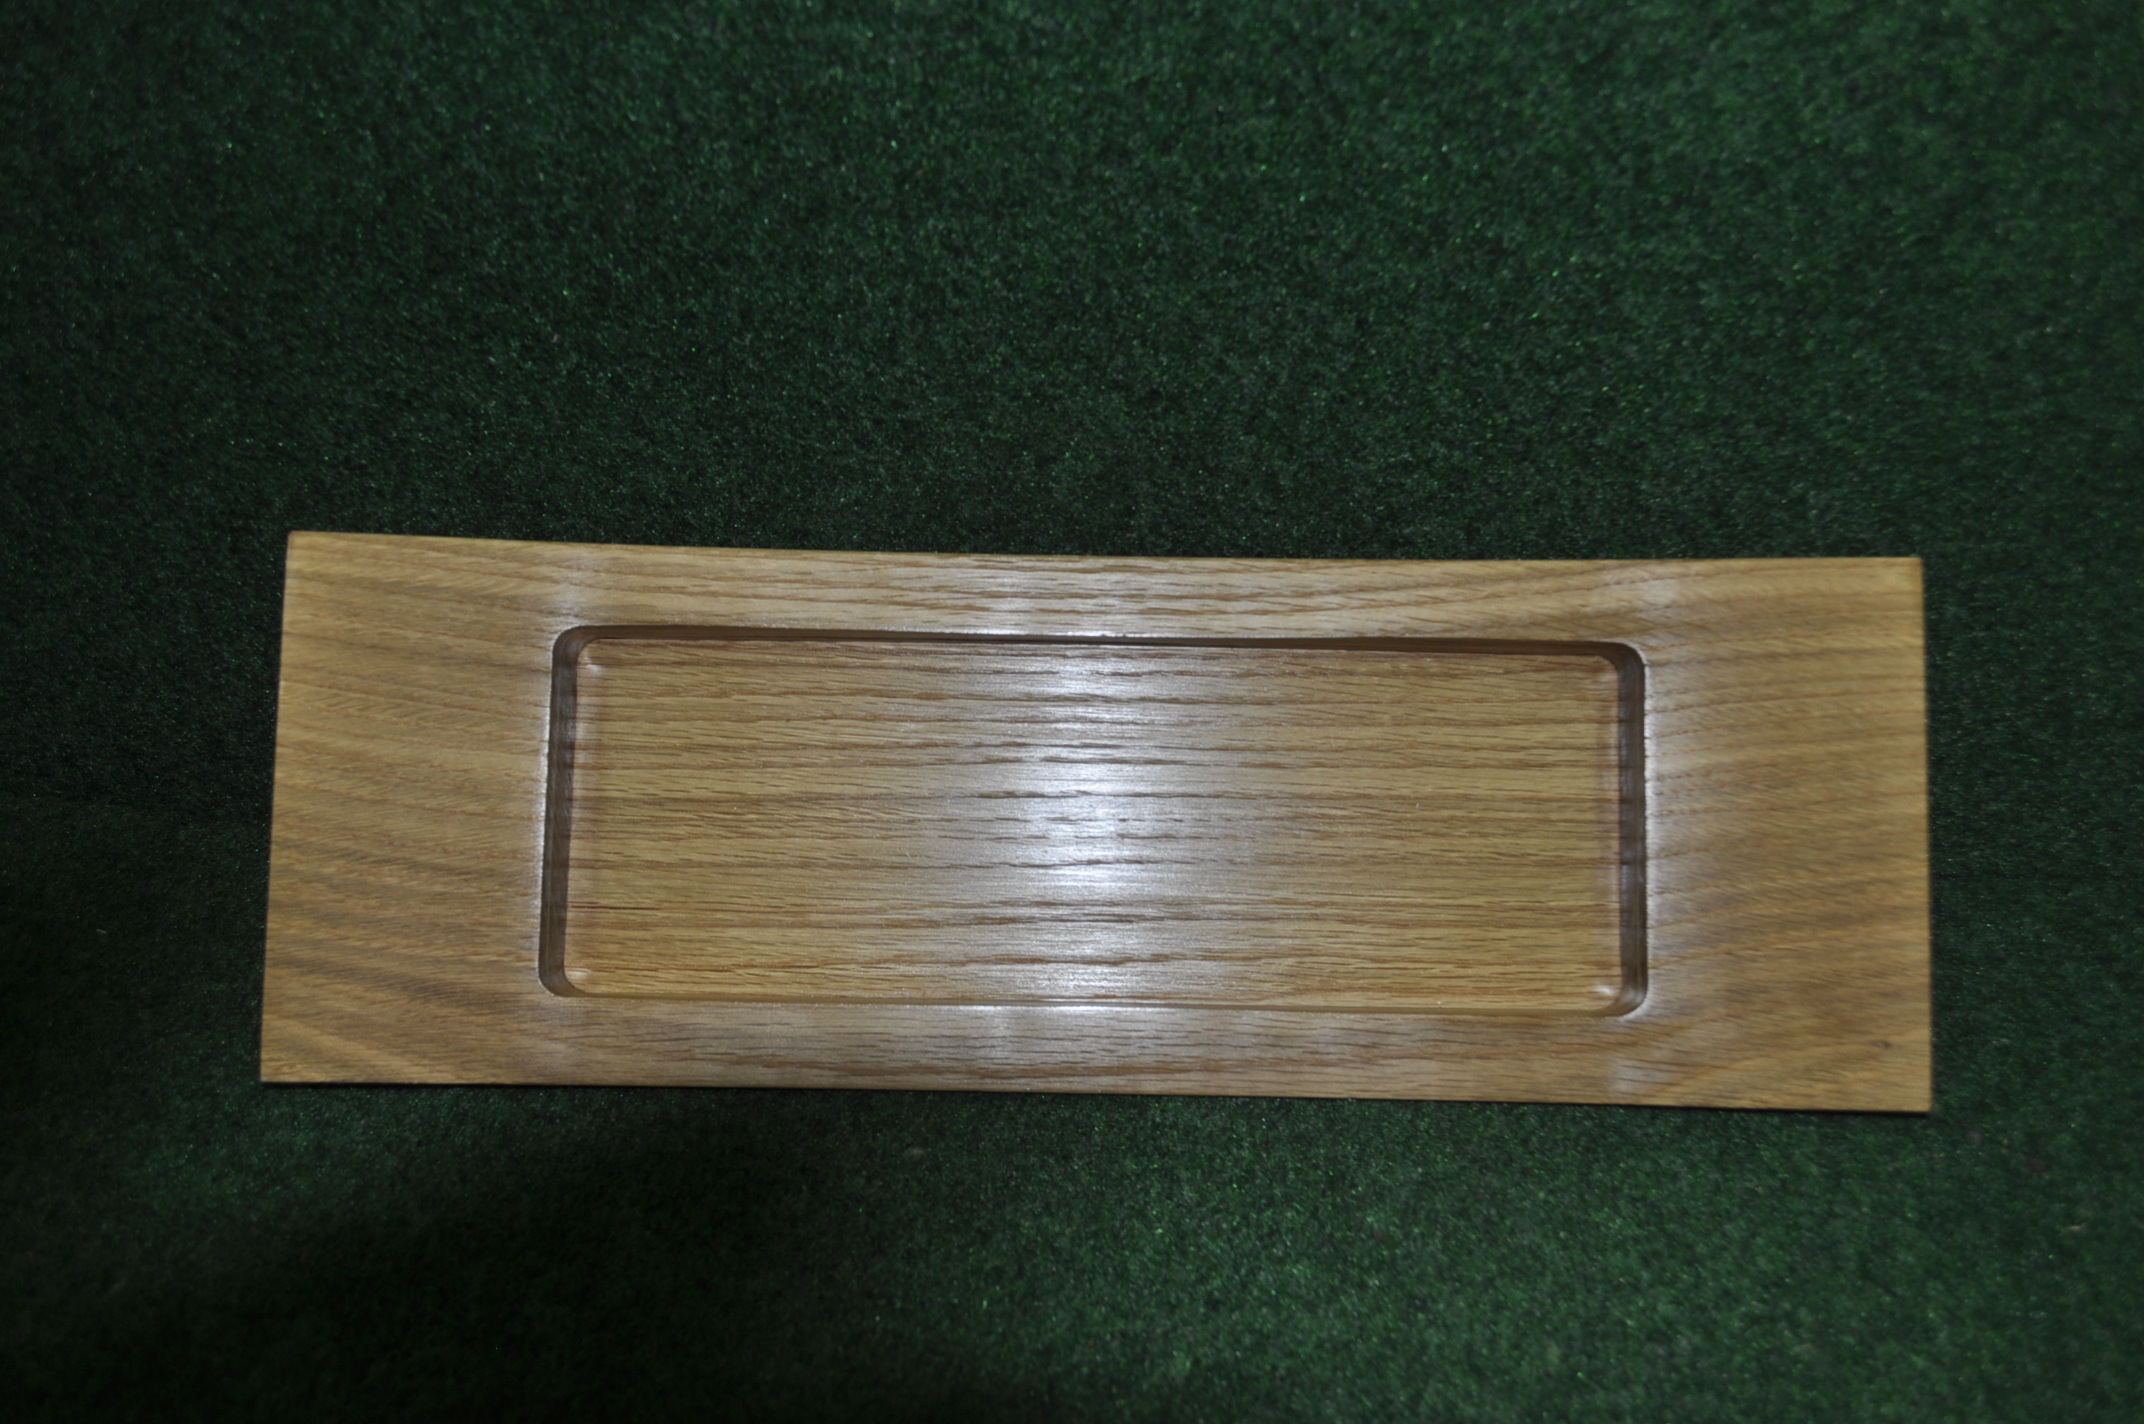
Gary's project is a curved centerpiece. It was conceived in the Woodsmith magazine in their December / January 2015 magazine, discovered by my wife with the expectations of making Christmas presents out of it the next year. The curved center piece required 12/4 quarter swan White Oak for the project. Chris Vickers of Somerton Ridge Hardwoods cut the lumber in late 2015 but it was not available until late 2016. My wife and I purchased the wood sometime in the summer of 2017 but I never got around to the project. In 2018 I was very sick, received a new heart valve and spent 6 weeks in a medical rehab center. Fast forward to 2020 and the Corona virus pandemic! I have now cut out the blanks for 13 of these curved center pieces for Christmas presents for 2020. Not bad for a 5 year project! My second attempt of working with curved projects!
Gary |
||||

