Copyright 2021
Tidewater Woodworking President: Fran Foster, Vice President: Greg Guertin, Treasurer: Chris Zuchristian, Secretary: Larry Larue
  |
||||
| Web Links | At the Meeting | Last Meeting Notes | Tip of the Month | Editors Notes |
|---|---|---|---|---|
What's In The Newsletter?
|
||||
Presidents Report ...Well it has been a year we will never forget. It has been one year since our guild had an in-person meeting. Not only have all of us missed the demonstrations and presentations, but also the social interactions that come with being a part of an organization. We all miss the personal contact and the updating that comes with seeing everyone at least on a monthly basis. But times they are a changing! We have had several virtual meetings and this month, we will have what could be called a hybrid meeting. We will have a small group of members in attendance at a presentation at Woodcraft by Paul Garrity who is our resident expert when it comes to wood products. The group will be limited to no more than 10 following state guidelines for groups that meet inside.
With the vaccine becoming more readily available and the number of positive cases continuing to drop, we hope to be able to resume our regular meetings some tine in the future. Until that time, feel free to join us virtually in our monthly meetings that occur the 4th Monday of each month at 7:00pm. Since we are not charging annual dues through the first half of the year, you can attend the meeting and meet those that are in attendance and hear what is going on. If you are not a member and would possibly be interested in joining, this would be a perfect opportunity to check out our guild. I am including my email address below so you can contact me and I will add you to the email group when I send out information about upcoming meetings. We hope that you will take advantage of joining a great group of woodworkers and becoming more involved in our effort to keep this craft alive and thriving. This email address is being protected from spambots. You need JavaScript enabled to view it. Fran Foster President TWWWG
|
||||
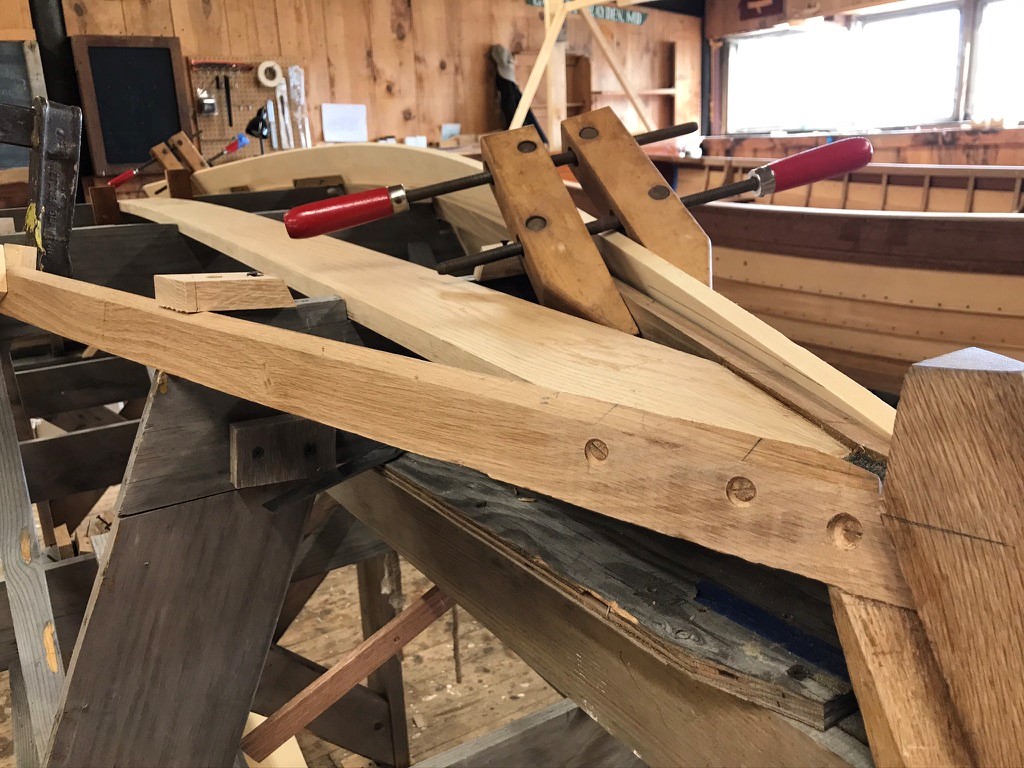
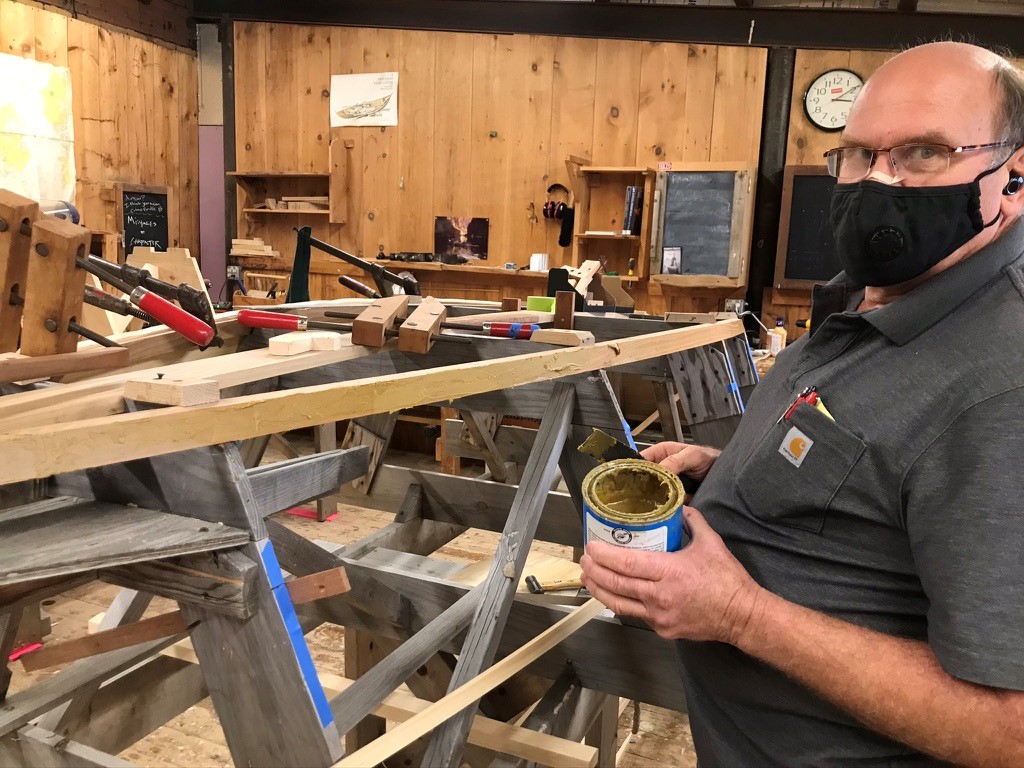
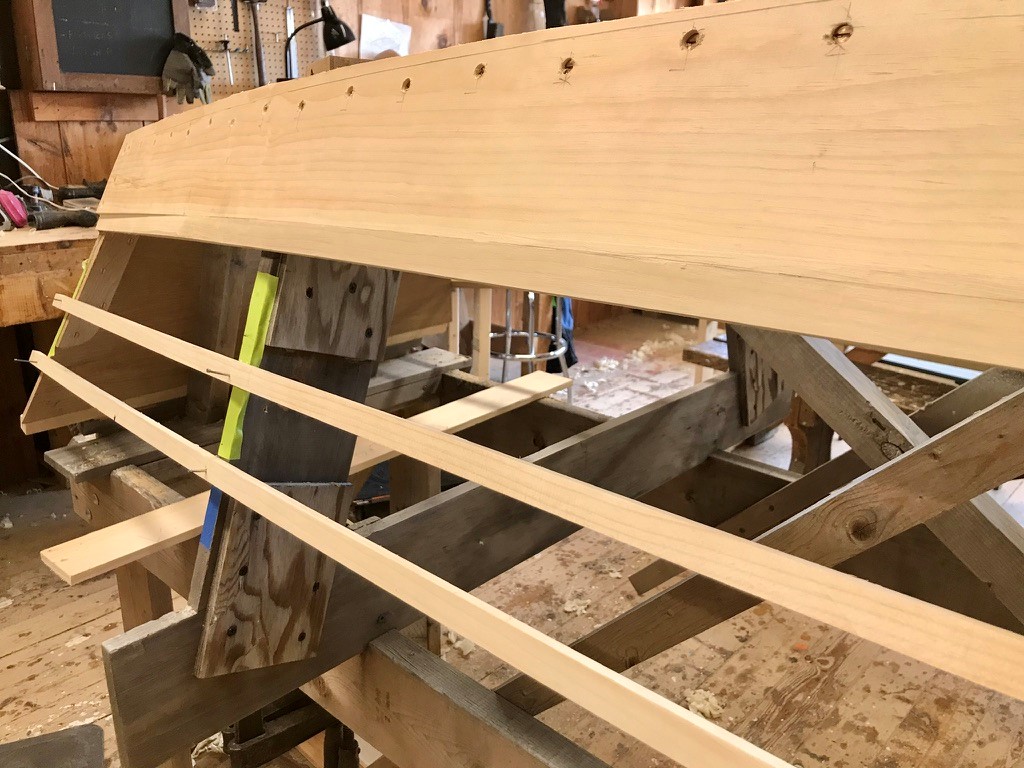
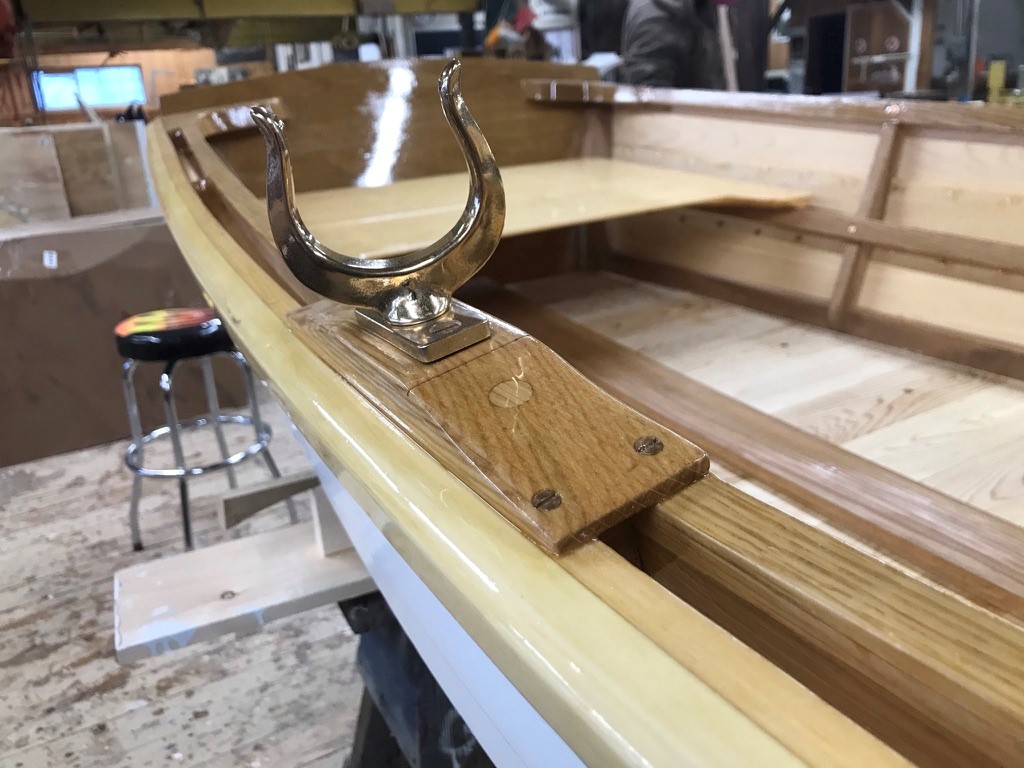
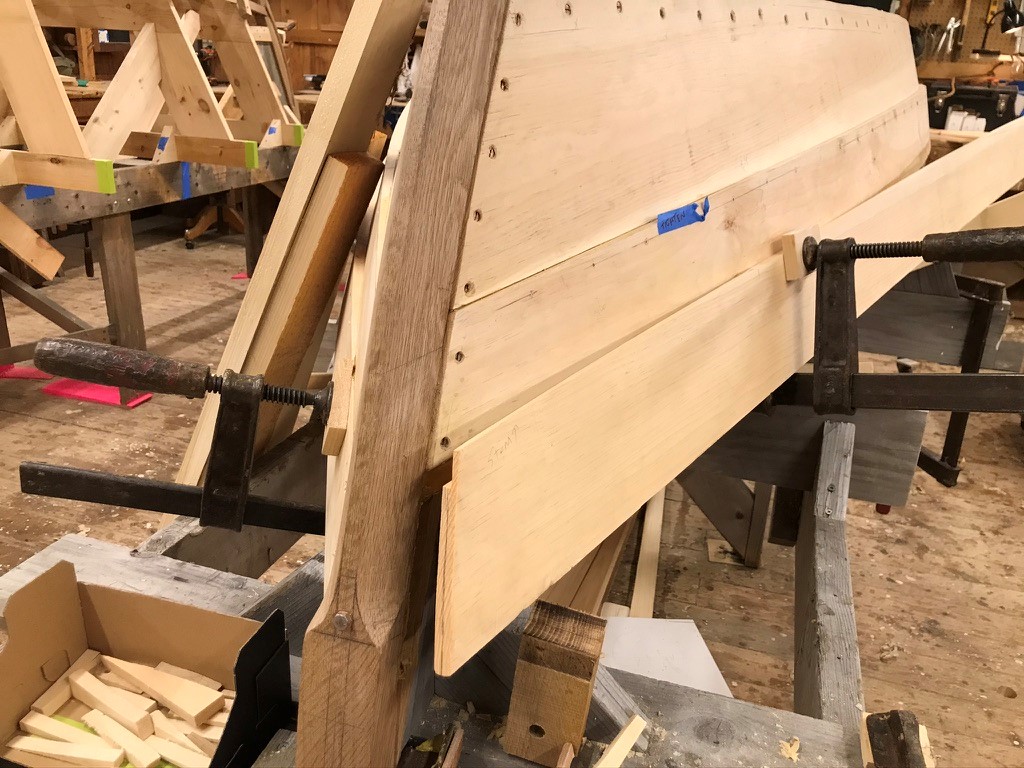
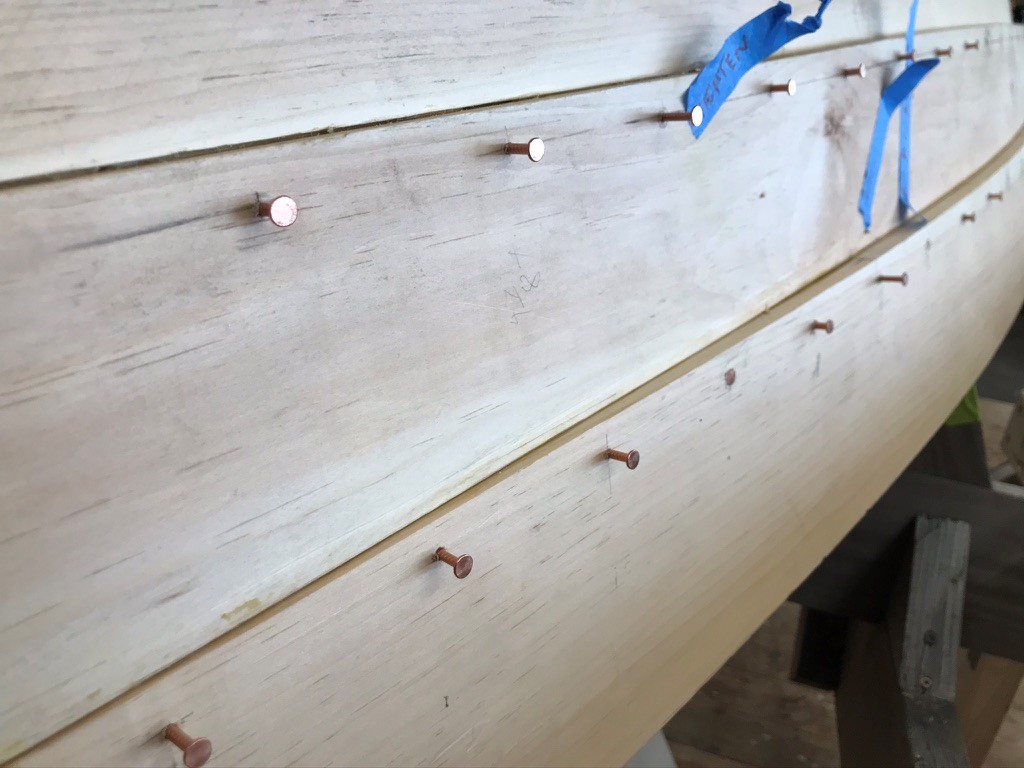
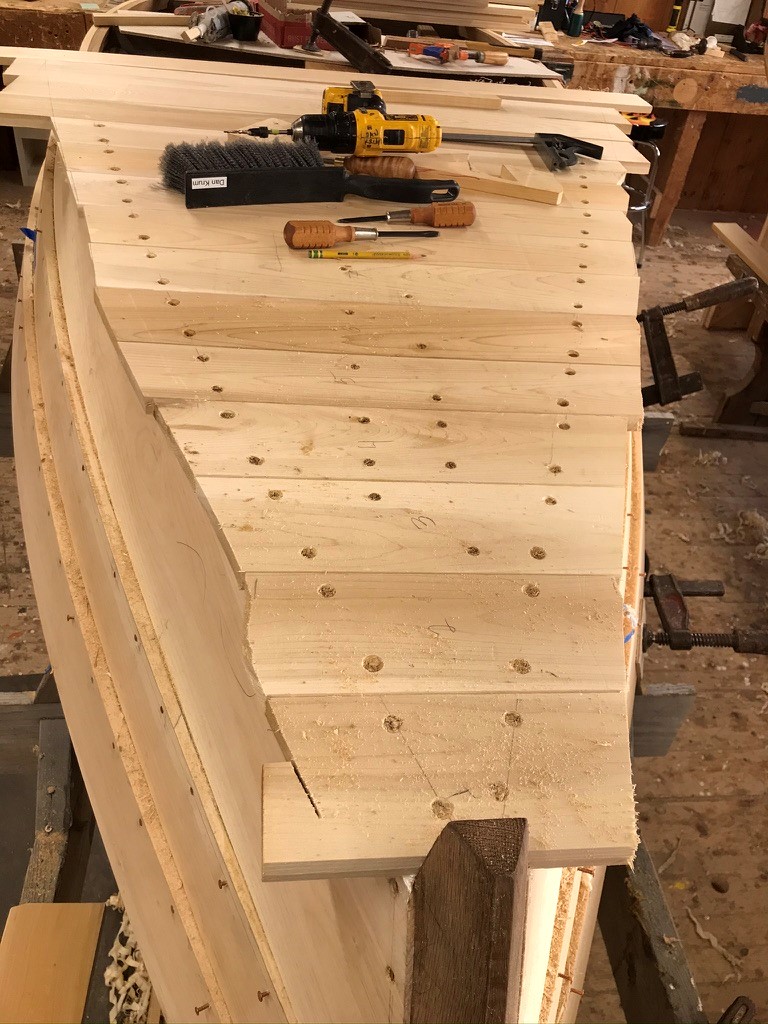
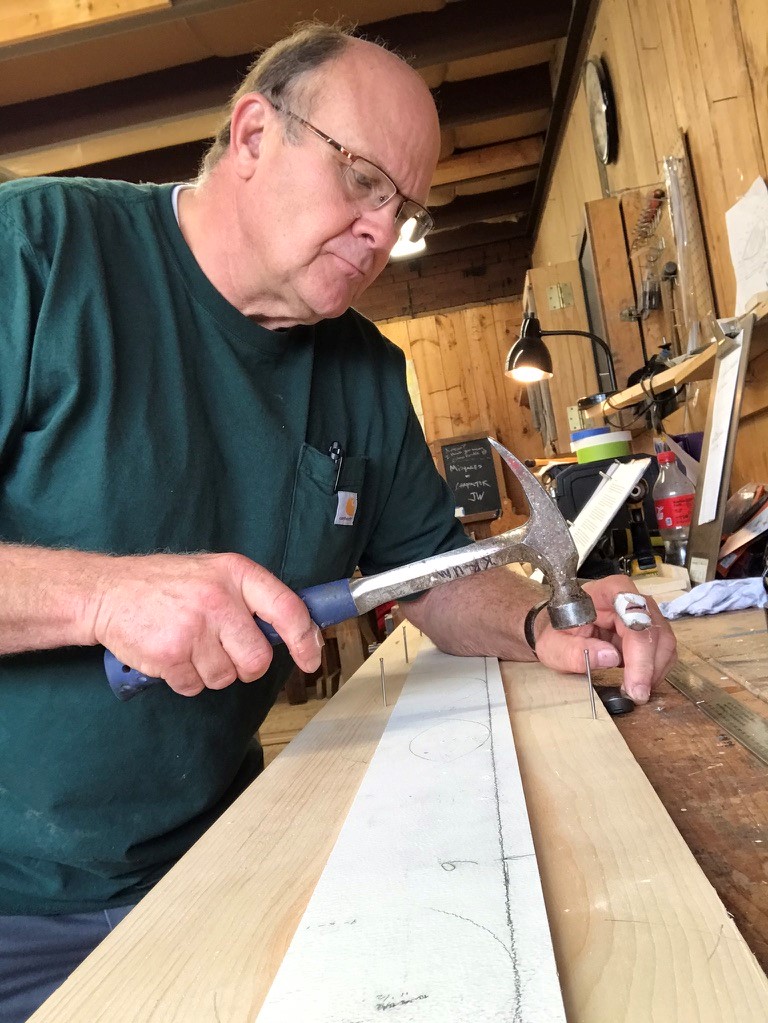
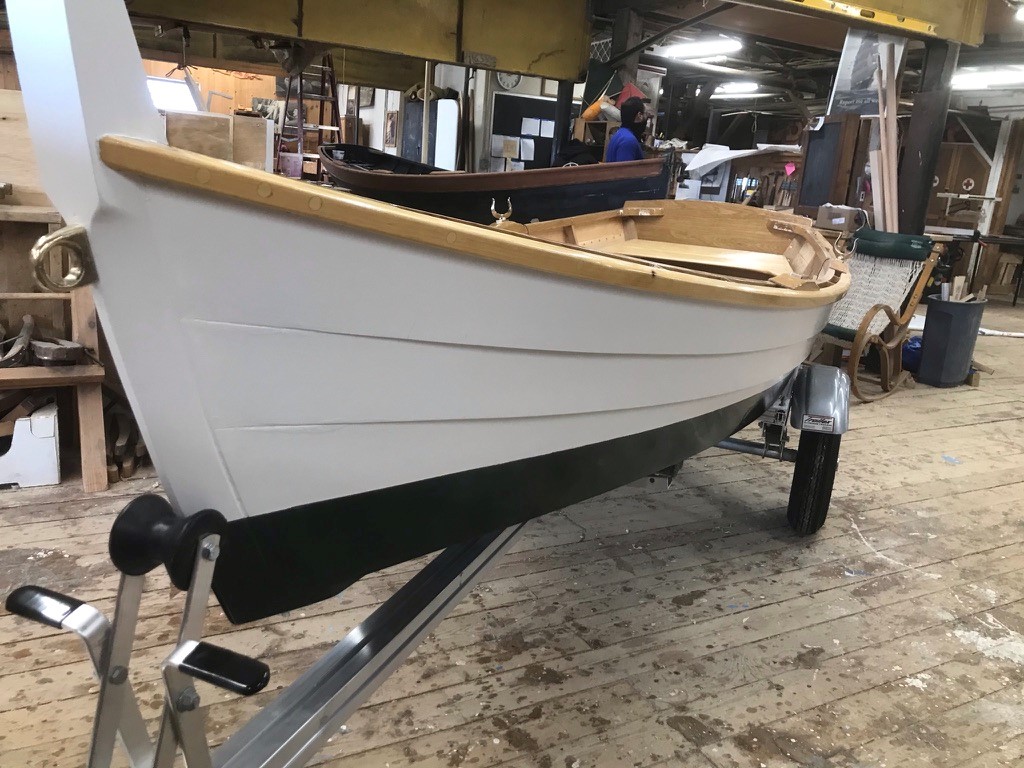
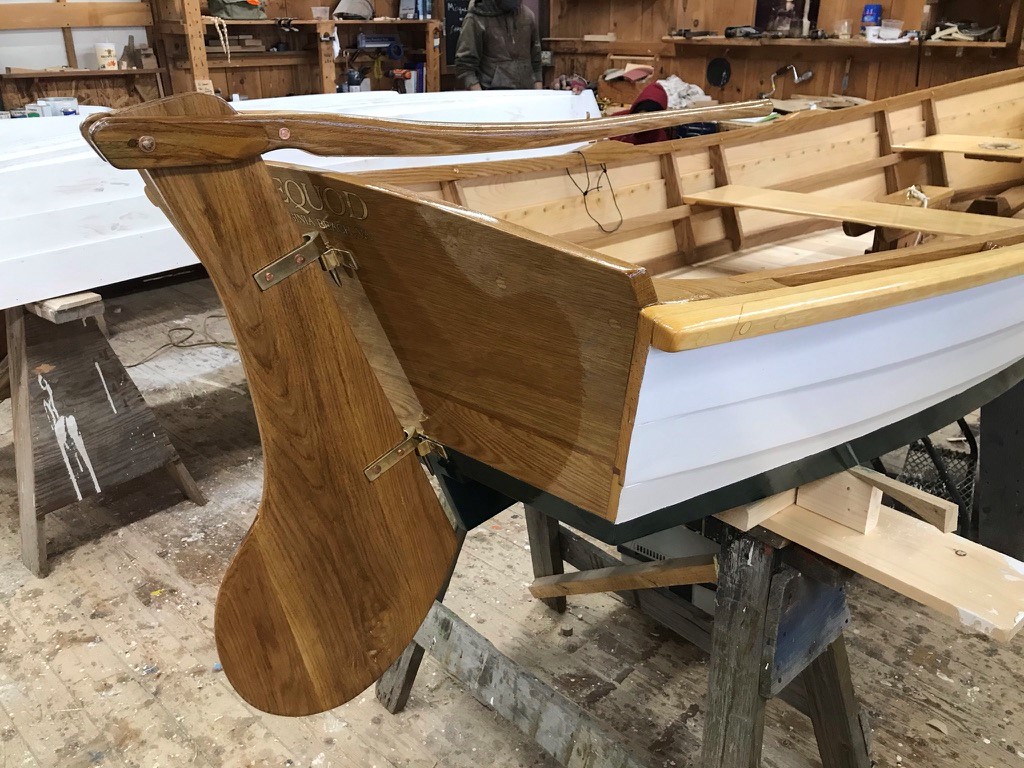
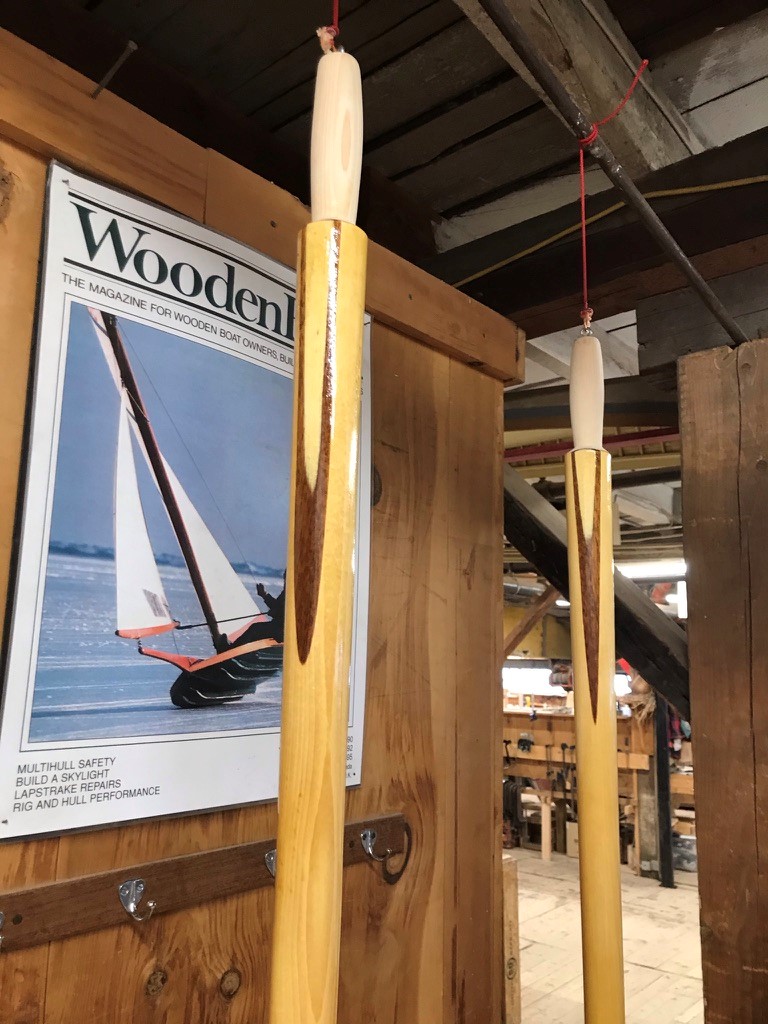
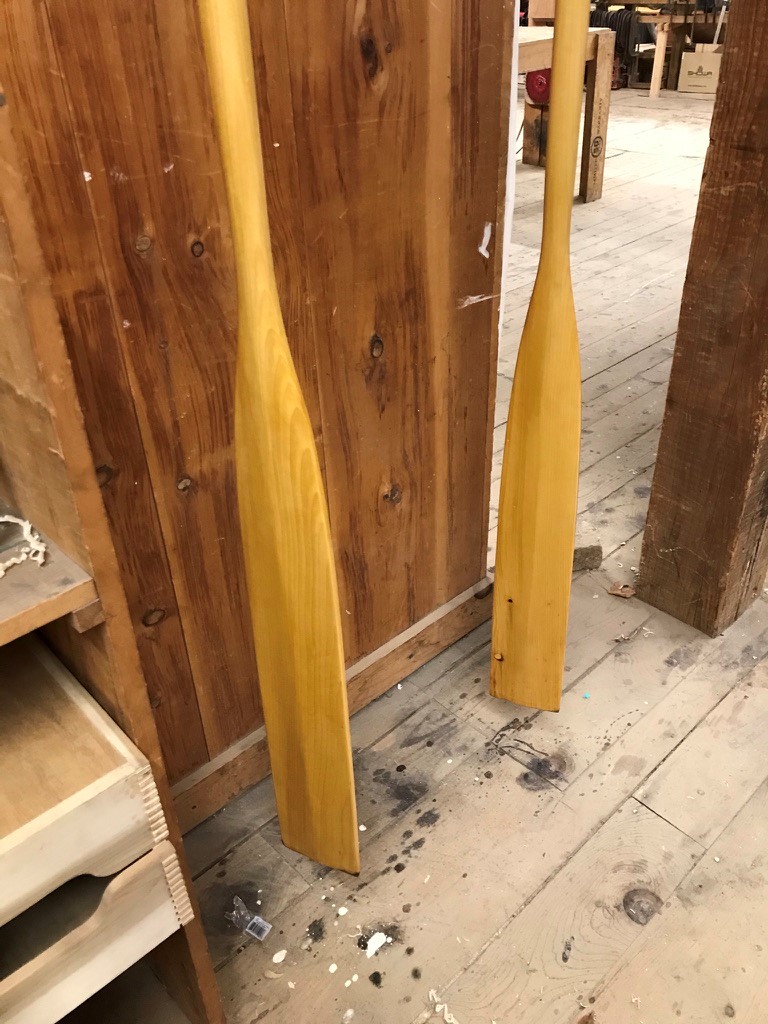
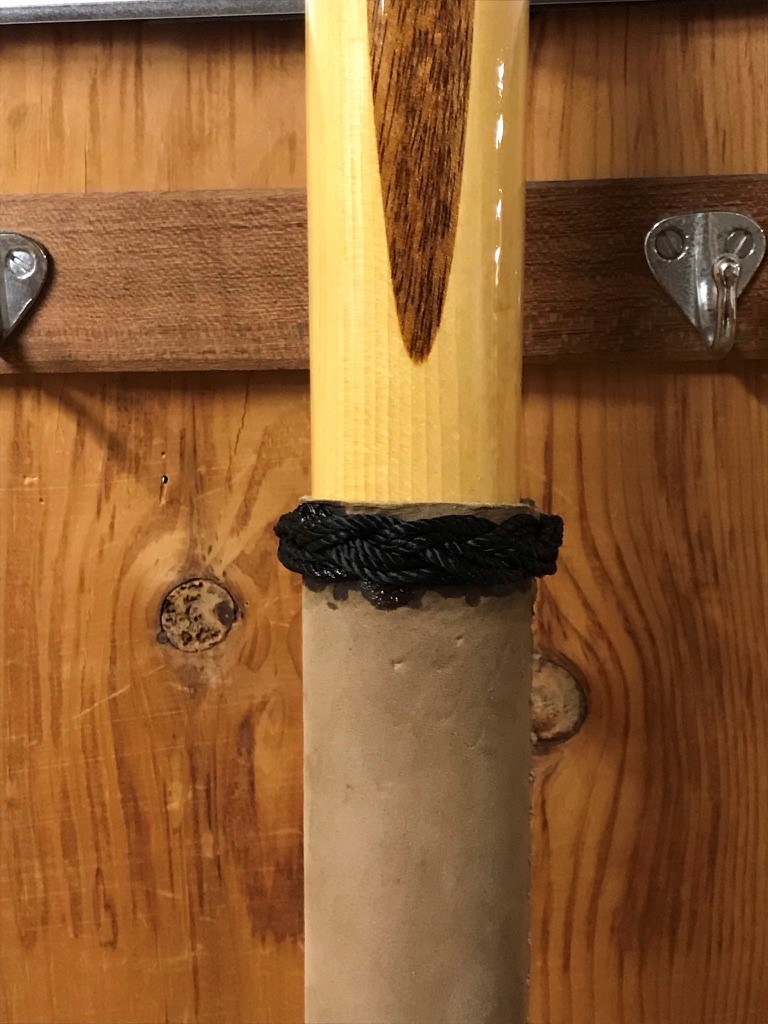
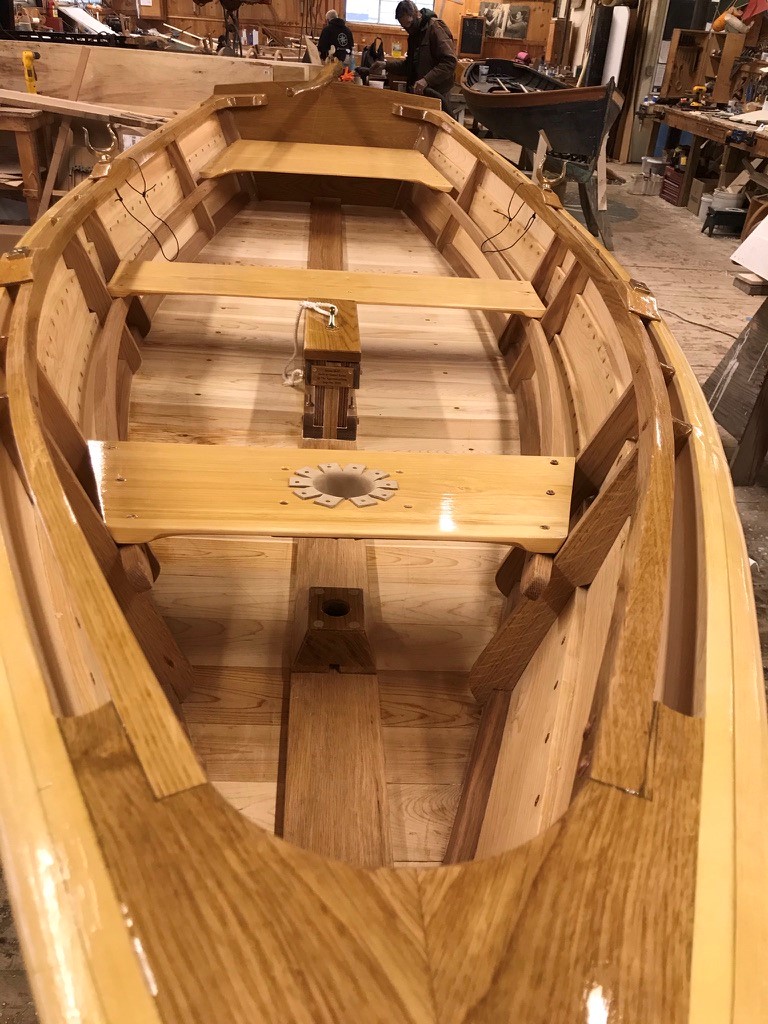
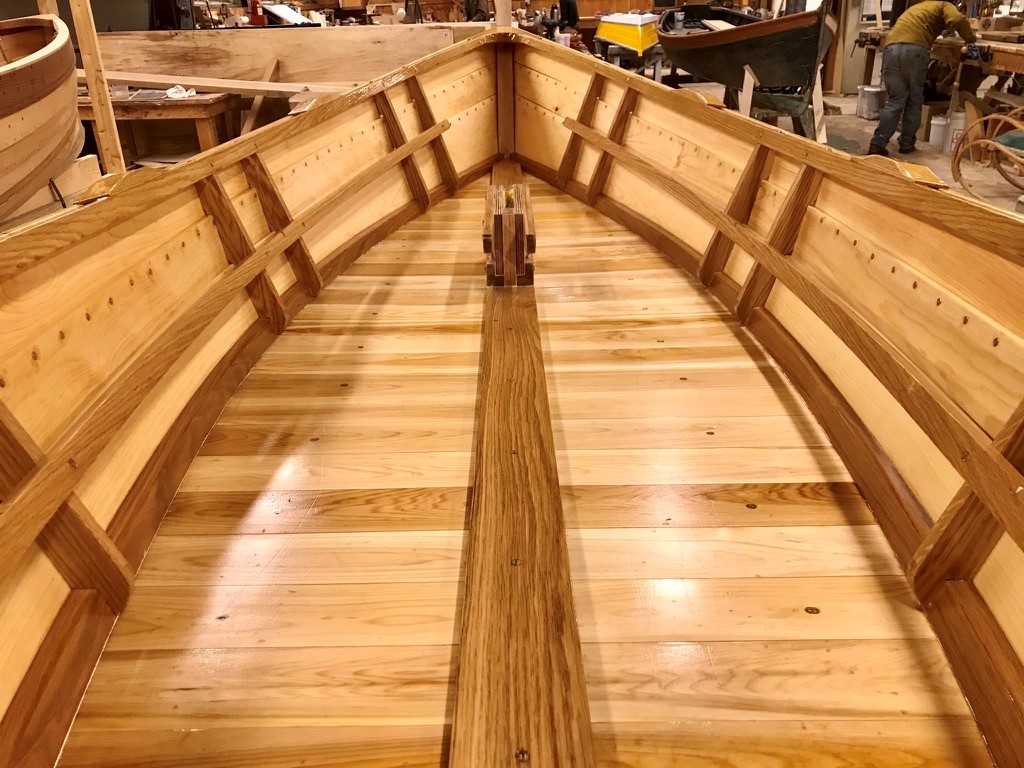
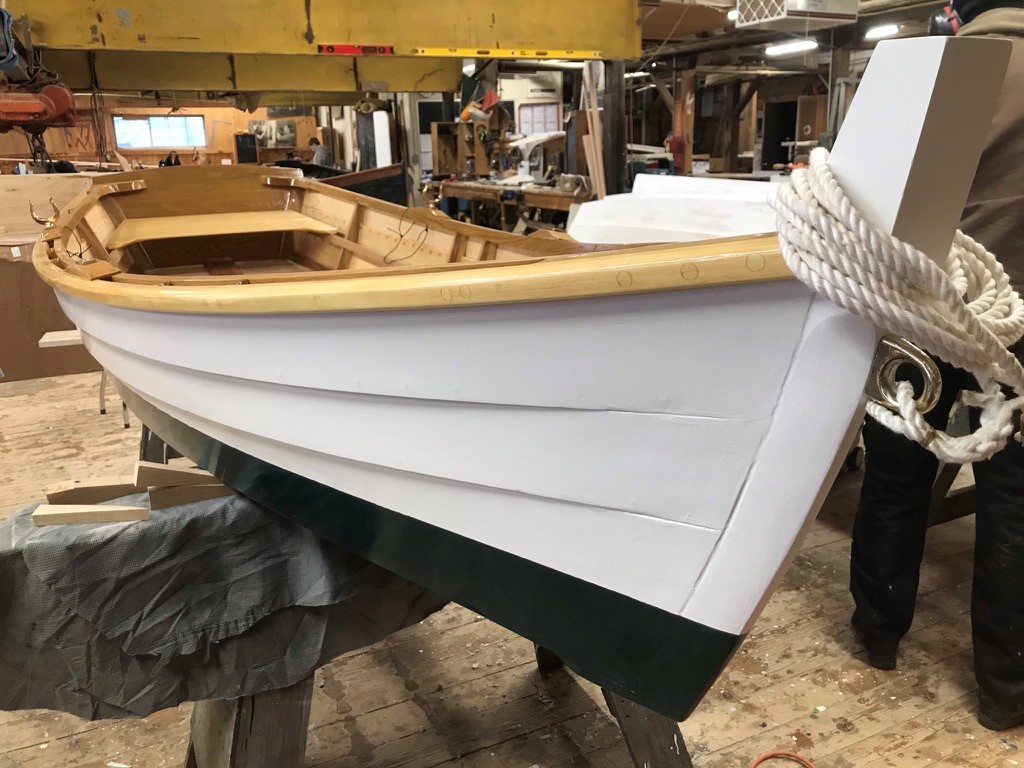
Building A Wooden Boat By Dan KrumA year ago, while in Maine I visited a wooden boat building school called The Apprenticeshop, in Rockland that offered a 12-week course where you would build a 11’ 3”Susan skiff (flat bottom boat) that can be rowed or sailed. Since I was a kid I have wanted to learn about and build a boat, so this was like a dream come true. Only one other person starts the course, however, each of you work on your own boat (which you get to keep!) The school offers full-time programs as well and everyone begins by building the Susan Skiff. The only difference is the 12-week students do not learn about or do lofting. We work from patterns.
The construction is very traditional wooden boat building. Joinery, copper riveting, lapstrake hull, caulked bottom. Nothing is square like what we normally build. And there are compound angles everywhere! All the components have names that were mostly unfamiliar to us. For example, the rabbet cut into the stem has a name for each corner; stem line, apex line and bearding line and all of equal importance. When I first saw the skiff I thought this cannot be that hard to make. Boy was I wrong! But still I wanted to do more if it was possible, like make the oars and sailing components. They said that I’d be lucky if I was able to get the oars done. I spent a lot of off hours working and in the end got everything done, oars, mast, sprit, rudder/tiller, daggerboard and trunk. I finished with seven coats of boat varnish on the trim and transom, oiled interior and paint on the hull. The school has a lot of boats and sailing programs. I was able to go out sailing and rowing with the full-time apprentices prior to the weather turning cold. Also learned about knots, leather work and bronze casting. Pictured below are the steps involved in building your own boat. Fitting the chines & keelson to the stern Applying bedding compound Gaboard plank installed Oar lock Installing the shear plank Riveting the lapstrake planks to each other Planking the bottom Spiling a plank Finished boat View with tiller / rudder Oar details Oar details Oar Details View of the interior with seats installed Interior view of the boat Outside view of the boat Proof of the workmanship of the builder! |
||||
How Sharp Does _____ Sharp Need To Be? By Jim FrancisI often get asked this question with regard to carving knives, gouges and chisels; but it also applies to plane irons and bench chisels. The answer is pretty straight forward; you've got to be able to shave the hairs off your arm with the tool (they should just jump off). So... what system should I use? Again, the answer is pretty straight forward; pick one and make it work for you. There's a variety of sharpening tools, equipment and systems available, but the sharpening process boils down to shaping (establishing the desired bevel on the tool's cutting edge), sharpening and honing. Following are notes and references that may be of use. • Stones: Typically the only stones needed are coarse, medium and fine. They should be flat to make the process more accurate and quicker. If your stone dishes out, you can use sandpaper taped to a flat surface (i.e. top surface of a table saw) to make it flat. The lubricant (i.e. water, oil, mineral spirits) used just removes the sharpening debris. • Shaping: Use the coarsest stone to establish the desired bevel on the tool; it's the quickest way. Then use the medium and fine stones to remove the coarse stone scratches. • Honing: Honing creates a polished surface that reduces the amount of friction the tool causes moving through the wood. This is very important for carving knives/gouges/chisels. • Honing compounds sold include diamond paste, chromium oxide in wax, and titanium oxide in wax. Apply a thin film of the compound on a leather strop or even a strip of thin cardboard (the back of a cereal box works well). The purpose of the leather or cardboard is just to hang onto the compound. When the leather/cardboard gets "munged up" (a technical term), just wipe it off with a dry paper towel. • Inspection: Take a very close look at the cutting edge to ensure there's no flat spot (typically called a white line) on the cutting edge. I typically use a 2 to 3 power magnifying glass. In addition, try the tool on a piece of scrap wood. If the cutting action can only be accomplished with great effort, or the cut is rough/crumbly; go back to the stones (honing probably won't correct the discrepancy). • References: Ron Hock's Book The Perfect Edge More sharping info • Honing Compound: Woodcraft offerings including the Flexcut compound • Magnifying Glasses: Jim Francis |
||||
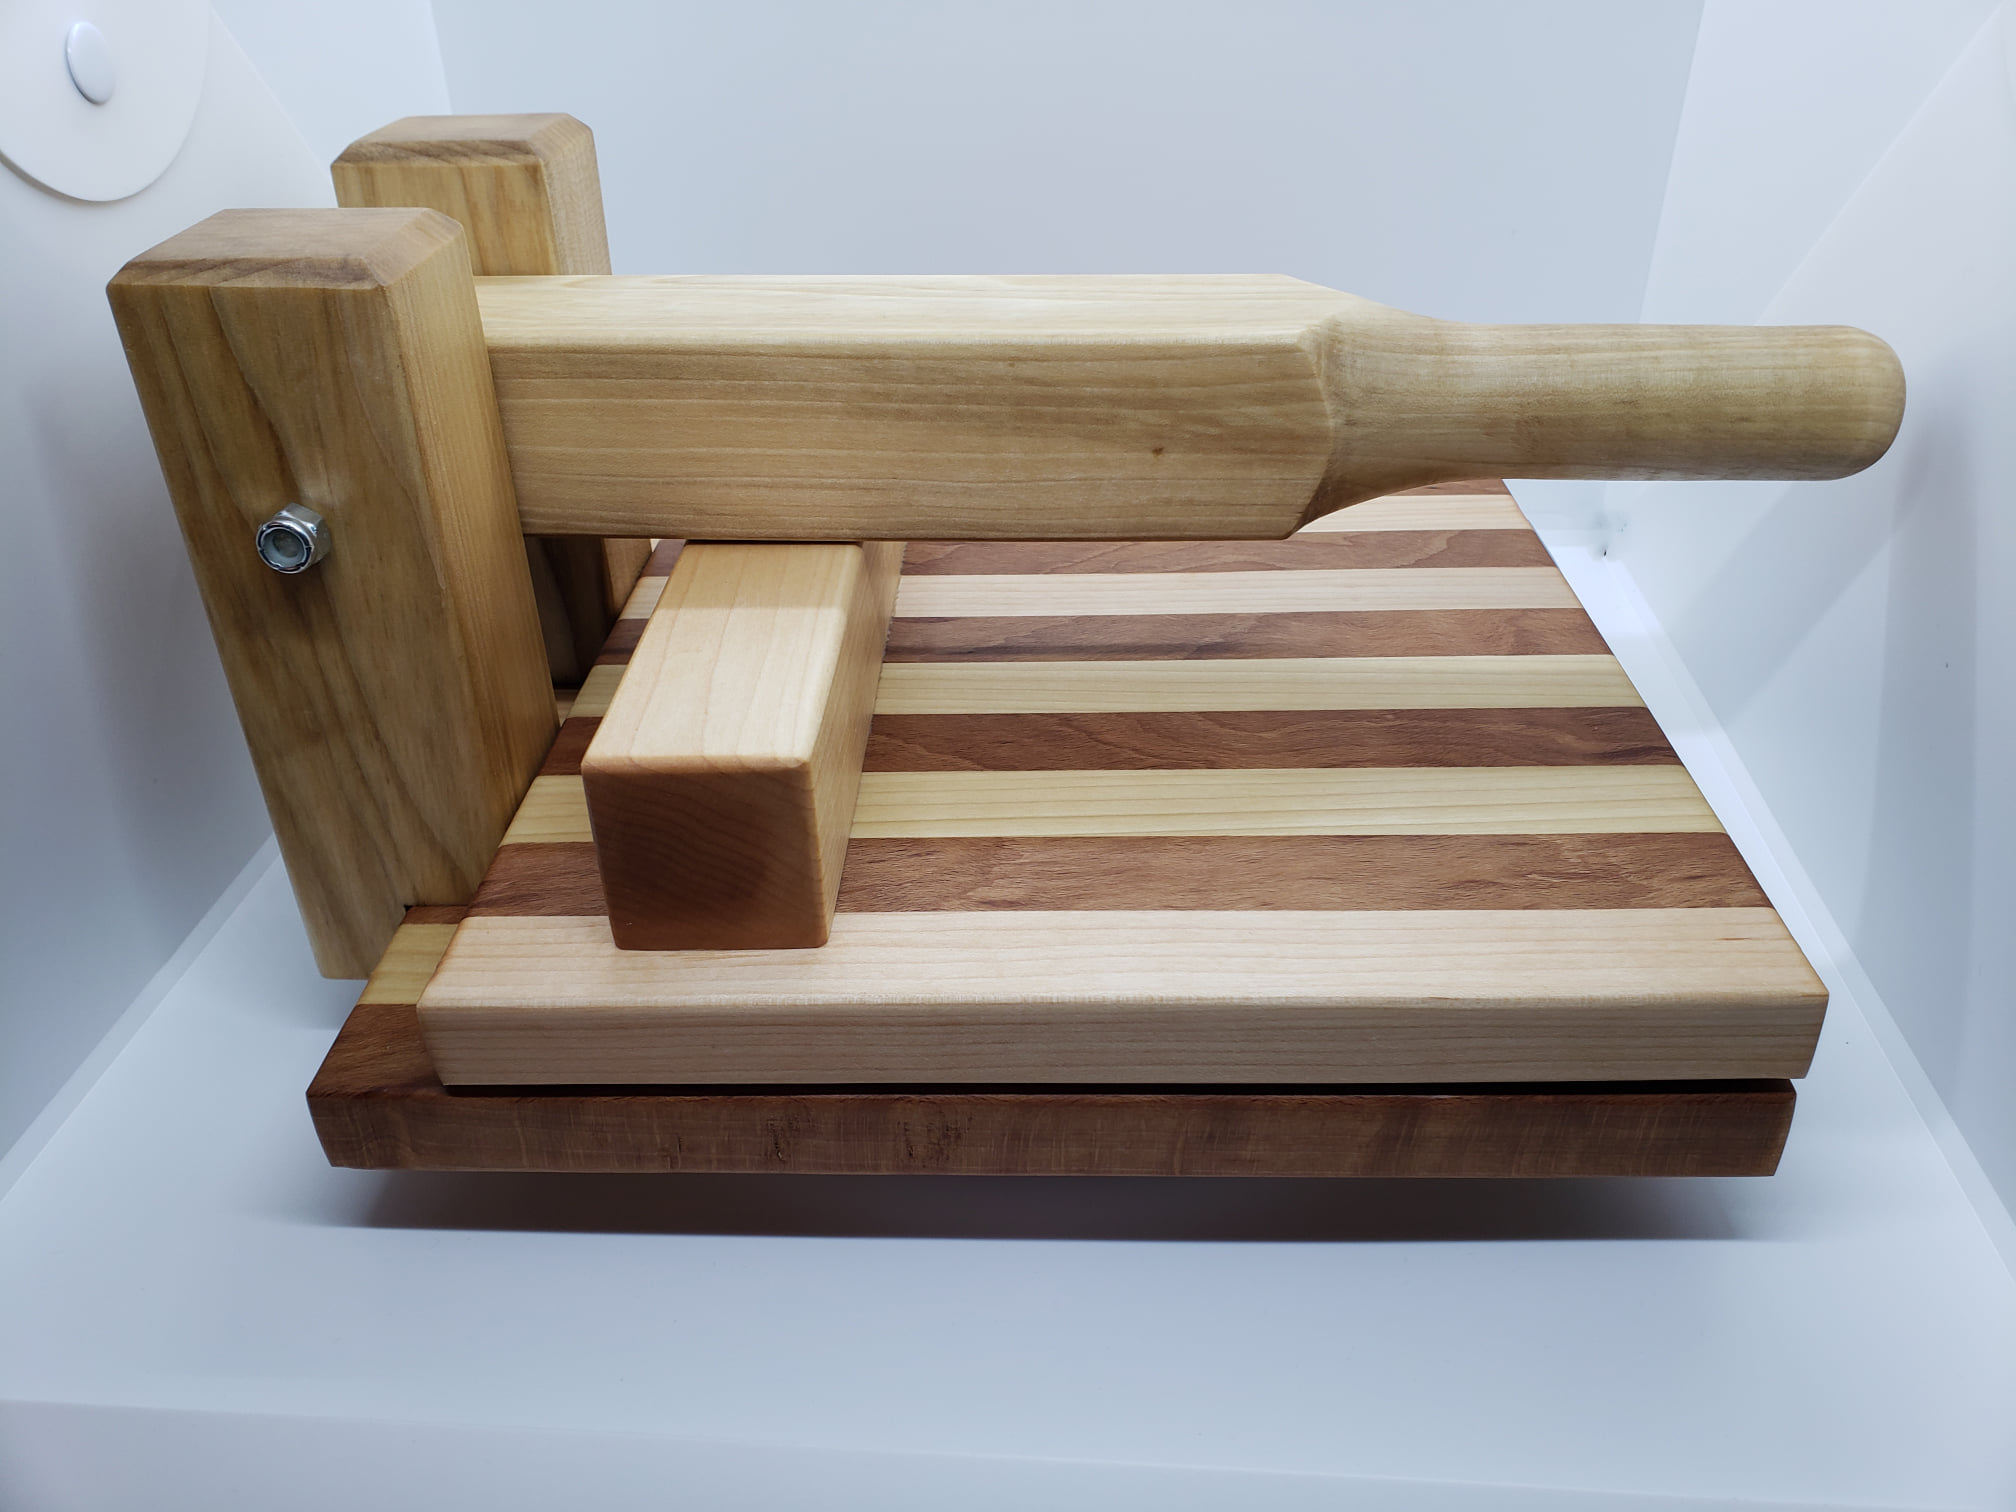
Guild Woodworking ProjectsOur first project for this month’s 2021 newsletter comes from Karl Bogot and his tortilla press. 10" Tortilla Press
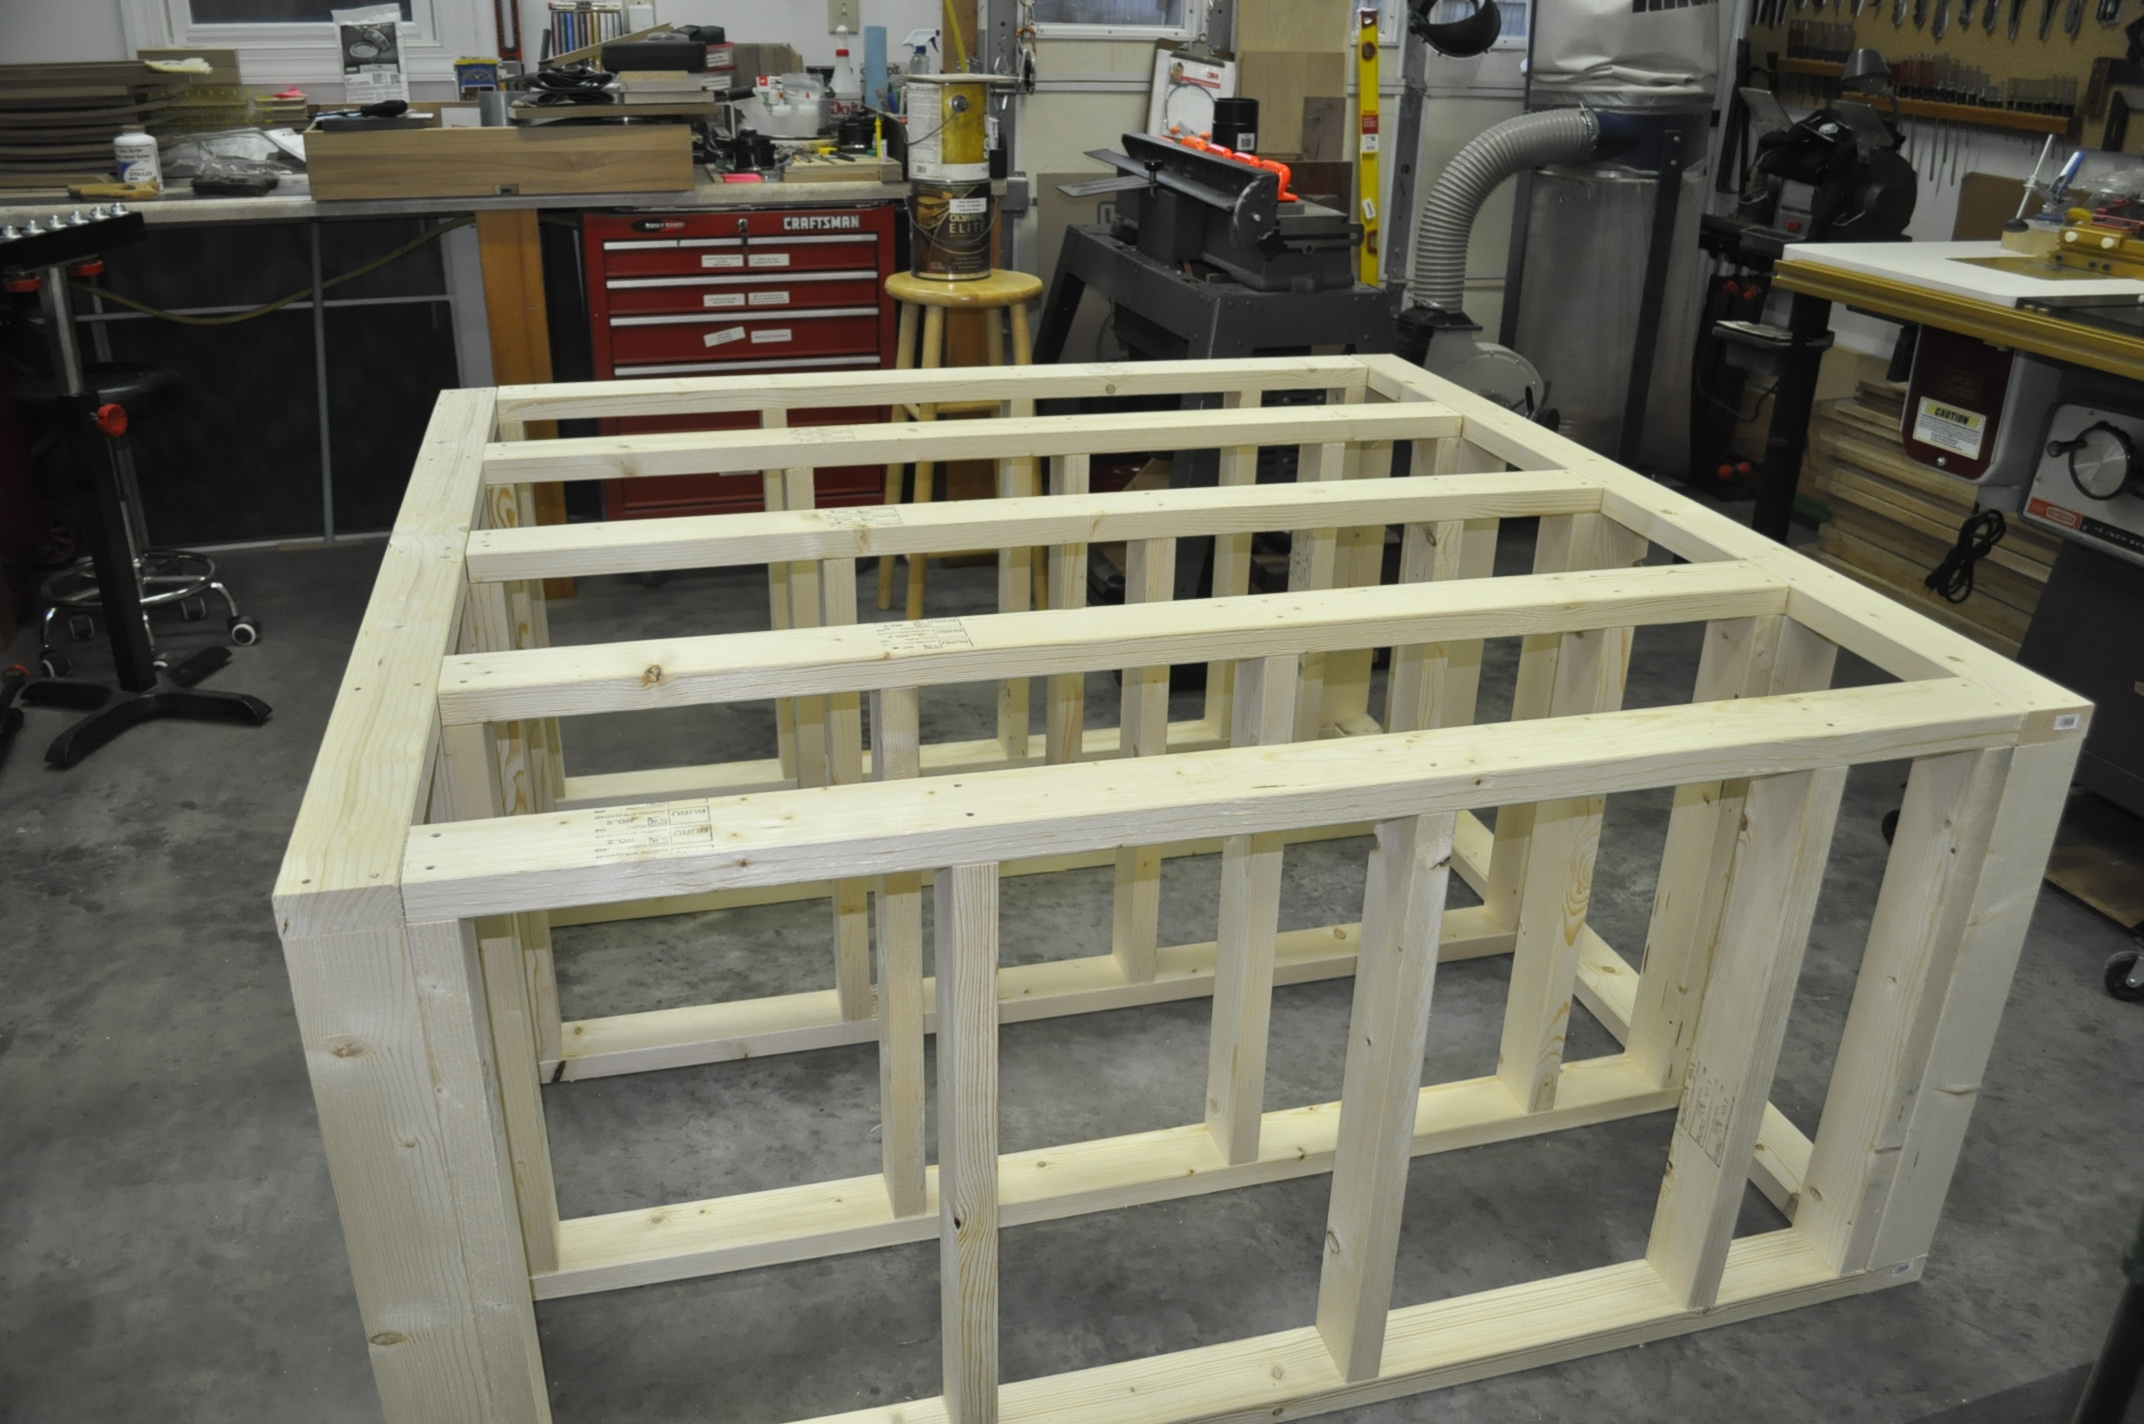
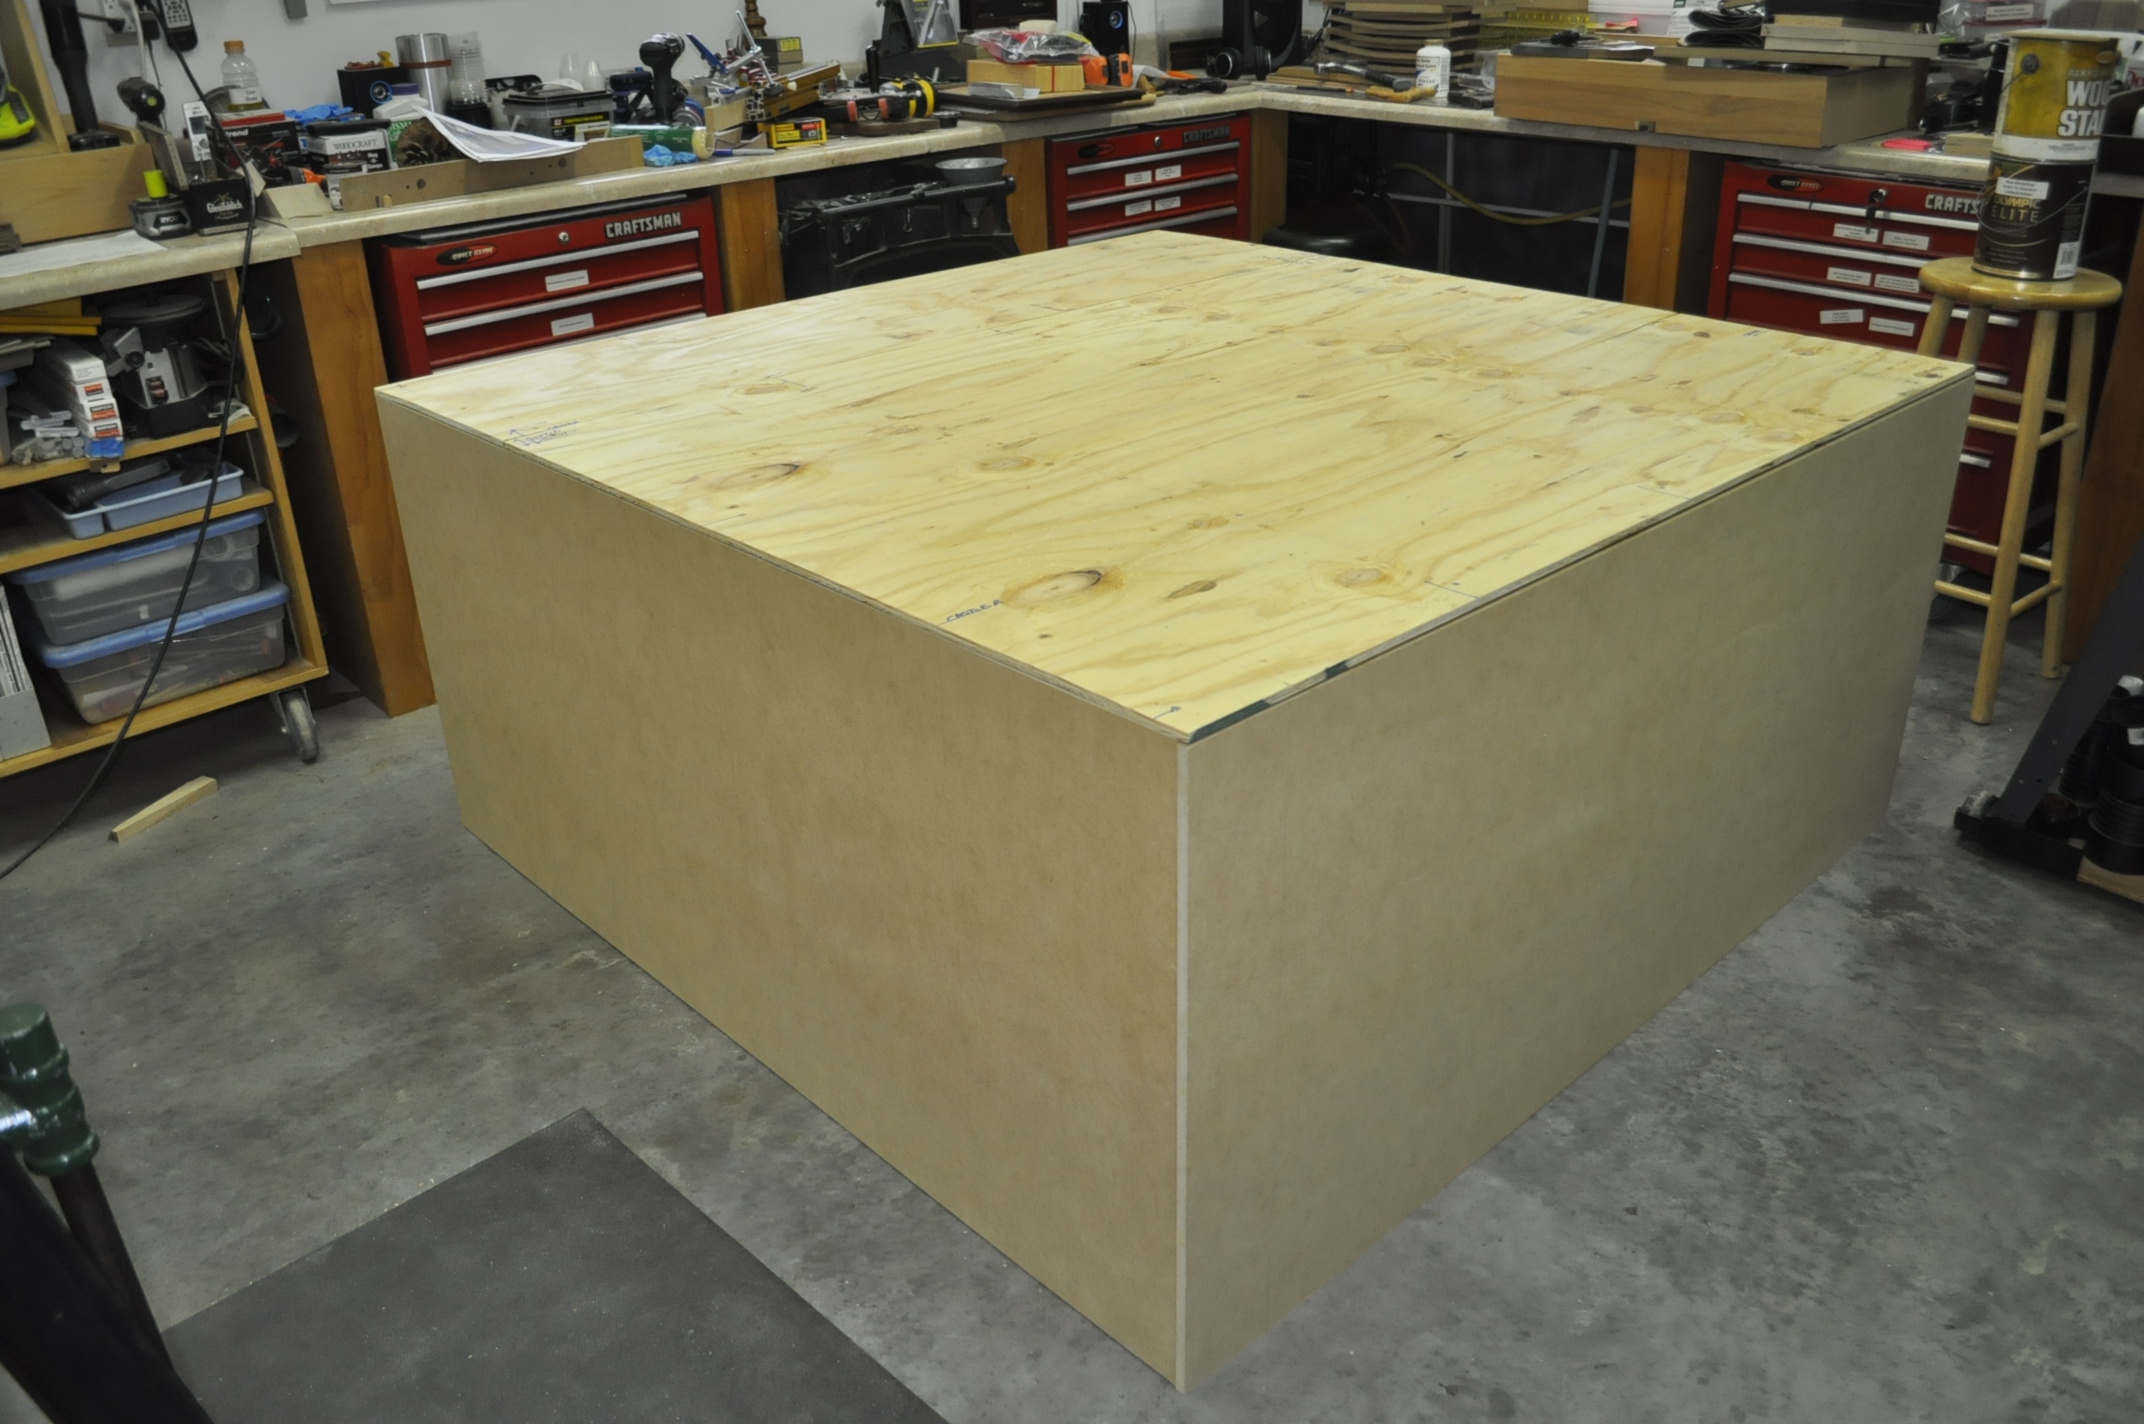
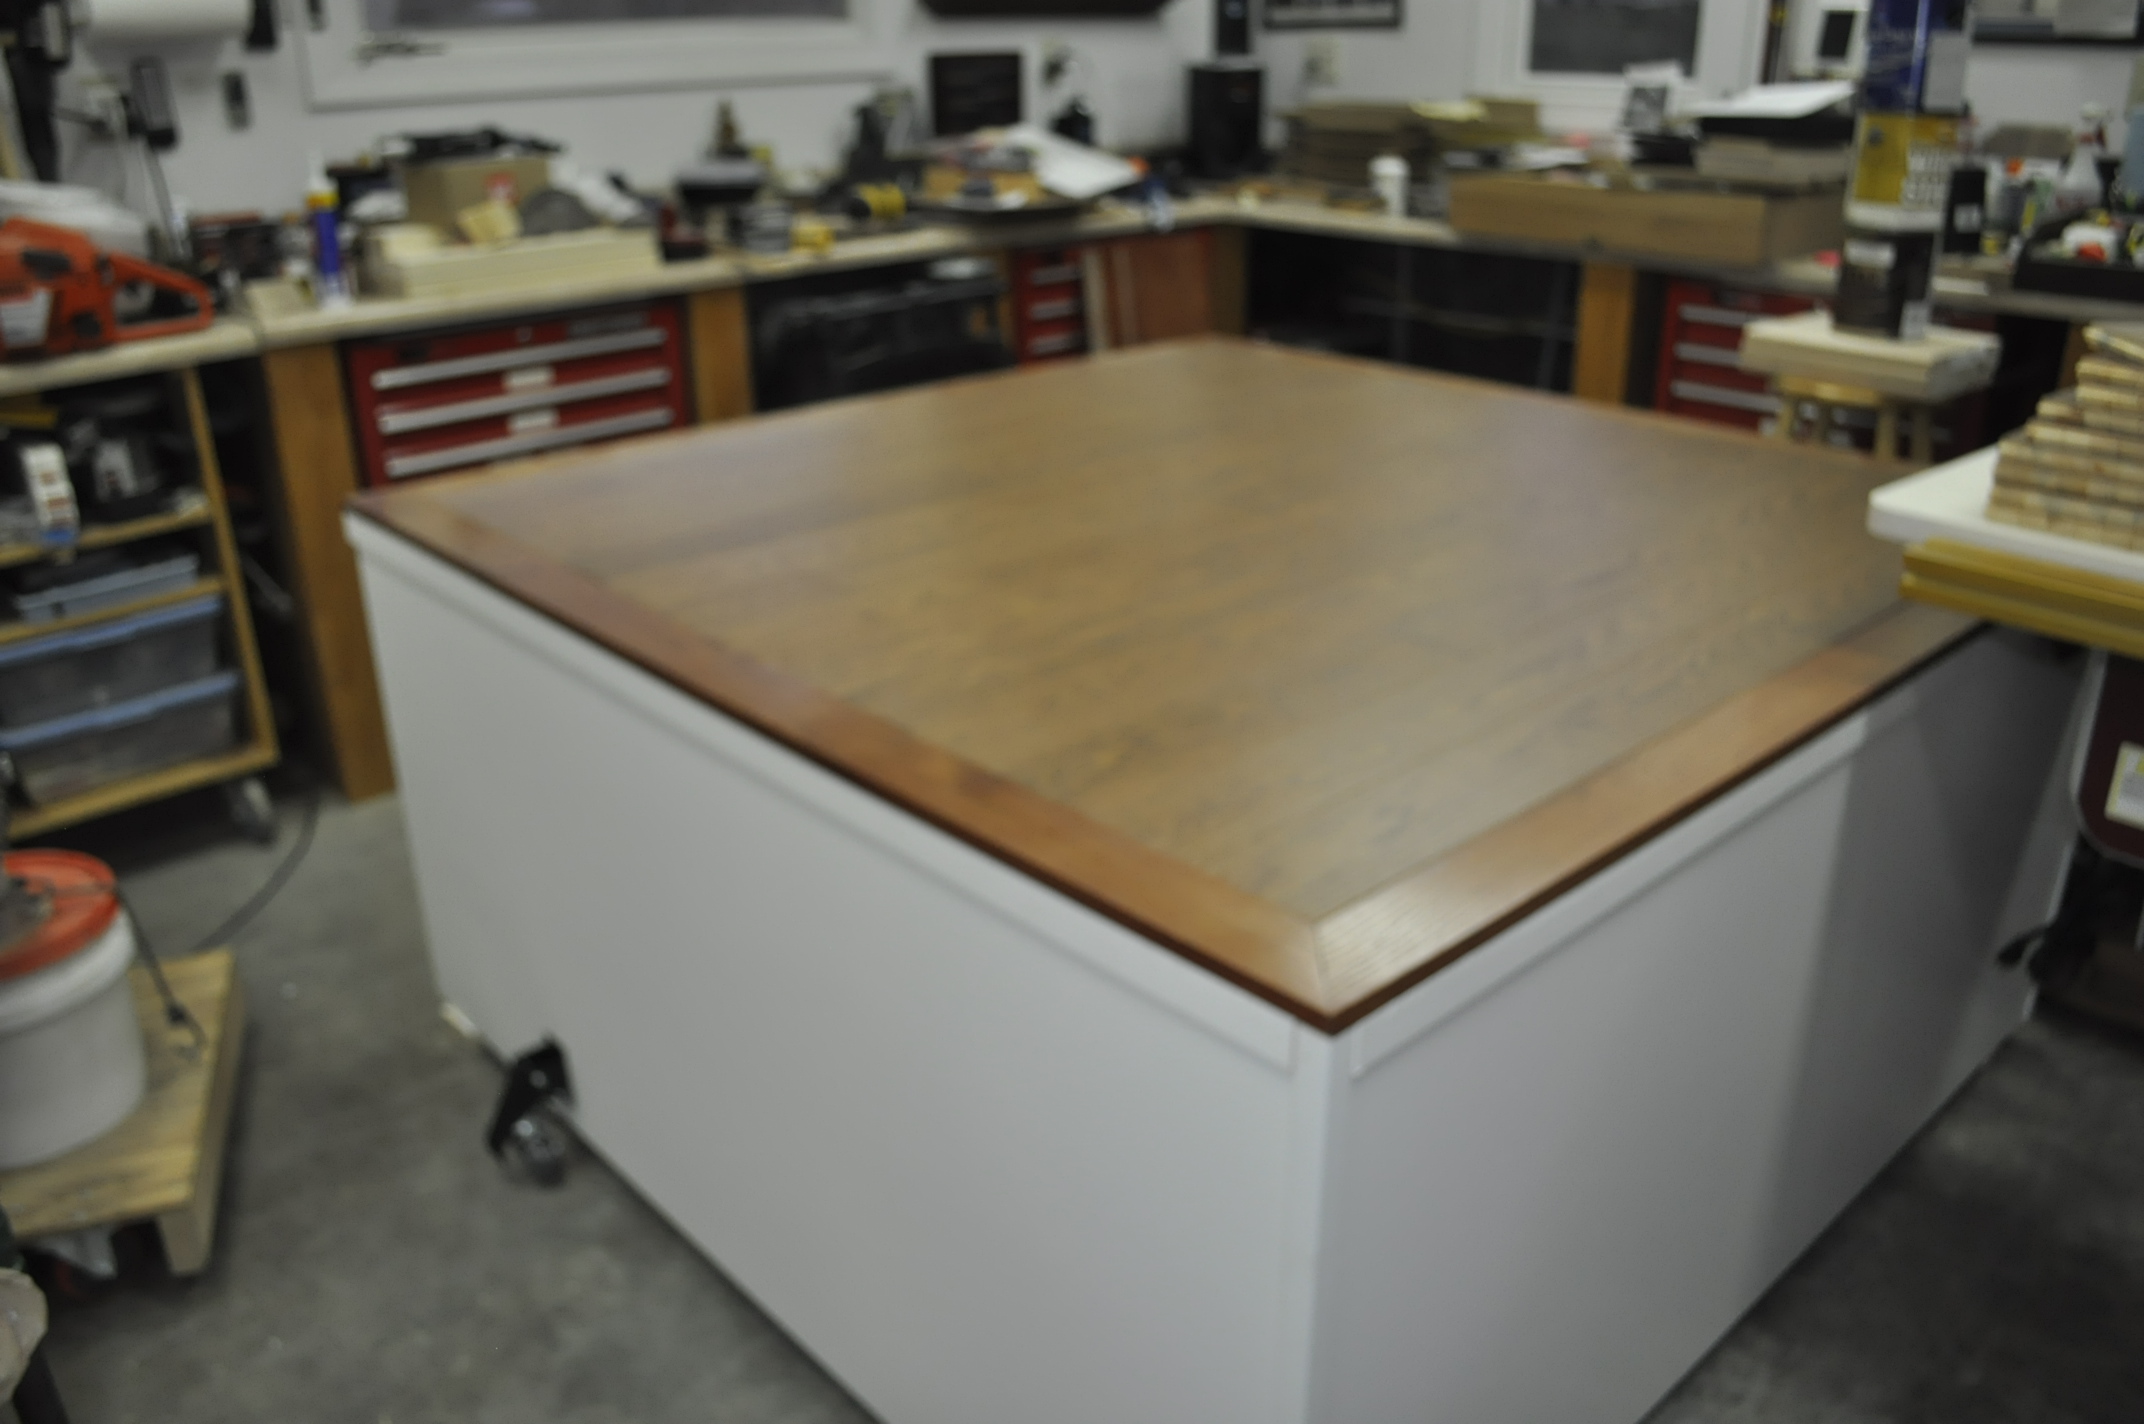
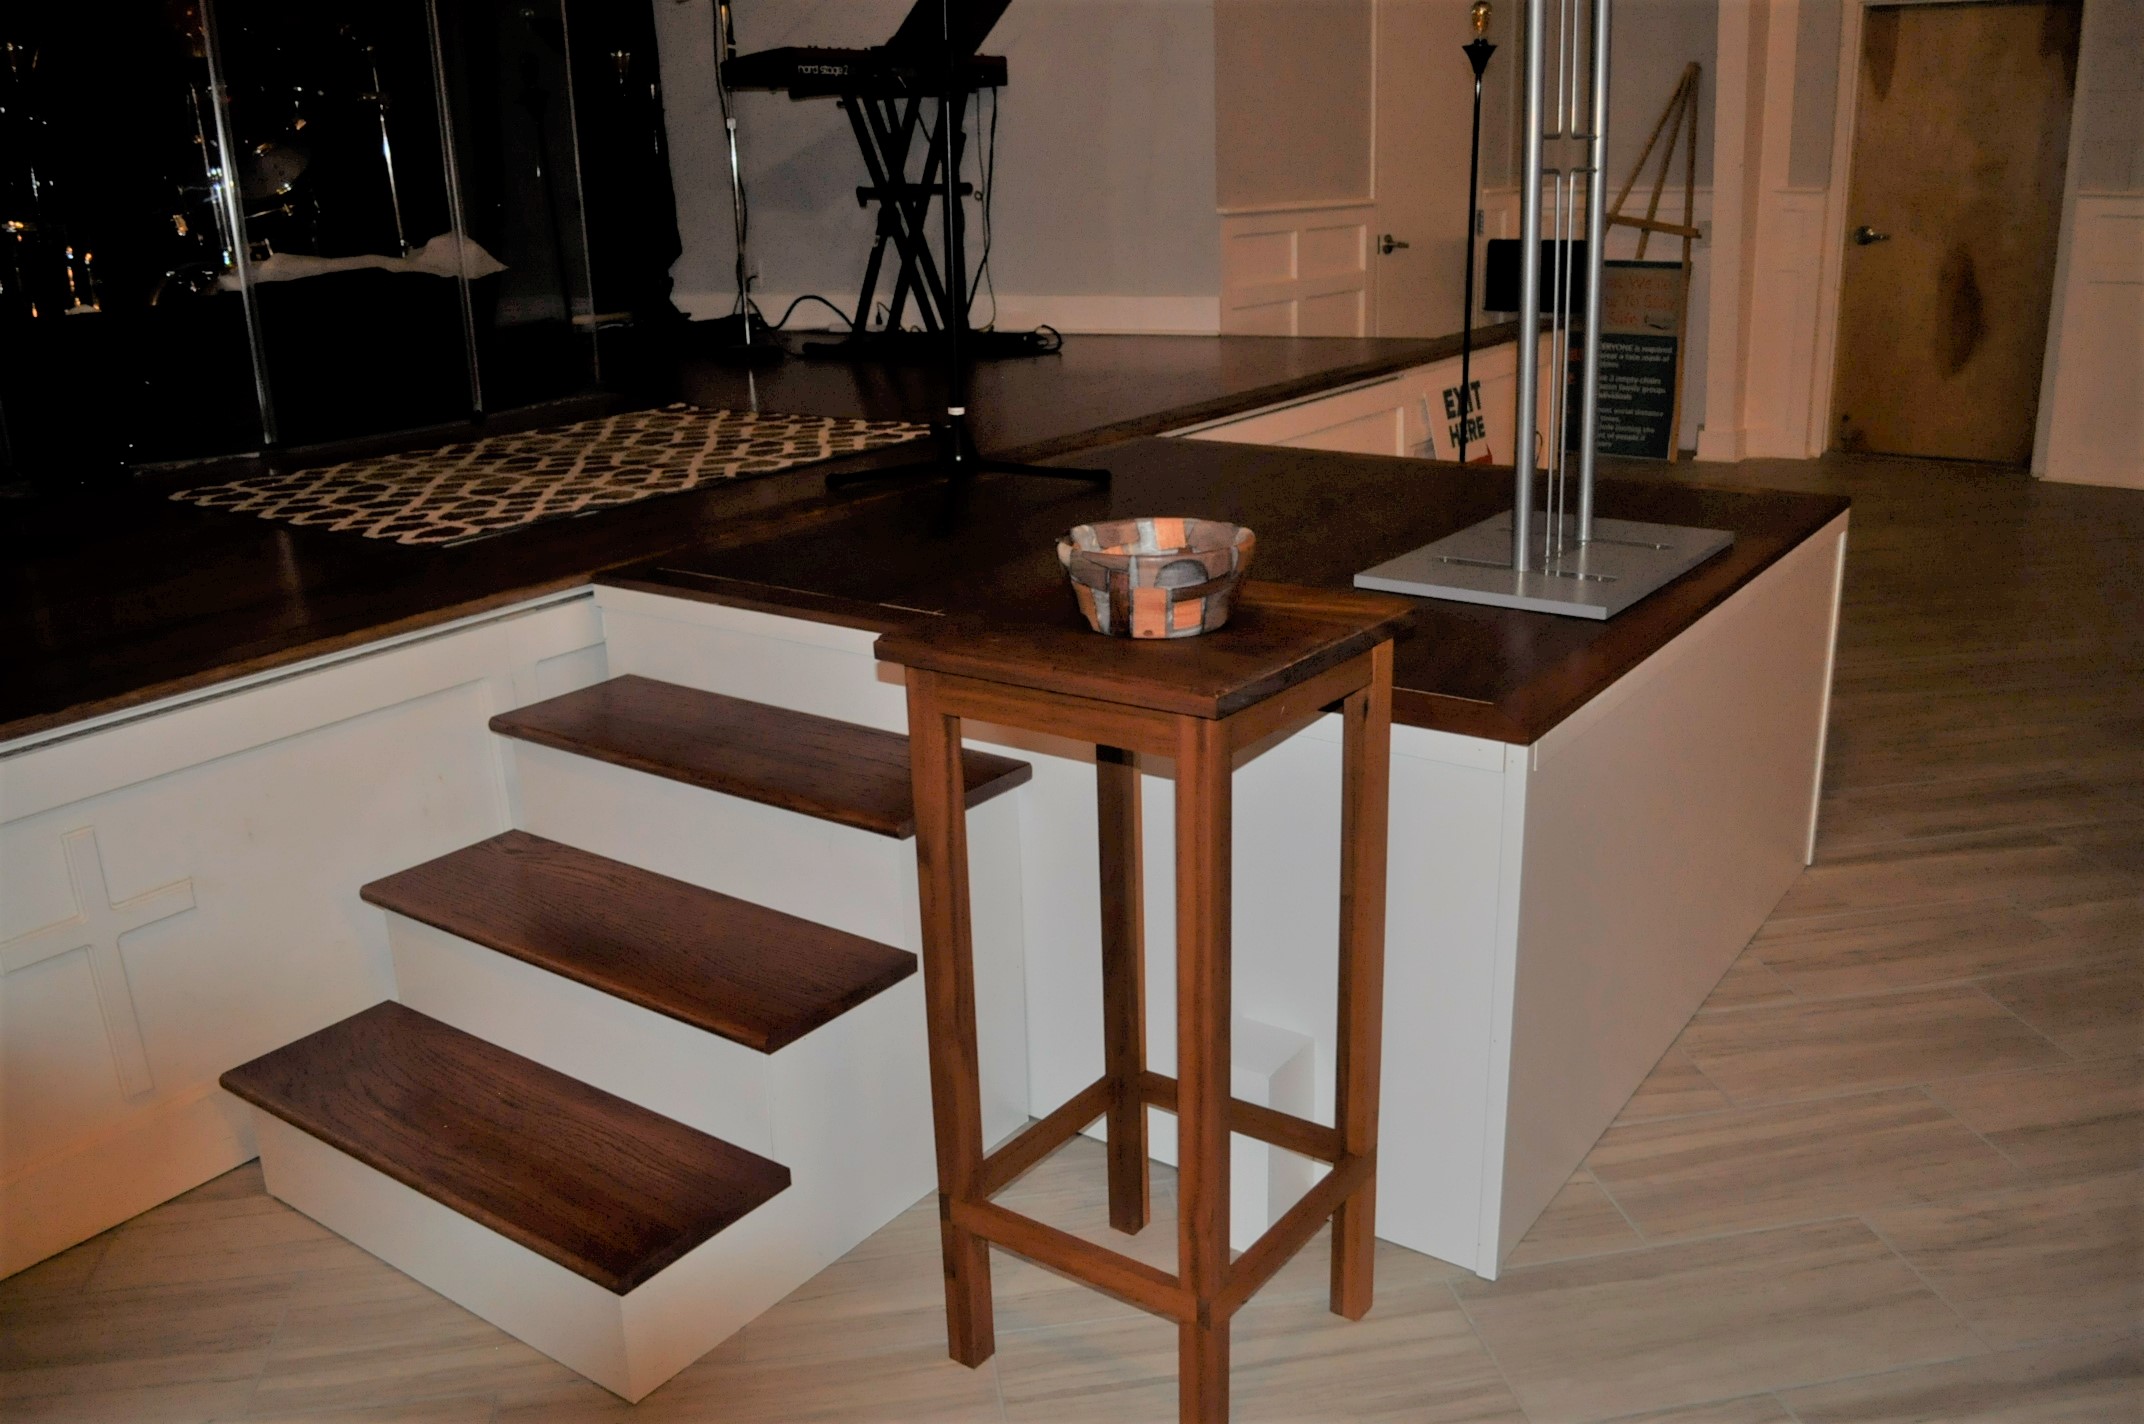
Project 21-1 is a 10" tortilla press made from hard maple and red elm, finished in food grade mineral oil and bees wax. The next project comes from Gary Stephens and his unusual church project. Church Big Box Stage Extension 27 2" x 4"'s make up the bottom structure Top is covered with 1/2' plywood, sides are 1/2" MDF Top is framed with oak & pre-finished flooring Assembled project with matching stairs & platform My church, Great Bridge United Methodist Church, had just started a $1.5 M renovation project when the pandemic started. They have been having virtual services since March of 2021. The contractor has finished the renovation and moved on to other projects but the church has found out that some of the renovations created other issues. They asked me if I could build them a big box (their wording, not mine), I call it a stage extension for the pastor and the contemporary worship leader who is a big guy. The box needed to be about 6' x 6' x 30" tall and it had to match the surrounding stage area plus steps and a 3' x 3' platform for the associate pastor to stand on when she is speaking (she is only 4' 9" tall). I told them it was not a difficult project to build but the finish date had to be before Lent begins and that put a squeeze on me getting some of the products like the flooring and the white paint to match the white paint used during the renovation. I also told them that it was going to be HEAVY because I needed to build it to code. I also told them that it should be on casters to move around and they were hesitant. I told them that if they did not like the casters that I would take them off and they accepted that advice. The frame is made out of 27 2x4's on 16" centers with two sheets of 1/2" plywood on top and 3 sheets of 1/2" MDF on the sides. That alone made it very heavy. The top is then finished with a white oak picture frame around the perimeter of the box and then filled in with a man made solid wood hardwood flooring. The whole box weighs a little over 500 pound! After getting the music director (he was the instigator of the project), the youth director, another church member with a big flat bed trailer and myself we managed to get it out of my shop. Once they got the project to the social hall they fell in love with the castors (same brand that I use on my heavy work bench)! I ended up making them some MDF "boots" to cover up the casters and painted them white to match the cabinet. The hardest part of the project was the shear size of the big box, the stairs and the platform. No room to move around and it weighed too much to push out of the way.
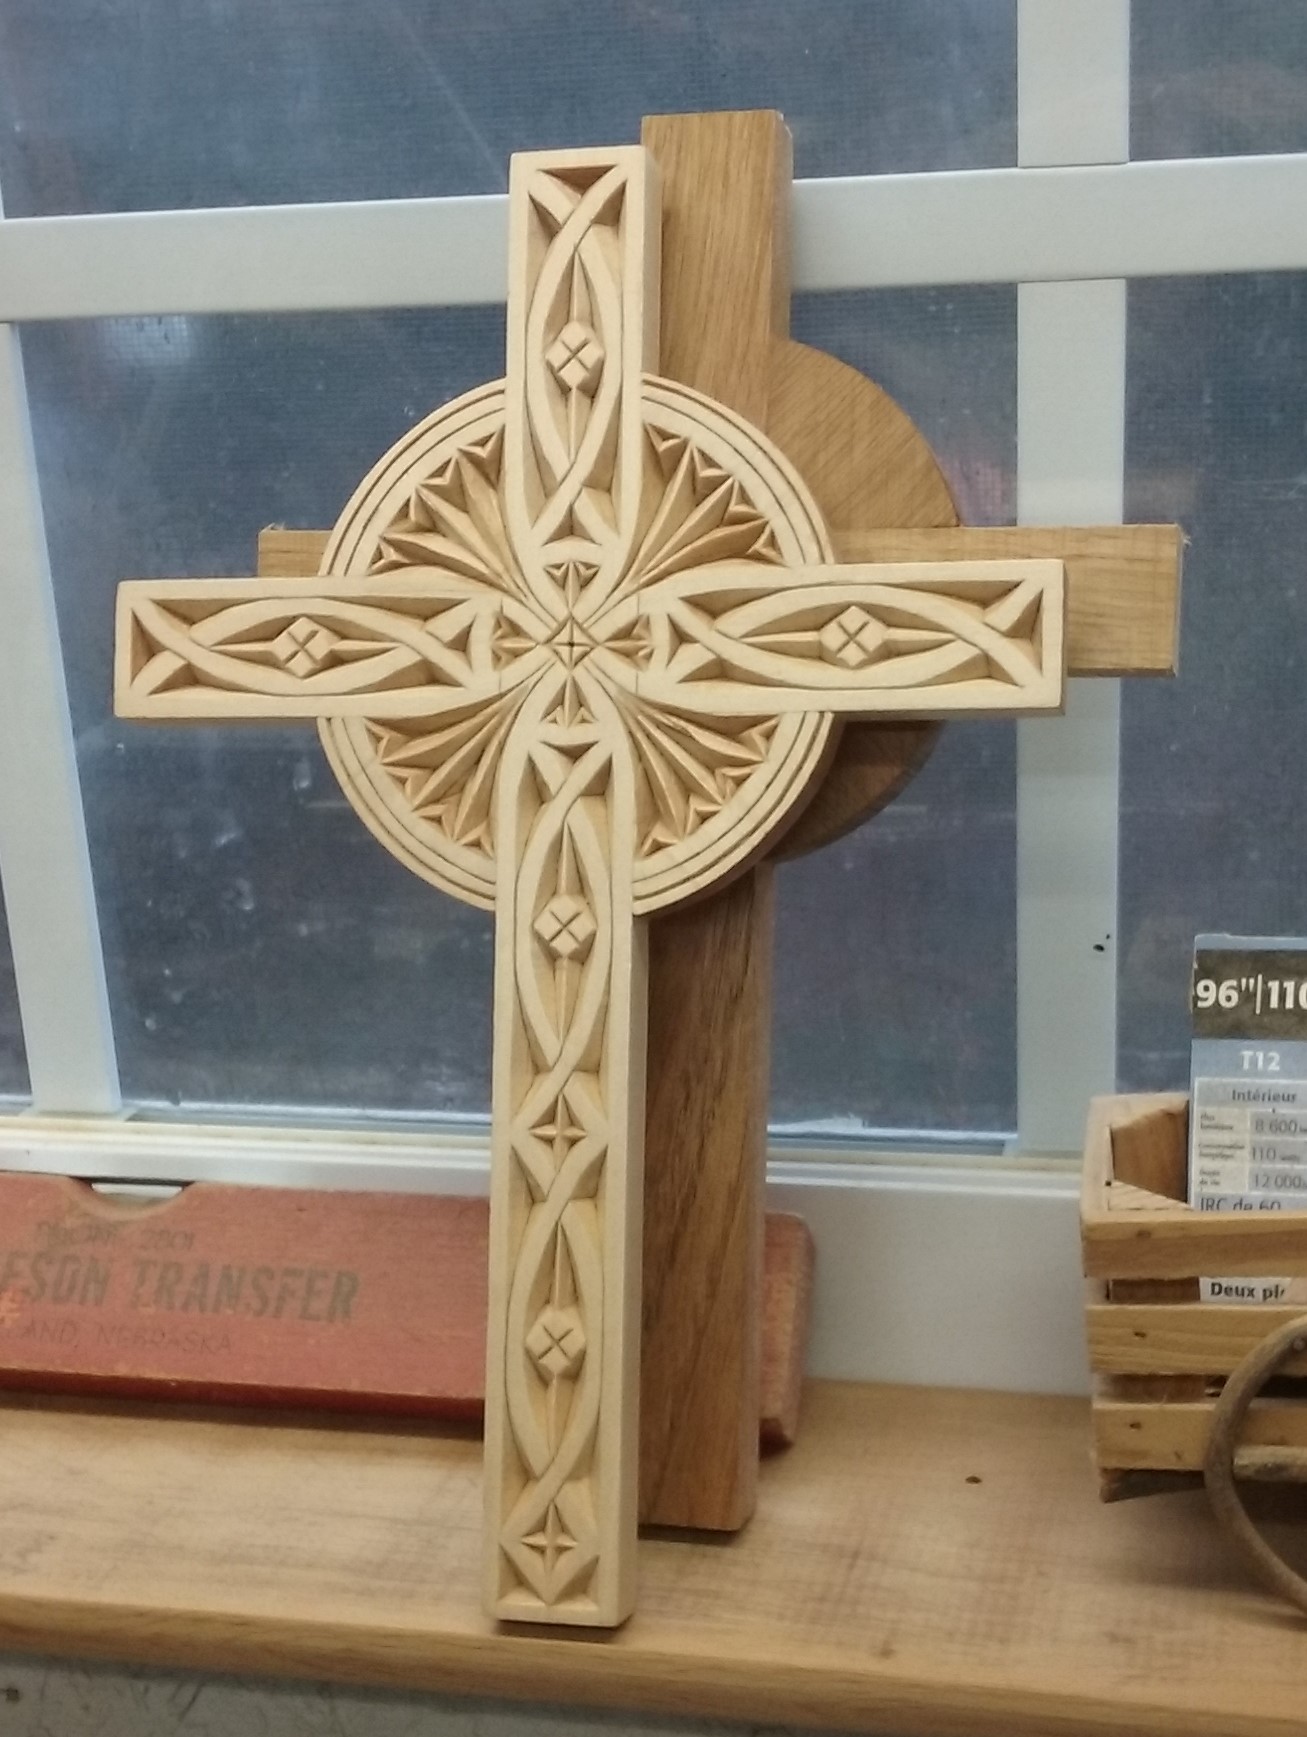
Our last project comes from Jim Francis with design by Wayne Barton Chip Carved Crucifix This chip carved Lenten crucifix was designed by Wayne Barton in Basswood. The background material for the cross is Butternut wood.
|
||||
|
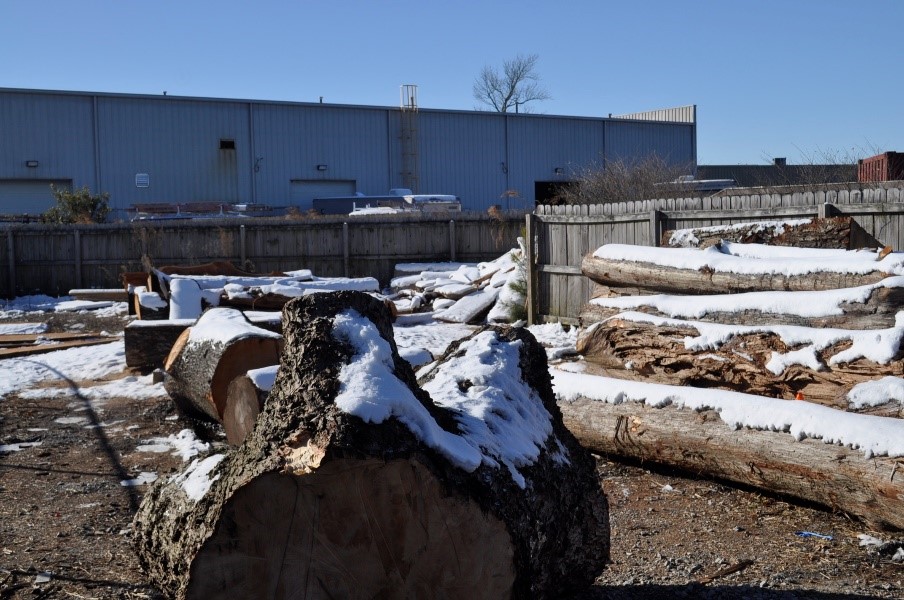
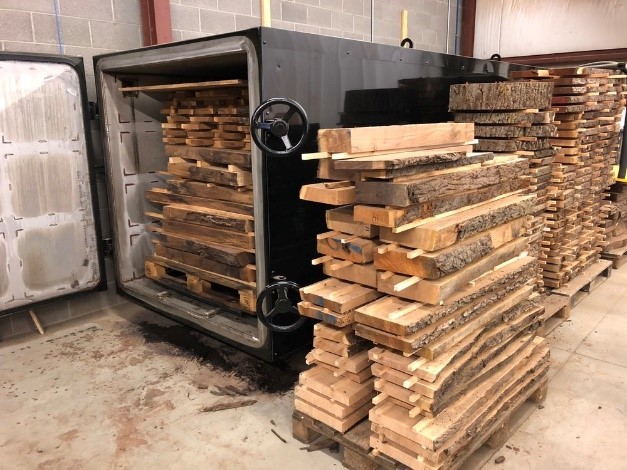
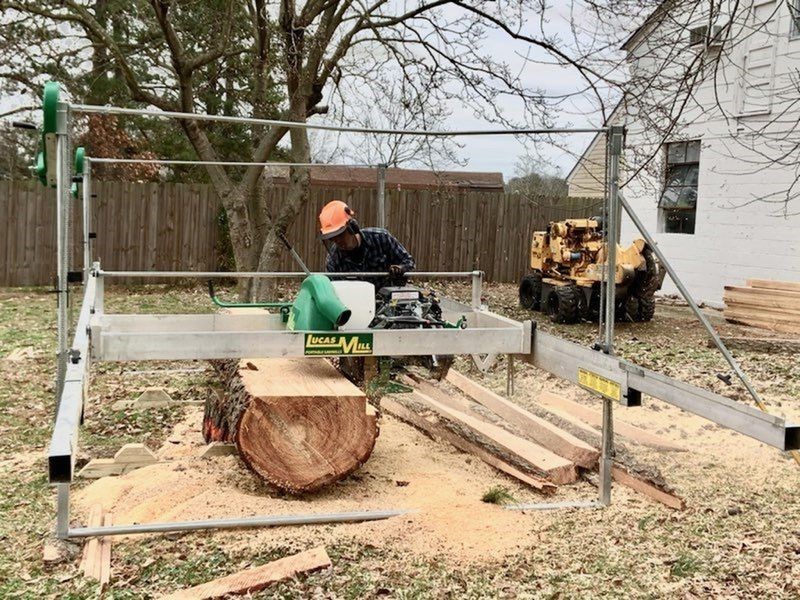
Former Navy SEAL's New TWWWG Woodworking ResourceThere was an article in the Virginia Pilots Inside Business section back on January 25, 2021 that my wife cut out for me as a possible resource for guild (Pilot On-Line Article). The article was about Matt Shorrock, a former Navy SEAL, and his new business venture called American Figure Milling. The article discussed his background and what got him interested in working with wood, particularly milling up big logs into slabs for his customers. His saw mill machine, Lucas Mills DSM23, has the capability of harvesting trees up to 5’ in diameter. What really interested me was his vacuum kiln, made by i DRY. Over the years the guild has harvested many logs but we had to air dry the board and that process can take years. I made an appointment to see Matt and his operation, I just did not realize the appointment day would be one of our coldest days just after our big snow fall. I took one picture of his log yard and then we went inside to look at his kiln drying machine. Matt's Log Storage Farm Matt has a state of the art vacuum kiln made by i Dry (www.idrywood.com) This $50 K machine can handle boards up to 12’ long, 48” wide and 55” tall. It’s all electric and computer regulated and it really likes Dominion Energy! Matt says it costs about $5K per month to run the kiln. Roughly speaking it takes about one week in the kiln for each inch of thickness of the board. 1” thick board equals 1 week in the kiln. 2” thick board means 2 weeks in the kiln. Matt can dry your lumber for $1.00 / board foot. Closed up i Dry. Computer controls upper right. Filling the i Dry machine. Matt uses Lucas Mills DSM 23 for cutting up his logs. On my day of the visit it was on site in another area and I did not get a chance to see it in person. One thing I did find interesting about this saw is that it uses chains to cut the logs, not a band saw blade. For more into on the saw please go to www.lucasmill.com.
Lucas Mills DSM 23 In Operation For more info on his operation please go to American Figure Milling. |
||||

